July 2019 Blog Posts

Hi there!

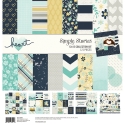
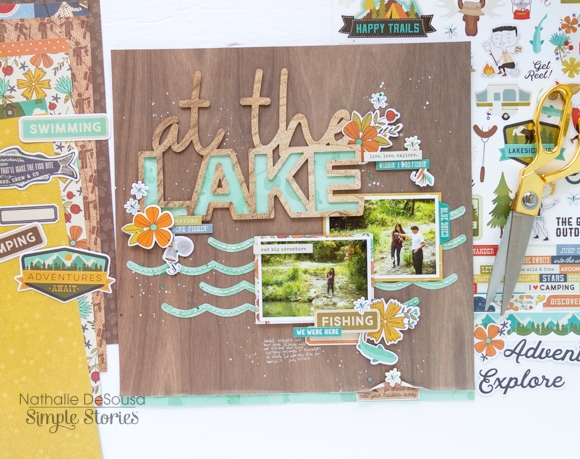
Nathalie with you today with a new layout all about the glorious outdoors.   There is nothing like fresh air and good company to create great memories, and when the new Happy Trails collection from Simple Stories arrived at my door, i quickly pulled a few of those memories to create this page.

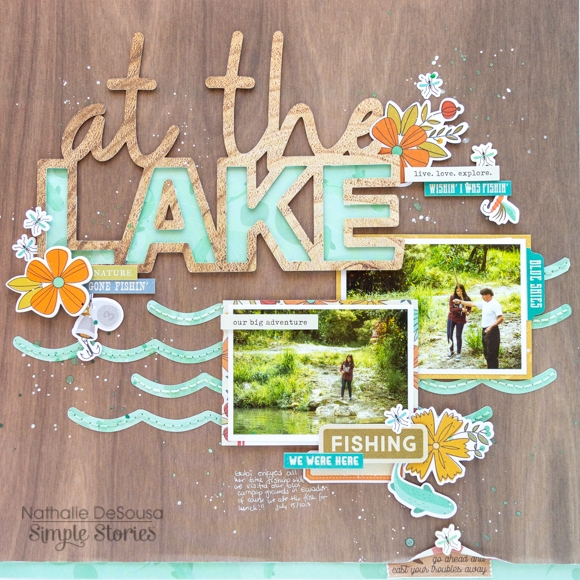
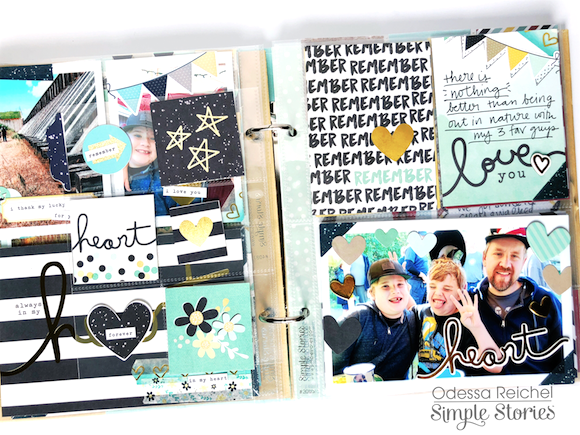
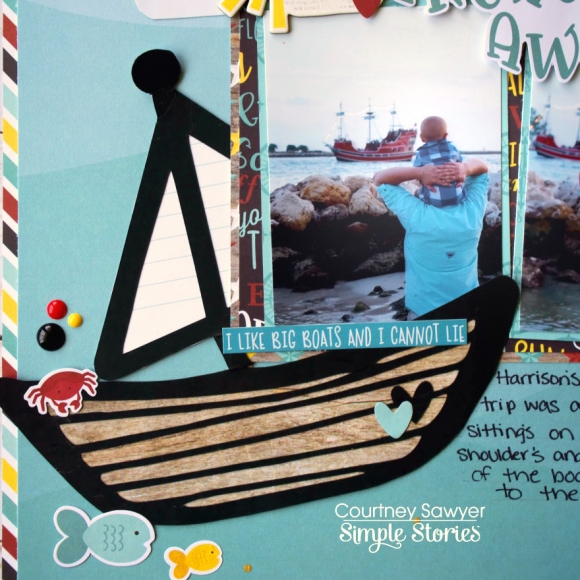
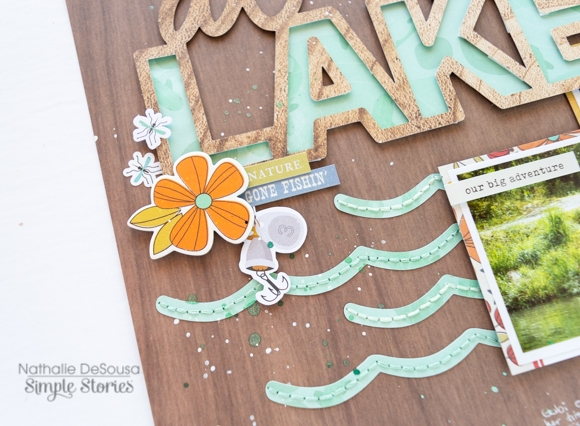
I am a sucker for wood grain paper, so i quickly pulled the Happy Camper paper to cut the title from it using a cut file from the Silhouette store.  At the same time,  the letters and waves were also cut from the Lakeside paper.

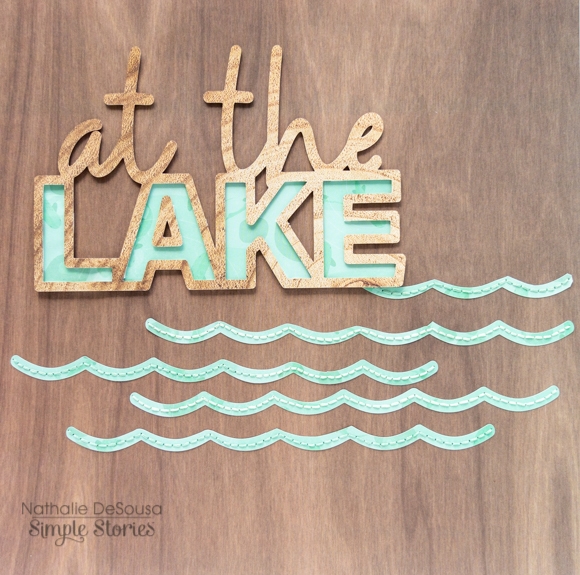
The title was backed with the patterned paper and foam adhesive to create a bit of dimension on the layout.   The waves were then hand stitched to the Love You S'more paper, and then the title was glued in place above the waves.

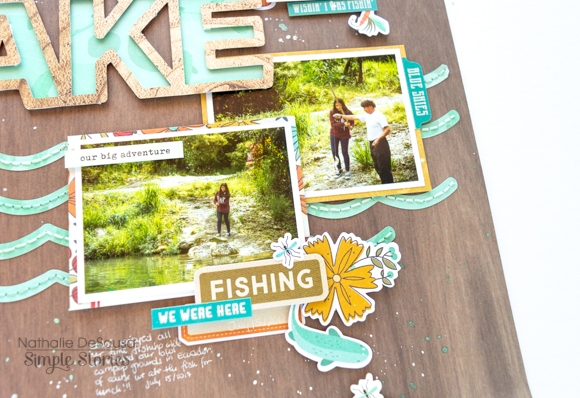
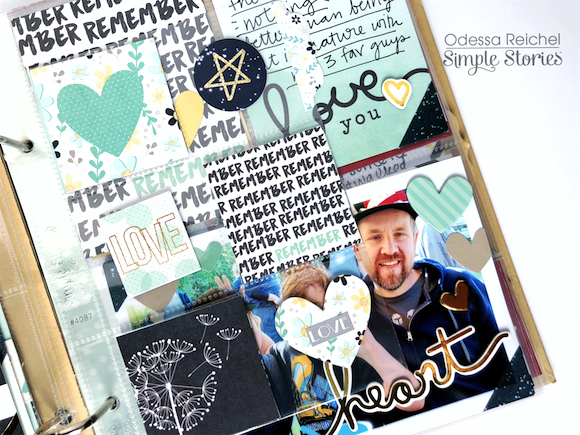
I used the Happy Trails 3x4 and 4x6 element papers to back the pictures, and then attached them to the bottom of the title.   I used elements from the Chipboard and cardstock stickers as well as both Bits and Pieces packs to create the clusters around them.

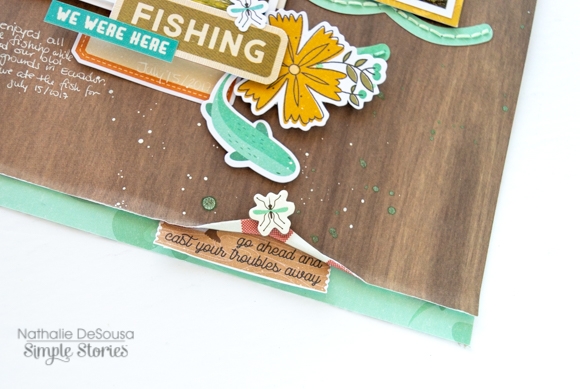
To break up all the wood grain of the background, i decided to trim the bottom of the page a bit and back it with a piece of the Lakeside paper.   A small fold was created at the bottom of the page,  here i added a few stickers and pieces of ephemera to bring a bit more interest to the page.

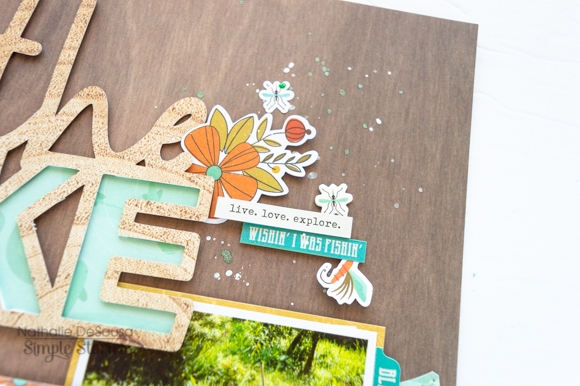
To finish the page,  i chose to add clusters at the  corners of the title work, so that they bring the colors of the collection, and celebrate my daughter's fishing adventure.

I hope this has inspired you to document those sweet and glorious outdoor adventures using the new Simple Stories Happy Trails collection.   Remember to check it out, you are going to love it!

Supplies

Jeanne here today and I’m taking you sea side with the new Simple Stories Crusin’ Collection!   I’ve got SIX cards to share to day so let’s get started!

Crusin’ is a compilation of nautical images, papers in navy, aqua, yellow and red.  The paper prints include stars, stripes, dots and plaid.   There are coordinating enamel dots, stickers, chipboard, die cut images and even a three pack of washi tapes so creating a SNAP! 

The Simple Basics Kit contains coordinating solid card stock sheets perfect for adding layers, borders or accents to your designs.

The nautical sentiments and images make perfect cards for friends and family headed out on a cruise, or seaside vacation.    I just love the images that bring back memories of good times at the beach,  going crabbing, or sailing with my son.   I can almost smell the ocean breeze and feel the sun on my face.

I love to make scenes with mixed pattern paper.  Hand cut curvy waves turn into backgrounds of sea or sand.   The Bits and Pieces and 6x12 Chipboard images are perfect for making scenes or grouping for collage style cards.

There’s loads of sentiments to choose from.  You’ll find them in the Bits and Pieces, Chipboard Stickers as well as the 4x6 stickers and the 12” Combo Sticker you’ll find in the collection kit.

These cards are perfect for all the sea loving people in your life.  The nautical theme appeals to the guys and the gals, and the images will bring a smile to your face.

Supplies

Hi! Odessa here with some SN@P! pages using the Heart collection. The colours and papers are so nice in this collection, I was so inspired!

I used a Robin’s Egg SN@P! binder which went well with Heart. I was really inspired by all the diamonds so I covered the binder in them! I cut down a piece of cardstock to fit and then tore the diamond shapes by hand from the Missing You Cardstock and stuck them down to the cardstock. I added in a few hearts around the page to add some more dimension.

The diamonds really reminded me of quilts so I pulled out my sewing machine and stitched up the rows of diamonds before I attached the cover to my binder. I added some simple stickers in the corner and it was all done! I love the homey cozy quilt feel of this.

For my layouts I used some recent family photos from a few days away that were special to me. On the right I did a single page layout using one of my favourite phots and on the left a SN@P! page with some more photos, journal cards and stickers. I just adore the gold foil throughout Heart!

I decided to bring the torn and stitched paper feel from the cover to the inside so for my single page layout I tore strips from various Heart collection cardstock and layered them around my photo. I also added in some strips of washi here and there to add more dimensions before I stitched a few rows across the page. The Heart collection is full of great handwritten style word stickers so I added one to my photo.

I had some more photos to get in my binder so I did a second page with Heart. This spread is full of things in pockets with a cute 4x6 vertical protector in the middle full of SN@P! cards, stickers and more. Throughout the layouts I folded washi over corners of photos to give it a vintage photo album feel.

On this card I layered some of the gorgeous Heart washi tape to personalize the journal card a little more. Throughout my layout layering is a major theme! The colours and patterns lend themselves so well to oodles of layers and mixing and matching.

These vertical SN@P! protectors are one of my fav things. Sometimes I’ll fill them up with photos and sometimes I’ll fill them up with bits of ephemera and cardstock from the collection I am working with like I did with Heart here. It’s a great way to add dimension to a layout and sneak in some extra pieces that didn’t quite make it to my layout.

When you flip over the vertical protector my last page pops out. I added in some journalling, stamping, stickers and more to keep it all together. There were a lot of background people in my bottom photo so I used various hearts from the collection to create a boarder around my family and hide all that. I hope this peek into my pages has inspired you!

Supplies

Hello Friends! 

It's Kristine Davidson here today and I'm sharing a layout I created using the Cruisin' Collection. I used a photo of the cruise ship my friend and her Mother in Law took last February. I highlighted the ship, the ports of call and of course the date the cruise was taken. 

My background was created with a white piece of cardstock but you could use the gorgeous Simple Basics sheets that come with this collection. I added a few strips of paper in assorted sizes to use more color and texture. 


I used a 4x6 photo and mounted it on dimensional adhesive and of course added more on the stickers and diecuts. I didn't want to add to many diecuts around the photo since my photo was the focal point for my layout. Instead of doing clusters around the photo I added the elements on the bottom of my page. 

My journaling was created on a piece of white cardstock that I cut in strips to place them on my layout. I was debating on using my own handwriting but I thought typed up would be better. 

I added a small cluster of stickers and diecuts on the right of my photo. This can be another small photo if you wish or use a 2x2 piece with an image or title even. 

I hope you enjoyed my layout today. This collection is super cute for beach scenes and Cruise Ships!

Find us on Instagram @SimpleStories_ and @KristineDavidson

Supplies

Hey y’all! Courtney here on the blog today sharing a layout that I created using the really cute Crusin’ line. Now I haven’t been on a cruise lately, but we did just come back from a long beach trip. I have a ton of pictures that will go so perfectly with this collection.

I chose these two precious pictures of my youngest on his daddy’s shoulders. I chose to do two 3x4 pictures that I matted on the Ports of Call individually and then double matted them on the Ahoy and the Seas the day paper

The background paper is Lost at Sea and it’s cut down ¼ of an inch and matted on the 4x4 elements sheet. I also used a free cut file from paper Issues called Sailing into summer that I backed on Man overboard and the lined card from the 4x6 element sheet.

I used the 6x12 chipboard sheet, the combo sticker sheet, the 4x6 sticker sheet, and the bits and pieces to create my clusters around my photo.  The title came from the bits and pieces pack and I added some foam to give it dimension.

I finished my layout with three clusters of enamel dots and some gold splatters. I also added a little bit of my handwriting to journal about this sweet moment.

Thank you so much for checking the blog out. I hope I inspired you!

Supplies

Hello Simple Stories friends! Anya here today and I would like to share an explosion box with you that I created using the beautiful “Heart” collection. Even though the main theme for this line is about memories of people we lost, it doesn't mean we can't use it for other projects as well.

To create this box I used a scoring board and some white cardstock. My box measures 3” from all sides and the lid is 1” tall. In order for the lid to fit the box nicely, you need to make it about 1/16” larger then the size of the box. After creating the basic shape of the box, I like to cover all the panels with patterned paper, leaving a thin white border.

My favorite part is to decorate all the panels with little pieces and stickers. The sides don't have to be very similar in design - the basic idea here is to distribute the colors evenly among them. By adding some of the pieces to panels with pop dots, you will create dimension, which always makes this type of project more interesting.

Supplies

Pages