Sticker Storage Binder
Hi everyone, Kelly here today with a new blog post. I am going to show you a fun and easy way to create your own pretty sticker storage binder to store all your planner stickers in one place.
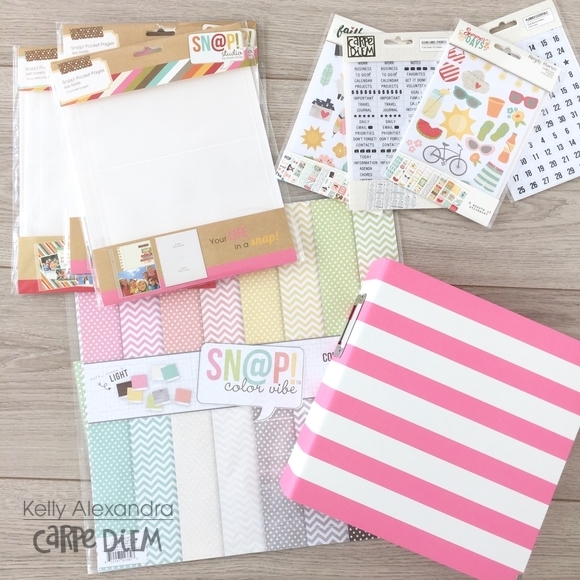
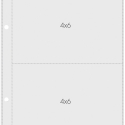
As a base I used a pink SN@P binder, 4x6 clear Pocket Pages, some scrapbook papers and of course stickers to put in the inserts. Now I am going to show you how I created the dividers!
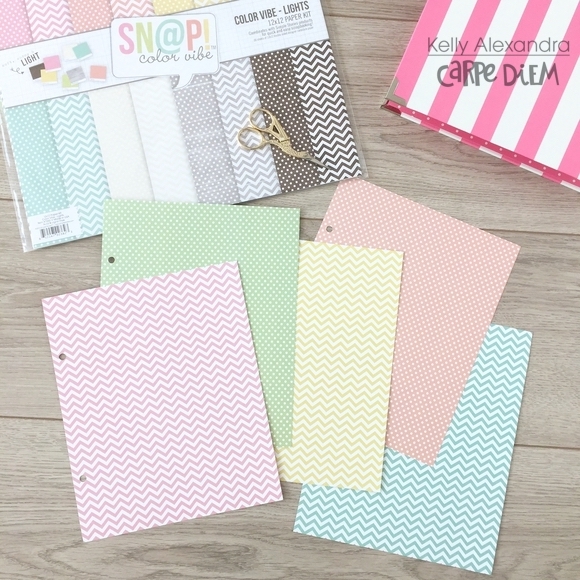
Because of my love for pastel colors I decided to use the SN@P! Lights Color Vibe papers as my dashboard and dividers. First, I cut the scrapbook papers down to size (7x8.5 inch) using a cutting board, but you can also use a ruler and scissors. Next, I punched 2 holes using a Pocket Page sheet as a template to know exactly where I needed to punch.
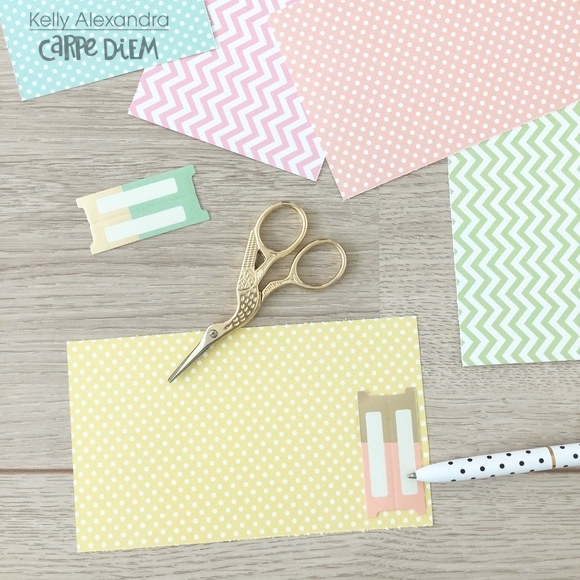
Now that the dividers are the right size it is time to make our own tabs. I found some tabs in an old pack of diecuts to use as a template. I traced them on leftover scrapbook paper pieces and then cut them out.
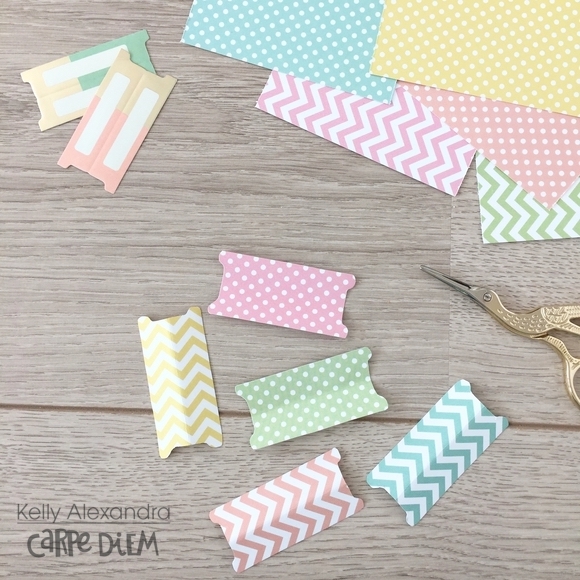
As an end result, you have your own DIY tabs in matching colors to glue on the dividers.
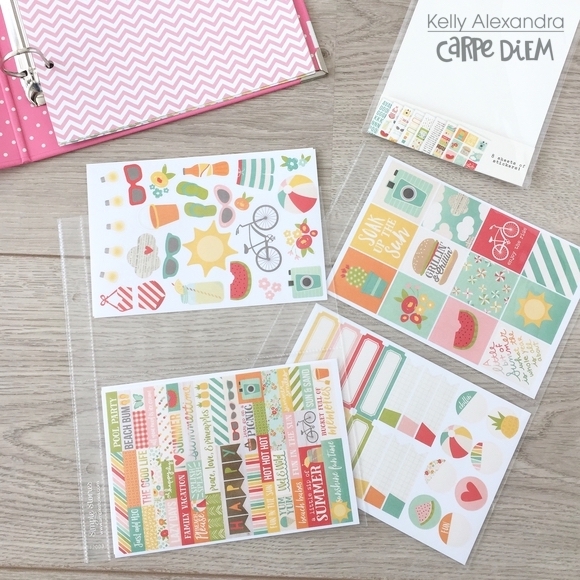
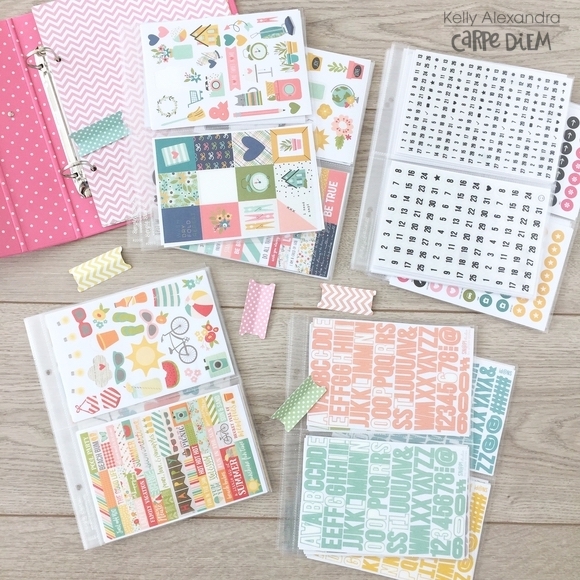
The next step is to grab all your stickers and put them in the clear Pocket Pages. I decided to divide my stickers into 4 categories: Collections, Summer, Functional and Alpha’s. Because the alpha sheets are a little bit bigger than 4x6inch, I trimmed the borders of each sticker sheet a little bit to make them fit in the pocket pages easily.
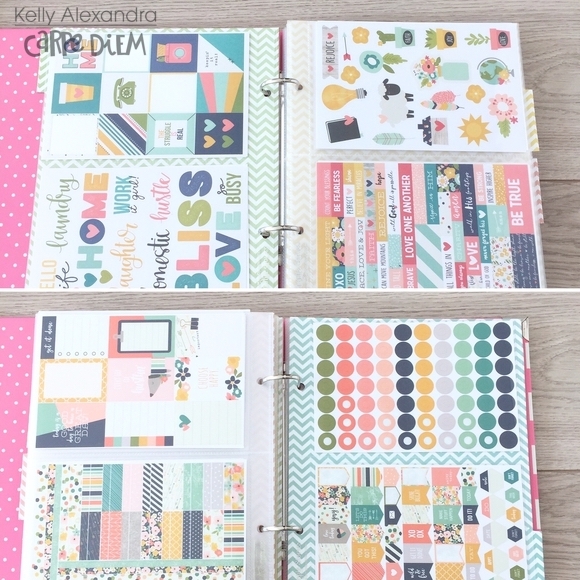
Now that my stickers are all in the Pocket Pages it is time to put them in the binder.
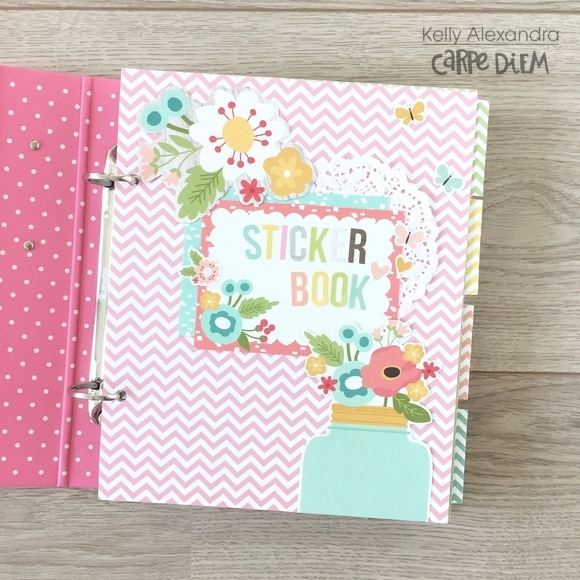
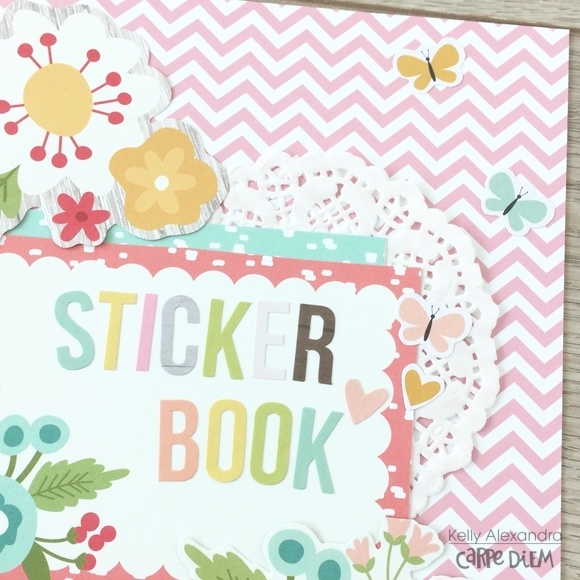
I love decorating and decided to use some journaling cards and stickers from the Faith collection to decorate the pink dashboard and 4 dividers. With the alpha stickers I wrote ‘ Sticker book’ and I used some flower pieces and little butterfly stickers to decorate the page.
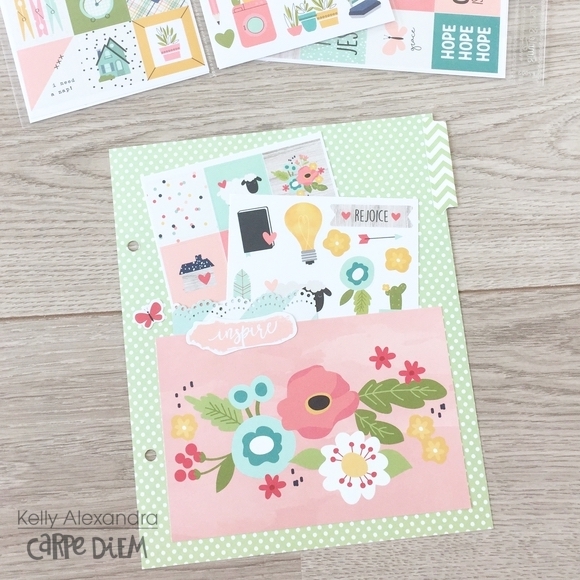
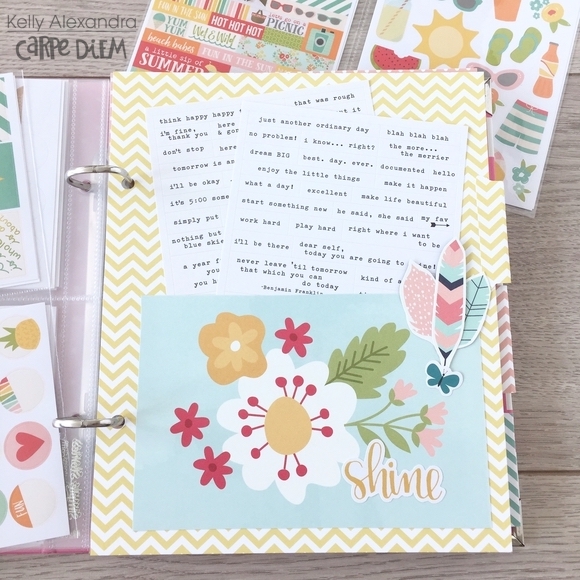
To decorate the dividers I created pockets on all of them to put even more sticker sheets in there! I used a 4x6 journaling card and only glued the bottom and sides of the card so that you can slide 2-4 sticker sheets in there.
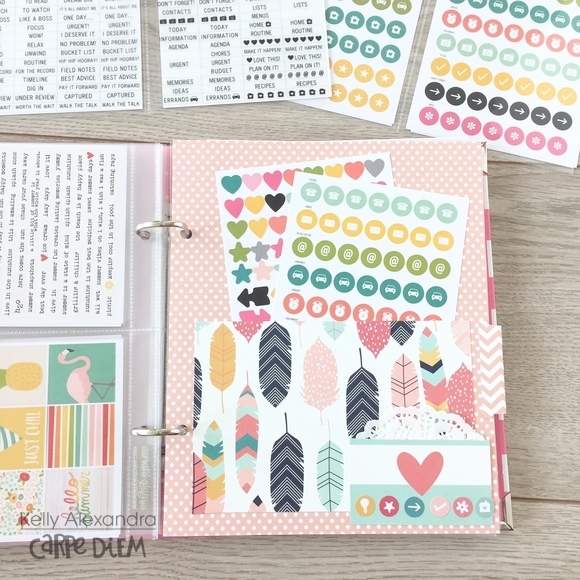
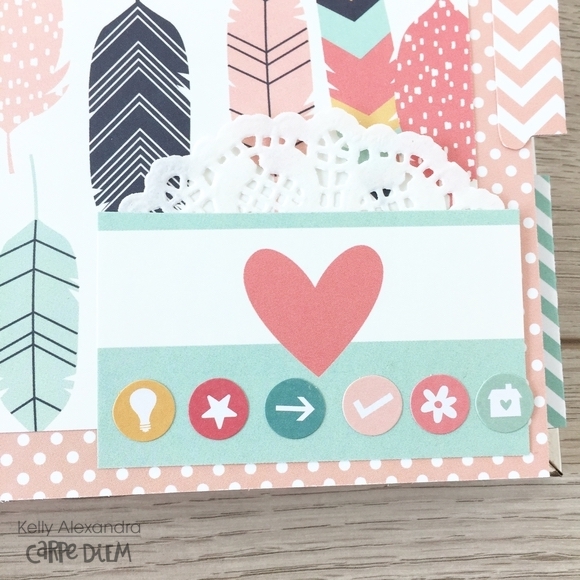
The third divider is for functional stickers such as date numbers, icons and label stickers. I have so many functional stickers for my planner, I think I can fill a full binder with those alone!
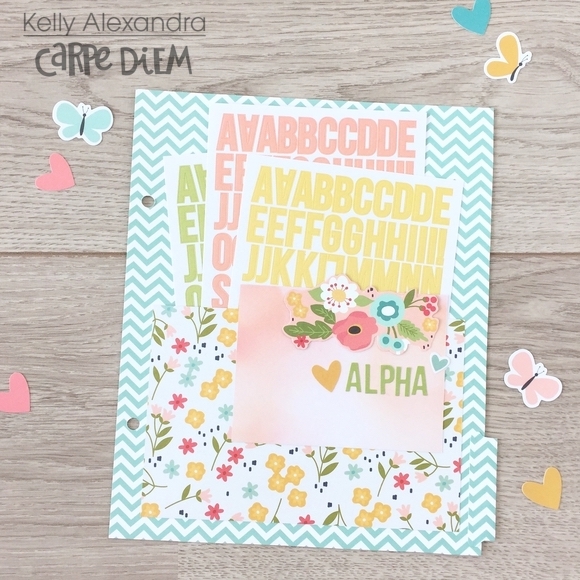
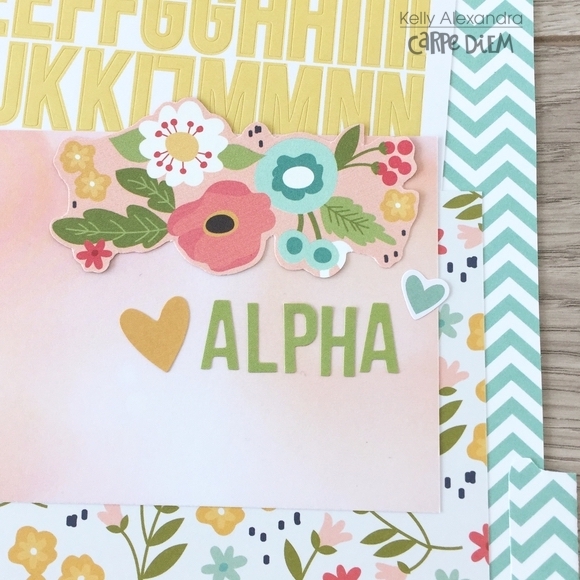
The last divider is for my alpha stickers, so ofcourse I slided some alpha sheets in the pocket as well.
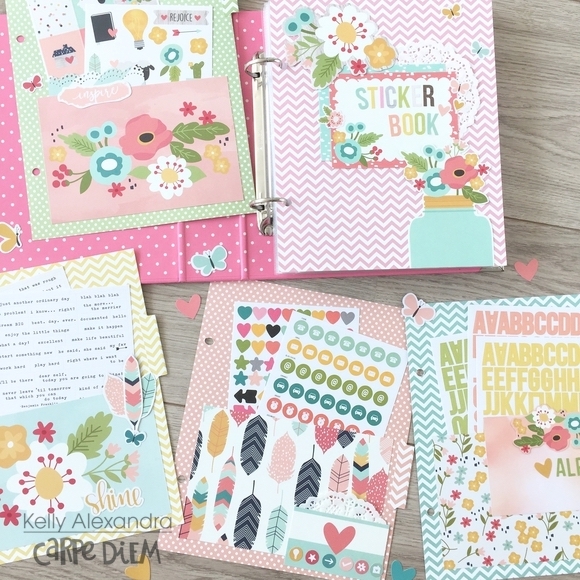
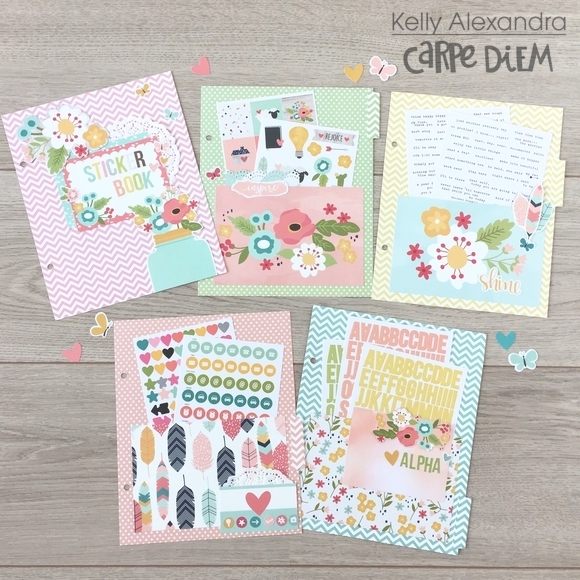
The end result is 1 front dashboard and 4 decorated dividers with little pockets to put even more sticker sheets in there.
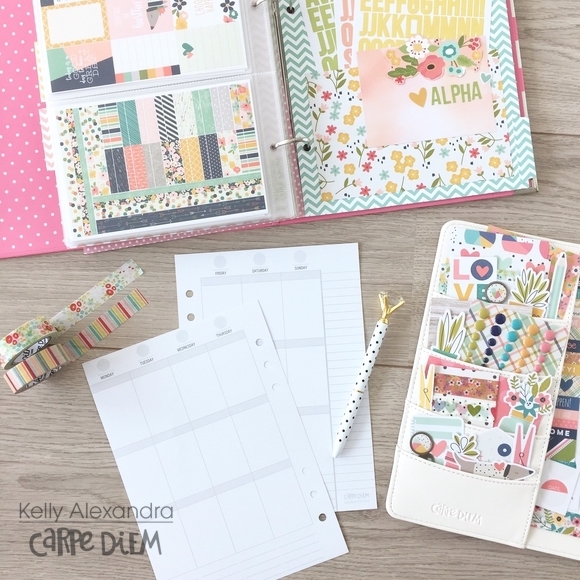
I love this binder because now I can flip through the binder and see all the stickers I have. I can grab my planner, some washi tapes, and my sticker binder and plan everywhere I want and have all my supplies with me!
I hope you liked this blogpost and got inspired to create your own sticker storage binder! For more inspiring planner posts go to my instagram account: createplannernl. Have a great day!


