


The chipboard and die cuts in this collection are AMAZING. Check out those cute little balloons! You can use the chipboard strings that come in the set or attach twine like I did. Either way it is pretty easy to pull together a birthday card that will make someone smile. :)
I also decided to take a walk down memory lane and scrapbook some of my kids' younger birthdays. The Chipboard frames are perfect for adding a bunch of photos including those detail shots like ones of the cake and presents. I had so much fun filling one frame with a mix of Bradz, Enamel Dots, Photo Stickers and Chipboard Stickers! And how about that big 1? I may need several more packs of those Pocket Pieces die cut numbers that look like birthday candles, I just love them so!
For this layout I created a large cake for the background and stitched around each layer. The stickers, die cuts and embellishments all work so well together in this collection!
Playing with these old photos and this cute new collection has me inspired to do a mini album of each kids' birthdays. Let's Party has so many fun stickers, embellishments and patterned papers for all types of birthday projects!
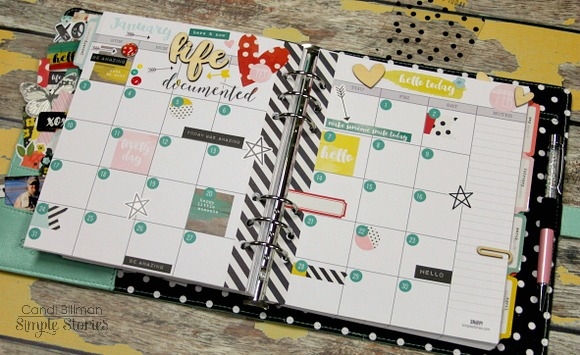
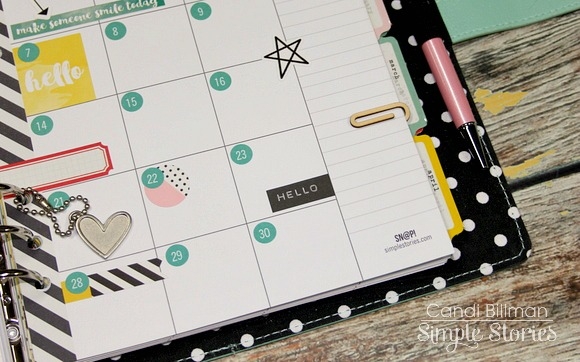
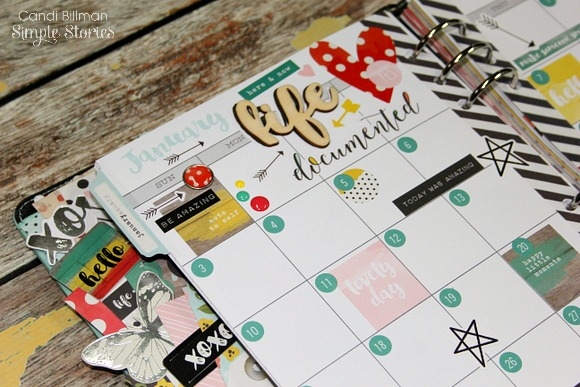
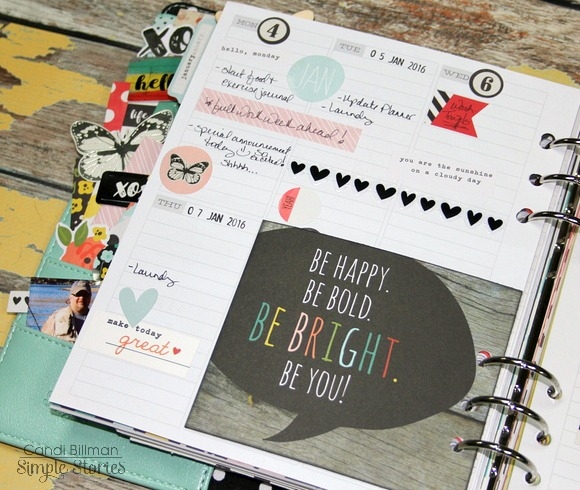
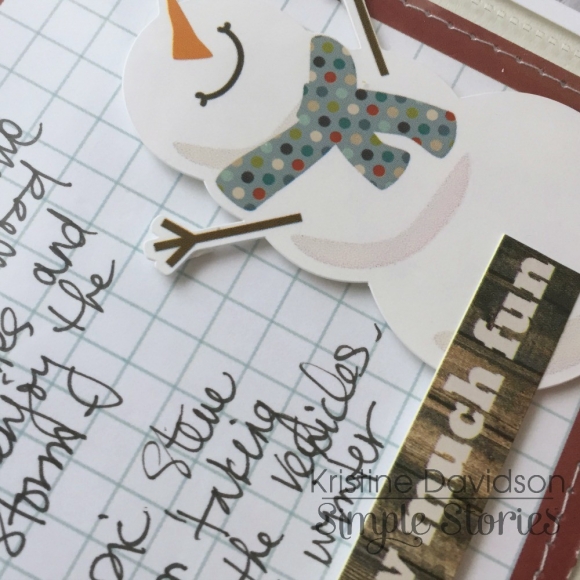
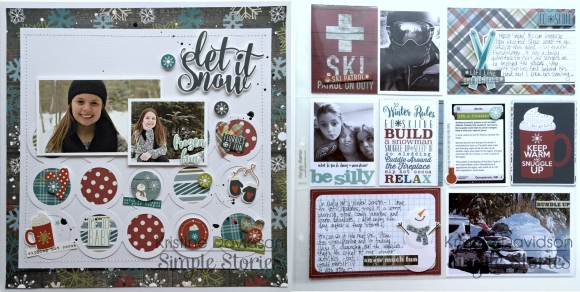
Hello! This is Amber, founder and creative director of Simple Stories, jumping in for day 5 of our Winter Release to introduce some very special new products that I can't wait to share with you. I'm thrilled to introduce 3 brand new Simple Sets - the smaller version of our regular collections. They may be small in size but have BIG meaning! We love providing products to help document and capture your life. But sometimes our life involves more than "Best Day Evers" and "Life is Beautiful" moments...sometimes life isn't quite so perfect. We have hardships and heartbreak... love and loss...real life trials and triumphs. And because life involves the ups AND downs, it's important that we document both the good times as well as the difficult times as well.
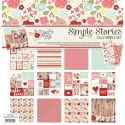
The Heart Simple Set was designed with my whole heart and is designed for those that have loved and lost. This past summer we had a heartbreak hit close to our home when our daughter's close friends and family were involved in a tragic boating accident. It was devastating for our friends, family and community. In an effort to help heal and share our love for the families involved we put together albums full of photos and handwritten thoughts from friends, family and the community. As I was putting together this album I had a difficult time finding things to include that that helped share the memory for our loved ones in a more sentimental way. That's where the idea for this special collection came from - wanting to provide our customers with a beautiful and meaningful way to remember their loved ones lost. This collection does it beautifully with a tender, soothing color palette and touching titles and quotes about always remembering those who are always in our heart.
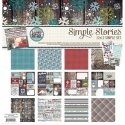
The next Simple Set is Hope -
This collection is dedicated to one of my dearest friends of 30 years, Heidi, and to everyone who has been affected by cancer. Last year Heidi was diagnosed with stage 3 breast cancer. Of course this news was devastating to her, her family, and everyone that knows her. She's the toughest, most dedicated person I know and immediatley set out to kick cancer's butt! After a year of surgeries and treatments Heidi is standing strong - she even dyed her hair pink to show her victory over cancer. Heidi's kick butt attitude is the inspiration for the new HOPE collection - all about fighting the fight and having hope for a better tomorrow. Heidi, you're my hero in so many ways!
The final new Simple Set is Hero -
And speaking of heros, our new HERO collection is dedicated to the many men and women who are serving our home and country, who selflessly put their lives on hold and make countless personal sacrifices to help ensure our freedom.
These 3 new Simple Sets are very near and dear to my heart. I sincerely hope you find as much comfort in working with them as I've had designing them.
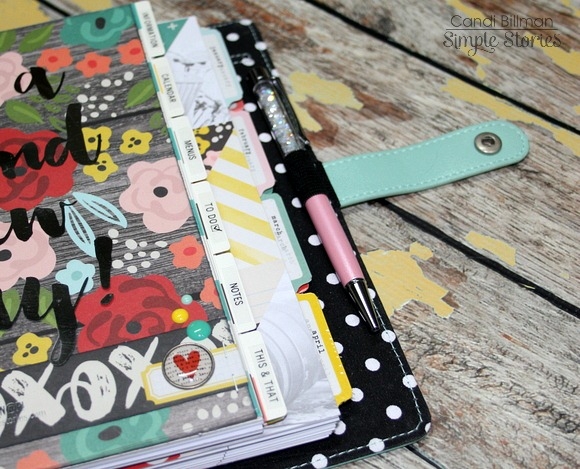
In addition to the Simple Sets, I'm very excited to share the newest addition to our SN@P Binder family - Designer Binders. These new 6x8 binders are laminated with metal corners and a decorative metal bookplate. In addition to being great for smaller scrapbooks, they do double duty as storage binders for your Carpe Diem planner inserts as well!
+
Wrapping up today's new products are the new SN@P! Basics - a beautiful blend of our most popular woodgrain papers along with white and cream office patterns -
The new Simple Sets, Designer Binders & SN@P! Basics begin shipping to retailers the end of this February.
Now for some fun! How about a chance to win a prize pack from these fun new products? You have 3 chances to win -
First, simply enter via the Rafflecopter widget below -
Second - PIN TO WIN! Just pin your favorite(s) of the images in this post, tag your pin with #simplestories, then leave us a comment on this blog post telling us that we've been pinned and include your Pinterest user name.
Third - follow us on Instagram at simplestories_ and watch for these posts for a 3rd chance to win!
I'll announce all of the winners throughout the week in one giant celebratory post here on Friday the 15th, so make sure to check back then to see if you're one of the lucky winners!
Good luck - we can't wait to hear what you think about these new products!
Thank you SO MUCH for joining us for our Winter Reveal Week! It's been so great hearing from everyone and seeing the excitement surrounding our new collections!
Hello Friends!
It's Kristine with you today and I am here to share a traditional 12x12/pocket page spread featuring the Snow Patrol Simple Set.
Here are a few details of my left page - I created a layout on one side, and the other side is filled with journaling, filler cards, and photos.
I created this layout with lots of stickers and layers. I love my pop dots and I find creating with them so easy to add dimension to my elements and also create a great visual effect.
Here are a few close up pictures and you'll be able to see what i did to create dimension with the sticker sheet that comes with the collection. I didn't use any extra diecuts or embellishments other than what was in the kit!
This next set of photos is the right side of my spread that features all the other Life Documented extras. I embellished my cards again with the sticker sheets from the kit and a few 3x4 and 4x6 cards cut up from one of the element papers.
So easy!
Here are a few more photos of the inserts;
Creating a pokcet page spread doesn't have to be complicated and you can really do what you like. If you want to do a full spread you can or add a layout and a half of a pocket page. This can also work to your advantage for a multi photo layouts as well!
I hope you enjoyed my post today and I hope you enjoy creating with your favorite Simple Stories Products!
Hi everyone! Allison here with a layout using the We Are…Family collection. I also have another sketch to share that mixes up the traditional scrapbooking style with the SN@P! Pocket Pages.
You can download the full sketch with measurements and placements here.
The left side of the sketch is designed in a traditional scrapbooking style while the right side uses photos and cards together with the SN@P! Pocket Page, Design 4.
Here is my layout based on the sketch:
For the first few years of our youngest son’s life, he was a hard core “daddy’s boy.” Mike couldn’t take two steps without Jackson being right by his side. We were talking the other day about how we wished we could calculate how many miles Mike has walked carrying Jackson. It’s got to be a lot!
On of my favorite things about the We Are…Family collection is the mix of the dark brown with brighter colors. The photos I wanted to use were kind of drab in the terms of color so I loved how this collection gave me the opportunity to brighten up my layout with some fun colors while still including some browns to tie it to the pictures.
I accented with vertical strips on the sketch with vertical rows of hearts with a stitched line down the middle.
I repeated the vertical rows of hearts in several areas of the left page and accented them with some teeny tiny hearts too.
I also added some embellishments and word stickers to the larger hearts in two of the rows.
For the title I used the large ampersand and added the “me” and “my dad” to it and then added some more of the teeny tiny hearts around it.
On the right page I used photos, a 3 x 4” card, four 2 x 2” elements, and a 2 x 12” element with the SN@P! Pocket Page, Design 4. I love the design of this Pocket Page because of the 2 x 12” pocket. There are so many fun ways to use that one!
I used a 2 x 12” element strip covered in a long row of hearts in the 2 x 12” pocket. I also added a stitched line over the top of the hearts.
In the top 6 x 4” pocket I cut a 6 x 4” piece of cardstock and adhered four 2 x 2” squares and two 2 x 2” photos to it. This was an easy way to include an extra picture and have some fun with more elements on the page!
I love the photo overlays in each collection. It’s such an easy way to add some interesting elements to a photo.
On the “good stuff” card I added a little bit of hand stitching around the heart. I love adding details to the cards with hand stitching!
I also added a little bit of stitching around the heart on the bottom of a photo and then accented it all with more hearts and an arrow sticker.
I hope you all enjoy using the new sketch!
Hello, again! This is Amber, founder and creative director of Simple Stories. I'm here for the last installment of my monthly Document IT blog feature for the year. Today is New Year's Eve - the last day of 2015. Do you believe it; where does the time go?! Not sure about you, but this year has literally flown by for me!
Monday begins the reveal of our Winter release - 4 main new collections along with 3 new Simple Sets and a few other goodies as well! Because we've been so busy this month with the release & getting ready for the CHA tradeshow next week, my post this month is short & sweet :)
We've created some pretty awesome free printables for you this month, focusing on the start of the new year!
You'll find 3x4 cards along with dashboards, a 2016 calendar glance and week on 2 page vertical inserts for your Carpe Diem A5 planner!
Click here to download December's Free Life Documented Printables.
TIP: The December free printables are on a single PDF document with 6 pages - print off what you want and the quantity you need. We've added cut marks to each printable, so you can easily trim the images/inserts to size. If you missed any of the free printables this year, you can find them here on the Project Downloads page!
Thank you from the bottom of my heart for your support this past year, we owe all of our success to you! Wishing you a very happy & safe New Year!
Hello, Simple Stories friends and Happy New Year's Wishes to you! As a gift to myself, I prepped my Carpe Diem Planner so that I can greet the New Year prepared!
I will be honest and say that I was torn between choosing the Aqua Planner and the Coral Planner. As you can see, I chose Coral, but after a little thought, I was able to add a pop of the aqua color too!
I added a trio of large, aqua eyelets to the leather closure strap of the planner. To do so, I used a crop-a-dile punch, but a leather punch can be used as well.
I also wanted to change the length of one of the ball chains for the charm, so a pair of wire snips were used to cut a piece from the strand. The heart charm was embellished with a few light-colored coral enamel dots.
To keep all of my extra goodies and planner pages in one spot, I chose to use the handy clear box for the Daily Planner Insert pages. It has a handle on the top so I was able to clip on the packages of Stickers and Clips by attaching them with a ring.
I had an extra charm leftover, so I added it to the inside pocket area of the binder!
I kept the inside pretty simple and basic. I organized the front section with stickered tabs from the Basic Divider Pack.
I dressed up one of the Pocket Pages with Bits & Pieces so that it can hold bills and coupon booklets.
For the monthly divider pages, I added some of my own hand-drawn sentiments to the all ready adorable designs provided. Here is a look at some of the other decorated dividers:
Before each month's divider page, I added a Dashboard Insert just to give it more interest! They were embellished with enamel dots, washi tapes, stickers and die-cuts for even more fun.
Dates, birthdays and events were added to the calendar area...I'm all set to go as I begin 2016 with new assignments, dates to remember and places to go! I can't wait to plan it all with my beautiful Carpe Diem Planner from Simple Stories!
Holiday time is crazy busy...running here/there/everywhere, baking, shopping, wrapping...it can get out of hand pretty quickly. I am always a fan of a more simple look, but at this time of year I find myself buying into the 'less can be more' theory even more so than normal. For our family, it is a time to focus on a specific event or memory we want to remember...like the afternoon that our daughter sang at the Cleveland Botanical Gardens with her Madrigal Choir. They give me goosebumps when they all work together, and seeing them in their costumes in front of a room full of people wandering through the facility that afternoon was surreal.
One photo + one piece of patterned paper paired with lots of fun embellishments from the Claus & Co. collection. The photo captured the moment just as I remember it, and the words fill in the rest of the story.
I clustered stickers, die cuts, a chipboard frame piece and other embellishments around the top and bottom of the photo. I wanted to draw attention to the photo, without overwhelming it with too many patterned papers, etc...super simple, but just the right amount of cheer. :)
Wishing you and your families happy holidays and a safe New Year!
Hi Everyone! Marie here today to share my continued progress on the holiday planner I am making with the Claus & Co. collection. I am making this planner as a place I can refer back to year after year, full of gift lists, planning calendars, addresses, and so on. Now that I have a lot of the basics set up, I am going back in and adding some extra decorative touches.
First up is my cover page. I used a 2x2 Pocket Page and filled it will all sorts of little decorations, such as the wood veneers that are part of Claus & Co. They are a perfect way to add a little dimension and fun to your album.
I sealed up the open pockets with a fuse tool to keep everything contained. I also added some clear photo stickers to add to the see-through look of the pocket pages.
Next I wanted to add some pages to my planner that reminded me of places we can visit during the holidays. I try to mix things up and do some different activities every year. I first added a page of some of the fun things to do downtown. We have one shopping center that makes it snow inside every night in December, and we even caught Santa taking it all in.
Once again, I used a smaller Pocket Page insert to add in some more wood veneers and sequins for a fun little divider.
And finally I included a page about store displays. One of my favorite things to do this time of year is to stroll through downtown checking out all of the store windows. Once again I add in some extra pockets of veneers and sequins for a festive touch.
If you are making a planner this year, I highly recommend that you don't make it all business. Half the fun is adding some decorative touches throughout. Thanks so much for letting me share my holiday planner with you today!
Hi everyone, it's Audrey. And today I have a couple of last minute holiday card ideas to share with you, featuring our adorable Claus & Co. collection.
I love how festive and happy this first card is. I think the images really pop with all the bright red, and the bit of extra shine and sparkle from the foil accents is always such a welcome addition at holiday time. Best thing is, this card is super quick and easy to make, even at the last minute like now.
What makes this card so easy is that all the accent pieces, from the holly and bell to the stars and the sentiment, are all pre-made die cuts from the Bits & Pieces embellishment pack. I simply popped them onto my card base using glue dots, with a bit of foam adhesive behind my main image, and boom.... done.
The card base itself was just as easy. I used a couple of the 4x4 SN@P journaling cards for the top, and layered them onto two solids from the Simple Basics Kit. Really doesn't get any easier than that.
My second card may look a bit more detailed, but it, too, was quite quick and easy to make, thanks to more adorable die cuts and chipboard shapes.
The background is all pieced from papers from the Simple Basics Kit. I mixed the stripes and dots with the more solid patterns for detail, and topped them all with a fun Polaroid-style chipboard frame. Then I built my little snowman scene in and around the frame.
I added a bit of extra detail to this card with some machine stitching. Always love that special handmade touch it adds to my cards. And lastly, I finished off with a small twine bow in the upper corner. Thanks so much for stopping by! Happy Holidays everyone!
Merry Christmas everyone! Wendy here today to share a few layouts I created with the Claus & Co collection. I was so inspired by this collection that I have finally (just about) caught up on the Christmas layouts that I had avoided making, LOL!