Chantalle McDaniel's Blog Posts

Hello Simple Stories friends and welcome back to the blog today. Chantalle with you and I am excited to share two pages where I have made stickers a main focus for my background. The 4x6 sticker packs are definitely a favourite of mine, as each comes with a wonderful variety of alphabets, phrases, shapes and more! Indulge and use up a whole sheet on your next project, I dare you!
 
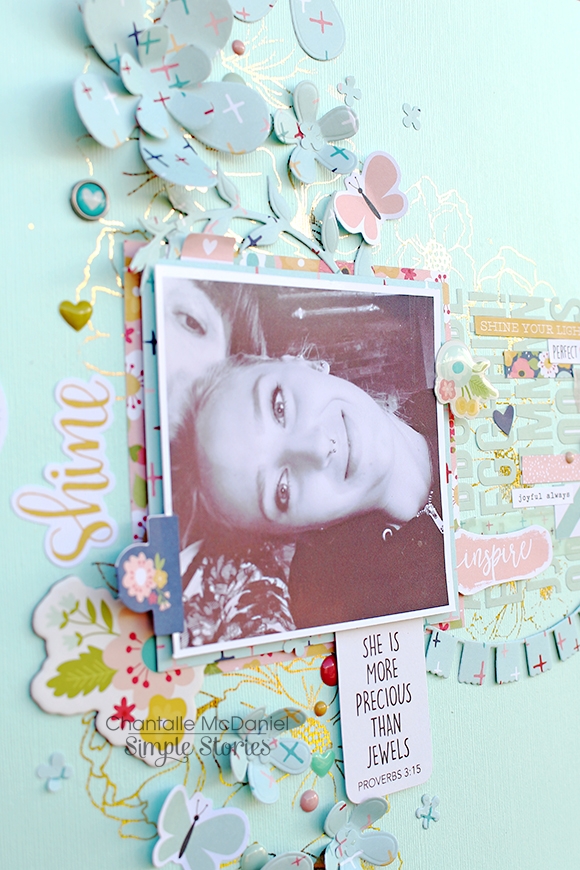
More Precious Than Jewels
 
This page, featuring my beautiful niece, was inspired by the cross pattern on a sheet of Faith ‘Believe’. I absolutely love all the prints in this line but I felt this one had a positive (excuse the pun!) and youthful feel. 
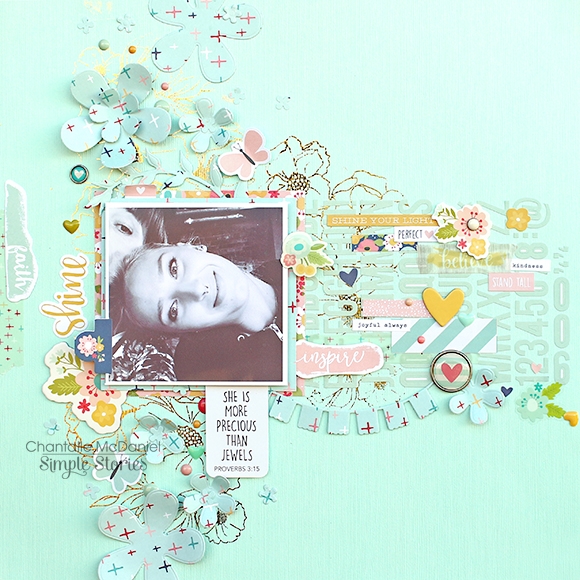
 
 
You’ll notice I have used a lot of tone on tone here. I like to do this when I want to add depth but keep focus. I started with a hint of floral foil and then layered a sheet of alphabet stickers over the top. This formed my base, over which I could add my elements.
 
 
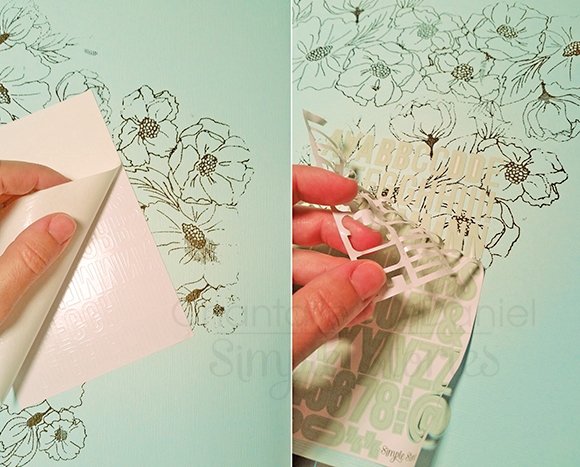
In order to keep your sticker sheet intact, peel the backing paper off very slowly. Note: You may need to use one hand to steady the upward pull as you peel the paper back. Then, lay the stickers down on your project and again, carefully peel the rest of the paper surrounding the letters, off.
 
 
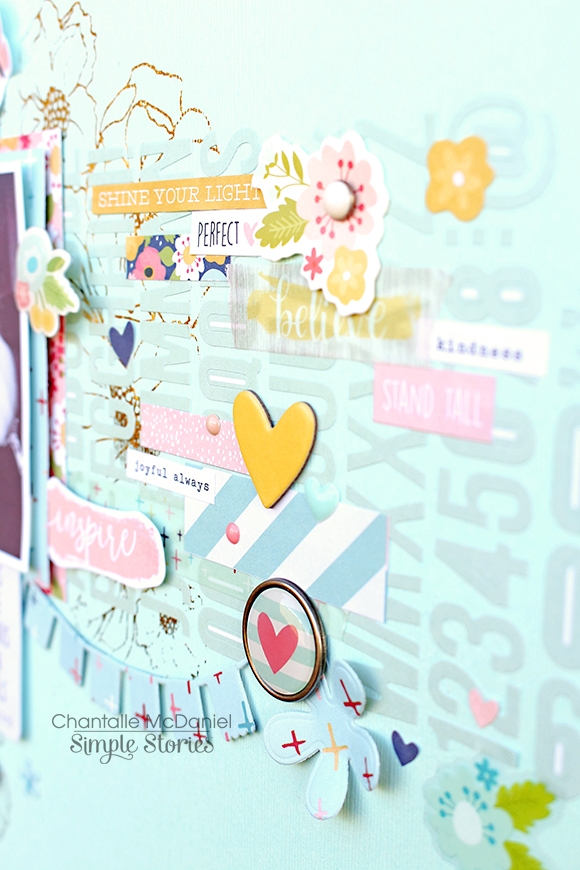
I’ve chosen to work in a sort of T-shape and being black and white, I think the photo stands out quite well against the more subtle colours. As I mentioned above, I’ve used lots of elements in a similar tone to bring the page to life. Lots of stickers - both cardstock and chipboard. The die cut shape provides the title and the stickers bring up the rear with little positive notes! 
 
 
I’ve die cut a few floral shapes using the awesome ‘believe’ paper again and brought out some of the pink tones with a hint of ‘Charity'. (The delicate florals of this paper also help to tie in the floral theme together.)
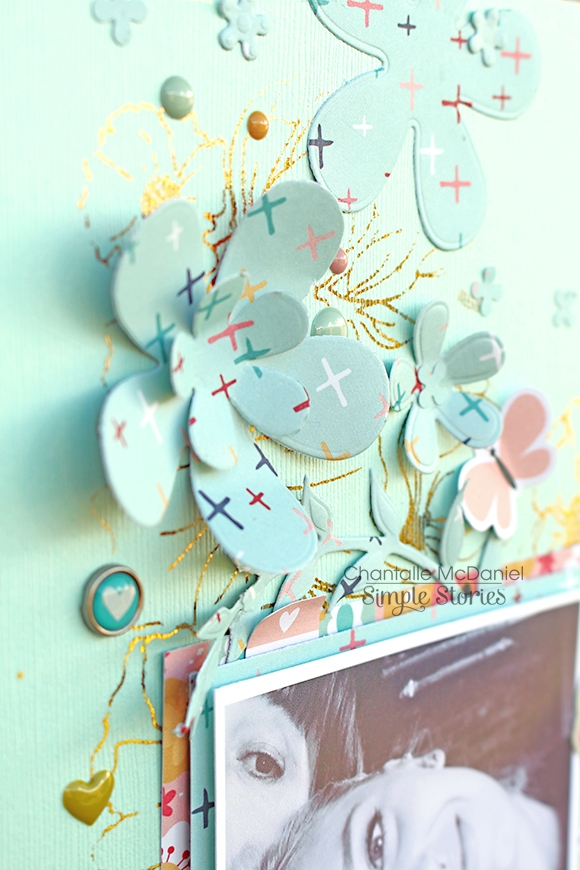
 
 
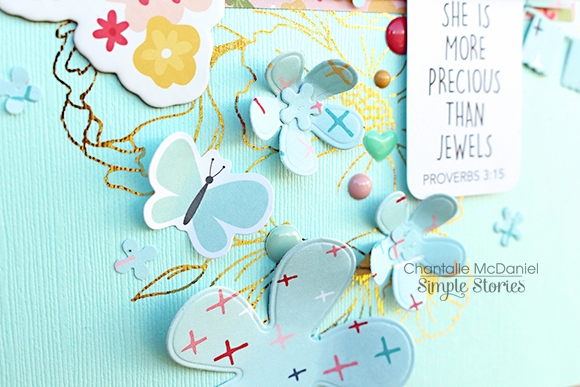
As always, I like to make use of little details to finish my projects off. Enamel dots are also a go-to for me. How adorable do these Reset Girl heart enamel shapes look! 
 
 
_________________________________
 
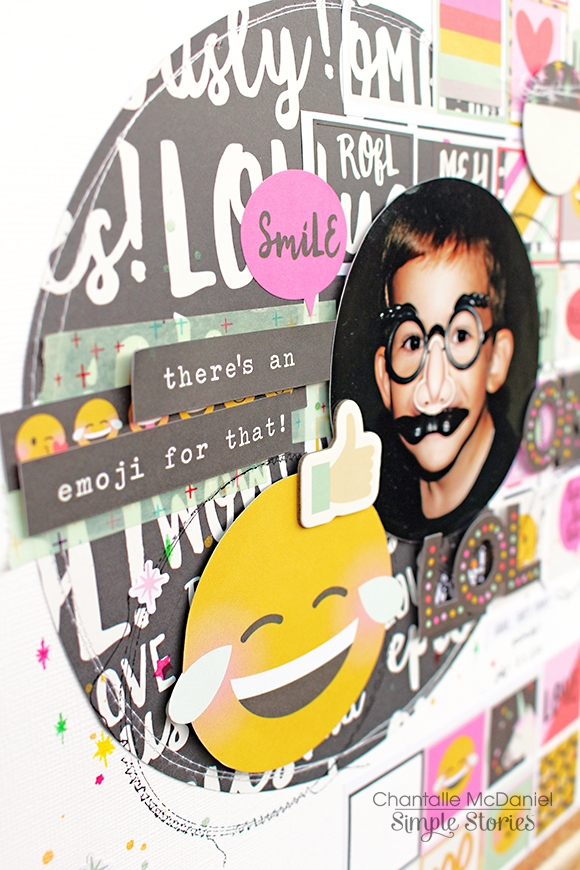
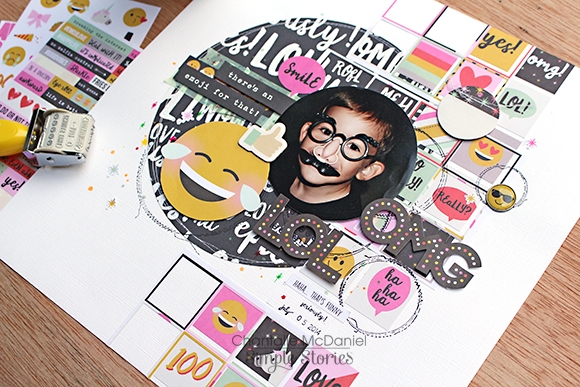
My next page, There’s an Emoji for That,  also uses a whole bunch of stickers to build up the background.  
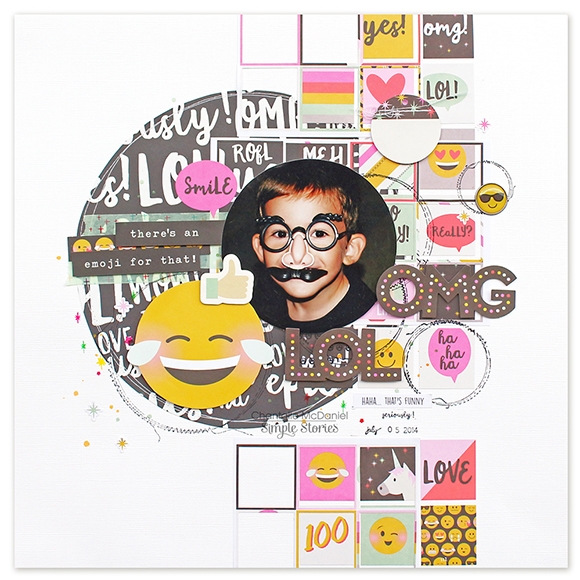
 
 
I can’t help but be drawn to the sweet circular faces in this Emoji Love collection. The circular shape calls me! haha. 
 
I first thought to use a square photo but it just didn’t look right. I trimmed the photo into a circle instead and it instantly looked better!  I loved the bold black and white script of ‘Be a Unicorn’ but it would’ve overpowered the page, so I’ve cut a large circle as a base shape and placed it on some white cardstock and then, laid my stickers over the top. You’ll notice the design of this page is similar to the one above, but this time it draws the eye predominantly down the page, instead of across. 
 
 
These rectangular sticker shapes from a pack of Emoji Love 4x6 Stickers are fabulous for use in Carpe Diem planners as well as any other paper projects! I love folding them over the top of pages or using them in a title. Here, I have used two sheets of these stickers (removing one or two that I didn’t think added anything to the page) which left behind a few gaps, but I quite like the effect!
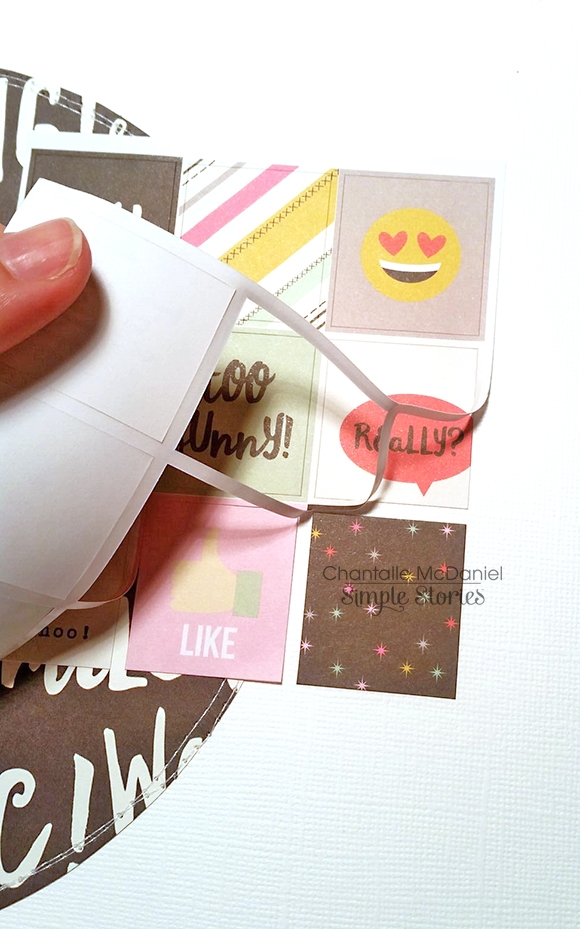
 
 
To give them a bit of a less ‘structured’ feeling, I have also used the excess bit of the sticker paper and used it as an overlay.
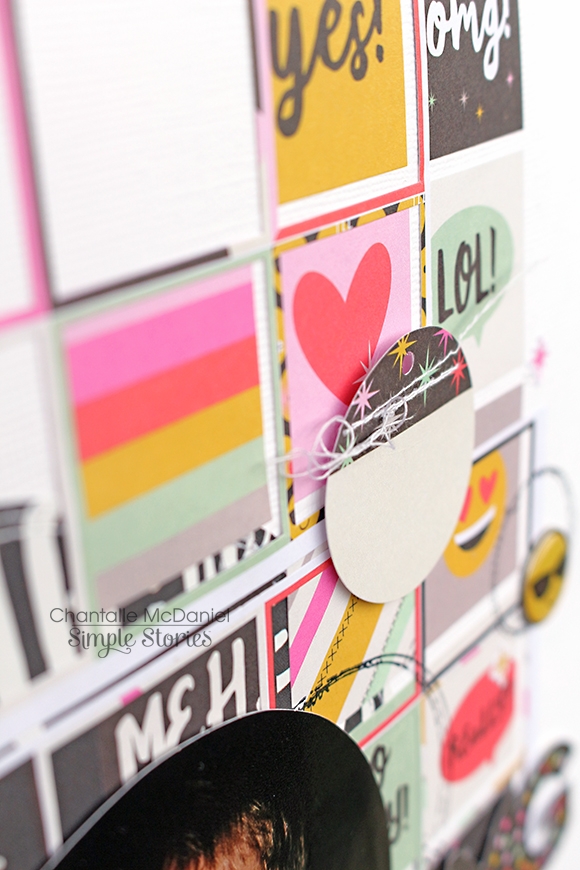
 
 
The title phrase was snipped from a sheet of Emoji Love 4x4 Elements.  Journalling cards are such a great resource - they can give you extra wording, phrases and shapes to hand cut. Plus, you get a few on a single sheet of paper - great value!  Other elements on this page include die cuts from the Bits & Pieces pack, decorative brads, some roller stamping and a few little hand-drawn elements using some coloured pens.
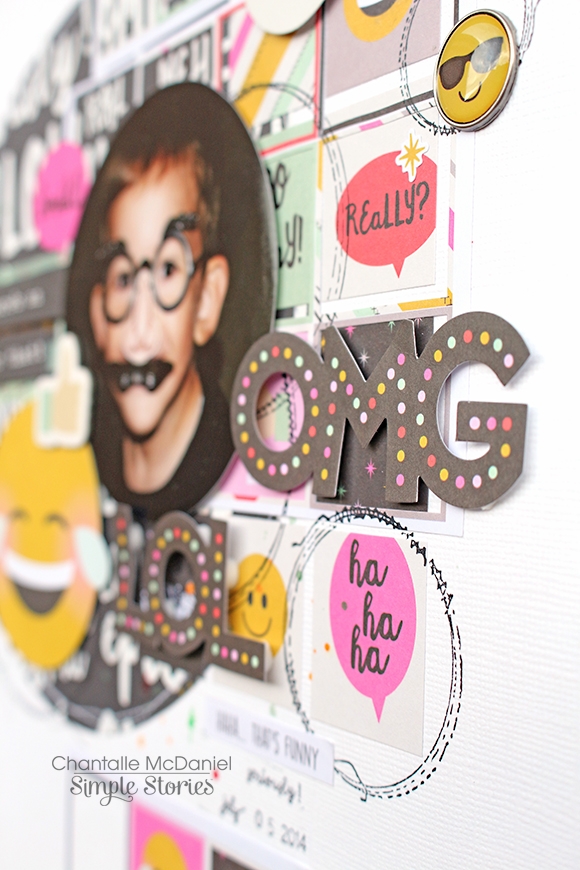
 
 
OMG - such fun! ;)


Thank you so much for stopping by today!  'Til next time!
 

SaveSave

SaveSave

SaveSave

Supplies

Hello everyone! Chantalle with you today to share some pages which both capture lots of action!   I’m absolutely smitten with the new releases - Domestic Bliss and Say Cheese III. They are both so full of fun. Even though we live far away from anything Disney, Say Cheese III was perfect for documenting a wonderful day out!
 
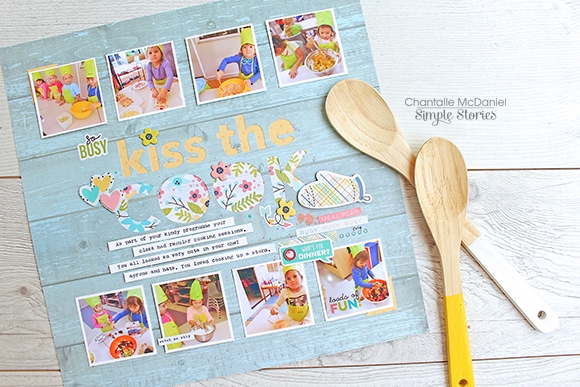
Kiss the Cook
 
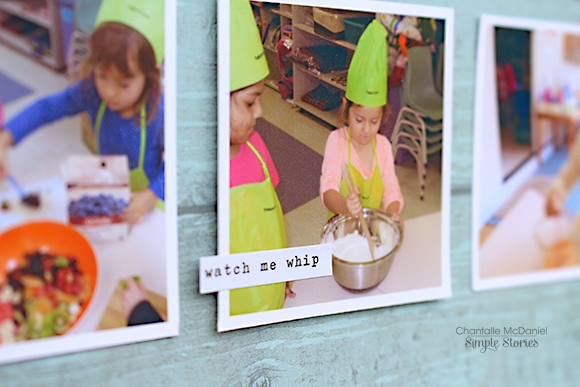
I just love looking back on old photos. My DD and I were revisiting her kindergarten folder the other day - how adorable does she look in her special chef outfit?! The school had a special cookery programme where they would cook with one of the mums or a teacher. I once had the privilege of creating pizza lollipops with her little friends which was so special! Of course, as soon as I saw these photos I knew they would be a perfect match with Domestic Bliss!
 
 
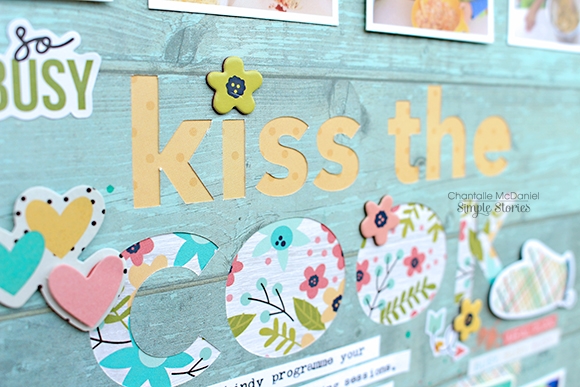
I knew I wanted to use a lot of photos on this layout. Those busy little hands cooked up a storm over the year! I liked the idea of running the photos in two lines with the title in the middle. I worked up a kind of sketch in Silhouette Studio which gave me an idea of not only how big I could print the photos but also how big I could make the title in the centre. I’ve backed the cut area with some lovely yellow ‘Domestic Diva’ and ever-so-pretty floral touches of ‘Work it Girl’. Adding a teensy Chipboard Sticker as the dot in the ‘i’ adds a cute bit of consistency.
 
 
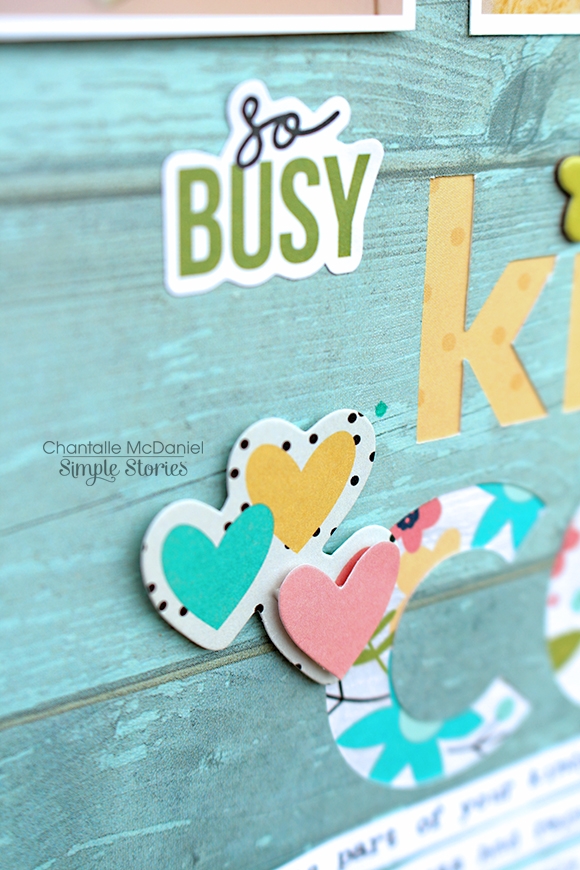
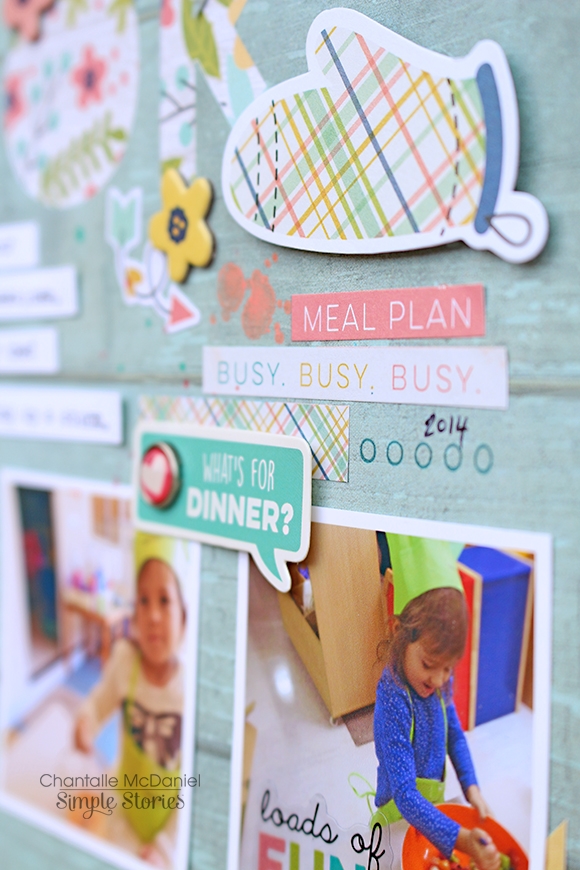
Here you can see how I have added a bit of dimension to a die cut shape from the Bits & Pieces pack by mirroring the pink heart shape. The smaller heart-shaped die cut has been raised on foam tape so it lifts the title and also ties in with the height from the oven glove die cut, on the opposite side of the word ‘cook’.
 
 
I just LOVE how well this little phrase sticker from the Domestic Bliss 4x6 sticker sheet works with this image! (Does anyone else have that song in their head now?? haha)
 
 
There is a lot going on in the embellishment department on this project too! I’ve added some stickers, some Roller Stamping and a few little splatters (batter can escape the bowl, right?) I really also love the new Brad sheets. Incorporating cardstock shapes, phrases and brads in one product, makes for lots of versatility!
 
 
Another way to add a bit more info to a page is with a Clear Sticker. I find them useful for adding a little extra chit chat, which doesn’t impact on the rest of the elements as they’re within the shape of the photo, plus they can be a great way of masking areas with less information in a photograph.
 
_______________________________________
 
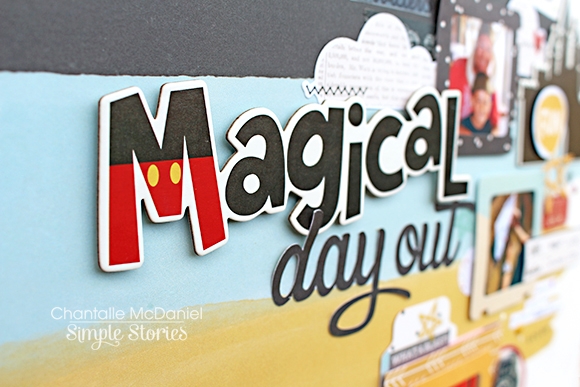
Magical Day Out
 
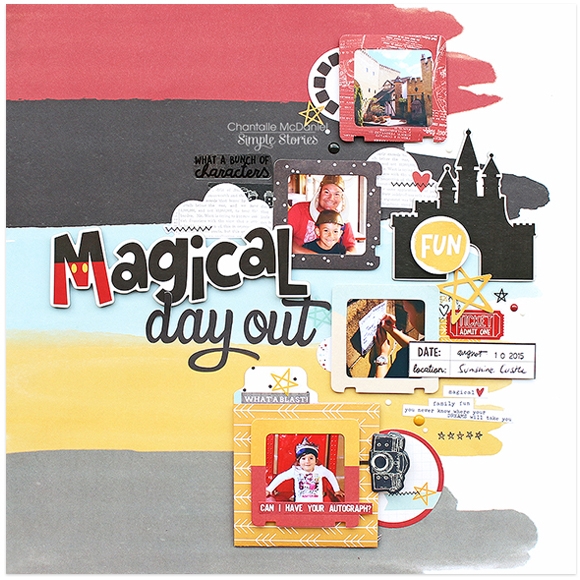
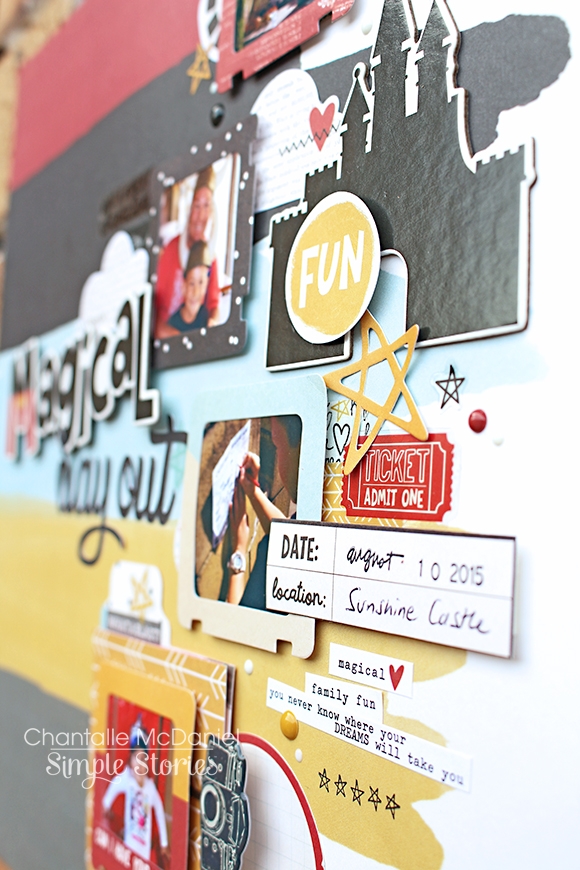
I remember how amazed I was, to learn of a castle, right here on our doorstep! Who would’ve thought that in the middle of the tropics was a medieval magical land just waiting to be explored! The Sunshine Castle proved to be brilliant day out. We all loved it so much, we would love to visit again.
 
 
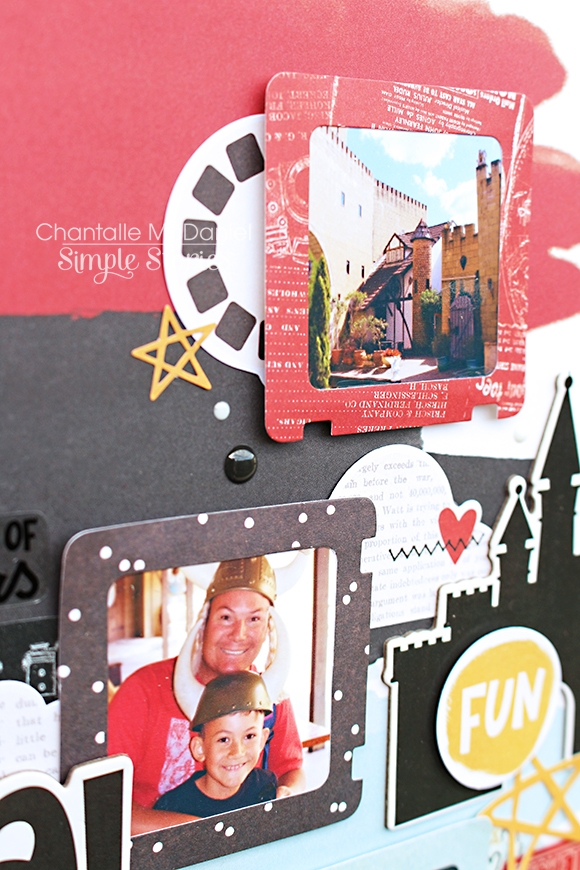
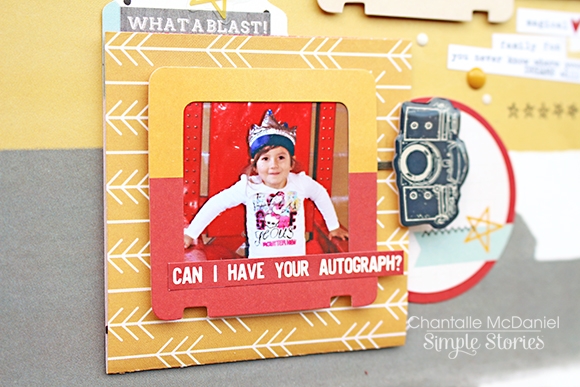
I had lots of photos that I wanted to include in this page - there was so much to see and do! I’ve framed a few of the highlights using die cuts shapes from the Say Cheese III Bits & Pieces pack.
 
 
I’ve paired the large ‘magical’ chipboard sticker with a script font which I have cut using my Silhouette.
 
 
The chipboard castle sticker had a little flag on the top, making it iconic. I have snipped that flag off which makes the castle a bit more generic and suits my subject matter perfectly. I love the outlined stars and was excited to see them appear in Say Cheese III. I’ve repeated the shape in the form of Washi Tape, the Roller Stamp, clear stickers and ephemera. Something you will almost always see on one of my pages is a little bit of ‘chit chat’ as I like to call it. Phrase stickers are so handy and add just a little bit of extra personality to my projects.
 
 
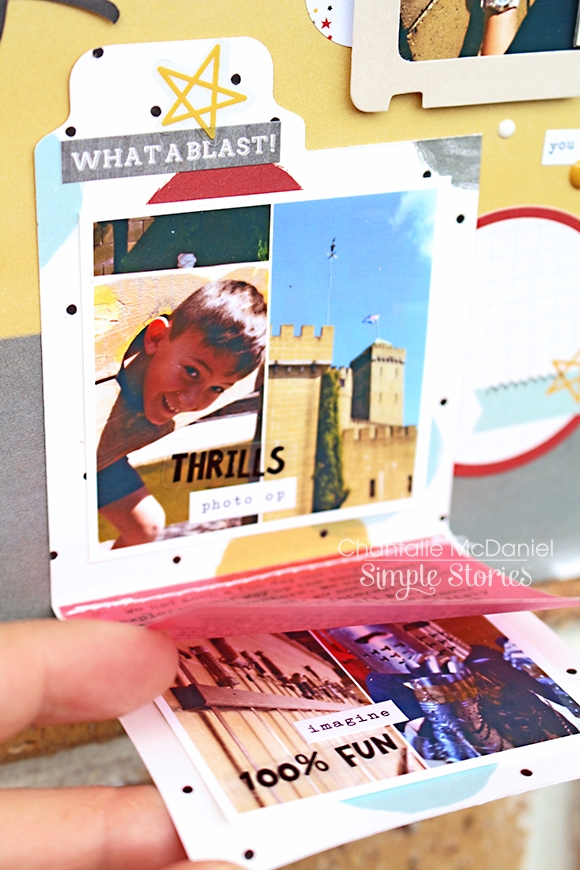
Beneath this throne, you will find...
 
 
...Some more photos and journalling!
 
A great way to add more memories without overcrowding your design is to hide them. In this case, I have used a punch board to create a mini file folder which opens to reveal our thoughts on our adventurous day out and a few more images.
 
 
I’ve used a typewriter to journal onto some coloured vellum, which I have machine stitched inside the folder. Using a word processing programme or a photography app is a great way to squeeze multiple photos inside one shape.
 
 
Thanks so much for joining me today, wishing you lots of happy crafting!


Supplies

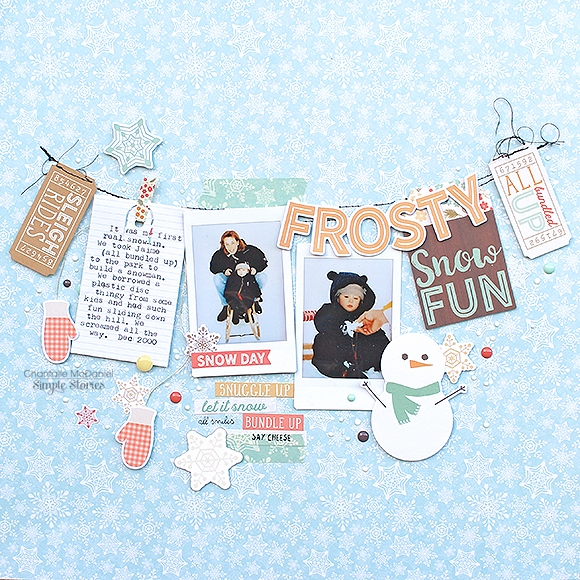
Hello Simple Stories fans! Chantalle back with you today to share some pages I have created with the beautiful Winter Wonderland. What I love the most about this collection are the soft tones and the combination of elements which can be used for both frosty memories as well as the every day! I have captured my Sister and sweet little Niece on a snow outing as well as my Nephew and his beloved dog, Mason, just hanging out.
 
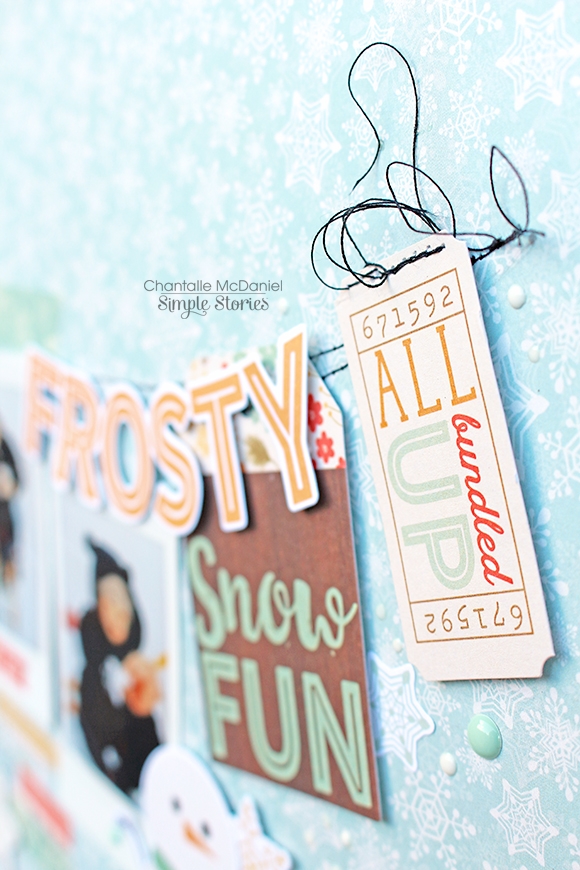
Frosty Snow Fun
 
I remember this day so clearly. Seeing snow was a huge novelty for me. Visiting my Sister overseas from South Africa I looked so forward to seeing everything in white and listening to the dampened sounds outdoors. We all rugged up and headed to the park where we rode down the hills on our little sled. We borrowed a large plastic disk-type thing from some children. I remember screaming with laughter as my Sister and I flew down the hill. The disk went so fast! A day worth capturing for sure!
 
 
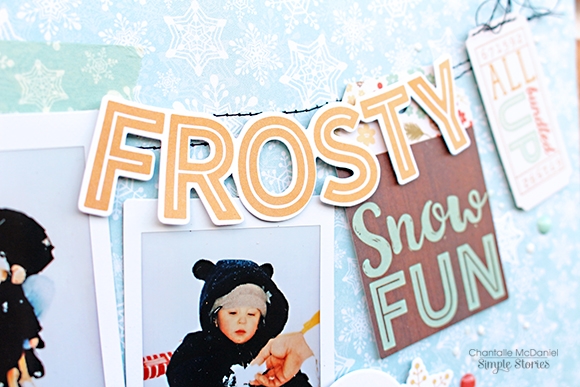
The banner style was kicked off by this little word ‘Frosty’ from the Bits & Pieces pack. I also found some sweet little tickets which were perfect for the story I wanted to tell. 
 
 
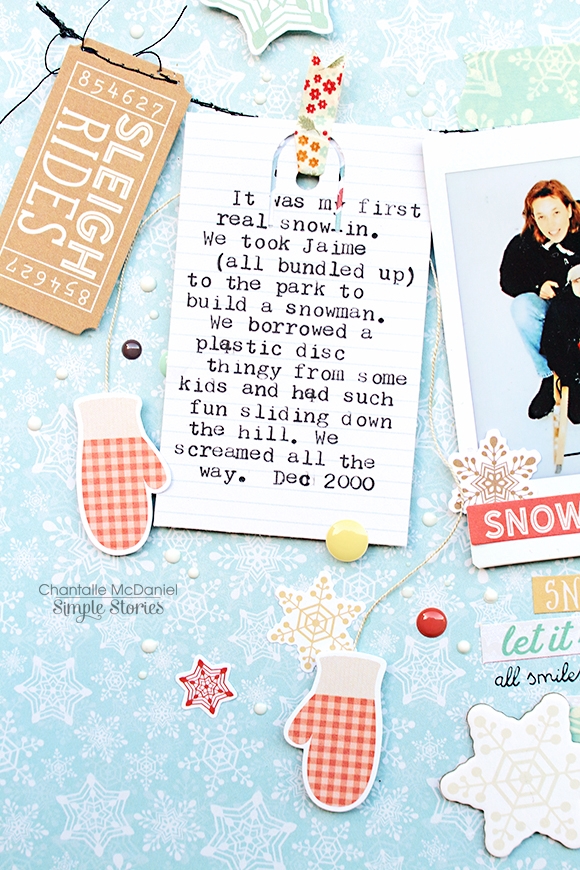
The vertical lines were reinforced with the orientation of the Intax prints and so I chose to pop my journaling onto a tag shape, which I created with a punch. Now you’ll notice that my tag is not exactly perfect! I will admit, that after two spelling errors I didn’t fancy typing it all up a third time after punching through the text accidentally! Oh dear, lol. The perfectionist in me is screaming at it not being exactly correct, but you know what, I am learning to embrace the imperfect. I can read it and that is what counts. Don’t be afraid of small imperfections! 
 
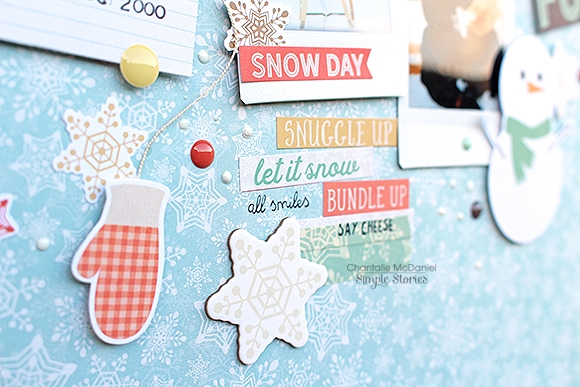
A bit of washi tape fed through the punched hole gives this tag a nice bright pop to finish it off. I’ve also joined the two adorable mittens (Bits & Pieces pack) together with some embroidery floss. Draping them behind the tag makes them appear as if they are hanging on the ‘line.
 
 
I would usually use white thread for machine stitching, but chose to use black this time. I really like the way it compliments the darker shades in the photos as well as the typed text.
 
 
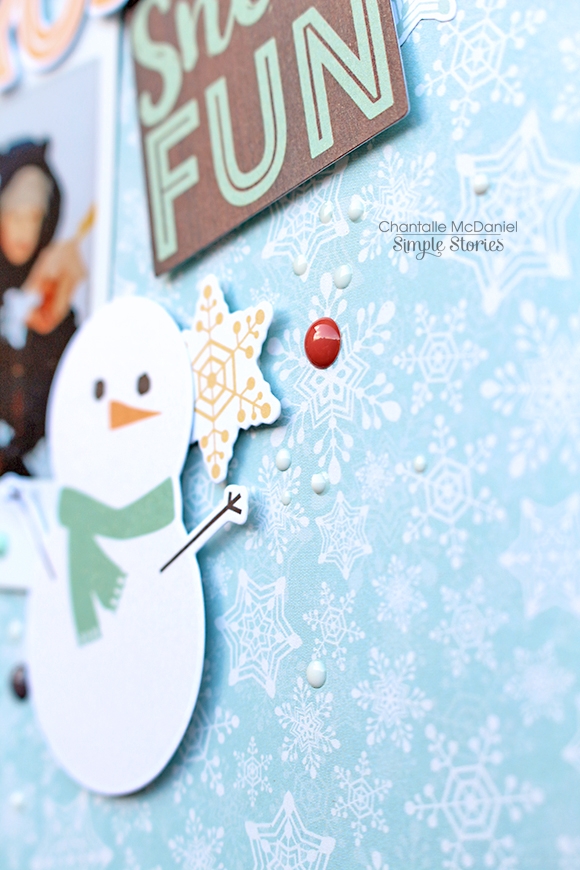
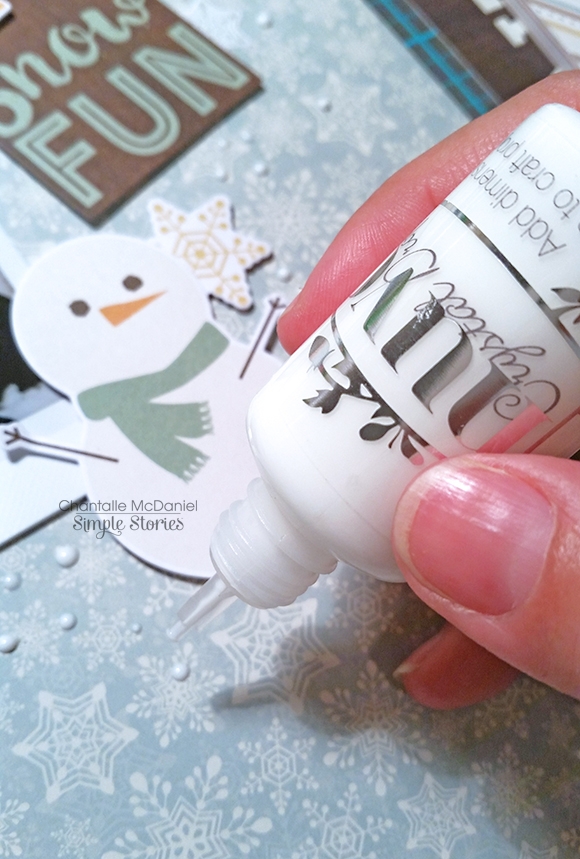
To give the appearance of a snow flurry, I have added lots of very small little glossy accents. 
 
 
These were created with some white dimensional medium. I love the glossy finish, just like a real enamel dot!
 
 
A good idea to add interest without too much clutter is adding sections of a matching washi tape. Here you can see how I have added some of the same print as the paper. One can see it’s a different element but it doesn’t distract as much as a totally different pattern.   As ever, I love using a bit of chit chat on my pages. Some Combo Cardstock Stickers and a little bit of Roller Stamping add just enough. 
 
 
_____________________________
 
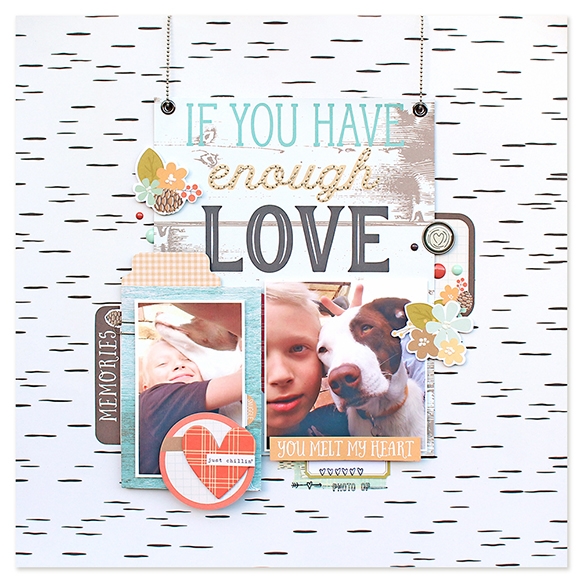
This page uses the same collection but has a totally different feel. I’ve embraced the natural elements like flowers and woodgrain to tell this story about one crazy dog who is loved beyond measure. 
 
 
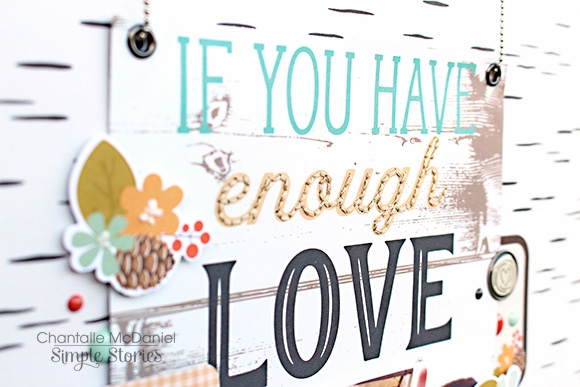
The title was cut from a large 6x12 Element from the 2x12, 4x12 & 6x12 Paper Elements. It spoke of winter but I cut that section off and used the lower half to create a banner style heading which I have ‘hung’ using some ball chain.


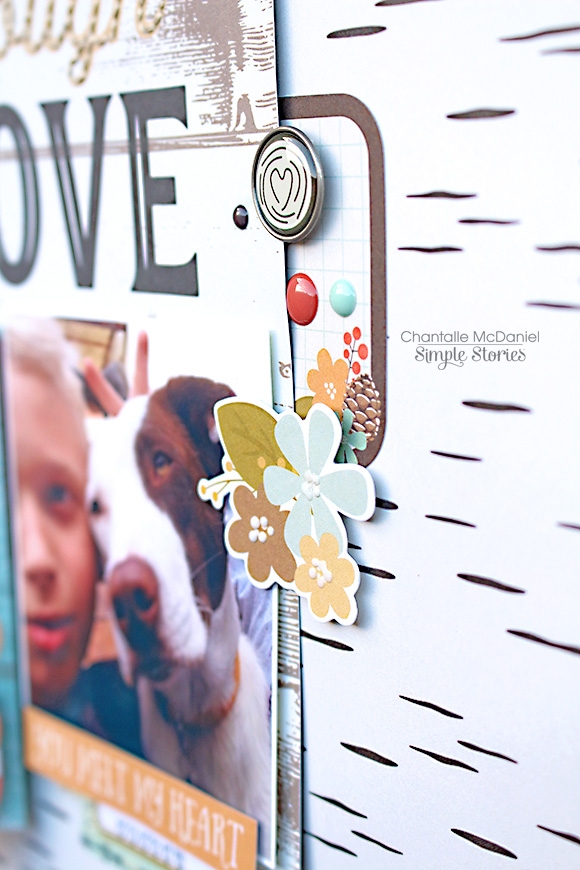
I did’t want to overcrowd this page as I wanted to keep it more masculine and let the photos do most of the talking. I’ve added subtle detail to my flowers with some more of that white dimensional medium.
 
 
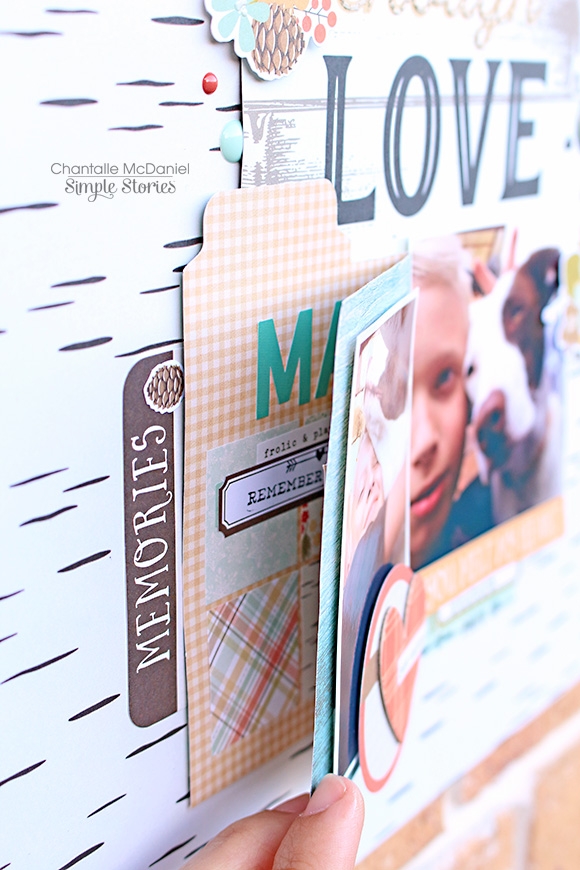
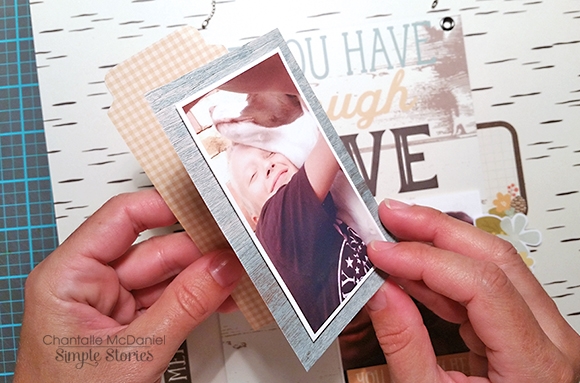
I’ve chosen to keep my journalling hidden inside a little mini folder which I created with a new Punch Board.
 
 
With my photo mounted nicely on the outside, I turned my attention to the inside.
 
 
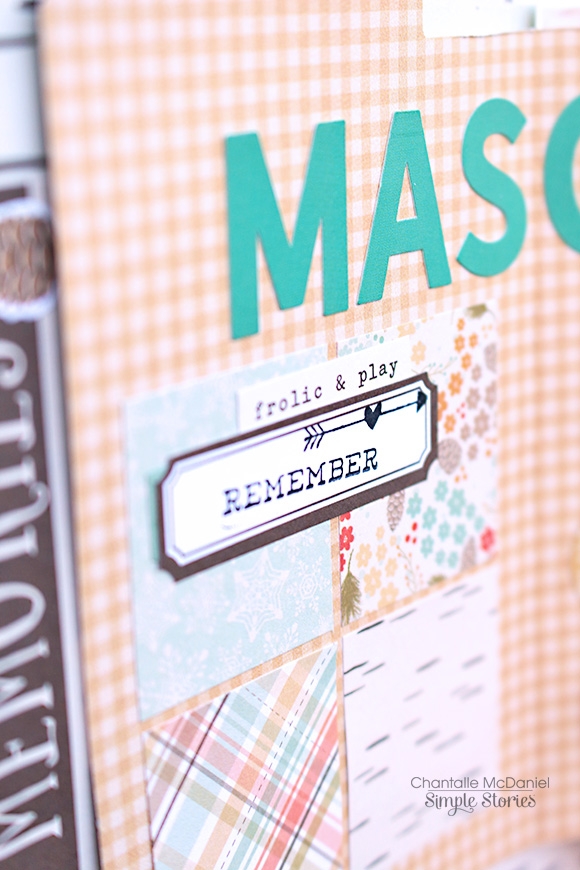
I’ve used the teal cardstock stickers from the Combo Cardstock Sticker sheet to spell out the name of the dog and some stickers from the 4x6 Sticker pack to embellish the inside left. This sticker pack is so so handy - it’s got die cut shapes, alphabet stickers, sentiments, squares for use in your Carpe Diem planner, and more! The stamping was created with the new Faith & Emoji Love Roller Stamps.
 
 
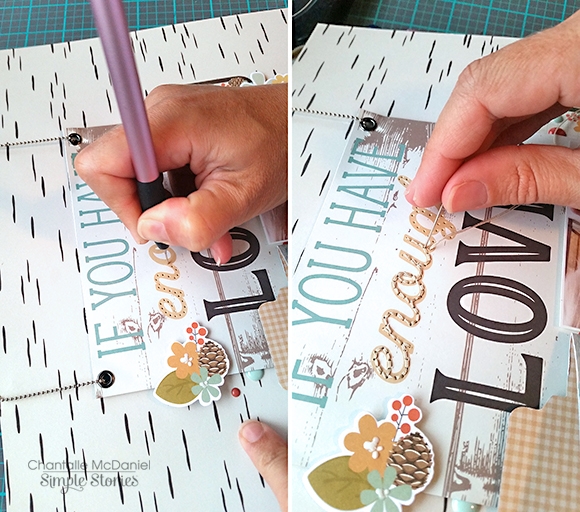
I felt my title lacked interest so I used a paper piercer to pop some stitching guides in to the word ‘enough’. I then used some matching embroidery thread to create a stitched version of the word.
 
 
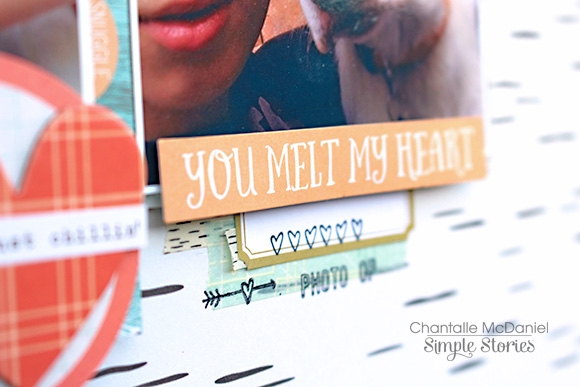
The little details add a touch more colour and a bit more chatter.
 
 
Thanks so much for joining me today!

Supplies

Pages