Chantalle McDaniel's Blog Posts

Hi everyone and welcome back to the blog today! I can’t quite believe that my kiddos are finishing up their school year this week! It’s been a busy one and we are all looking forward to getting down to the serious business of having lots of holiday fun!
 
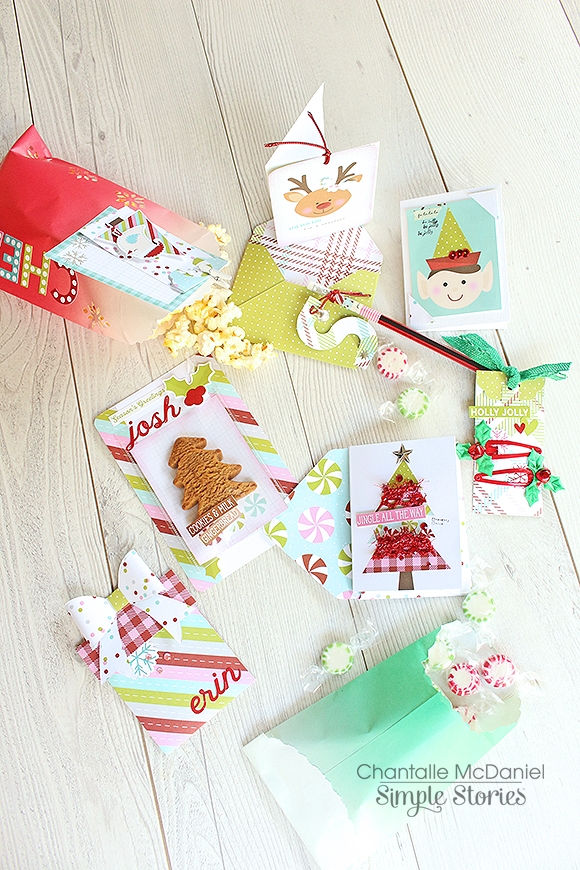
It’s a bit of a tradition in our kindergartens and schools to give a little end of year gift to one’s classmates. I’ve got a few examples for you if you are stuck for ideas! Let’s take a look what you can create with just one Mistletoe Kisses Collection Kit (with plenty of leftovers!)
 
 
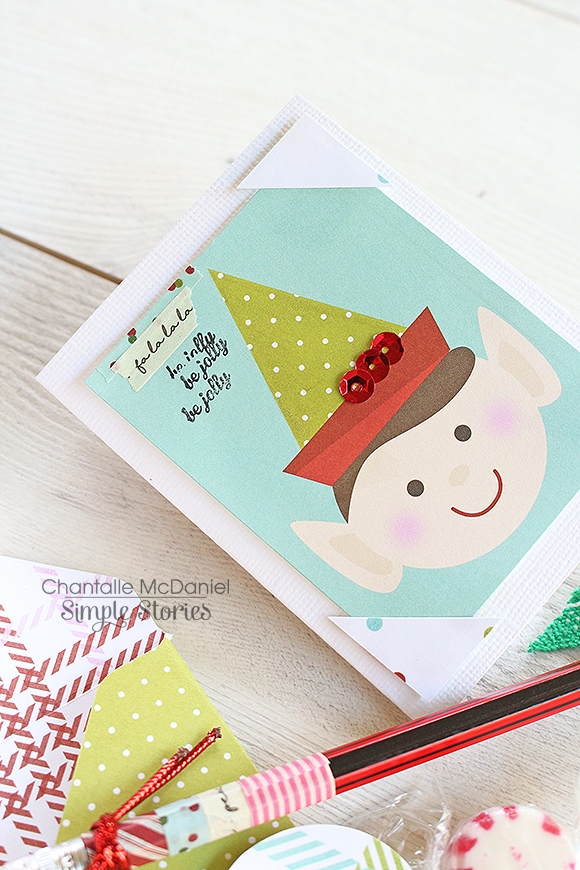
Let’s start off with these cute little 3x4 cards. I’ve used some plain white cardstock and then mounted some 3x4 journalling cards over the top.
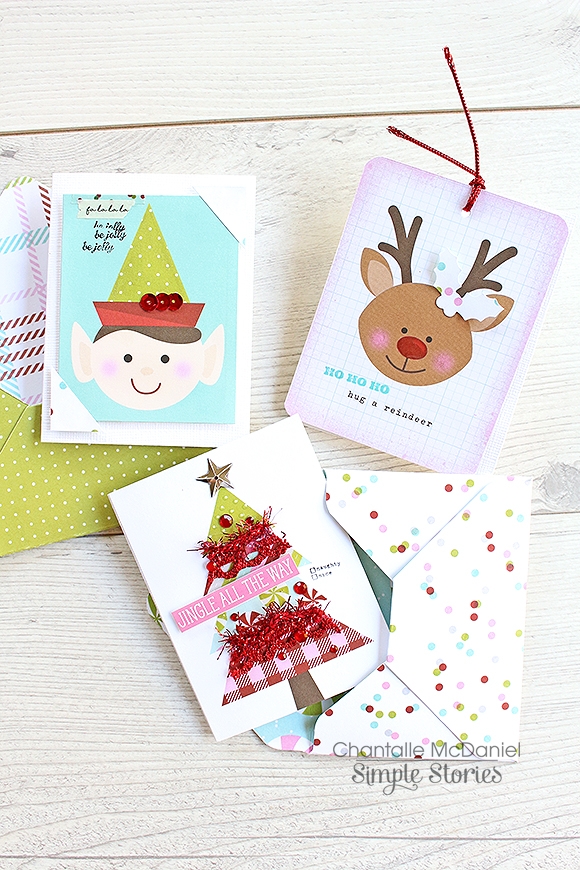
 
 
One sheet of Mistletoe Kisses 3x4 Journalling cards will give you 12 options for card messages. (I like to use a craft knife and ruler to trim up these types of sheets as I find it a lot more accurate.)
 
 
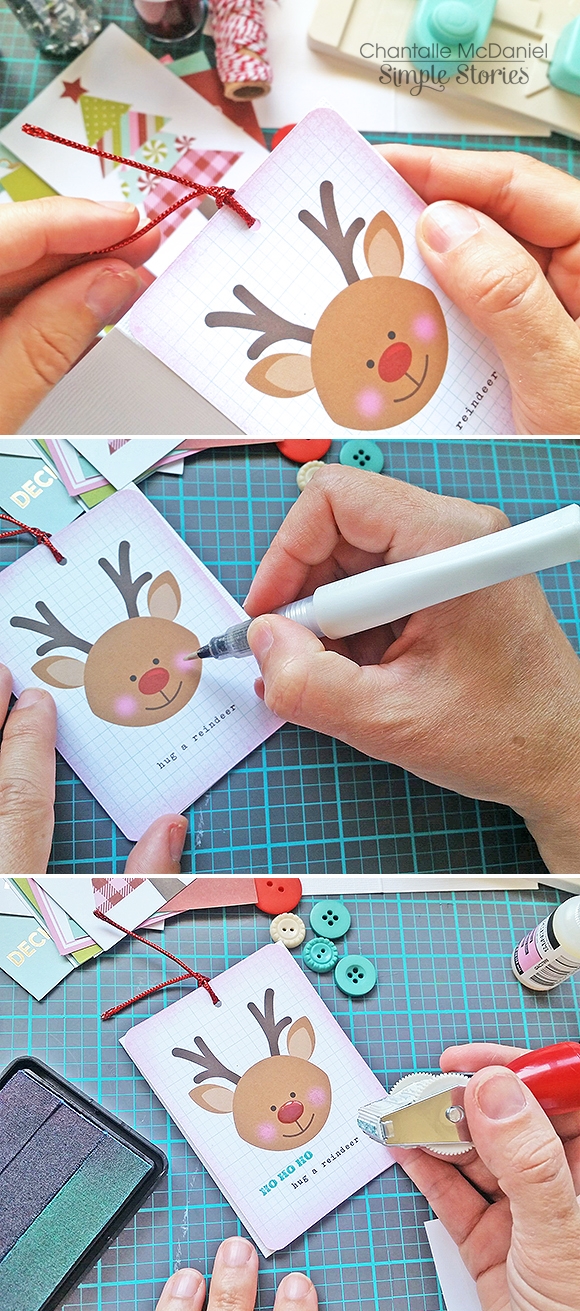
This little reindeer card has had it’s corners rounded and then it’s been very simply adhered directly onto the card using a small hole punch and some metallic twine. One could also create some custom envelopes to match!
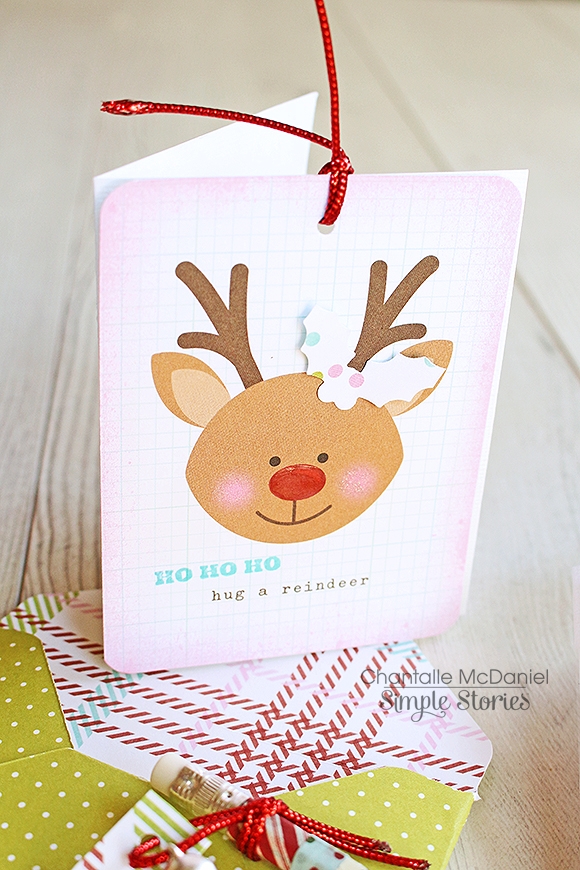
 
 
I’ve given him a bit of extra detail in the form of a ‘shiny nose’ using some glossy accents; some sparkly cheeks (Wink of Stella brush pen) and stamped on an extra sentiment with my Classic Christmas Roller Stamp and some co-ordinating ink.
 
 
Hello Mr Elf… My my, haven’t you got a festive cap! I’ve used the roller stamp again on this one, along with a bit of washi tape.
 
 
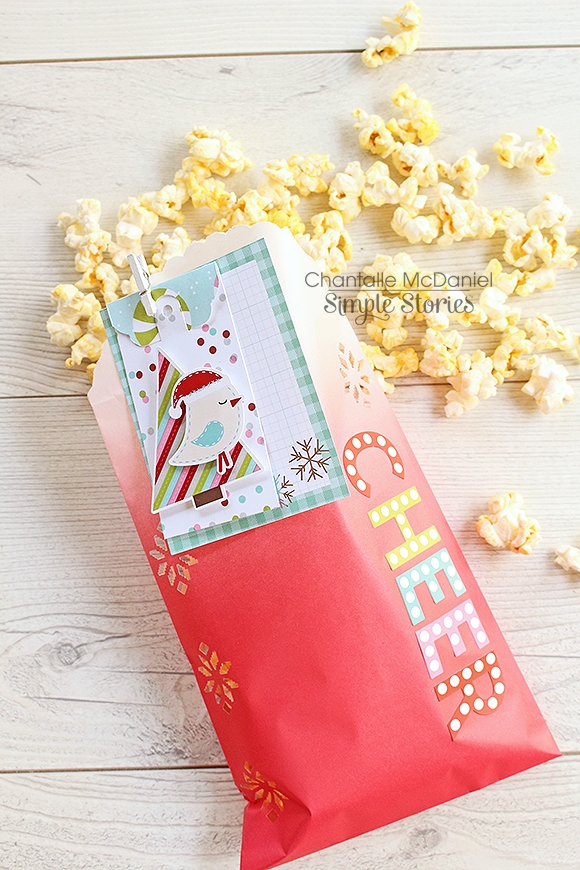
Do you like to give edible treats? How about a little goodie bag filled with some freshly popped corn and a pretty tag? I simply adore the darling characters in this collection.
 
 
Here is an idea for the girls… some cute Christmas hair clips, complete with mistletoe and bells!
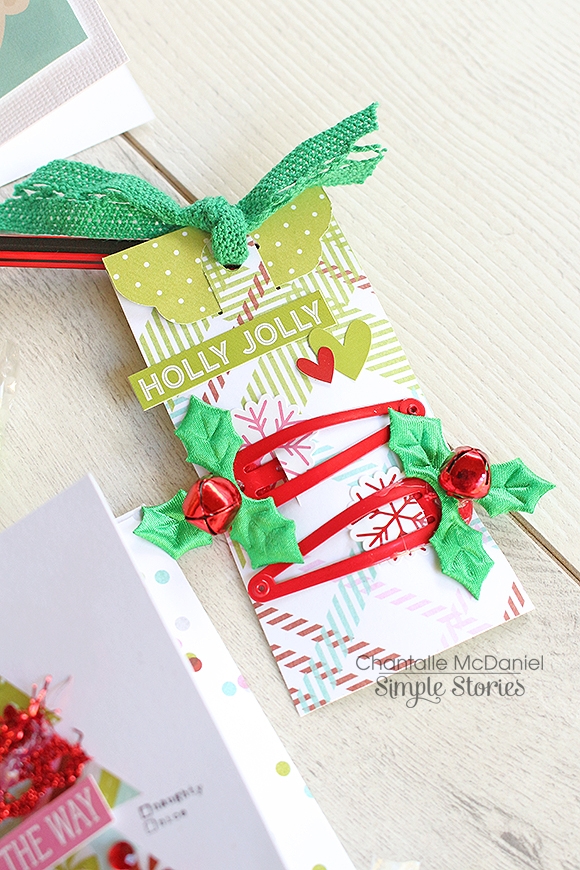
 
 
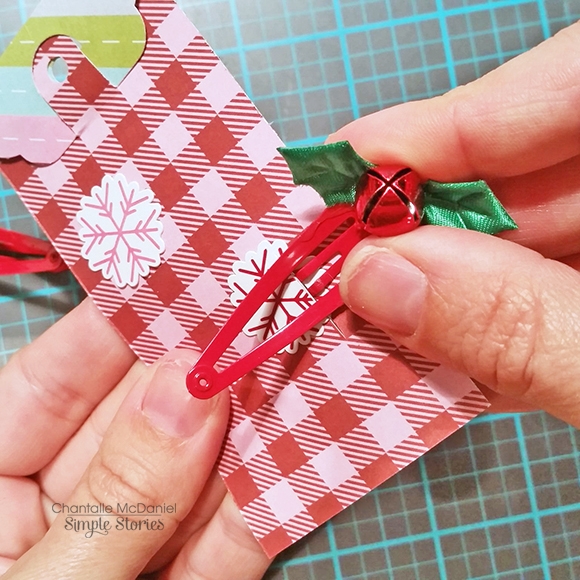
I’ve created a tag and then cut two lines into it with a craft knife. I then slid the hair clips into these cut areas.
 
 
This goodie bag contains sweet treats!
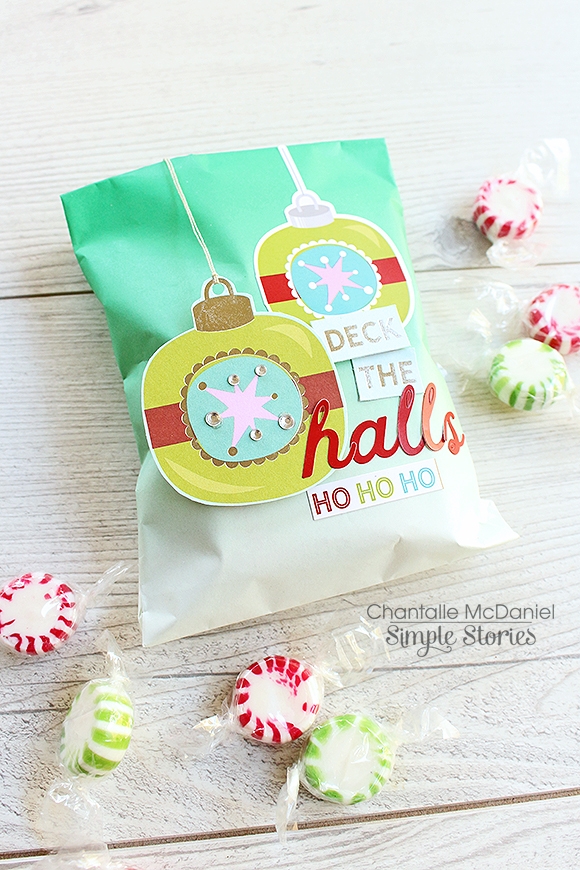
 
 
The bauble was hand cut from one of the 3x4 cards. I often look to the journalling sheets in a collection kit for extra ephemera!
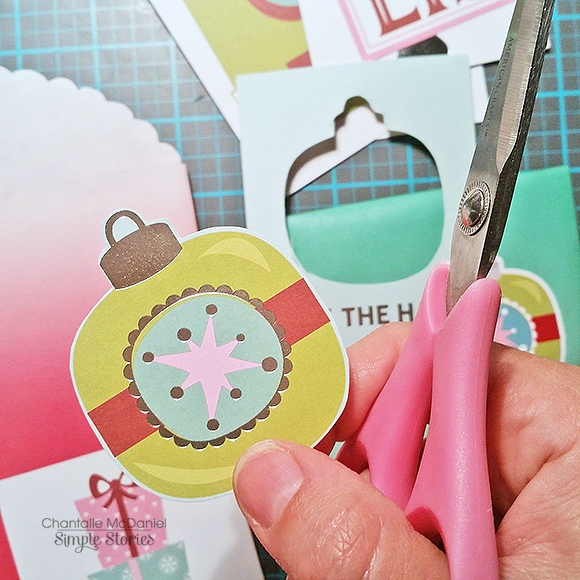
 
 
How about a pencil with the child’s initial?
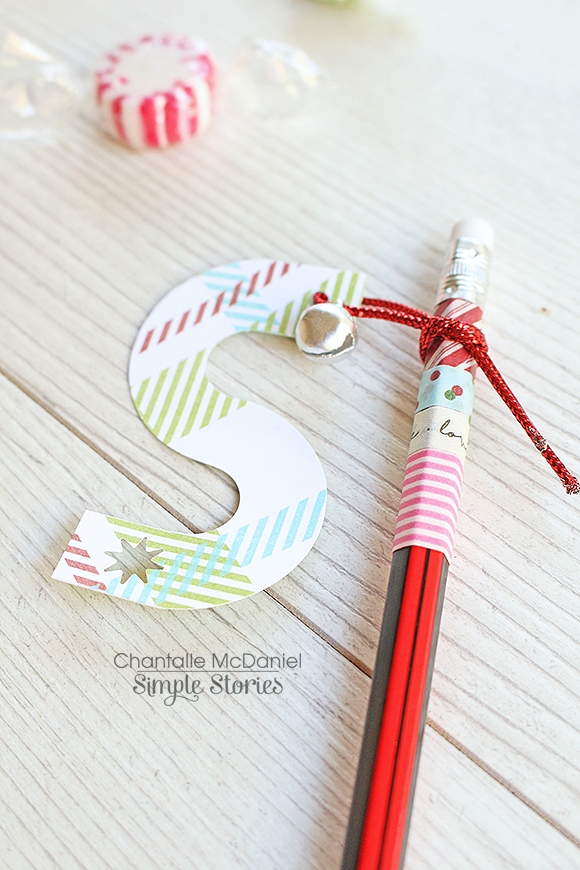
 
 
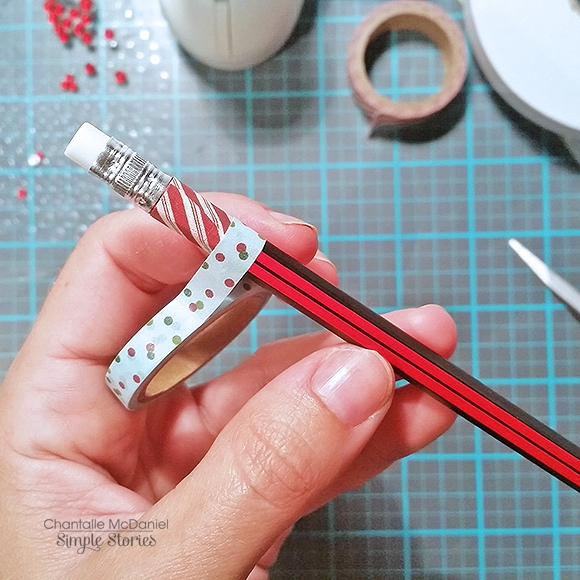
I’ve decorated some pencils with washi tape and then attached a punched initial to the pencil with some metallic twine. Add a teensy bell for extra cheer!
 
 
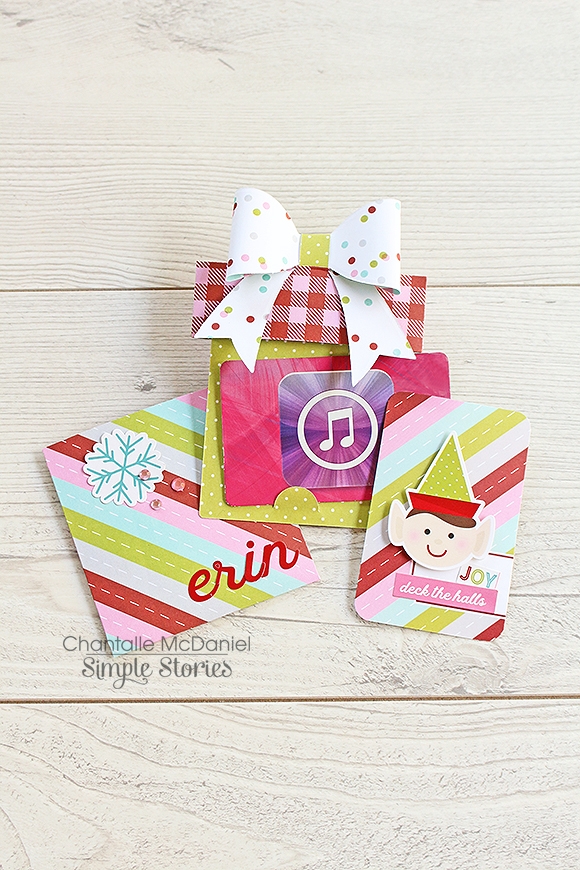
This all-in-one die is a super cute option for a gift card or voucher.
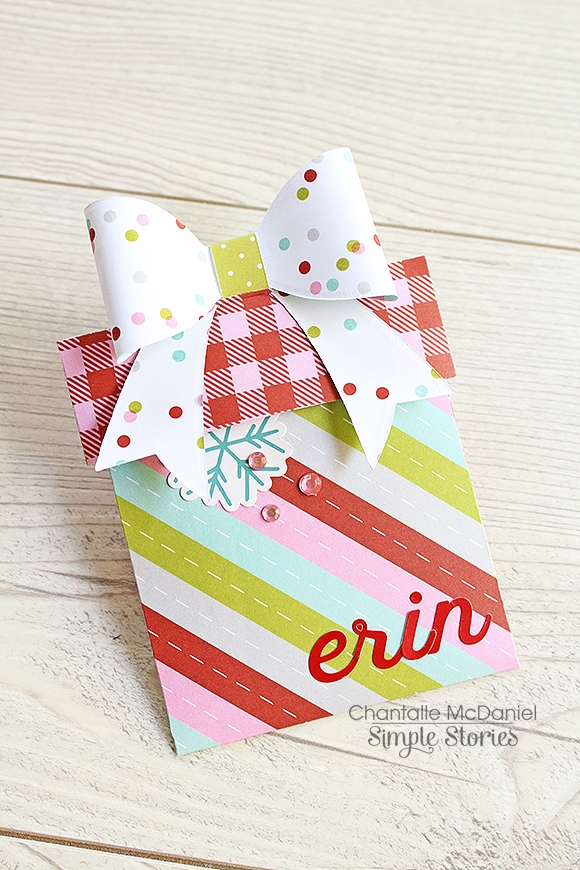
 
 
The little present slides open to reveal the card and a note.
 
 
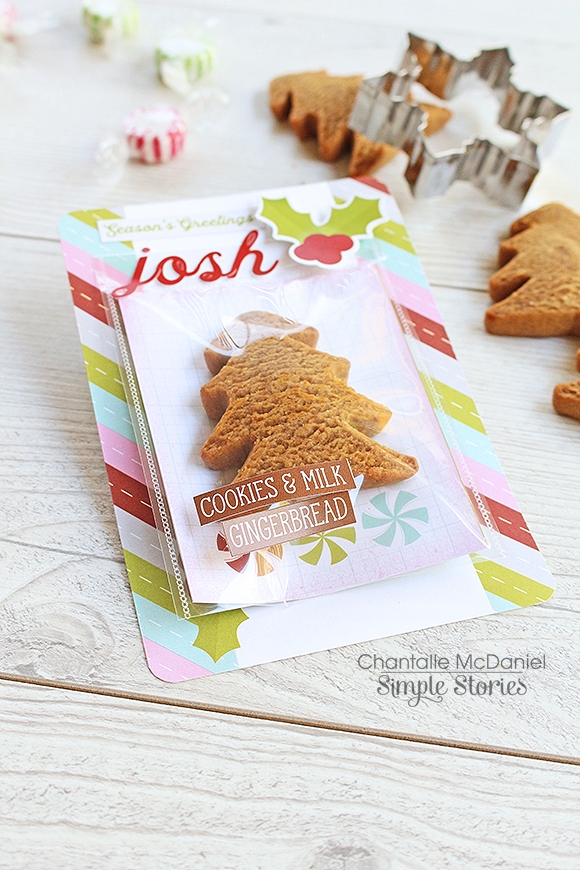
Lastly, I have used a SN@P! Photo Flip to hold a special home-baked treat. These fun sleeves come primed with adhesive so you can easily attach them to your project. I have fused my sleeve shut to prevent ants from taking a taste test!
 
 
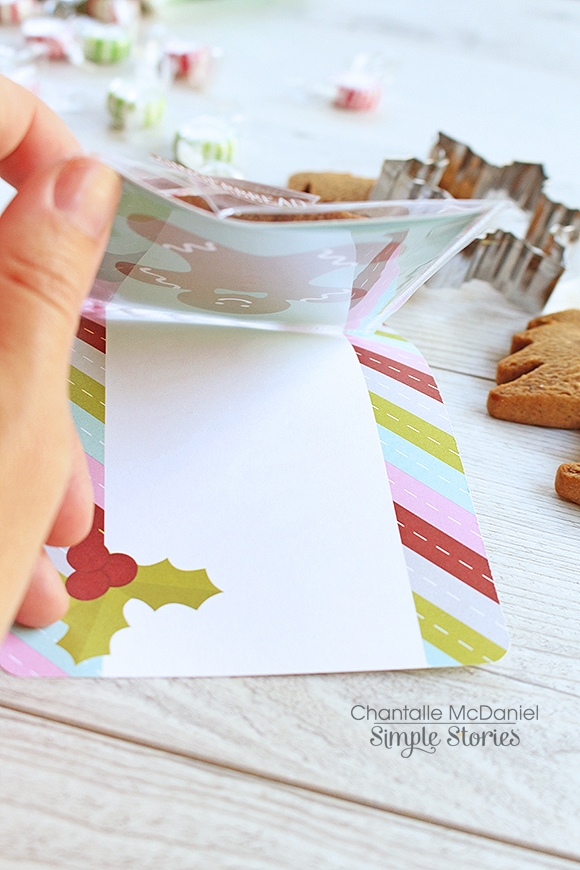
You can use the area underneath the sleeve to write a little note to your BFF.


Thanks so much for popping in today. I hope you have lots of fun exchanging your festive treats!


Supplies

Hi again and welcome back to the blog today. Here in Australia we don’t officially celebrate Thanksgiving but that certainly doesn’t mean we can’t count our blessings! Hello Fall is perfect for taking stock of all the good things in my life. I’m so thankful for my beautiful family!
 
Thankful for you
 
A tender moment captured between siblings is gold!!
 
 
The little apple in the Hello Fall was the inspiration for this page. I’m so thankful for my two cheeky monkeys!
I wanted a way to reproduce the shape… I was looking through my stamp stash to see if I had anything I could use when it occurred to me I could use an actual apple!
 
 
I chopped an apple in half and coated the cut side with acrylic paint. I primed some smooth white cardstock with gesso beforehand and then went about stamping a pattern on the paper. It took me right back to my Kindergarten days, stamping with potatoes!
 
 
Once I was happy with my little apples, I filled in some details with watercolour paints.
 
 
The final finishing touch was to pop some little leaves on to the stems. I had a look through the collection and found leaves in various forms, which added a quirky charm to my apples.


____________________________________
 
Happy Days
 
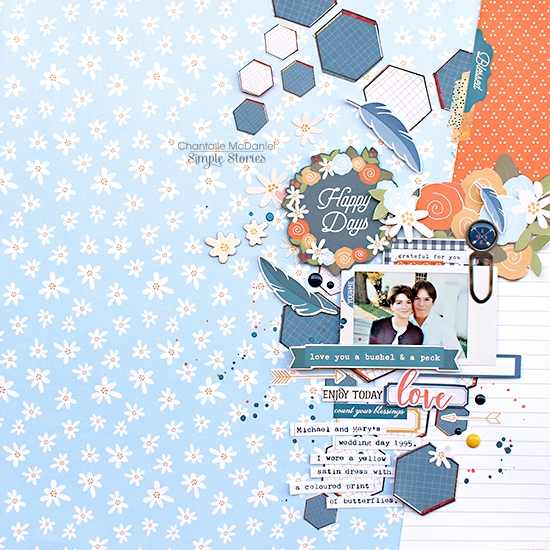
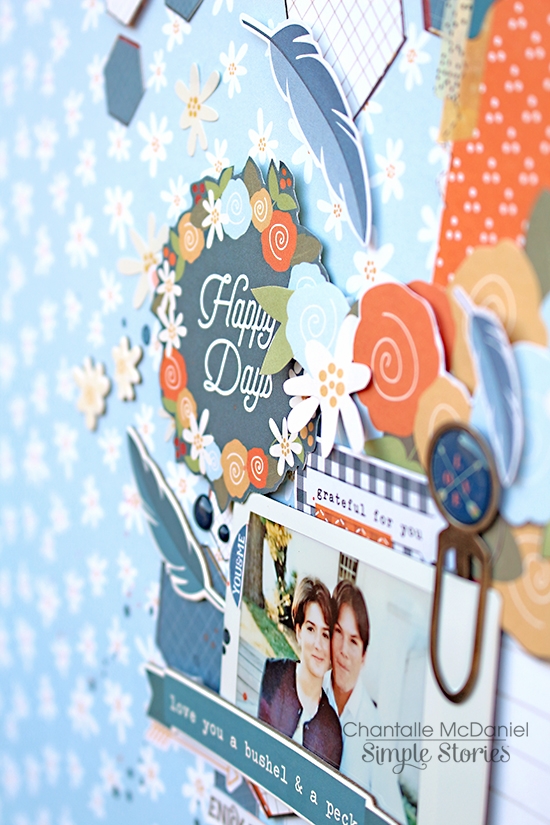
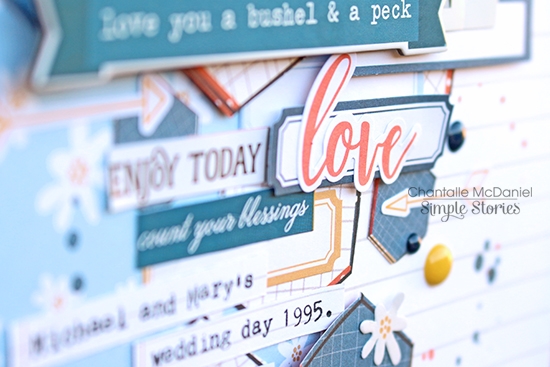
Here’s a throwback page to 1995 when my husband and I first started dating. So fresh-faced we were back then, haha!  Through life’s ups and downs, I am grateful to have him along for the journey.
 
 
I’ve kept to a predominantly blue pallet on this one, to coordinate with the tones in the photo. I pulled out lots of little elements that I thought would work and combined them on a bit of a mixed paper background.
 
 
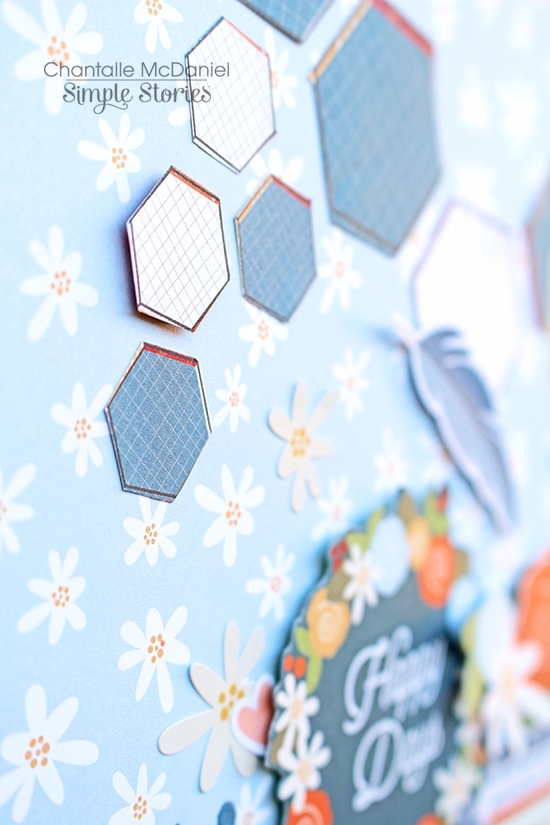
The main background is a sheet of Hello Fall ‘Heart Fall’ 12x12. I loved the pretty daisy print but I wanted to add a bit of contrast, so I added a section on the right hand side which comprises a 4x6 card from the Hello Fall Sn@p! pack and a bit of the 2x12,4x12 & 6x12 Elements Page (#6915). To bring out the blue notes, I added some hand cut hexagons from a sheet of ‘Warm & Cozy’ and then added some smaller hexagons from my Hello Fall 6x6 pad. I don’t know about you but I love seeing all the patterns in a smaller version in a 6x6 pad - so cute!
 
 
I’ve typed up a few notes about the photo and layered those over some label stickers from a pack of Hello Fall Stickers (6932) and a few other bits and bobs. The little details I add at the ‘end’ of a page are always my favourite. Those tiny elements just pull everything together I think!
 
 
Thank you for stopping by today.   Happy creating!


Supplies

Hi there Simple Stories fans! It’s Chantalle back with you today to share some projects I have created recently. I had the pleasure of being immersed on a retreat last month and I came back with renewed passion! There is so much out there for us to explore and that’s what I absolutely love about this craft of ours - we can try out new things and mix it up a bit. There are no rights or wrongs, just what feels right to us!
 
Hello, Open Wide
 
On this page I have experimented with some watercolour paint and texture. I will admit that I really like the way it turned out. This adorable photo has been waiting to be scrapped for quite a few years now! My little girl and I were playing out in the yard and she was trying to convince me to try her tasty dessert. We both couldn’t stop laughing as I dodged her spoon of mud pie! Bloom & Grow couldn’t be more perfect to capture this memory.
 
 
There is lots of layering going on here. I started with the watercolour over the top of a sheet of ‘Bee Happy’ to add a bit more of a pattern to the left corner of the paper. I then popped some texture paste over the top through a stencil to tone it down a bit, so both sides matched a bit better.
 
 
What followed was a happy mix of elements to help tell my story. You’ll notice that I have added some stitching in parts. I really love the subtle texture it can bring and in this case also adds a bit of rustic charm to the page. (Plus, stitching holds your embellies on over tricky texture!)
 
 
One of my favourite things to do when scrapping with a collection, is to go through all the different elements, papers, stickers, die cuts and chipboard and then use similar shapes in different weights to build up my layers. I usually start with a lightweight item at the bottom and then add the chipboard higher up.
 
 
Add a big title to create a play on words! I initially wanted to really space out the word ‘wide’ but I felt it was just too busy overall. If there were less elements on the page, it could’ve been fun.
 
 
________________________________
 
 
Miss You With My Whole Heart
 
This page remembers my Mum who we lost to breast cancer back in 1995. What’s so wonderful about the Heart Simple Set is that it is so versatile. I have seen heaps of gorgeous layouts with themes from love and loss to vacations. I absolutely loved this starry print and joined the stars to create constellations of love in that beautiful night sky.
 
I started with looking at the stars on the sheet and working out whether a heart shape could actually be created. I then pierced the paper in a few spots which would be the guides for my stitching.
 
 
Using backstitch, I used some very pale blue embroidery thread to connect some stars in a heart shape. This shape provided me with an outline along which I could run my title. I’ve kept the lettering very subtle as it’s already a busy print and I didn’t want it to be too full-on.
 
To further emphasise the constellation theme, I have used a white Uni-ball Signo pen to connect more stars. This is an excellent white pen to have in your stash. I used a ruler which took longer, but the lines needed to be straight to look correct.
 
 
I’ve added a few splashes of white and gold mist as well as highlighted a few areas with my clear Wink of Stella brush pen. 
 
 
Use stitched areas to tuck bits and pieces in to. Check out my chubby baby cheeks!
 
 
Thank you so much for visiting the blog today. 
 
Wishing your heart happiness and lots of creative play!
 
Chantalle


Supplies

Pages