March 2014 Blog Posts

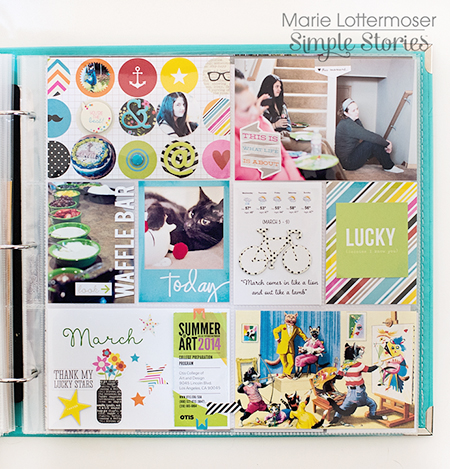
Hi everyone, Marie here today to share a Life Documented project using the new DIY Boutique collection.  I've couldn't wait to work with this collection. By adding stickers, stamps, and embellishments to foundation cards you can custom make your own elements to put in Pocket Pages.  The possibilities are endless!
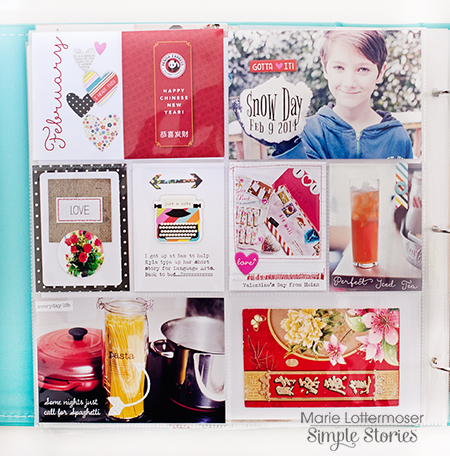
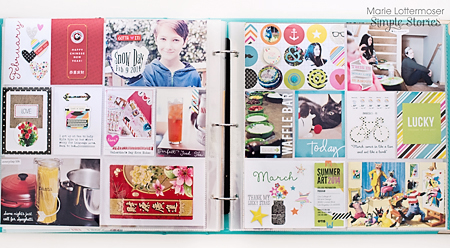
We have been pretty busy with home improvements projects and medical issues the last couple of months, so I didn't have a lot of photos to add to my album.  I decided to just use a single page for each month and add in some postcards and ephemera to round things out.  If you look at my pages you can see I used more reds and pinks for February and more greens and blues for March.  I thought it was a nice way to distinguish between the months, while still using the same collection and keeping the overall look cohesive.
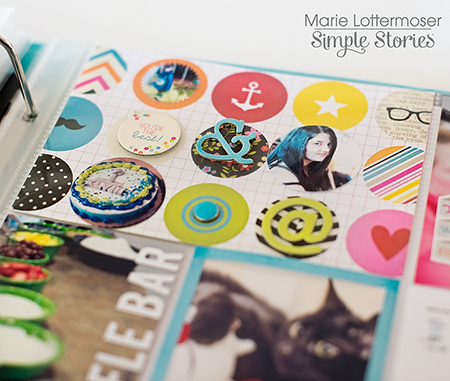
In some cases I would add stickers and embellishments right over my photos, and in others I would add them on top of one of the foundation cards.  My favorite card to customize was this one full of colorful circles. I added brads, chipboard and circle-punched photos to it.
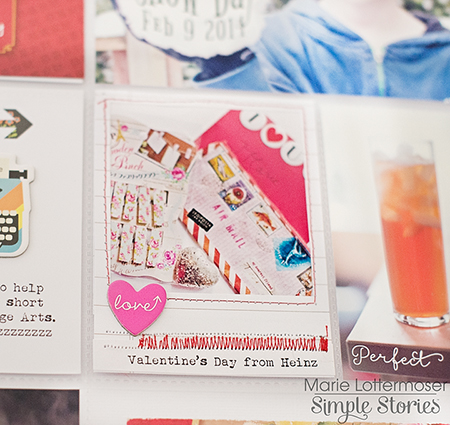
I also customized one of the new Insta-Frames.  I slipped a photo of some Valentine presents into the frame, and then stitched around the outside with red thread using my sewing machine.  I can see so many options for these frames, such as using them to make little pockets for sequins and other small items.
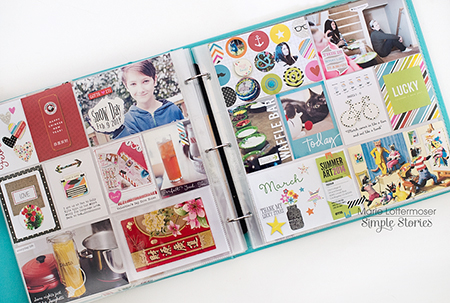
After using the DIY Boutique collection for these pages I can see I've barely scratched the surface of the different ways to use everything.  I'll be back next month with even more ways to use this kit.
 
I used 12x12 Pocket Pages in Design 3 | #4050.
 
I've been using a 12x12 Faux Leather Album in teal for all of my pages.  I've been using this album for quite awhile now and it still looks brand new.  The durability is fantastic!
 
DIY Boutique Products Used:
Insta-Frames | #5145
Chipboard | #5128
Brads | #5127
Card Foundations | #5126
Stickers - Boutique | #5141

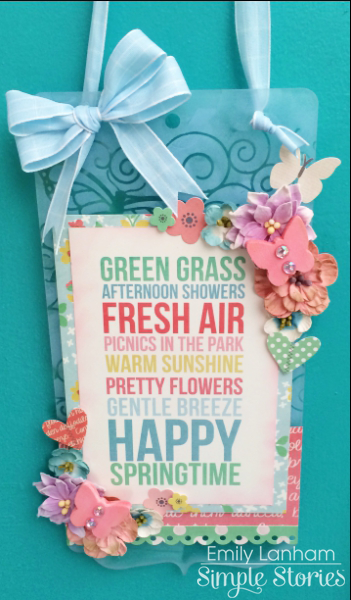
Spring is LITERALLY right around the corner, it’s so close we can taste it! With that said, I could not wait to get crafty with the new “Fresh Air” Simple set!

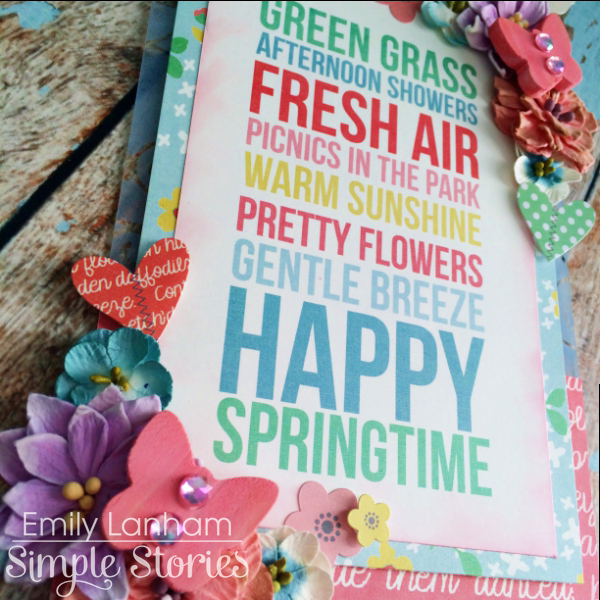
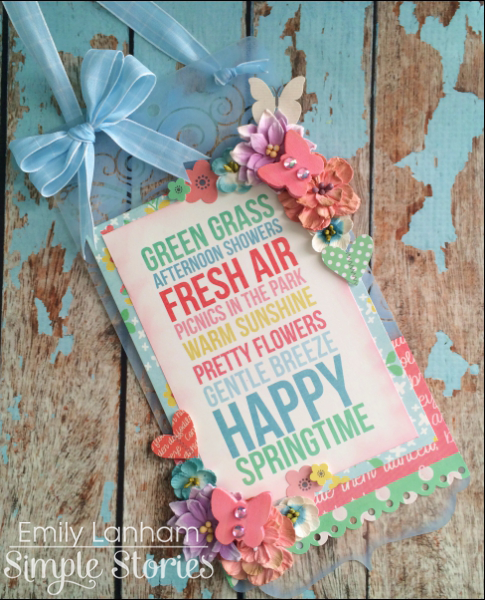
I loved this card from the Elements sheet so much that I wanted to base a home décor project around it. After this crazy winter, we all really need something bright & cheery to hang in our homes, right?

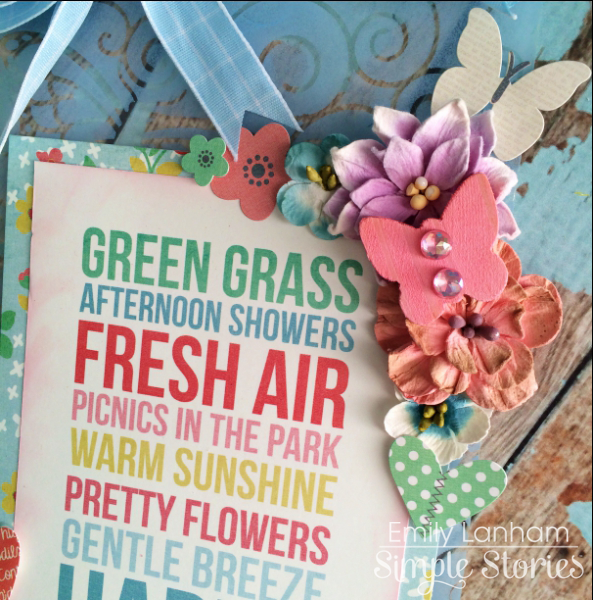
I made this wall hanging out of some leftover pieces from an acrylic mini album. These are really fun to ink up and then embellish with fun papers & stickers, that’s why the Simple Sets are a must have! They are perfect for any project that you would want to create. I used some of the Fundamentals stickers to add some extra elements to this project.

Here’s a look at this lovely décor hanging on my wall. You can really see the difference the acrylic makes here.

I had so much fun creating this project to share today. I hope I was able to inspire you to go out and grab some of the new Simple Sets and get creative this Spring!

Products Used:
Simple Stories- “Fresh Air” Simple Sets  Collection Kit
Imagine Crafts/Tsukineko- Baby Blue StazOn Ink, Memento Luxe Angel Pink Ink, Monterey Pine Butterflies
The Crafters Workshop- 6x6 “Flutterby” Stencil
May Arts- Light Blue Solid/Plaid Ribbon
Clear Scraps- Acrylic All Mixed Up Album
Petaloo- Flowers


Hello, everyone!  Shellye here with a trio of cards featuring just a few of the fun Simple Stories cut files that you can find at  Silhouette.  My intention was to show varying ideas on how to attach the die cuts, the types of paper to cut them from and fun ways to embellish them!  By the way, all files are 50% off at the Silhouette Online Store through the 23rd; now's a great time to pick up these and other Simple Stories designs!!

Let's get started with the first card entitled "So Awesome."  This is a Father's Day card using the Hey Pop Simple Set

I started with the "awesome" welded word and cut it from both a light grey piece of cardstock and one of the red papers from the 6X6 DIY Boutique Paper Pad.  I cut away all but the "so" portion of the red paper and adhered it over the grey wording with foam adhesive. 

To embellish, I covered a couple of chipboard stars from mystash with papers from the Simple Set.  I added the burlap stars and enamel dots from the DIY Do-It-Yourself Collection.

Supplies: Hey Pop Simple Set- Limited Edition Paper #6013; #1 Dad Paper #6014; Elements #1 Paper #6016; DIY- Enamel Dots- Red, Teal, yellow #5129; Burlap Stickers Arrows #5148; DIY Boutique- 6X6 Paper Pad

So, we have a Father's Day card completed...how about a Mother's Day card? 

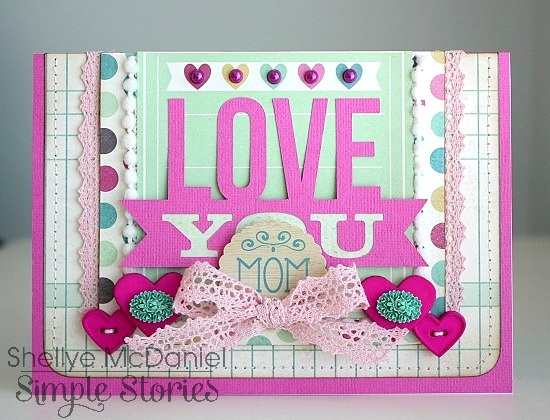
This card features the Hey Mom Simple Set and the "Love You" welded word.  After cutting the word from textured cardstock, I backed the opening of the "you" banner with a scrap of paper from the collection.  When attaching to the base paper, I placed foam adhesive on the banner part of the die-cut only and then attached the top portion with a quick dry glue.

I went on to embellish with pretty trims from May Arts Ribbon and some buttons from my stash.  Raspberry colored adhesive pearls hightlight the small hearts at the top of the journal card.

Supplies: Hey Mom Simple Set- Fundamentals Cardstock Stickers #6001; Lovely Paper #6004; Beautiful Paper #6005; Elements #2 Paper #6008

Lastly is a play-on-words card that would make a fun belated birthday or forgotten occasion card!

This card is all things cute from the DIY Boutique Collection and this trendy camera cutting file. I cut the shape from the woodgrain paper found in the 6X6 Paper Pad.  Turquoise sequins were glued around the opening...I love how they tie in with the background paper!

Before adhering to the cardfront, I stitched on a flash using baker's twine.

Supplies: DIY Boutique Collection- 6X6 Paper Pad #5122; Brads #5127; Stickers $5141 SN@P! Collection- Stickers-Typeset #4021

Check out all of the cool Simple Stories Cutting Files at Silhoutte online store! 

Thanks for stopping by today!

Hello there to all you amazing Simple Stories fans! 

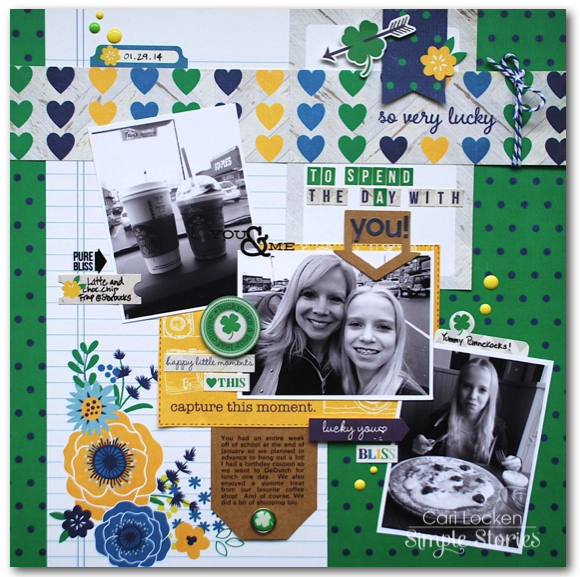
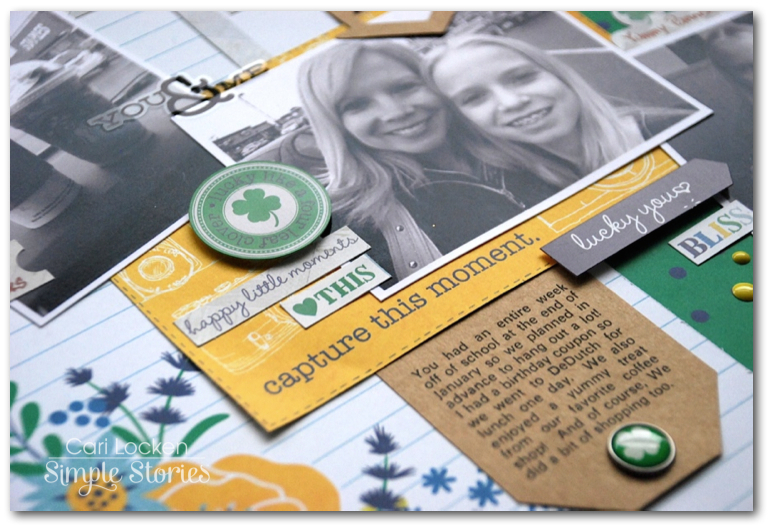
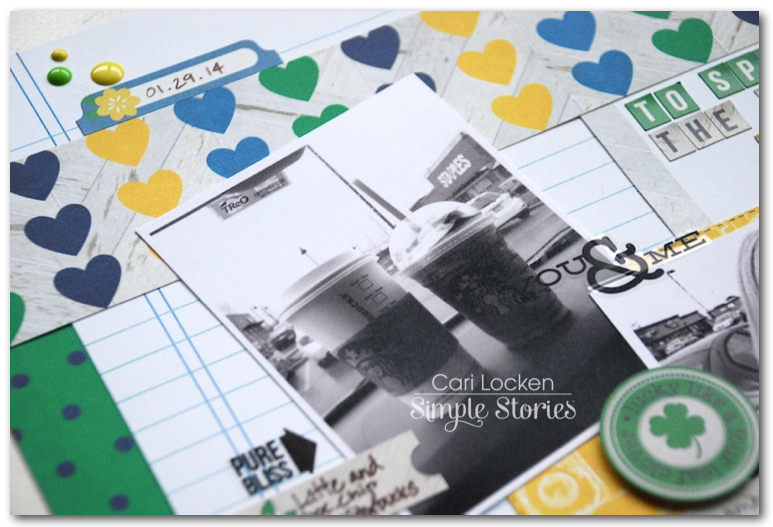
Cari here with you sharing this layout that I created for today in honour of St. Patrick's Day. As you will notice my photos have nothing to do with St. Patty's Day. However, the theme and embellishments of the A Charmed Life collection make this layout still fit so perfectly with today's fun holiday! The colour green, shamrocks and the word 'lucky' is clearly evident everywhere in this collection.

I did a fair bit of layering with the patterned papers -

This really is a fun collection and I just love how everything matches so wonderfully.

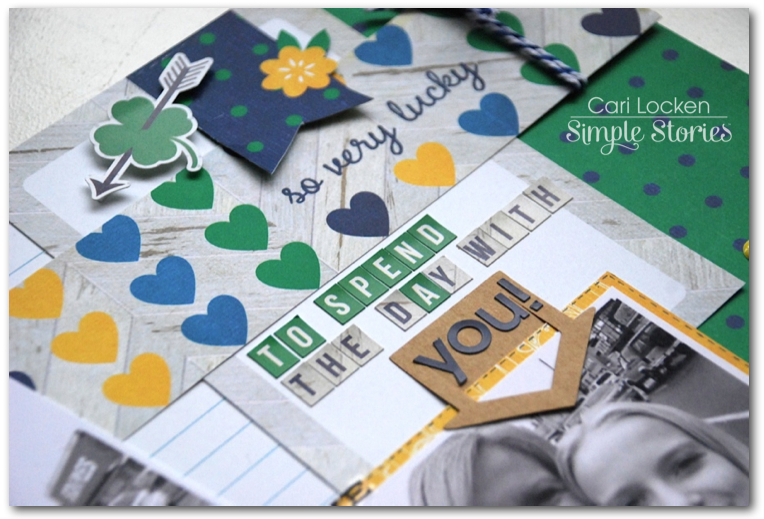
I used the 12x12 Expression Cardstock Stickers & Fundamental Cardstock Stickers to create my title and various phrases/words in other places on my layout. You will notice that the 3x4 journal card has a small pennant design along  the top edge. I took an x-acto knife and cut out the bottom section of the pennant so that it would overlap onto the 12x 2 title strip.

By adding small pieces of foam tape behind some of the stickers which helps to give my layouts some dimension rather than being so 'flat'-looking.

I also used some of the DIY Collection. The DIY Clear Stickers (black), DIY Enamel Dots (yellow & green), and DIY Journal Layers (in Kraft).   I printed my journaling off on the kraft colored DIY journal tag and adhered a brad from the same collection (A Charmed Life) to give it a final touch.

Thanks for stopping by today and I hope that I've inspired you to create with this fabulous Simple Stories collection!

Products Used:

A Charmed Life

  • Fundamental Cardstock Stickers
  • Expression Cardstock Stickers
  • Patterned Papers: Happy Go Lucky, 4x6 Horizontal Journaling Cards Elements, 4x6 Vertical Journaling Card Elements
  • 2x12 Border & 4x12 Title Strip Elements
  • 6 x 12 Page Elements
  • Brads

DIY Collection

  • Journaling Layers (Kraft)
  • Enamel Dots (Teal, Red & Yellow)
  • Clear Stickers (Black)

Pages