December 2016 Blog Posts

Hello Friends, It’s Kristine Davidson with you today and I am going to share 2 layouts with you using the colorful collection called Mistletoe Kisses. I love the vibrant colors in this collection mixed in with blue and pink. It has a bit of a Christmas Theme but you can also use this as a great winter collection. The two layouts I created have a “let it snow” feel to them. I used some snowmen, a few decorated Christmas trees, and hearts focusing on the love for snow!

The first layout I'll be sharing is called "OH What Fun!"

I have had these photos for quite some time and when Mistletoe Kisses came out I knew exactly what I wanted to use it for. These pictures of my niece enjoying the fresh snow fall and sliding.

I created this sketch based on the layout -

I selected the blues, and whites as a major focus but added some green to give the page a contrast in color. I love that the green is used as a “pop” up color instead of the main focus.  Of course adding layers, and dimension adhesive is a must for me. I do enjoy the different colors. I added the CHEER alpha stickers but didn’t make that my title. I selected – the small sticker strip with OH What Fun my title. It seemed appropriate.

_______________________________________________________________

My Second layout for you today is called "Let It Snow"

This page was of my niece during a photo session. It was a beautiful winter’s day and a warm sweater with a comfy scarf was all that was needed. I added a cut file background to my page but after finishing I should have done something with snowflakes. 


I added the chipboard snowman and some trees on this page with more snowflakes. The colors in this collection are fabulous aren’t they? I love how you can really create your own “theme” – such as winter.

The package of Bits & Pieces die cuts from this collection are A-dorable! 


You can easily create a few layouts and have left overs for a few cards or adding some cuteness in your carpe diem planners!

Thank you so much for reading and being a fan of Simple Stories!  To see more of my work you can find me on instagram @KristineDavidson 

Supplies

We don’t know about you, but we LOVE decorating for the holidays!  We thought it would be fun to share more Classic Christmas free printables that you can easily add to picture frames for festive & fun holiday décor in a snap! 


Simply download, print, trim, frame & enjoy!

In addition to framing these festive printables, you can also add to your SN@P! Albums, December Daily projects, and even your planner!

Wishing you & your family the merriest of holidays and a Happy New Year!

P.S. - if you missed the first set of Classic Christmas Free Printables, you can download them – along with lots of other free printables - here!

SaveSave

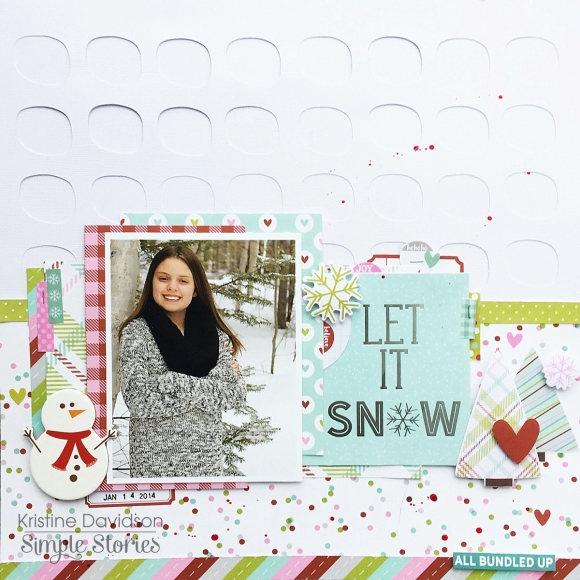
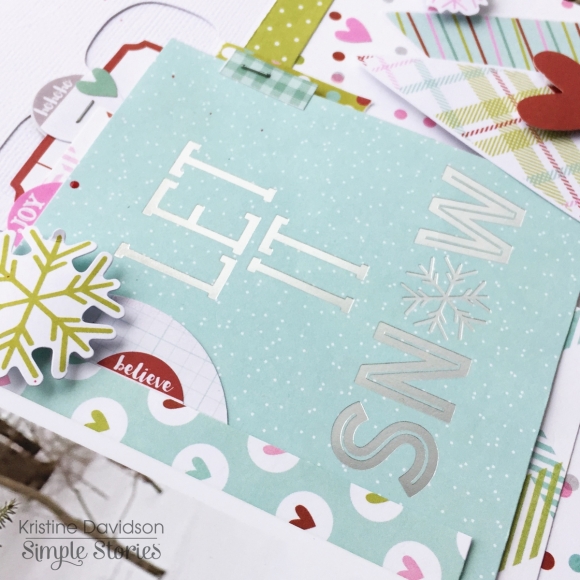
Hi everyone ! It's Mindi here with you today on this fine December day. I don't know about you but I am so excited to get this Holiday season going. Today I am going to be sharing some pocket pages that I have created using the Classic Christmas collection. The hint of blue in this kit is my favorite, so pretty. 
 
Every year I choose to make a seperate December Album. Typically I have done it daily and last year was no different. Recently I have been busily trying to add some more pictures and pages into my album from last year. I loved creating these pages with this collection. Here is a look at day 8. 
 
 
This particular day my husband and I went to a work related dinner. I did manage to get a selfie of both of us for the album but that was it for that day. I decided to add in a few filler cards including that adorable dress card to fill in the gaps due to the lack of photos. Another thing that I added in my album on day 8 was another filler card using the fabulous gold numbers. They are so pretty, the photos don't do them justice. To create this filler card I started out with a little bit of watercolors on some white cardstock. I felt that the 8 needed to be dressed up a little bit so I added some patterned paper behind the top circle of the 8. I also added a few strips of washi to the bottom and stamped some fun sentiments in the bottom circle. Let's talk about that roller stamp, you guys it is so fun ! I used that in the middle of the circle of the 8. 
 
 
One of the items in the Classic Christmas collection are these fun SN@P pages. I knew I wanted to add some into my album and so I added one in next to my day 8. This one matched the other side so well with the creme and the gold. I decided to dress it up just a little with some stickers, clear stickers, and some washi tape. 
 
 
I am skipping around to day 13 now. Last year getting Christmas up dragged on way longer than it should have. This day I took a few photos around the house and paired it with another one of these fun SN@P pages. 
 
 
I didn't have to much to say on day 13 so I added that fun chipboard house on the bottom of my journaling card. I sprinkled lots of stickers/word strips all over my journaling card and photo on this day. I love to play around with my supplies and make it my own. 
 
 
Again, I used another gold number for day 13. I couldn't help it, they are so great ! I added it onto my photo of my garland around my stair railing. I added some stickers around the number and also stamped "Happy Holidays" onto the number using the roller stamp. 
 
 
As I mentioned before I have added another SN@P page with my page 13. This one was perfect for my home decor and wreath photos. I added another chipboard house onto the bottom of this front side of the page. It fit perfectly into the box on the bottom. In the middle of the wreath I added a clear sticker onto a vellum heart for a nice look. On the back side of the SN@P page I added more stickers, and I used the blue letters to spell out home. 


Let's move onto my last few pages that I am going to share today. Day 18 was when we went on a date night and saw Star Wars. Here is a look at what both days 18 and 19 look together. 
 
 
During the day I thought it would be fun to get a Star Wars photo to text to my husband. I added some patterned paper and the snowflake to the corner of my photo. It needed something up in the corner and I love how the pop of color worked perfectly. I chose a simpler journaling card for this day because I had a little more to say. The tag piece from the bits and pieces package was the perfect embellishment. 
 
 
This is what I did for the bottom pocket. I had saved this Star Wars sticker from something that we went to that week. I used another gold number as well as a triangle tree I cut out from some patterned paper to finish off that card. 
 
 
Day 19 was a favorite of mine. We had a church party that night and then Santa came to visit the kids. On the top part of my page I added in a little bit of journaling onto this journaling card. Next to it is a photo of my daughter and Santa. 
 
 
This card might be my favorite. I loved this Creme colored Santa card. I wanted to use it as a journaling card so I cut out the Santa off of the card and added it onto my journaling card once I had it all printed out. Once I had my journaling printed out I played around with some patterned paper and ended up with a strip of some paper from the 6x6 paper pad. With that done then I added some stickers and I also added the numbers 19 from the sticker sheet. 
 
 
I debated where I wanted to have this day a two page spread or not. I had lots of Santa photos that I wanted to add them into this day. I decided to use a photo flip. They are the perfect solution to add in more photos into your pocket pages. 
 
 
Here is a look at what all three photos look like together. I wanted to add a little something to each photo. I added some stickers, washi tape, and added the kids's initials. 
 
 
That is it for me today. I am so happy to have completed some December pages from last year. I have loved playing around and creating with the Classic Christmas collection. Thanks for coming and I hope you have been inspired to document your December memories. I want to wish you all a very happy Holiday Season. 

Happy December!  

Hello planners!  Theresa here sharing my December setup in my Marigold Carpe Diem planner!  I can't believe how fast this year has flown by.  I am so glad December is here though, it's my favorite month of the year! 

I'm using a lot of the Winter Wonderland collection this month with a touch of Classic Christmas.  Both collections work well together! 

I covered up my existing divider with a fun wood grain and snow patterned paper from the Winter Wonderland collection.  The brown wood grain is a great contrast to snowman, and the snow made it the perfect backdrop. I used one little snowman to represent each of my kids.  Then I added the "Snow FUN" to finish off the divider. 

I normally would use classic Christmas colors for December, but I fell in love with the pastel colors in the Winter Wonderland collection.  The city we live in doesn't have snow, but we make the short 2 hour drive to the snow quite often, so it was perfect for my December layouts.  

 
I love the woodland elements in this collection.  The trees, pinecones, deer and birds!  I wish everyone happy holidays and happy planning!


Supplies

Hello! Stacy here on the blog today sharing 2 layouts using the Winter Wonderland Collection! This collection has inspired me to do some quick stitching and include some photos with snow.

This is the first layout I put together.

I loved how this piece came together. I started with layering the pattern papers. These layers “frame” the photo and highlights my black and white photograph to give it a good emphasis.

Next, I started to add some stitches to opposite corners with different snowflake designs. Stitching it in white helps to give some texture, yet not over cluttering the area so the embellishments can play its main role in the layout. I have also added some enamel dots to the centre of the stitched snowflakes. Such a pretty sight!

On the opposite end, I had also stitched some snowflakes. In addition, I have layered more snowflake embellishments from the Bits and Pieces as well as the 6x12 Chipboard. Of course I had to add some sentiments to this cluster! Gosh, the 4x6 sticker packs a very good range of words and phrases!

I titled this layout Snow Dream. I reside in Singapore, where it is really summer all year round. We don’t get snow here in Singapore. Oh how I wished for 4 seasons here (especially snow! ) The chipboard piece ‘Snow’ looks familiar? I could not help but use the Dream chipboard piece from the POSH collection!


There are many goodies in this collection. Personally, I love to fussy cut the fun and beautiful images from the 3x4 Journalling Card Element pattern paper. Couple it with the christmas wreath and it gives such a good decoration!

_____________________________
 

For this layout, I decided to really challenge myself with some more stitching to showcase a sub-title.

From the first time I saw this set of words from the Bits & Pieces pack, I knew I had to make use of them on one of the layouts. I also wanted to highlight these words so I took some chipboard, yarn and started sewing round and round. You can really see through the stitching (vaguely) so the beautiful pattern papers are not totally covered. It also helps me focus on the set of words which I placed on top of each other.

Because of the circular element I had used in the stitching, I also used embellishments from the collection with circular elements to match.

Another circular element to highlight these cute mittens here! I wondered if the snow fun referred to the photo or the cute mittens?

This collection brought me much joy! I love the soft colors of this collection! Hope you have enjoyed the walk through and here’s wishing all of you a Merry Christmas with lots of joy and laughter for the season!


Supplies

Pages