March 2017 Blog Posts

Hey scrappy friends! Laura here today to share two layouts and a fun altered item with you!  I was so lucky to get some of the new Domestic Bliss collection hot off the press before the recent CHA/Creativation event!   I created one of these layouts and the little altered room for the event and the second page was created afterward for this post.


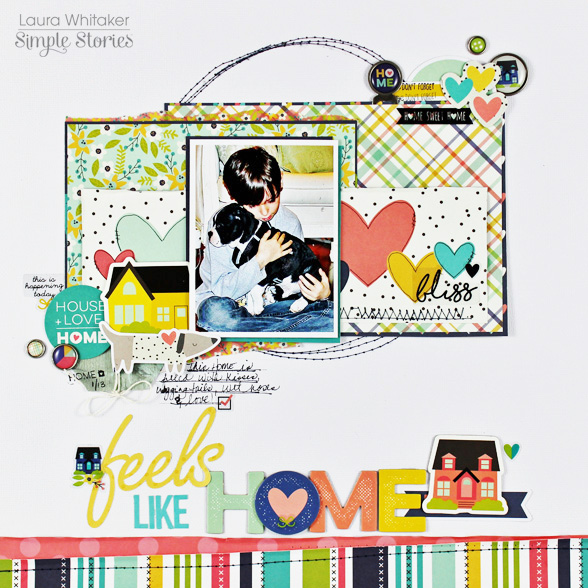
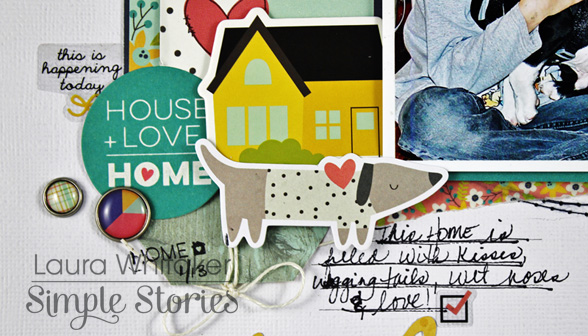
When I created this page, I wanted to share how versatile this collection is and how easily you can use it for every day life.  This photo of my youngest son and our new (at the time) puppy was just perfect for this collection, because of course being in the arms of someone that loves you is HOME.
 

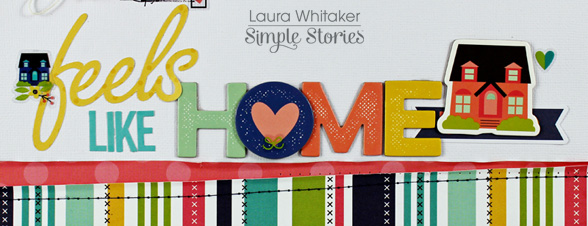
I really wanted my layout to include a larger and multi font title, it was the jumping off point for my layout design, even though I added it to my page later in the assembly process.  I used a chipboard word from the Domestic Bliss collection, as well as some alphas from a SN@P Basics sticker sheet and the word "feels" that I die cut myself to create the title.  I love the way it looks!
 

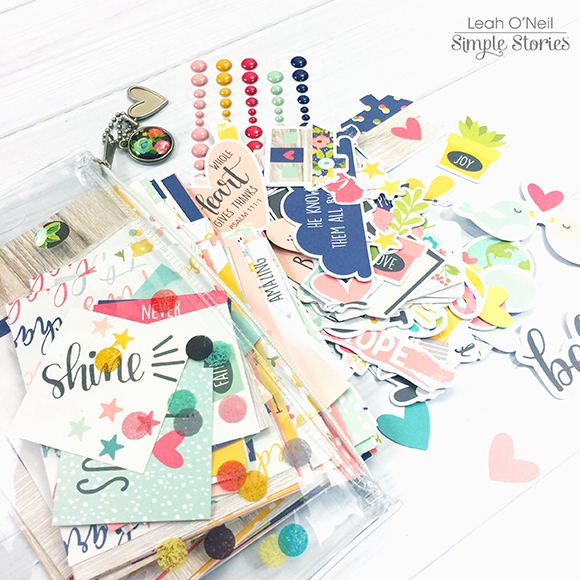
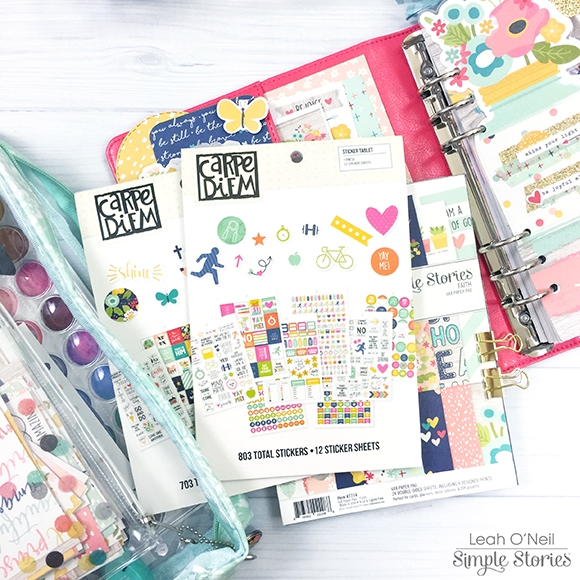
As always, I took advantage of my design to add a few embellishment clusters. This collection has a super fun colour palette and includes all of our favourite types of embellishments!! If truth be told, I thought I was over stickers but Simple Stories had me falling in love with them all over again.  Stickers are so simple and versatile to use! I will be buying stickers for a long time to come!
 

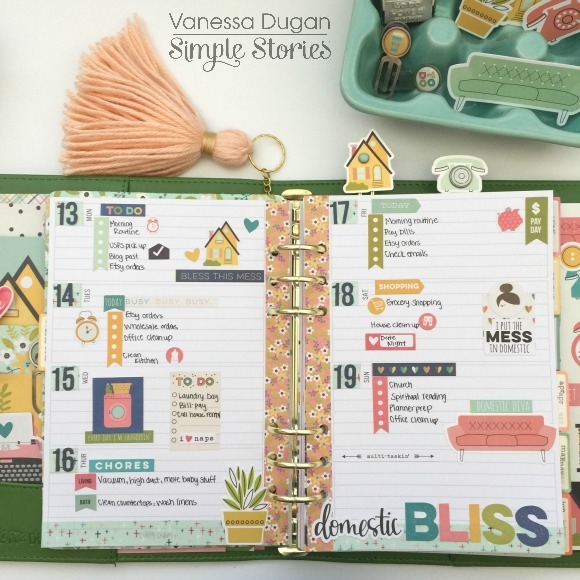
 Don't let the name of this collection fool you, it is for a lot more than documenting your chores!
 

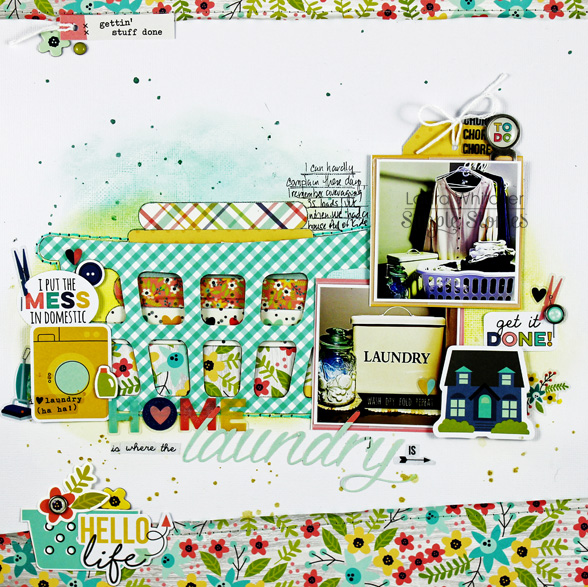
Of course, I felt the need to document some of those, as well.   Well actually, I wanted to document how different some of the chores are now that we only have one child at home.  The "to do" lists are much lighter.  As my journalling says "I can hardly complain..." as back in the day when all three of our boys were at home, and we had four foster children in the house I would easily have 35 loads of laundry a week!  Now I often struggle to fill our weekly white load!

Anyway, about the page, I began by adding some Gelatos and Distress Crayons to my background as well as some splatters of mist.  I just felt like working on my technique on this particular day, I am still very intimidated by these products.
 

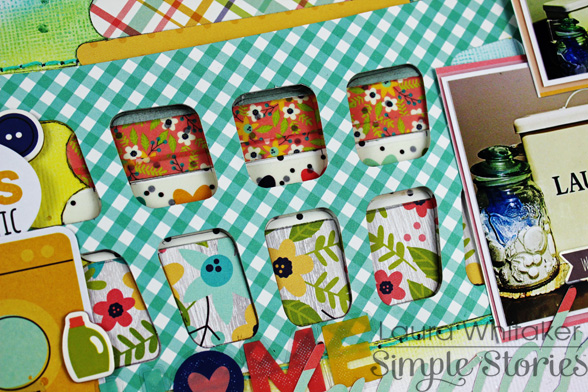
Then I cut a large laundry basket with my Cameo.  This cut file is available in the Silhouette store. It comes with several shapes that represent folded and layered laundry. I cut some of them from patterned paper, and wrapped others with some of the fun Washi tape, from this collection.  I added a bit of foam between the pile of "laundry" and the basket to give it some dimension.  Once adhered to my background, I hand stitched around it for fun!
 

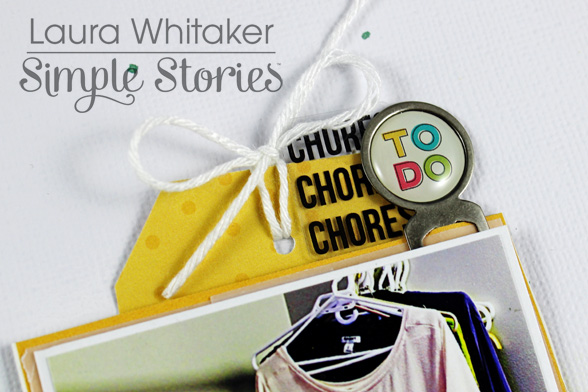
I love adding tags to my layouts, its a bit of a thing really as I hardly ever write on them I just like the shape! I hand cut this pretty yellow one from a patterned paper and dolled it up with some crochet thread and a clear sticker.
 

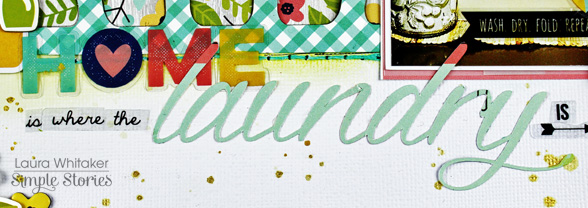
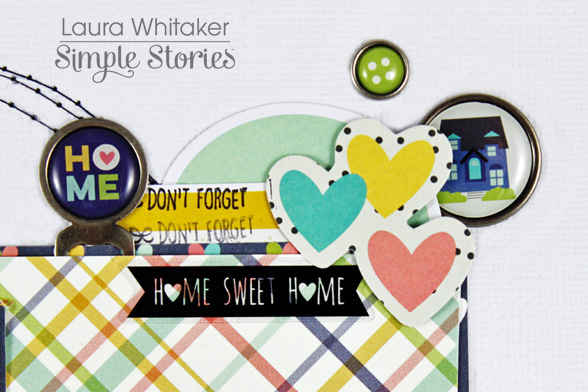
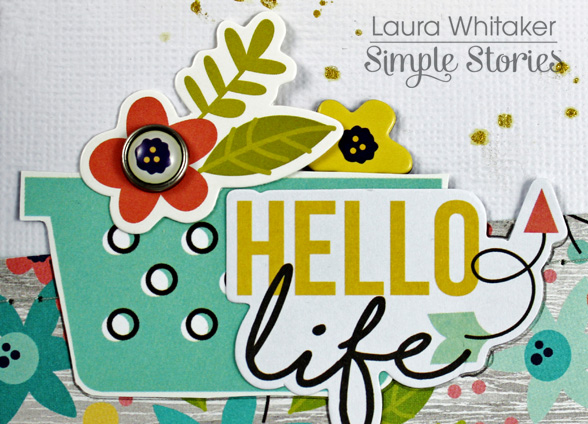
I was on a roll with long titles the day I created this page too, using stickers and another die cut word to assemble it.
 

While this collection has plenty of "neutral" embellishments it also has some of the cutest themed embellishments!  How adorable are these laundry room inspired goodies!
 

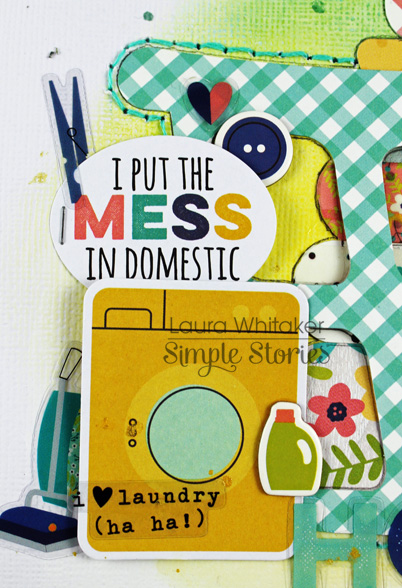
I love combining die cuts, stickers, chipboard and brads to create my clusters and am especially fond of these clear stickers! I am so glad that Simple Stories has added them to their line up!
 

I went a little overboard and used 4 clusters of embellishments instead of the typical three to create a visual triangle but I think it still works and I really love this page!
 

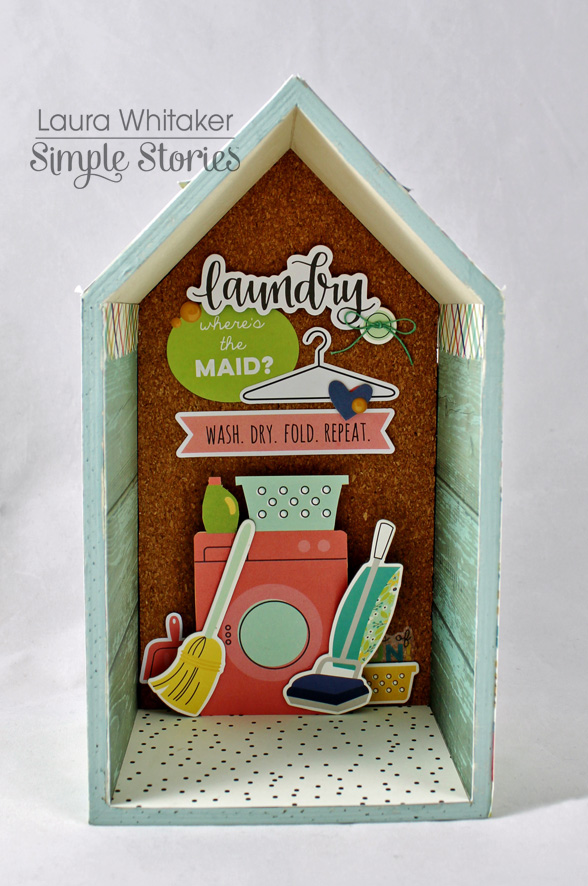
I also wanted to share this fun little laundry room altered item that I created for the Simple Stories booth at Creativation.

I picked up the wooden house form at the dollar store and painted it out with a minty colour chalk paint.
 

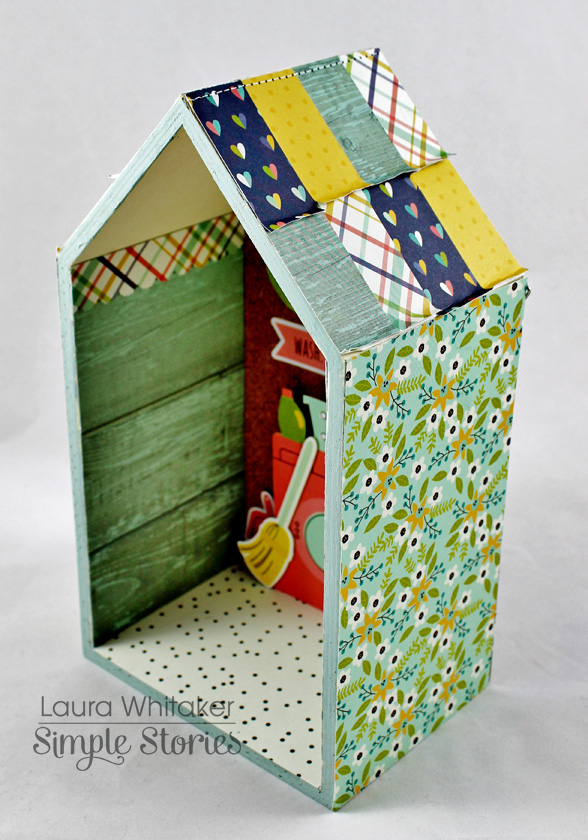
I adorned most of the interior walls and the exterior walls with pretty patterned paper.
 

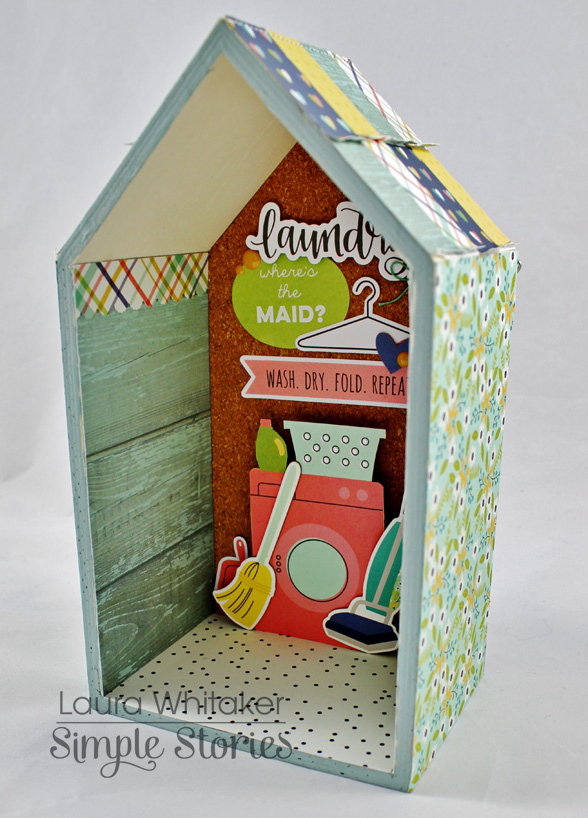
I also added some cork to the back wall inside the house.  I like the way the enamel dots look like they are little pins holding the bits and pieces in place.
 

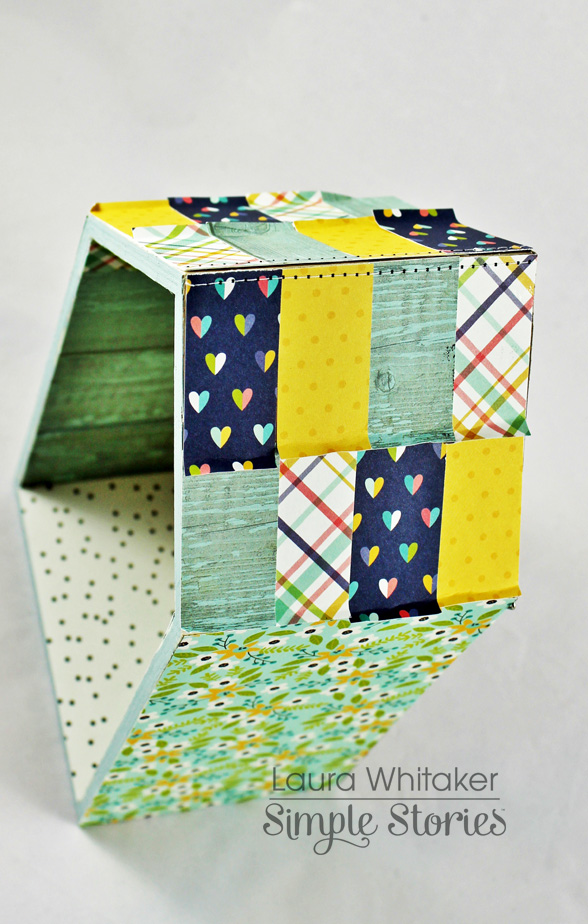
I made multi patterned "shingles" for the roof by stitching rectangles of papers to a base piece of cardstock and then adhered the whole thing to my house.
 

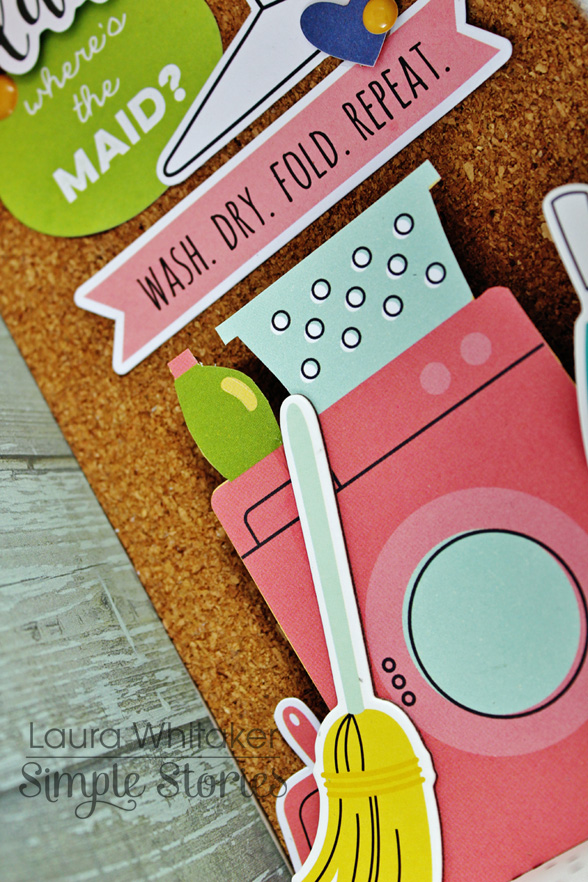
Inside I used fun chipboard and ephemera pieces to create a little scene.
 

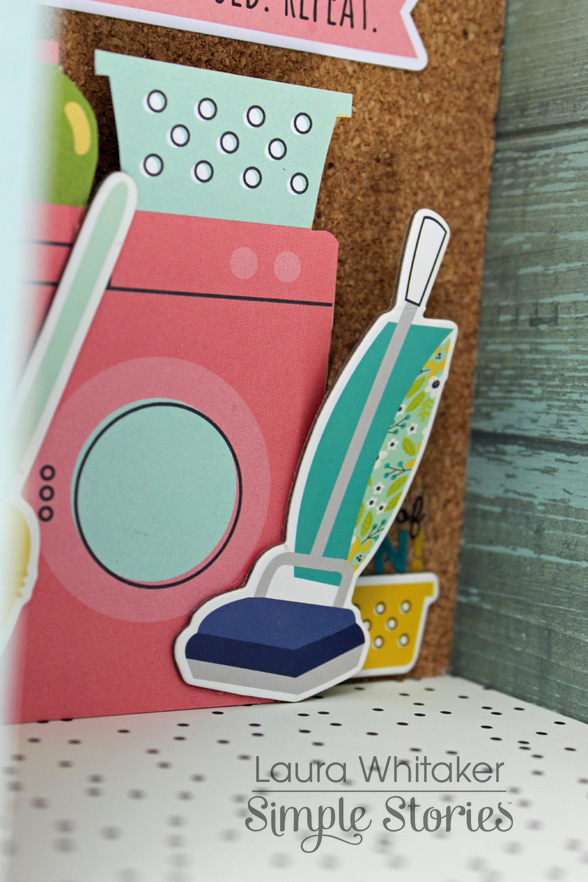
I popped up some of the elements with foam to create depth.
 

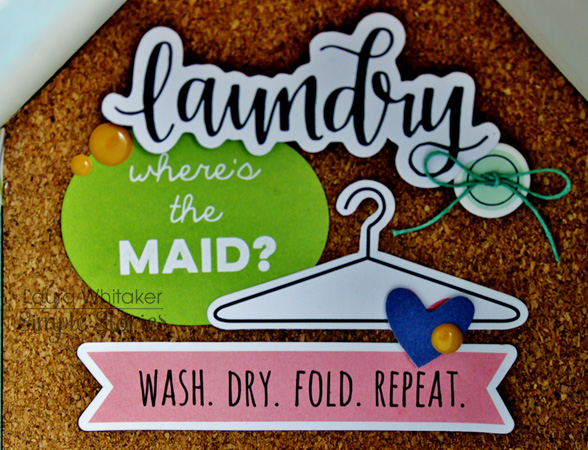
I even added "art" to the walls of my little room!

This project was so fun to create and I adore the way it turned out!  Thanks so much for hanging out with me today!  Be sure to follow Simple Stories on Instagram for loads of inspiration!

Supplies

Hi planner friends!  I’m back to show you how I’m using the Clover A5 Carpe Diem Planner and the new Domestic Bliss collection!
 
 
There’s so many products in the Domestic Bliss collection, that I was able to fill the pockets with a variety of items, including the 3x4 journaling cards, some 4x6 stickers, and the matching epoxy metal clips.
 
 
I made another dashboard for this month using the Hello Life cardstock, some of the chipboard pieces, and the enamel dots.
 

This collection also includes a Home Sticker tablet that includes sheets of stickers that are perfect for planning.  I used a lot of the icons for chores and shopping and some of the box stickers from the 4x6 collection.  

I’m slowly getting into meal planning and I’m starting out by planning out dinners every two weeks and the menu sheets from the Home A5 Planner Insert Set makes it easy to add into my planner.  I filled the pages with these super cute stickers from the Recipe Sticker tablet and some strips of the “Grace” and “You Are Loved” washi tape from the Faith collection.

I hope you enjoyed seeing my March planner set up with all of these exciting new products that are perfect for Spring.  I’ll see you next month!

SaveSave

Supplies

Hey Simple Stories Fans! This is Jennie and today I am sharing some pocket pages using my favorite collection, the new release, Emoji Love! I am emoji obsessed and so are my daughters! They love this collection too!

Since my daughter and her friend are missing teeth I drew a gap in the Emoji card so it would look like them. I always like to be put a circle in the middle of my photo collages and in here I used a smiley face from the 6x12 Chipboard.

The good thing about the emoji theme is that is perfect for documenting every aspect of your life. In here I used it for selfies, books and a movie. The colors are also good for both genders, it has pinks but they also have black, blue and gray. You also have a whole range of emotions. You can document the not so good memories with poop emojis.

I love when journaling cards have lines because that way I can use my handwriting instead of typing. I’m not a big fan of how my handwriting looks but I bet my daughters will like to see it in the future.

I am a washi addict and I am crazy about the washi tapes from this collection! On my title card I used the Expressions Washi Tape.  The 4x6 Stickers are always one of my favorite items. I like the labels to stamp dates or label photos and the little elements like that really cool camera that looks like the Instagram symbol.

To hold my tickets I used a Tombow Power Tab to hold the metal paper clip. I stamped on the unicorn card using white ink and the Emoji Love Roller Stamp. I did the same on the yes card but less times using black ink. I prefer roller stamps because they require less fuss than acrylic stamps. You just throw them in your bag and you can use them anywhere.

I hope you enjoyed these pocket pages! I already want to make a bunch more using this collection! The Emoji Love Collection starts shipping soon so ask your favorite store to save you some goodies!


Good morning SS friends.  


Today I am sharing two COMPLETELY different layouts with two completely different collections.


For my first layout, I decided to share a personal goal for myself.  I decided that I was going to start growing out my gray about 5 months ago.  It has been a challenge.  I went from very dark brown to complete gray, or almost complete gray.  I started coloring my hair at 30.  I was tired of two weeks after my expensive color, I  could see gray around my forehead.  For this reason, I stopped coloring.  


My entire layout was actually based around this 4x6 Elements card.  I saw the saying and it brought this layout idea to life.  I don't think that this layout would make sense with out the journaling.  The Domestic Bliss collection had everything I needed to document my graying hair journey!  It is so true, something has got to give in life, we can't do everything!


__________________________________

For my second layout, I went back in time to when my son played Flag Football.  He hated it.  But as parents, we loved watching it!  The kids had no idea what they were doing, that is why it was so fun to watch!


I used the Football Simple Set.  I started with a frame, where I tried to create a shadow box style layout.  I included papers and stickers from the collection that looked like collected items from his football season.  I strategically placed some of the stickers to cover heads and other small children.  


Thanks for taking a peek.

Supplies

Good morning friends! Brenda Smith here with you to share a mini I made to showcase the new Domestic Bliss line in 4x6 mini album format. I made this for the retailer CHA/Creativation and was specifically asked to keep this mini simple to show how quick & easy it is to create an album like this mainly from the products in the SN@P! Pack!  

For my cover, I kept it very minimal. I was imagining the album traveling and then sitting out on my coffee table so I knew the cover would need to be durable. I covered the naked chipboard part of the album with the paper, Work It Girl, and used chipboard decorative elements from the 6x12 chipboard. 

I covered the inside covers of my album with the B side of the paper I Can't Adult. I used a single 3x4 protector to open the album and thought the statement on this card couldn't be truer for my house. 

I used one of the yellow papers that come with the album and mounted a 4x6 card on it to make the opening of my album. Sadly, I didn't have any good recent photos of all 4 of us together so a photo of the three of them had to do.

The pink house is from the ephemera embellishments that come in the Sn@p pack. I used dimensional foam adhesive to pop it up. The "Home Sweet Home" banner is cut from another embellishment from the Sn@p pack.

For this mini album, I printed out all my photos and slipped them into the pockets. Then I found cards that coordinated best and slipped them into the pockets. I then went through and placed embellishments in the places I felt they fit best. I used my home printer to type the journaling on my cards. 

The clear stickers are perfect for adding to photos as I did here with the "Domestic Bliss." The "Struggle is Real" card is in a single 3x4 page protector and flips over for a fun additional layer. 

I gathered pictures from our last year at our new home. I like how well the pictures seem to illustrate our lives. I really like that the cards and embellishments seem to offer prompts for what to document about your home and helped me narrow down which photos to choose. 

I love the six 2x2 page protectors because they allow me to get a bunch of little photos in and make use of those adorable 2x2 cards in the Sn@p pack.

I wanted the photos and the stories to shine in this album so the embellishing took a back seat. I love how this collection is so well-designed, even without a lot of embellishing, I get an album that is colorful, vibrant, and polished. 

The plant card reminded me to include photos of the plant life surrounding our home.

I finished off the album with a beautiful sunset photo of our neighborhood and the 4x4 "Home" card. I am so pleased with the simple yet poignant story this album tells of our lives right now. 

 
How are you documenting your home with Domestic Bliss? Be sure to tag us on Instagram @simplestories_ when sharing your projects! 
 

SaveSave

Supplies

Hello friends! I'm so excited to be sharing two layouts with you today using the NEW Say Cheese III collection! I love scrapping pictures of my favorite Mouse, and the Say Cheese collections are perfect for all your park pictures. I used two of my favorite photos from our last trip in these layouts!
 

My first page was inspired by the magical castle! I used the Simple Stories Castle cut file from the Silhouette Store to cut a castle shape from black cardstock. I took the negative and traced it onto a scratch piece of paper. Next, I punched out lots of tiny squares from all the patterns and lined them up along the traced shape.

One I had the castle shape filled in, a glued the negative over the top. I added my photo and a few embellishments, trying to keep the focus on the castle.  I added brads to the castle towers, and then used enamel dots and stickers around the castle to look like fireworks. I finished the page with a stitched washi border!
 

For my second layout, I wanted to use famous quote Walt Disney said on opening day of his Park.
 

I cut the quote out using my Silhouette, and backed each letter with a different pattern paper. Next, I traced each letter with a black pen to help it stand out more. I centered the castle die cut from the Bits & Pieces above the quote, and added two small photos on either side.
 

I added a few small embellishments around the photos, but tried to keep the quote front and center. My favorite part of this collection are all the great stickers with quotes! I managed to squeeze three on my page with a giant quote title. You can never have too many!


I had so much fun creating these special pages, and I can't wait to use the Say Cheese III collection to scrap more magical photos. I hope you feel inspired to dig in to your park photos and get scrapping!

SaveSave

Supplies

Hi there! Leah here with you today, showing you how I’ve set up my wellness planner. I am calling it my “wellness” planner because I want it to be an inspiring place to track my fitness journey, as well as my emotional wellness. The goal of this planner is to help me work towards strengthening my body AND mind.

I am going to be really vulnerable with you all in this post. I have struggled for the last couple of years to maintain any sort of fitness regime. I have a million excuses I could give, but the truth is, there has been a serious mental block holding me back. Our mental and physical healths are SO intertwined. It wasn’t until more recent years that I realized that I struggle with anxiety. It looks differently for everyone - my anxiety is a lot different than the anxiety my mom has struggled with most of her life. For this reason, I ignored all the signs for years thinking that I couldn’t have anxiety. I knew what that looked like. I saw what my mom went through, and how the anxiety attacks could completely take control of her mind and body. While I would certainly consider my anxiety to be a milder form than my mother’s, I am still very impacted by it in my everyday life and now find myself on a journey to understanding MY anxiety and how it affects me physically and emotionally. I am learning ways to manage it, and hope to eventually overcome it completely. It is a JOURNEY though, and I am constantly trying to remind myself to take it one step at a time and to not be too hard on myself. There will be days where I feel like I have “failed” because my anxiety got the best of me, but I’m learning that on those days, sometimes I have to be willing to cut myself some slack so I can focus on dealing with how I am feeling, rather than feeling defeated by what I’m NOT getting done.

When setting up my wellness planner, I had a few things in mind. I needed this space to feel peaceful and uplifting. Although the Faith collection has a religious theme, I am not using it in that way for this planner. I chose to work with this collection because I find the colors and designs to be very comforting. The collection has a lot of nature-inspired elements and I find a lot of solace in nature, so it felt very appropriate to use in this planner.

I wanted this planner to feel inviting, so I put a little more work into the curb appeal, a.k.a. the front of the planner and what you see when you first open it. The pockets of the planner are decorated with florals and other natural elements that inspire and calm me, as well as several uplifting and motivational messages to remind me to remain confident in my strength and perseverance.

I used mostly die cuts, the SN@P! Pack and the Faith sticker book to decorate the pockets.

I have the planner separated into two main sections: everything pertaining to mental and emotional health is up front, physical fitness stuff is in the back. I am using the Faith inserts in the front section, only a couple of the dividers, and a few of the journaling and “Inspired” pages. I will use these inserts to track my emotional goals (such as meditation/reflection practices), as well to journal some of my thoughts, my inspirations and motivations, and notes on helpful things I have read or listened to.

I decorated a few of the dashboards that came in the Faith Insert pack, and then laminated them so they were sturdy. My favorite is this jar of flowers. I decorated the jar with some washi tape, uplifting sentiments and a couple of stickers.

The front dashboard has a laminated card clipped to it, cut from this 12x12 elements sheet. I laminated it so I can change up what I put on there. Right now, I have a photo that makes me smile stuck to the card with washi tape. The photo can be easily moved. I could also use a wet-erase marker to write something inspiring on the laminated surface.


I used ALL of the metal clips from the Faith collection along the right edge of the planner as decoration, but they can easily be used as tabs too. I find that they allow me to turn the pages easier than the paper tabs, so I put one on each divider as well.

Check out how adorable this Carpe Diem planner charm turned out with a few stickers to dress it up!

In the back of the planner, I’m using the Fitness Inserts to track my physical fitness journey. I laminated this clipboard dashboard from the pack so I can change up what I write on it. Right now I’ve written out my everyday goals. They are a mix of physical and mental goals.

I’m using the Doc-It journal tucked into the back pocket for journaling more private things. For example, if I have a bad anxiety day – I am taking time to write about it. This is helping me in so many ways. I’m able to have an outlet for the thoughts that are giving me anxiety, and it’s helping me track anxiety triggers, as well as what worked and what didn’t work as I worked through the anxiety.

When I put together this planner, I knew there may be some days I have to open it when I’m not in the best state of mind. One thing that helps my anxiety is taking time to create. However, on high anxiety days, I often find myself pretty tired and very easily overwhelmed by too many choices. To help me with this, I’ve packed up a few essentials that I plan to bring out only when I am journaling in this planner. I punched holes in the packaging for these brads so I could put them right into my planner. I also tucked some extra stickers into this pocket insert.

 I packed up the Faith SN@P! Pack and Bits and Pieces die cuts into a Simple Stories planner pouch. Again, limiting what supplies I packed by sticking with one collection so I don’t overwhelm myself with too many options.

I’m carrying all the new Simple Stories washi tapes in another little pouch.

And then both of the pouches above are tucked into a larger pouch holding the Faith collection sticker book and the 6x8 paper pad, the Fitness collection sticker book, and other basic tools that I use often (a few roller stamps, stamp ink, adhesive, watercolor paints and a water brush, doilies, a wet-erase marker, a hole punch, mini stapler, scissors).

I hope to show you more details of the inner workings of this planner as I start putting it to use. I am really hoping it will serve its purpose in helping me strengthen my body and mind. I know there are a lot of other women out there that also struggle with anxiety. It can be uncomfortable to talk about, but I have found that for me, giving anxiety a label and talking about it more openly helps give me more control over it. If you are struggling with anxiety, please remember that it looks differently for everyone which means there is no one perfect cure for all. I’m definitely not an expert on this topic, as I am still on my own journey, but I hope you will remember to allow yourself some grace as you confront how you are feeling and determine the best way to manage it, for you. You don’t have to do it alone – never hesitate to ask for help from friends, family, and/or a medical professional. Whatever it takes to help you through it.

You can follow me over on my Instagram, www.instagram.com/sunny.leah,  to see more of this planner as I begin to use it. There is also a ton more inspiration using the Faith and Fitness collections over on the Simple Stories and Carpe Diem planners Instagram accounts. Please be gentle with yourselves friends, and remember to take time to take care of YOU. 

SaveSave

SaveSave

Supplies

Pages