March 2017 Blog Posts

Hello friends! It is Stacy here today with 2 layouts using the Simple Stories Faith Collection. When I laid eyes on this collection for the very first time, I thought of all the travel photos I could craft with it. Travelling to me is always a new adventure, setting foot on foreign soil and not knowing what could come next. Every culture has its own unique characteristics so each experience is special. Every time I travel, I get inspired. There is always a new perception to grow my knowledge or inspire me on a different level. Every trip I go, I let God decide what is good for me. This faith keeps me wanting to go travelling often, to explore and be inspired.

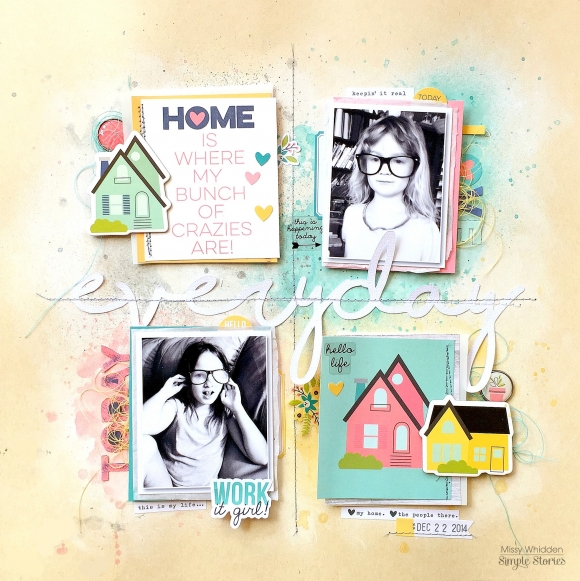
The recent trip to US for the Creativation 2017 show was an eye opener. I had never flown halfway around the globe before, and this trip gave me new experiences I would never forget. For my first layout, I decided to document the trip to San Francisco just before heading to Creativation 2017.

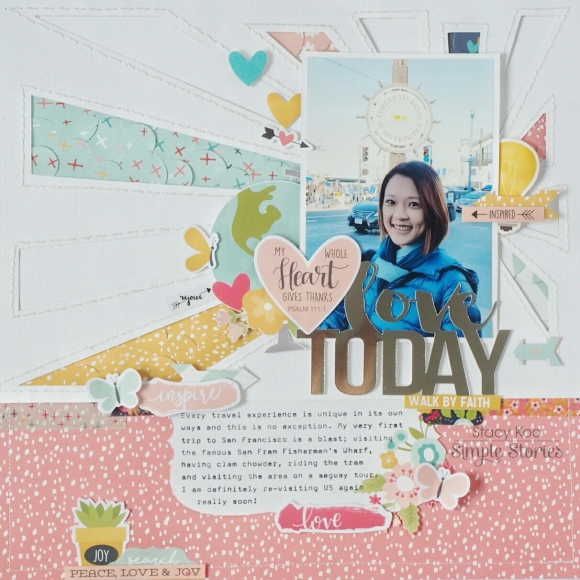
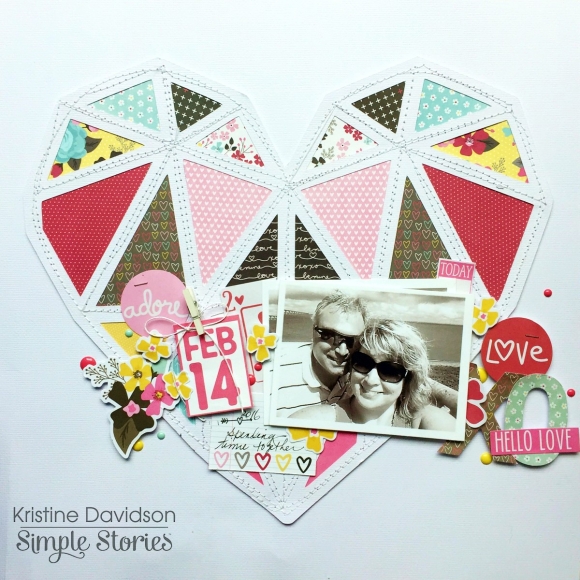
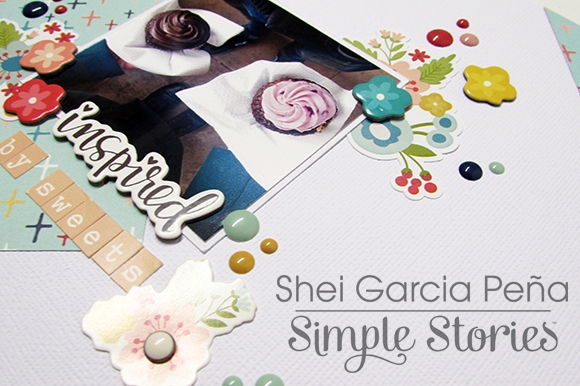
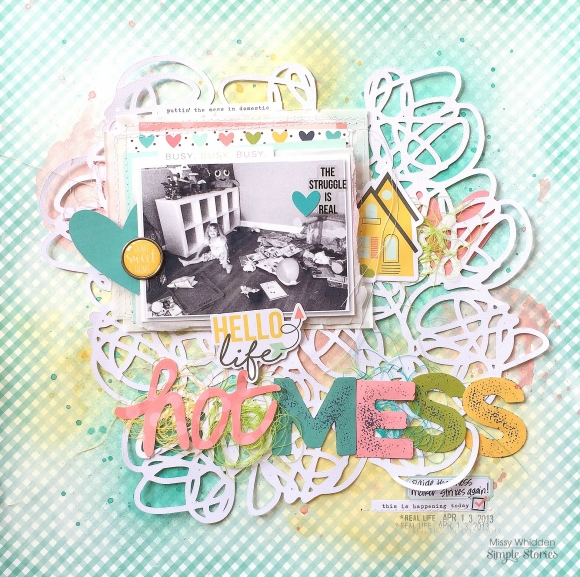
The sun was up that day despite it being extremely cold. The weather was a blast! Love this picture taken at San Francisco Fisherman’s Wharf, the background in the photo gives me a lot of memories to remember!

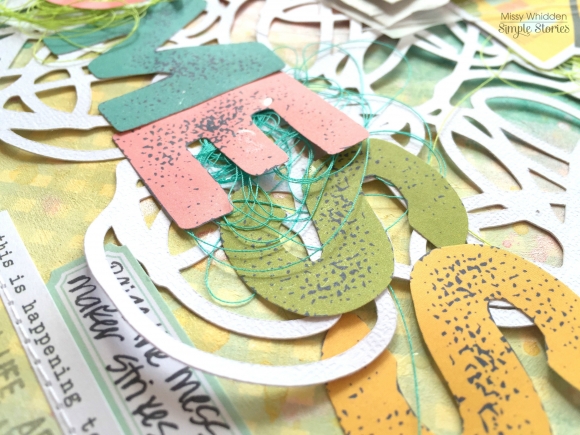
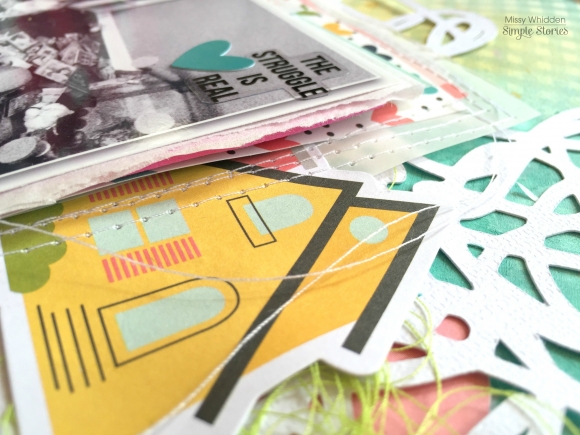
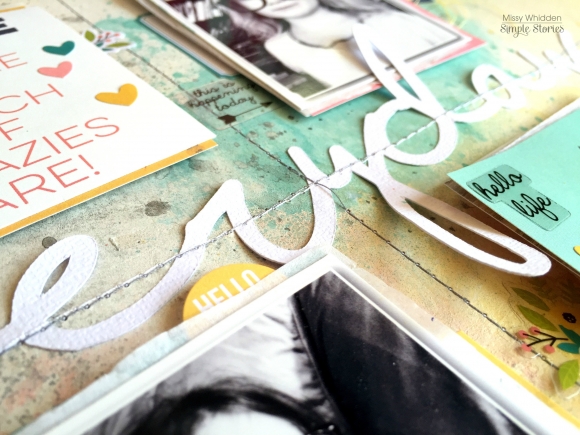
Inspired by the weather and the logo of the Fisherman’s Wharf, I used a sunburst digital cut just behind the photograph to give it a spotlight. I also did some regular back stitching to highlight the rays of the cut. I left some of the negative spaces intact. On alternate sunrays, I punched some circles in different sizes to fill up the spaces in order to give it some colors. The Faith collection has a good range of pattern papers! The colors appeal very much to me, so I could not help but to showcase some of the lovely colors in the sunburst die-cut.

I have also added Faith Collection Washi Tapes at the joint between the white cardstock and the pattern paper. It is a good way to mildly eliminate the contrast between the 2 sections!

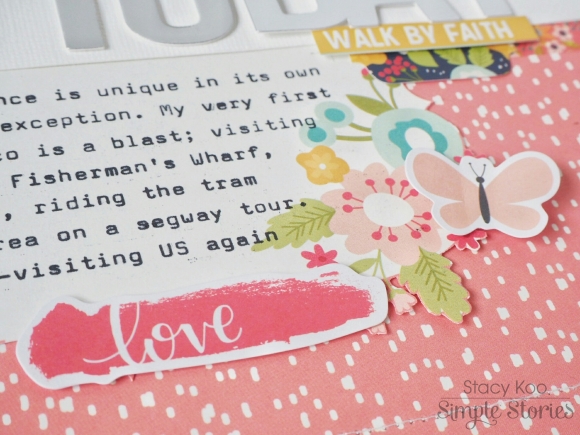
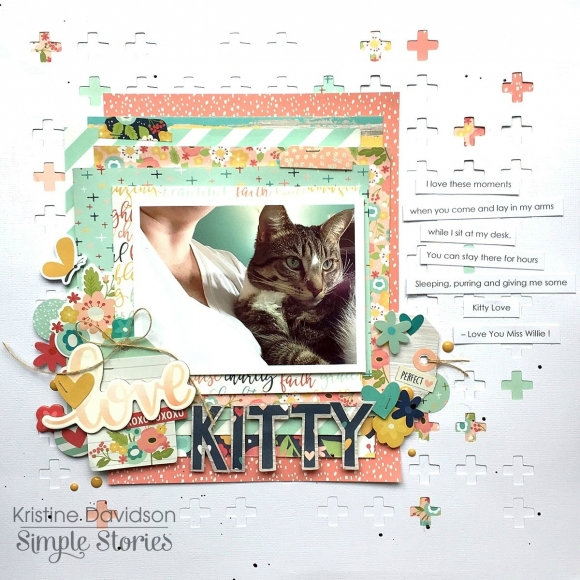
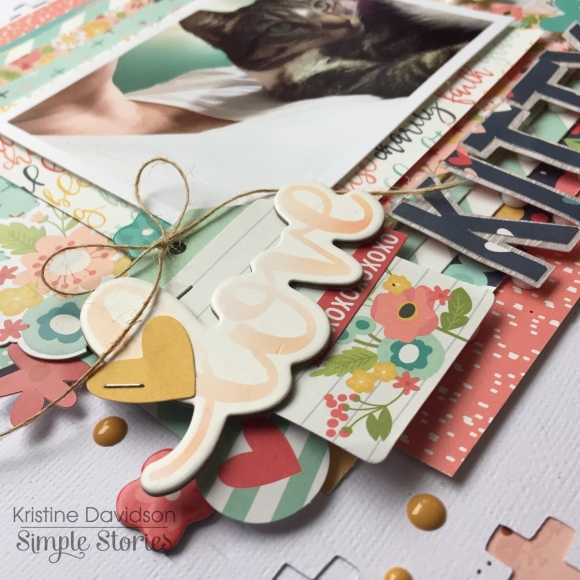
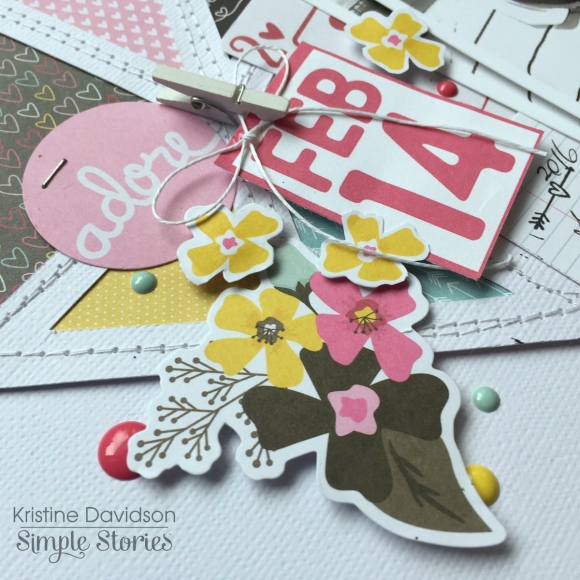
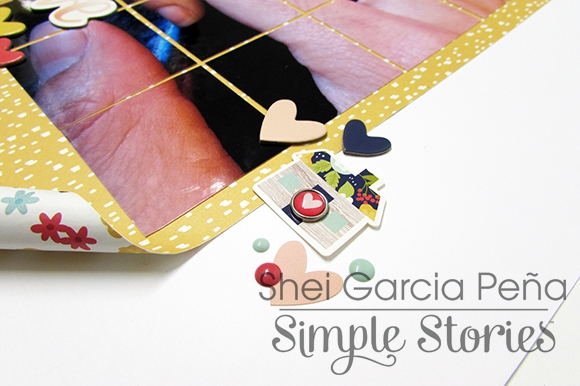
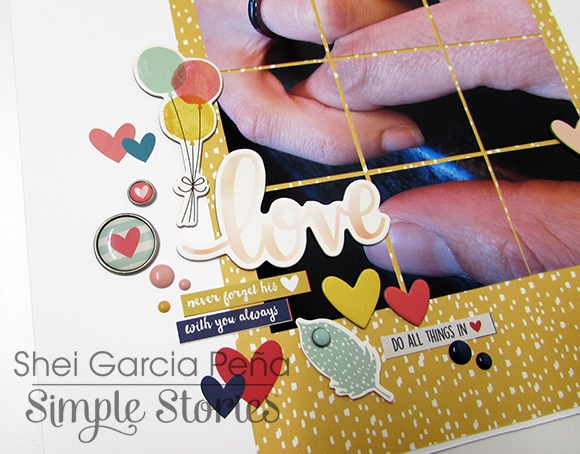
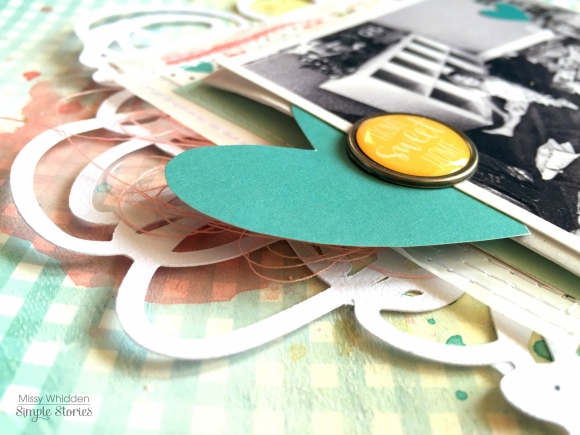
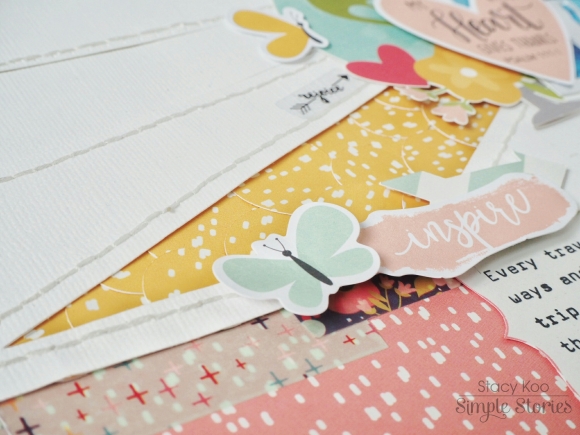
On the lower half of the layout, I have cut a bracket shaped element from the pattern paper. This time, I had a lot more journaling which I wanted to add to the layout, hence the choice of this element to fulfil my journaling purpose. I later added elements from the Bits & Pieces pack. I like to stick butterfly embellishments by folding it halfway, and only applying foam dots to the centre of the butterfly. I find that it gives the butterflies some flexibility and it looks like it is fluttering away!

There are so many new experiences in the trip where I felt inspired! So, I could not help but to add the light bulb chipboard piece, marked with the inspired sticker. I have also added a little digital cut arrow as the background for the sticker piece.

_______________________________________

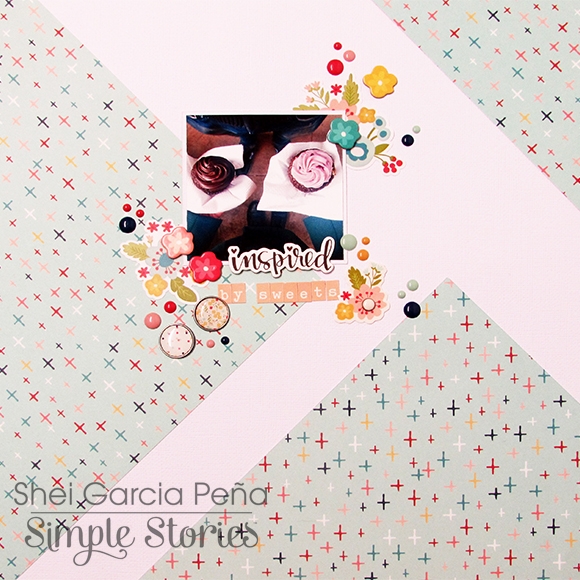
For the second layout, I have used a photo taken at the San Francisco Palace of Fine Arts. 

It was a beauty and quite a sight to breathe in, and every walk around this palace was calming and inspiring. It was always a joy to travel, and especially so with a great crafty friend like Aida!

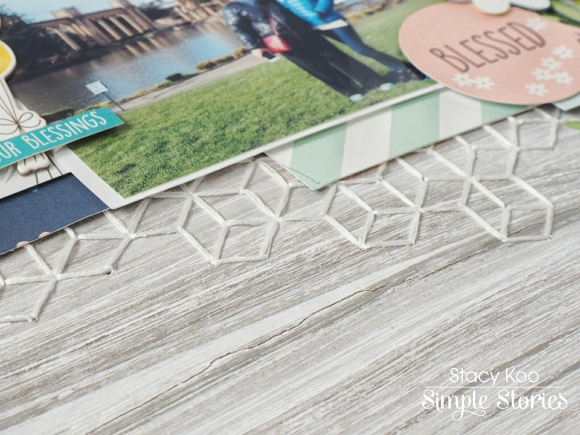
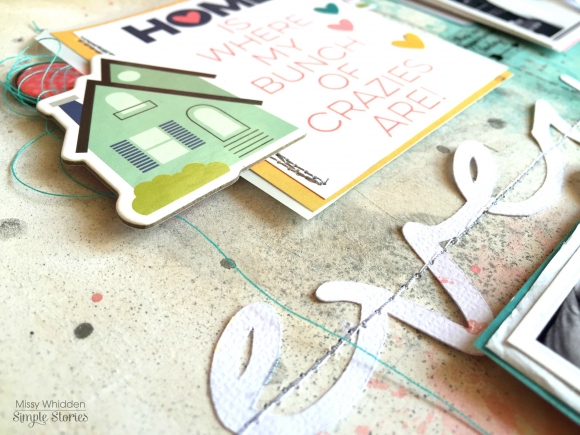
I started the layout by first doing some random stitching on the background. I like the wood grain background, smoothing and calming suitable for this photo. 

I love the Sn@p pack! It is great for many different reasons, and I used it as part of the layering behind the photo to create contrast. There are so many wonderful pieces in this pack! In here, I have layered it up with chipboards and embellishment pieces.

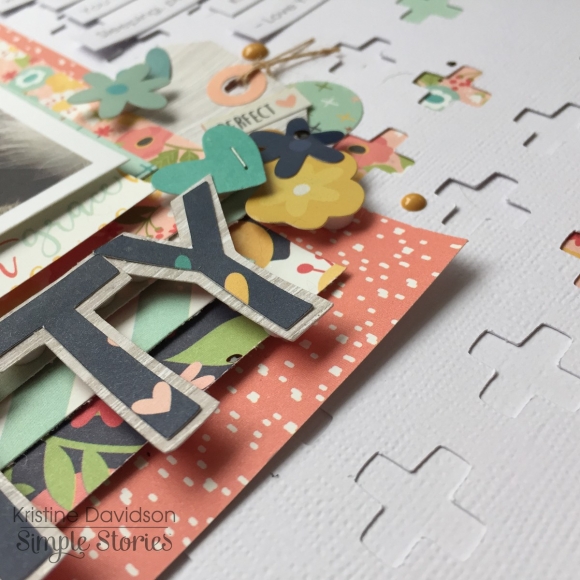
Here, I have completed the layout with a title “Travel Joy”. The mint alphabet stickers are available in the sticker pack. It is also a good size for subtitles, or naming the places where you have visited.

Hope you get some inspiration from the layouts, and thanks for stopping by today!

Supplies

Hello Friends, its Kristine Davidson and I’ll be sharing a layout and 2 cards with you today.  This month I decided to create with the newly released Faith Collection.  I was inspired by the colors in this collection and the great patterns using the 6x8” paper pad. I must say this is the perfect size for creating layouts that use layering, and where you want to use a bit more than a 6x6” size. I think this new format is going to be a huge hit with those who create layouts, planner inserts, cards and so much more!

Let’s get started shall we? First I would like to share my layout with you. 
It’s called Kitty Love –

So as you can see, this collection isn’t just for FAITH scrapbooking! It can be used for other themes as well. I wanted to use this photo of myself and my little furry love  Miss Willie. The background matches that green perfectly doesn’t it !! LOL. That wasn’t planned! 

I first started my page by using a white background, but once I got my page started I needed a bit more so I created a background using a cut file from Paper Issues.  I wanted to use tons of gorgeous papers on this page and so I layered and layered creating dimension and lots of color.  

It’s no secret I love diecuts and popdots! I added those on the corner of my photo in a cluster with several layers and adding twine and staple for texture. 

I created my Kitty title using 2 different patterned papers and cut out kitty twice with one larger than the other so it would create a border and make it stand out a bit more.

Don’t be afraid to add several papers or even pieces of paper to create layers. Especially if they are from the same collection and of course just because the collection is called Faith doesn’t mean it can’t be used for something else !

_________________________________

My second showcase is a card set I created with the same collection.  These cards can be used for encouragement or thinking about you themes. By just adding a diecut or a sticker you can change the theme of your card. 


_____________________________________

OK! I can’t leave you without sharing one of my latest layouts using the Love & Adore Collection.

I pieced some left over papers under this heart diecut and layered so many great Bits & Pieces from the same collection. I love this layout and It was so fun to create. Do you have any leftovers from this collection? How about using them with a cut file to get rid of some of those small pieces? Do It ! ;)

Layers and layers Oh MY!

Thanks for visiting us at Simple Stories today, if you enjoyed my layouts please come find me on instagram @KristineDavidson

Have a great day!


Supplies

Hello friends! Brenda Smith here to share a memory planner spread using the new Domestic Bliss line. While a lot of the stickers and embellishments are chores-related and work perfectly in everyday planners, I wanted to show that this line is equally usable for memory planning. 
 
 
I decorate my pockets fairly minimally using the items I think I'll use in upcoming spreads. I like my pockets to be mostly functional but with a little bit of cuteness. Luckily these die cut ephemera pieces are adorable enough on their own without me having to add much else. 
 
 
I used a dashboard insert from the Home Planner Insert set to divide my spread and give me ample space for two photos. 
 
 
I absolutely adore the new sticker tablets and made good use of a lot of stickers, including all the fabulous little stars you see throughout the spread. 
 
 
I like my memory planner spreads to be a mix of cute quotes from my kids and memorable things we did that week. I used my Silhouette Cameo and its pen tool to "type" my headers and my journaling for me. I thought I would change things up a little with the typography and love the look of the headers. 
 
 
Enamel dots are some of my favorite tools to unite a page together. I love the little tiny pops of color and how the dots reinforce the circular theme I've got going on. 
 
 
I am addicted to the Bits and Pieces packs and cannot do a memory planner spread without them. They are so easy to layer for visual interest without detracting from the spread. 
 
 
 decided to sew on this planner spread. I have the thread backings on the other side of the planner pages, of course, but they'll be easy enough to cover up with paper or embellishments so I'm not worried about it. I love the finished look of the stitching. The roller stamp from the Domestic Bliss line has a lot of stamps perfect for household planning but again, a lot that can be used for anything. I stamped the "Get it Done" here for an additional accent. 
 
Have you picked up Domestic Bliss yet? Show us what you're making with it by tagging us (@simplestories_) on Instagram!


Supplies

We're thrilled to introduce you to the 2017 Creative Team!  Look forward to seeing work from these talented ladies beginning in April!

Hi there!  It’s Shei here today. I’m so happy to be back on the blog sharing two layouts.  Let’s get started!

For my first layout I decided to work with the amazing “Faith” collection.

I started with a white cardstock as my background ‘cause I like the brightness that the white color brings to the whole project. To add color I used the “belive” b-side paper. I cut it in three parts and I created the background with them.

I used a very sweet pic, hahaha! I like very much cupcakes and I love chocolate, so you can know which was my cupcake… 

Next came my favorite part: the embellishing! For that I used some flowers from 6x12 chipboard and from Combo Sticker. I also added a few enamel dots and some decorative brads to give dimension to my layout.

_________________________________

The next layout I’m sharing with you today was again created with the beautiful “Faith” collection.

I started cutting a very big picture of me and my husband, hand in hand, on our wedding day in Las Vegas. I cut it in 12 pieces and I glued them like a puzzle on the “Hope” b-side paper.

Then I glued the paper on a white cardstock and I rolled two corners, so you can see the other side of the paper (so beautiful!).

I titled this layout “love” using the word from the 6x12 chipboard. Then, I added many embellishments ‘cause it’s very difficult to choose only one of the beautiful Simple Stories’s embellishments. I love all of them!!

So I used the heart from the decorative clips, some hearts, arrows and sentences from the combo stickers, more hearts and the ballons from the 6x12 chipboard and some decorative brads like the house or the feather. Finally, to give a bit more dimension to my project, I added some enamel dots of different colors, and that's all!

Thank you so much for taking the time to read my post! I hope you enjoyed my layouts! 

Never stop smiling! Kisses!!

Supplies

Hello everyone! It’s Lori again on the blog showing more of the behind-the-scenes from CHA/Creativation. Today, I’m sharing the bold and bright Say Cheese III collection—a glorious follow up to our best-selling Say Cheese & Say Cheese II collections.

The excitement about this creative line was energizing at the show!  The beloved Say Cheese collections always have people swooning and getting giddy about planning their next vacation!  Our wall of goodness did not disappoint at the show!

The polka dot papers and sweet camera accents are fun additions to this collection, and the strong black makes the primary colors pop. The color palette is great for theme park trips, but it’s also versatile enough to use for other summertime play!

The home décor pieces decorated with this collection were so much fun to create! Remember, these gorgeous designs can be used in other projects besides in your scrapbooks! The chevron shapes, tray and clipboard turned out so cute! Who wouldn’t want to see those fun projects displayed in their home?!

And how about this adorable wood garland created for us by Julie Johnson from Paisleys and Polka Dots?!

If you’d like more behind the scenes peeks into the booth at CHA/Creativation, check out this live video from the show to see more of the Say Cheese III collection!

In case you missed it, be sure to check out our behind the scenes posts for our Faith, Domestic Bliss, and Emoji Love collections for even more inspiring ideas!

Hey there, friends!  Missy here, and I’m excited to share two new layouts today featuring the new Domestic Bliss collection.  It inspired me to document a few “everyday moments” type of photos.  There is never a dull moment around our house with our two silly girls, and this collection was perfect for my photos. 

For my first layout, I wanted to scrap this memory of my youngest daughter and the huge mess she made in her room one night.  The photo is grainy and not great quality since it was kind of dark and I took it with my phone, but I couldn’t pass up the moment.  I had to snap it because she looked so proud of her little self sitting in the middle of her toy pile on the floor!  I wanted the layout to resemble a mess since that was the subject of the page, so I used a messy scribble cut file from Just Nick.  I used a lot of white gesso on the background paper, which is called Work it Girl.  I used a lot of watercolor on the background before attaching the cut file.

As soon as I saw the word MESS on the 4x6 Horizontal Elements sheet I knew I had to use it as part of my title.  I fussy cut it out and then hand drew “hot” on a piece of paper from the 6x8 Paper Pad.  I cut that out and arranged it at the bottom of the layout.  I went a step further with the “messy factor” and added a bunch of tangled thread under some of the letters.  I added a few stickers below that from the 4x6 Sticker pack.

I layered in one of the cute house die cuts from the Bits & Pieces pack here under the photo.  I also added in a bit of vellum and a few paper scraps.  I ran it through my sewing machine to give it some texture.  I also added some adhesive foam under the photo for more dimension.

On the left side of the photo, I added a fussy cut heart and one of the Decorative Brads. I cut the prongs off and glued it down like a button.  They are easy to dismantle if you’d rather use them this way.

Here’s one more close-up of the title area.  You can kind of still see the pencil lines where I drew “hot” but that doesn’t bother me.  It kind of adds to the messy look, I think!

____________________________________________

For my second layout, I decided to go simple and create a grid design using two photos.  Again, I wanted to document the silliness that goes on my house on a daily basis.  My girls doing random things like wearing these crazy glasses is just one of the funny things we get to experience all the time.  I was inspired by that cut apart piece that says “Home is Where My Bunch of Crazies Are!”  I just love that, and it was perfect for what I wanted to do.  I created four equal sections using my ruler and a pencil and then coated a lot of gesso on the background (a sheet of light kraft cardstock).  I created four clusters using patterned papers, chipboard, stickers and other embellishments.

I like adding large titles to the center when I had a grid design.  I wanted it to span across almost the whole page, so I cut it pretty large on my Cameo.  I used the Shoreline font and white cardstock.  I used lots of coordinating watercolors for the background over the gesso and then worked with pieces from the collection in those colors.  Here you can see I used a few of the Clear Stickers as well as some of the 4x6 Stickers.  I added foam under all the main pieces to create depth and some shadowing.

I ran the background through my sewing machine using grey thread.  To jazz up this photo area, I added some stickers here and some tangled thread.  This photo just cracks me up!

I did the same thing for this photo.  I love the watercolor peeking out from behind everything.  I fussy cut the “Today” letters from patterned paper.  I like how this mimics the letters beside the other photo.

Here’s a great shot of the dimension created by the foam adhesive underneath everything.  I layered this cute house on top of the cut apart and added a brad as a layer.  I just love this saying!  It definitely fits our home and our life!

Thanks so much for stopping by, and have a great day!

Supplies

Hey planner friends!  It’s Meka here, living, loving, and planning with you today on the Simple Stories blog. This month I’m working on my home binder. The Domestic Bliss scrapbooking collection and the Home Carpe Diem planner collection are all about creating a happy home filled with love, laughter, and… laundry!

I’m using these lines to set up my new grape Carpe Diem planner. Grape is an in-your-face, fear-no-color shade of purple! It’s stunning, but I’ll admit it-- I wasn’t as ready for the color burst as I thought I was. I used some of the softer prints and designs from the Domestic Bliss line to tone down the grape a little bit. I’ve also added other soft touches like pale yellow, doilies, and ribbon trim. This allows me to enjoy the richness of the grape Carpe Diem, without being overwhelmed by it. You can see glimpses of these elements throughout the planner.

Using elements from the Bits and Pieces, and the SN@P! Pack, I stuffed my front pockets with planner goodies that make me smile. 

Chipboard stickers and Decorative Bradz make fun planner clips. These simple paper clip diy’s were created in a flash with some miscellaneous embellishments from my scrap stash.

If you take a close look at the dashboard, you may notice the pink polka dotted pattern from the Posh Carpe Diem collection. I thought this pale pink was a perfect complement to the vibrant grape, so I used it as the base of the dashboard. I then cut and layered some of the 6x8 paper pad sheets on top of it. This paper pad has lots of sheets that I also used for more dividers and tabs.

The Home Bookmark tablet was a must for listing out tasks. I love that there’s a checklist built into the format. The backside of the tablet was plain cardboard, so I covered it with coordinating paper from the 6x8 paper pad, and a doily. This would be a convenient place to add some family photos, quick-reference phone numbers, or a daily routine.

My first layout is a weekly home cleaning schedule that I’m trying out. The 4x6 sticker pack and the sticker tablet had everything I needed to plan out a weekly routine. I used the Vertical Hourly A5 Carpe Diem inserts, not to give myself a strict schedule, but for an overall idea of my daily flow.

As a motivator, I created a memory page for my next layout. It documents those days when I’m a serious domestic diva, demolishing my to-do list two checks at a time!

I love the blend of humor and heart in the Domestic Bliss collection. Check your favorite scrapbooking and craft stores for this line today. Be sure to stop by and visit me anytime at https://www.instagram.com/yespleaseplanning.

Supplies

Pages