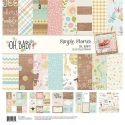
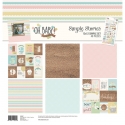
What's almost as adorable as a new baby? The new Oh Baby collection of course! I love the soft colors in this line so I knew the papers and embellishments would be precious for documenting my grand-daughter's story.
May 2018 Blog Posts

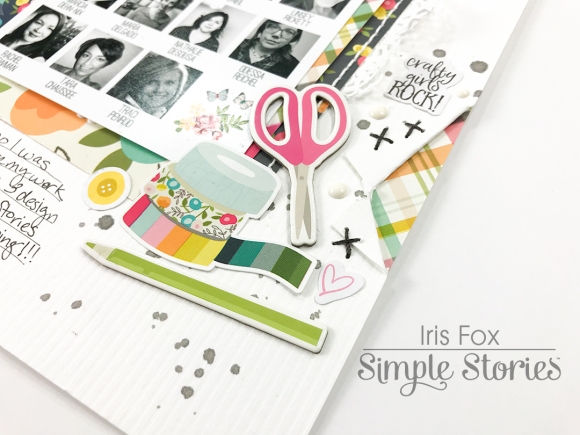
Hello hello, Iris Fox here with a layout that I've been wanting to create since joining the 2018 Creative Team. When I saw the Crafty Girl collection, I knew it was perfect to scrap the team announcement photo with all these amazing crafty girls that I would be joining. Of course, I wanted to put ALL THE THINGS from this collection on a page because it's all so colorful and fun!
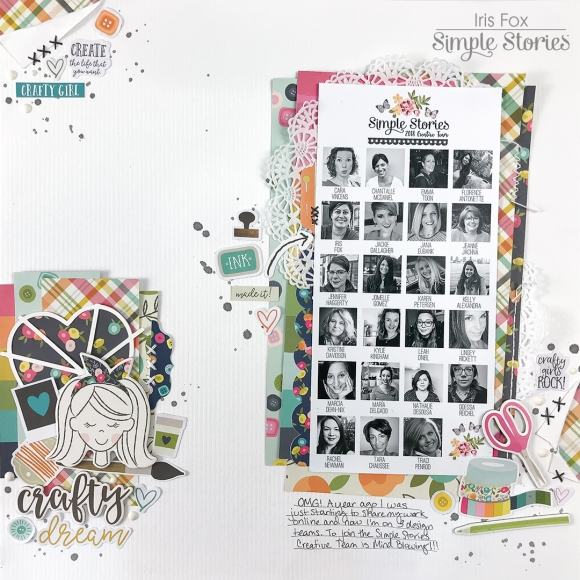
I started with white cardstock for my background, and cut strips of papers from the 6x8 Pad for layers. (I probably say this every time, but I'm SO IN LOVE with the scale of the patterns in those 6x8 pads!) I also used one of The Cut Shoppe's cut files to make a heart that's hiding behind the girl chipboard. I looks a bit like a fan, and I like that it adds another layer on interest.
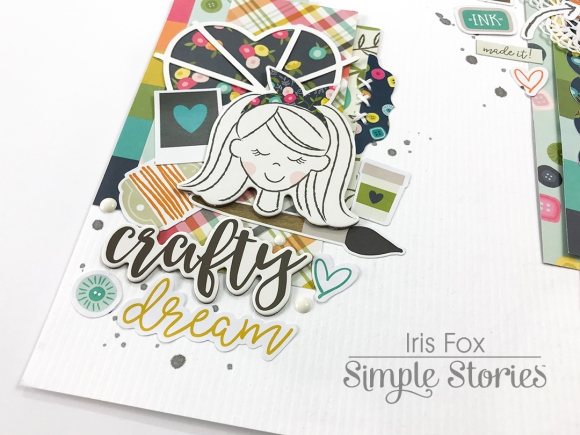
I had so much fun picking out cute icons that feel like "me" from the Chipboard and Sticker sheets. The size of the 4x6 Stickers are great to fill the nooks and crannies of the clusters, and to scatter around the page.
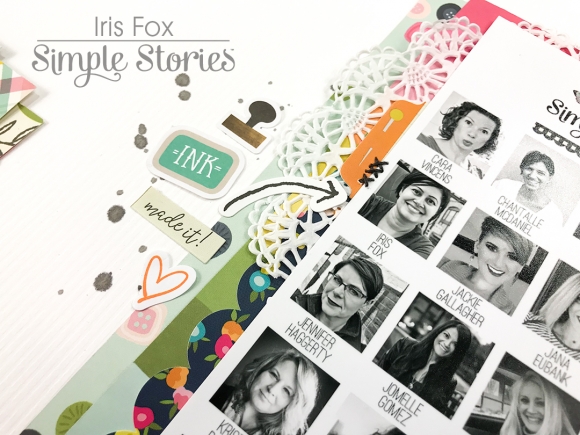
One of my favorite things to do is add what I call a peek-a-boo corner, which is when you fold over the paper and have another behind it. So I did that in the top corner, and also tore and folded a piece on the right side. That colorful plaid peeking out is my favorite paper in the collection.
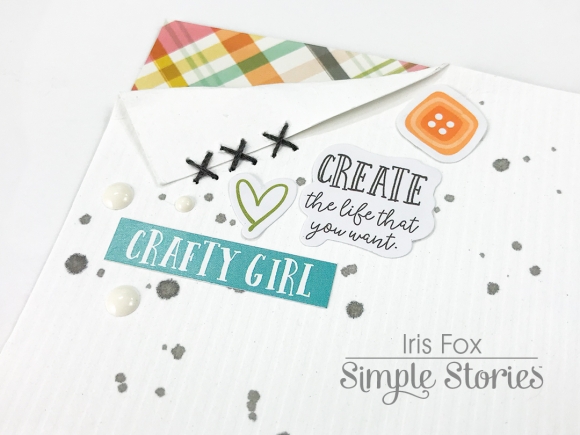
I can barely make a layout these days without adding some stitching. In addition to some white stitches, I was inspired by the x's on the orange tab to stitch grey x's on the folds. (I also stitched over the printed x's on the that tab) The finishing touches to round out my favorite types of embellishments are a doily, some white enamel dots, and soft grey ink splatters.
There is so much more I want to do with the Crafty Girl collection. It's just perfect for documenting our passion for scrapbooking!

Happy (inter)National Scrapbook Day! We’re thrilled to participate in the worldwide celebration, focusing on all things scrapooking & paper crafting! In honor of this super fun day, we have lots of awesome surprises for you, including a sale, freebies and give aways!
To get the party started, today only, your entire purchase from our Digital Store is 50% off!
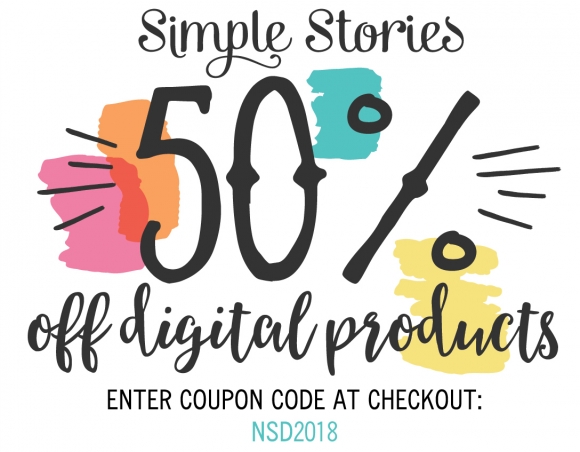
With ALL of your favorite Simple Stories collections in digital format, including our newly released collections like Oh, Baby! and Hello Summer, you’re sure to find just what you need for all of your digital crafting needs. Visit our Digital Store and enter code NSD2018 during checkout!
_____________________________________
Today’s celebration also brings this super cute set of Crafty Girl FREE printables!

Designed for use in your Carpe Diem planner pockets, your SN@P! Pocket Pages and your other scrapbooking & paper crafting projects – you’re going to love the cool & crafty designs!
You'll find the free printables here on our website, along with LOTS more!
We'd love to see how you're using these free printables in your planners, projects & pages, so be sure to snap a pic and tag your Instagram or Facebook posts with the hashtag #SSfreeprintables!
_____________________________________
We have not one, but TWO different giveaways taking place over on social media today!
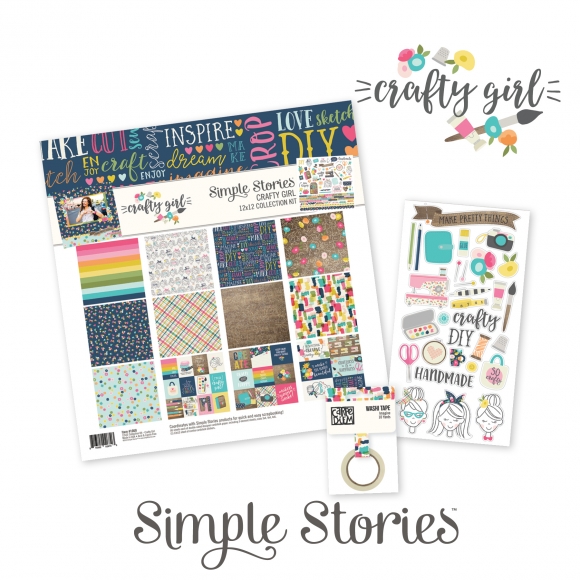
First, head over to our Facebook page here and enter for a chance to win one of these 3 Crafty Girl prize packs!
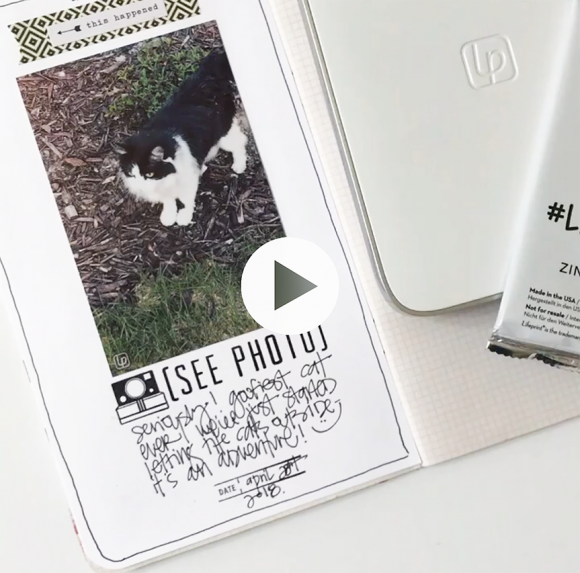
Last, but certainly not least, we're partnered with our friends at Lifeprint to GIVE AWAY one of their amazing Lifeprint 3x4.5 Hyperphoto Printers for iPhone! Head on over to our Instagram account here, find the GIVEAWAY post with the photo you see below, see how it prints photos WITH embedded video and enter to win one of your very own! These little pocket printers are amazing and bring a whole new level of awesome to your scrapbooking! Even better Lifeprint has given us a 20% off your purchase coupon to share with you, just enter code #FRIENDS during checkout here on their website!
Thanks for celebrating (inter)National Scrapbook Day with Simple Stories, we hope you have a super, crafty, creative day!
Hello creative hearts! Welcome back to the Simple Stories blog. Leah here with you today showing you a new traveler’s notebook insert I’ve set up to document some of my 2018 travels. I am currently using and loving the Travel Notes collection. This collection truly embodies a love for traveling and adventure, which is the heart of why I fell in love with traveler’s notebooks to begin with. I love having a journal that I can bring with me on my travels and document the stories I want to remember.
My husband supports my love for crafting and memory-keeping, but it’s probably fair to say he doesn’t quite “get” the obsession. I’ve chattered excitedly about a new project to him before and bless his heart, he tries to act interested, but crafting just isn’t his thing which I understand. However, you can imagine my excitement when I told him about a new project I wanted to start and actually seemed genuinely intrigued.
We love visiting new places and traveling together, even though we don’t get to do it as often as we like. One of our favorite parts about traveling is experiencing the food and craft beer culture the area has to offer. Living in VA, there is no shortage of craft breweries popping up all over our state. We’ve found a lot of joy in taking weekend trips here and there to visit them. I decided to start a new insert in my traveler’s notebook specifically for documenting those trips.
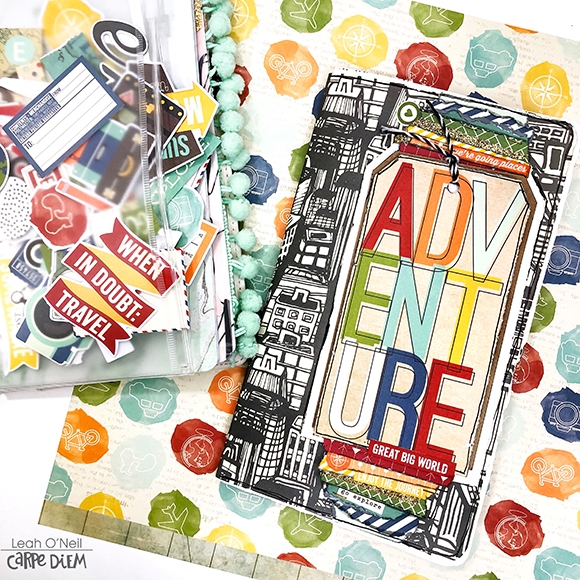
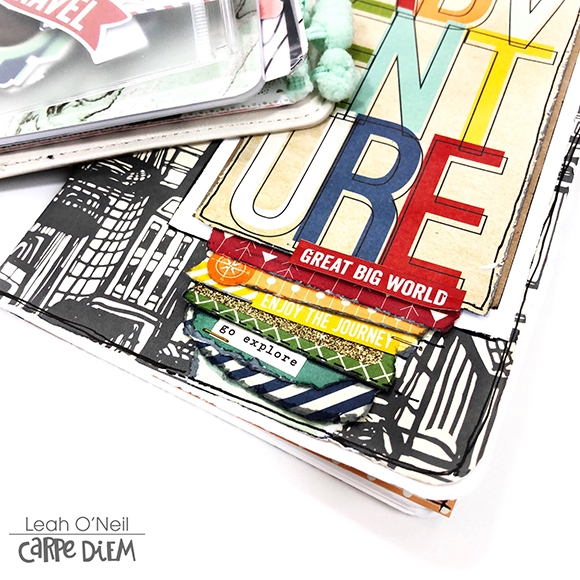
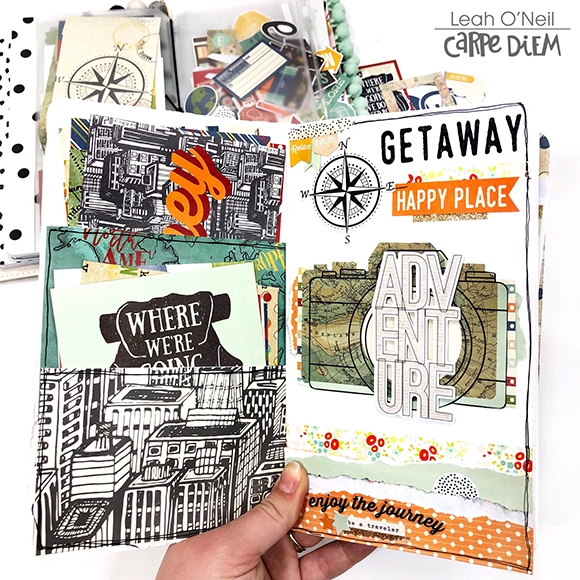
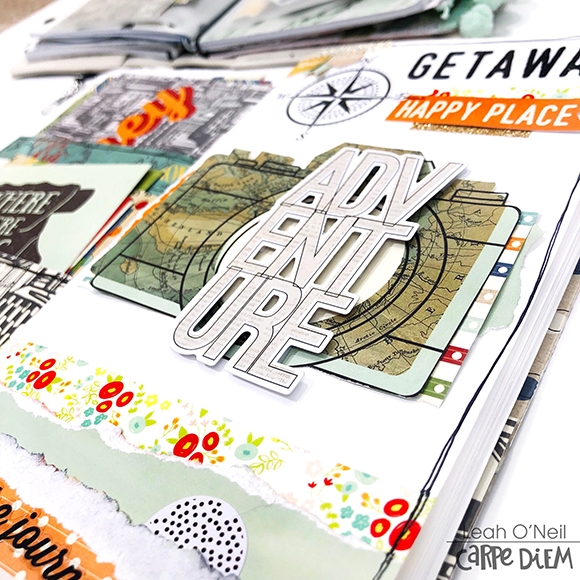
I love how this cover turned out! I used my favorite 12x12 paper from the Travel Notes collection to create the cover itself. The tag that says “Adventure” was cut from one of the 4x6 Travel Notes SN@P! cards. I used the 6x8 paper pad to tear strips of different colored patterned papers to layer at the top and bottom of the tag. I layered a few stickers over the paper strips, trying to keep colors grouped together so I could keep the rainbow effect I was going for without feeling like the layout was getting too busy.
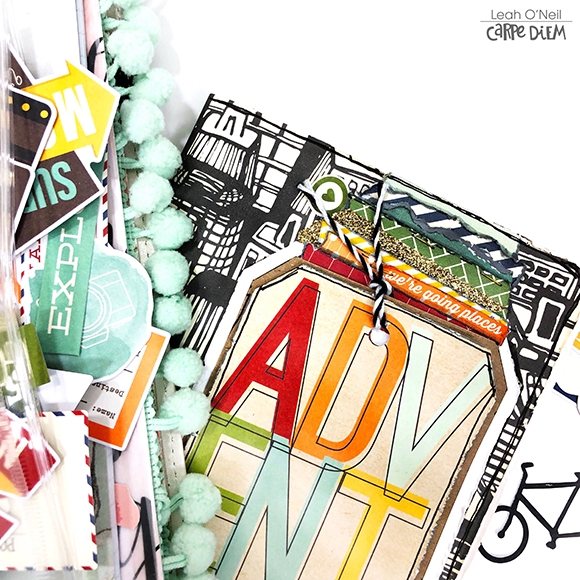
It was important to me to make this notebook very portable so I added pockets inside of the front and back covers for holding stickers and journaling cards to decorate with. The Simple Stories SN@P! Cards are amazing for giving you easy, portable options for decorating and journaling on-the-go. I can also tuck photos and ephemera collected on our travels into these pockets for safekeeping until I’m able to sit down to create a layout.
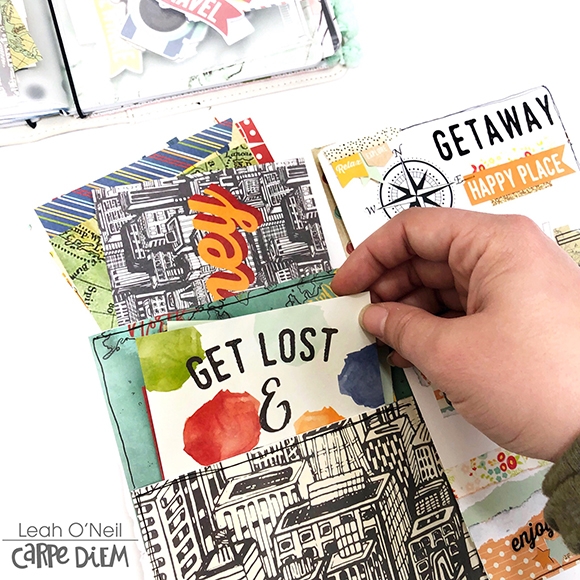
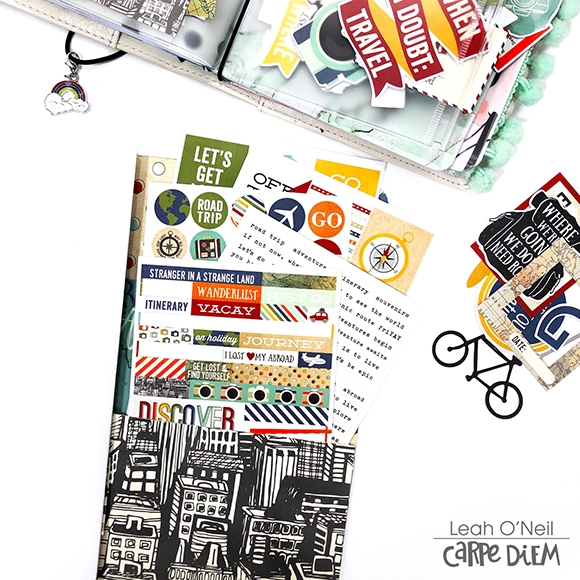
It’s exciting to have a new creative project that I can involve my husband in a little more. Breweries often have stickers that he enjoys collecting for me when we visit so I can add them to the journal. It’s like collecting stickers for a passport. I plan to add the stickers, along with photos from the trip and notes about our experience and our favorite beers.
Have you picked up the Travel Notes collection yet? If you love traveling, it’s a must have! You can follow along with my travels and see other ways I’m using my traveler’s notebooks and planners over on my Instagram. Check out lots more inspiration using the Travel Notes collection on the Simple Stories and Carpe Diem Planners Instagram accounts. Until next time, happy crafting friends!

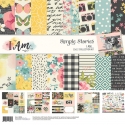
I am so enamored by the Simple Stories I Am collection. It is so beautiful. I love that it reminds us that we need to document our own lives, not just the lives of those we love around us. For my layout today, I am scrapping some photos of myself with my old dog Satchel. This dog adores me, I mean really adores me. He follows me everywhere and stares adoringly at me all the time! He insists on giving me puppy kisses too. Here is my layout ...
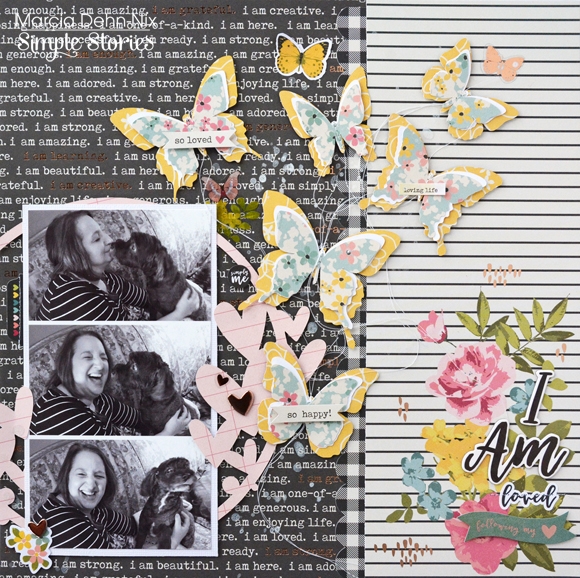
I arranged my photos in a strip and framed them with this heart digital cut file. Then I added more rose gold hearts from the chipboard stickers and the cardstock sticker sheets.
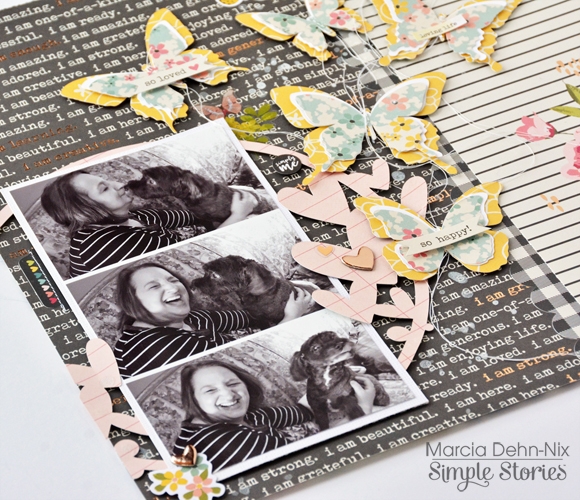
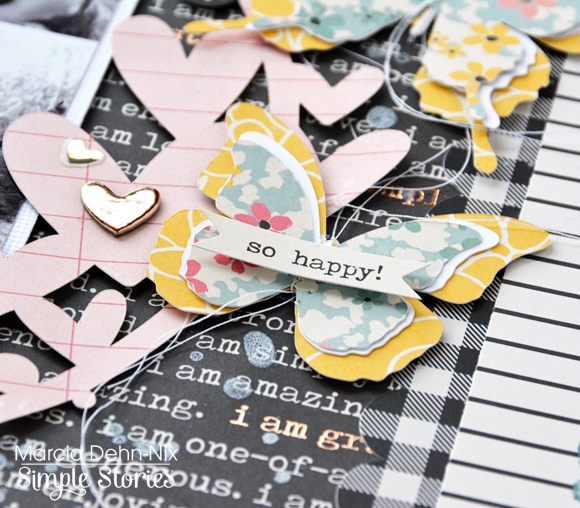
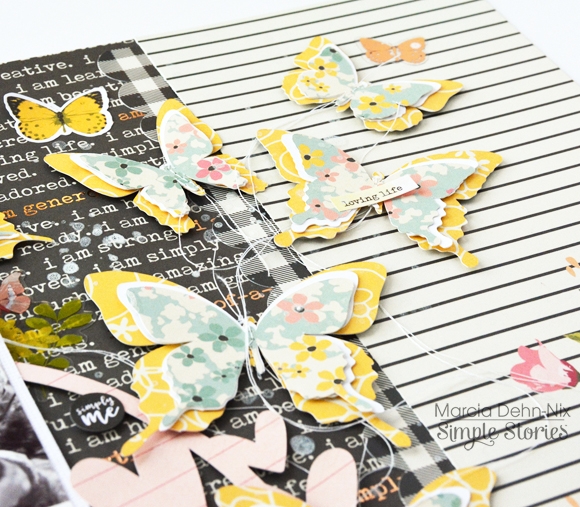
One of my favorite things about this collection is all those butterflies. I decided to create a bunch of layered butterflies in different shapes and sizes. I cut the same butterfly shapes out 3 times each time getting smaller and smaller. Then I machine stitched all those layers together. I really looks like these butterflies might just fly off my page.
I used a combination of chipboard stickers and die cut ephemera pieces to create my title "I Am Loved".
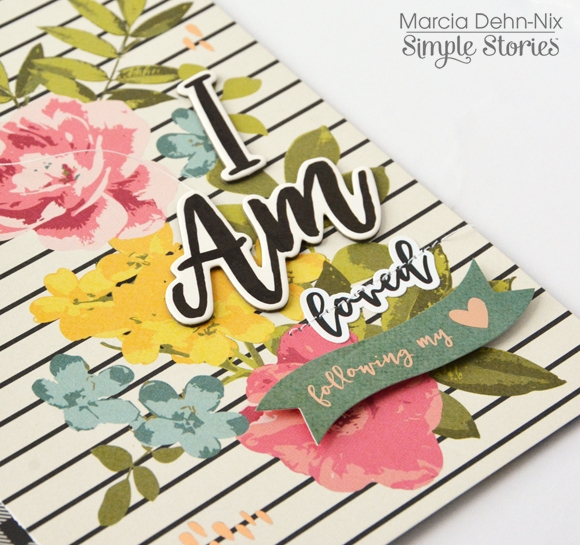
I hope I inspired you to scrap some photos of yourself. Make sure to pass your camera around so you get in some shots too. Have a great week!

Hello there! Linsey here today sharing my altered tree mini album featuring one of my very favorite Simple Stories collections, I Am. This collection calls to my soul. I'm so inspired by the beautiful message it carries and felt it was a perfect fit for the tree shaped chipboard album. I really like how it came out and I hope you like it too!
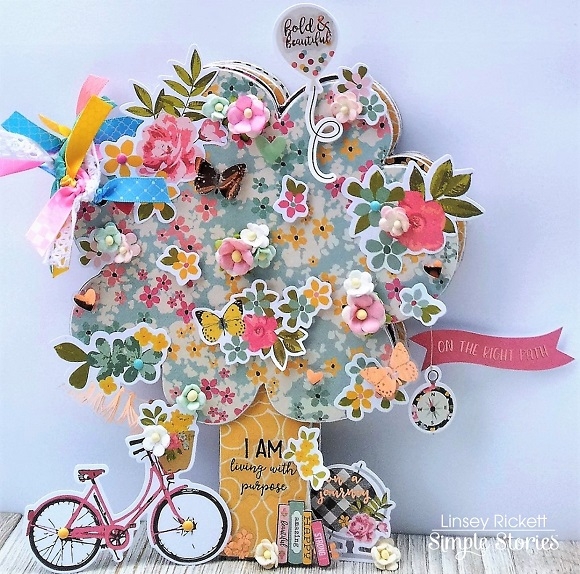
Each piece was decorated with the 6x8 paper pad on both sides and no matter which papers I chose, one coordinates with the other every time. From each darling die cut to every sweet sticker, it all matches beautifully together. No stress scrapbooking, thank you!
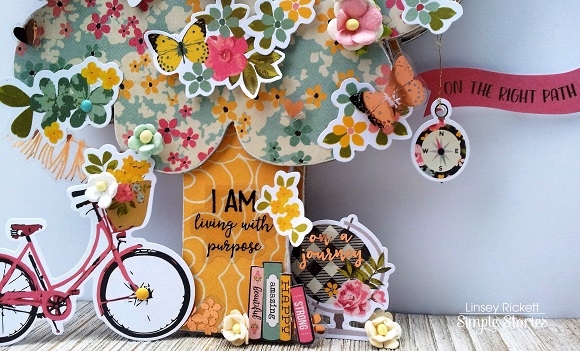
I love the colorful patterns and lively sentiments in this collection. The gold accents throughout add a touch of sophistication and elegance. I Am is brimming with beauty and purpose. It really is a celebration of life.
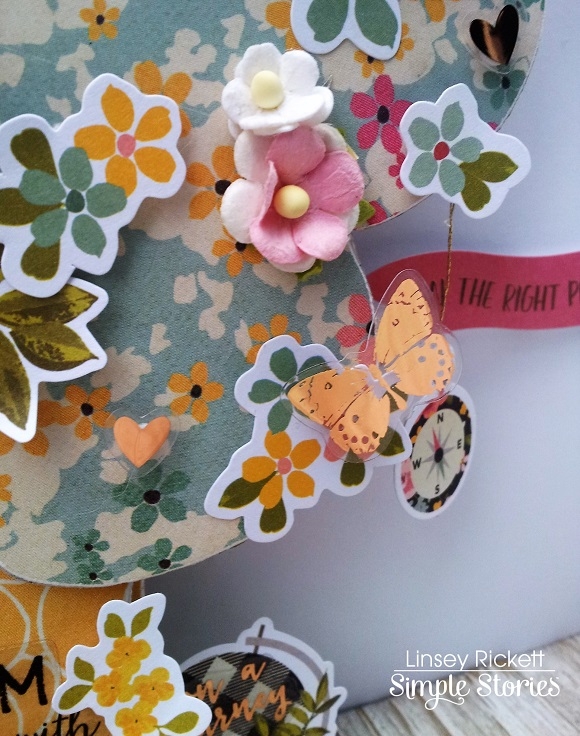
Thanks so much for visiting today! I hope you've been creatively inspired by my project and by the wonderful I Am collection. Until next time, happy crafting!

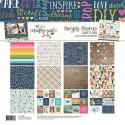
Hi there, it’s Emma back with a look at the Simple Stories Crafty Girl collection. There’s nothing I enjoy more than having a crafty afternoon, filling my desk with lots of goodies to play with, and when you have a stash of goodies called ‘Crafty Girl’ there’s no better excuse than that!

Just take a look at the bright cheerful colours that the Crafty Girl collection has to offer!! I dived straight in to make the dashboard by cutting out lots of the coloured pencils which were on one of the cut a parts on a 12x12 sheet from the collection kit. I had the idea of putting them in a jar which I drew and cut out, using foam back sticky pads it gave it a 3D effect.

I used some of the chipboard pieces and the large chipboard banner to also add some dimension.

I couldn’t stop there though, I’d got my crafty head on and decided to decorate the reverse side of the dashboard too! Here I cut out some of the colourful strips with words on and used them like bunting, I love how colourful it all is, it really makes me smile!
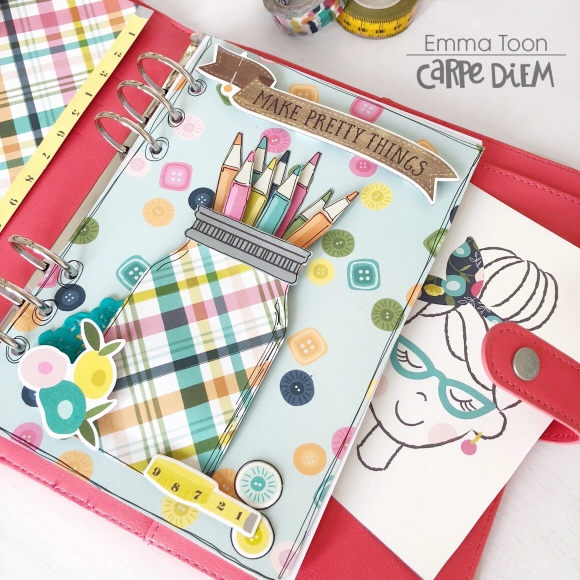
What a fun, cheerful front page it makes in my A5 Coral Carpediem planner!

You know how I love to fill my planner pockets, well, I didn’t hold back! I knew I just had to use the fabulous crafty girl faces in my pockets and I’m a sucker for flowers so they went in there too!!
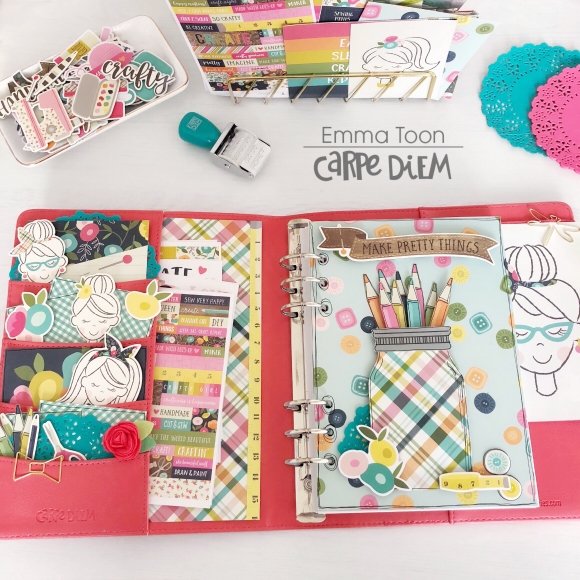
Wow! The Crafty Girl collection is everything and more that a Crafty Girl could possibly ask for! Crafty Girls are happy girls, and this collection sure makes me happy!! I hope you’ve enjoyed a peek inside my planner using the Crafty Girl collection, you can find more detailed pictures on my IG account https://www.instagram.com/heartsbyemma


