May 2018 Blog Posts

Hello beautiful creative friends!

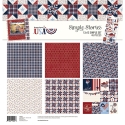
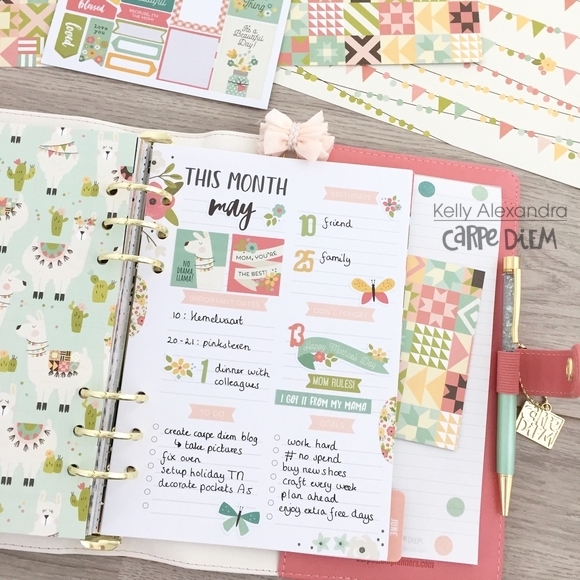
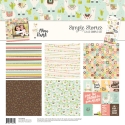
Florence here back with another blog post :) I thought I would share a simple and easy way to plan your month out! Many people feel the pressure to need to buy all the things to make a layout beautiful. But honestly Simple Stories does an amazing job with adding variety to their products. Whether it’s their ephemera packs, scrapbook sets, or stickers they give us more than enough!

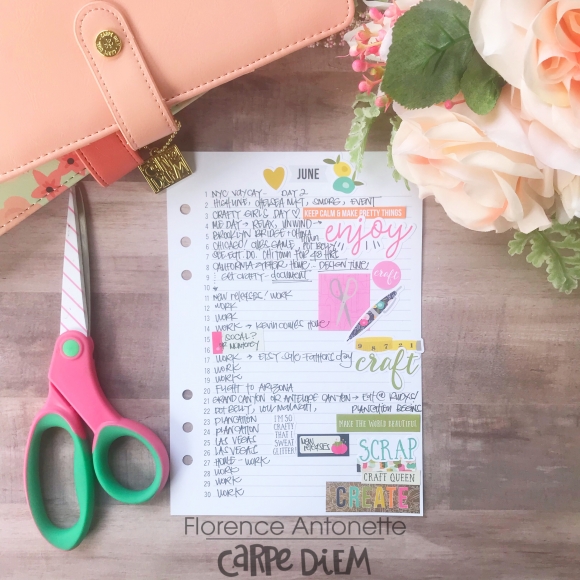
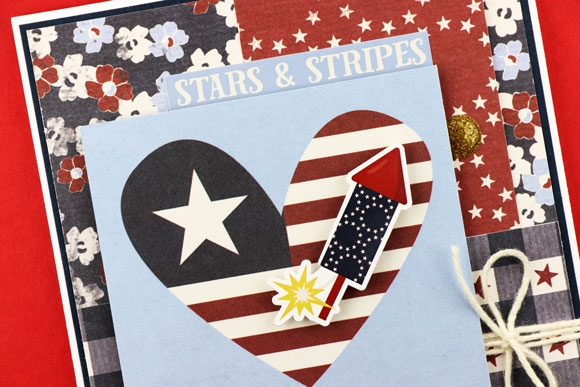
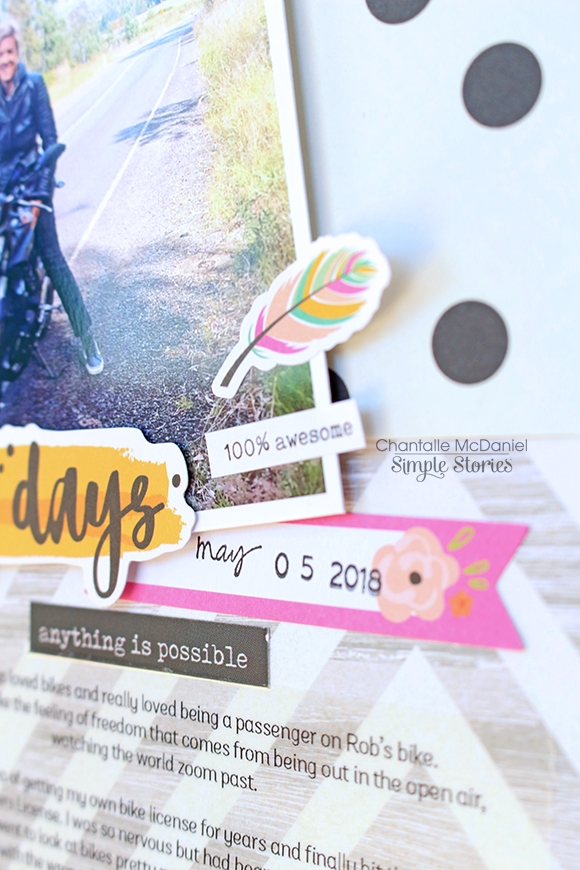
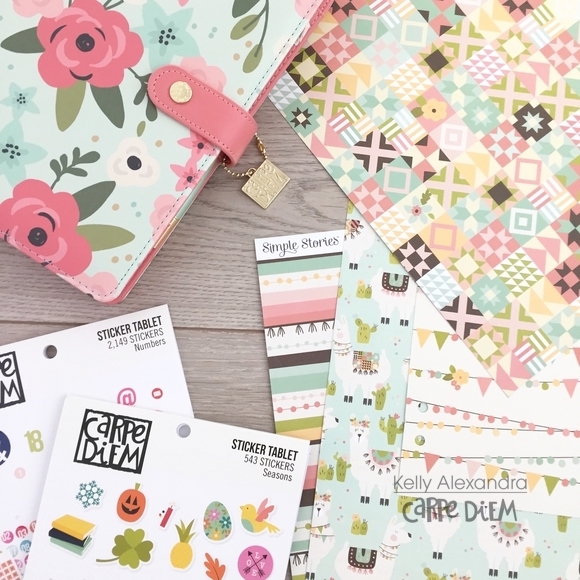
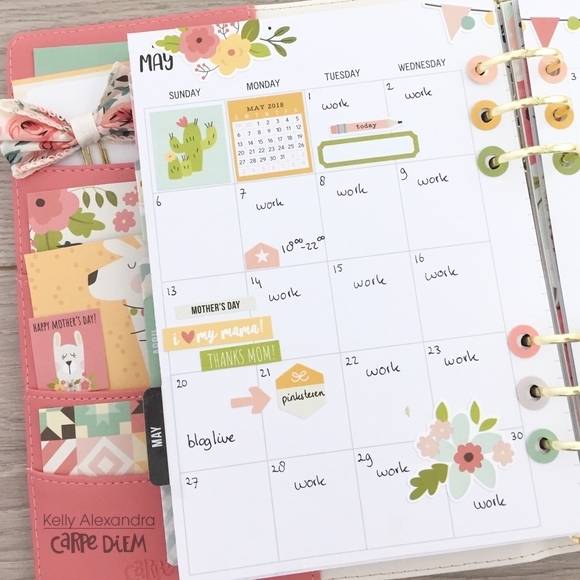
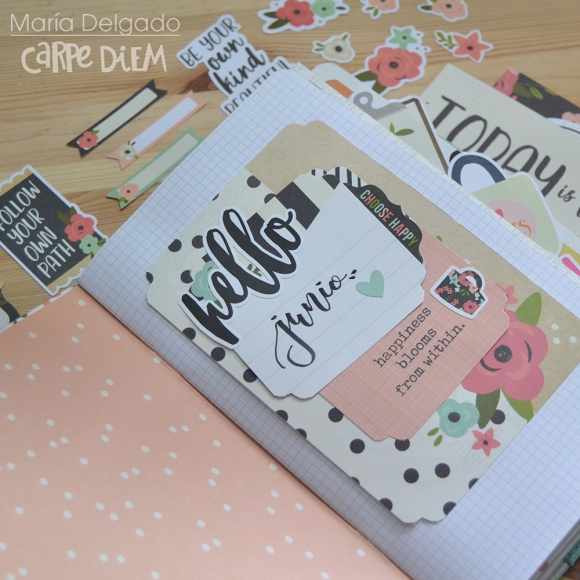
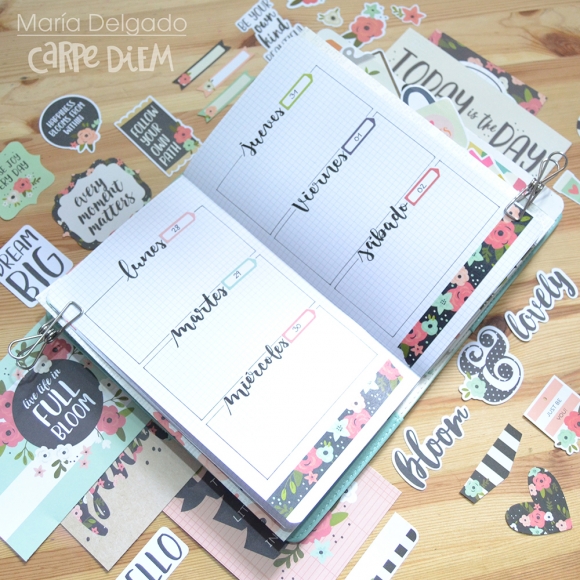
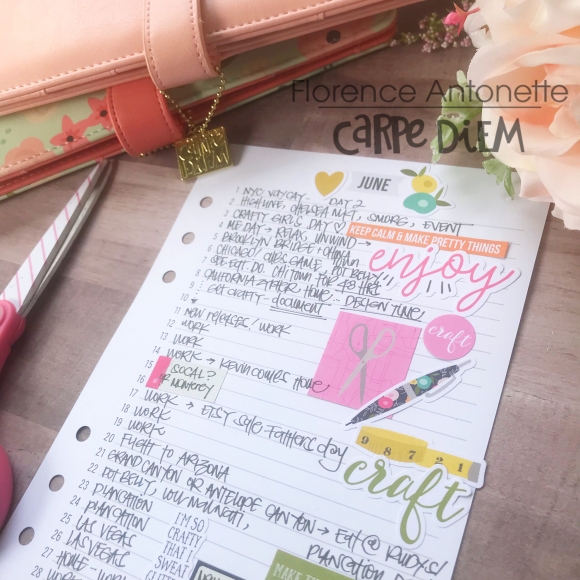
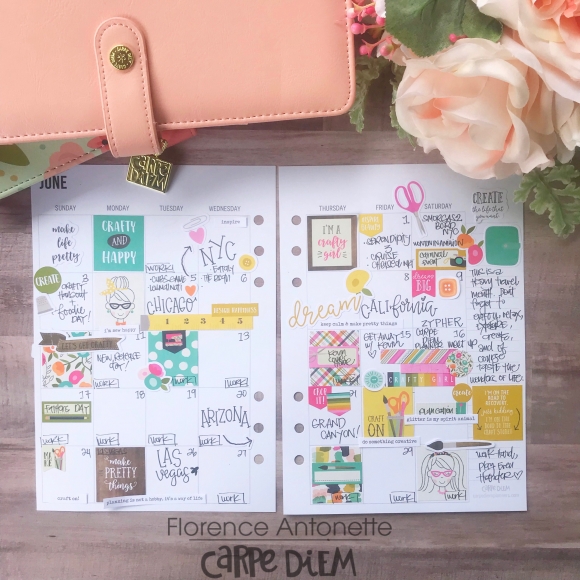
I wanted to show you what a black pen and their stickers can do. One of my favorite products that I always buy is their 4x6 stickers. They’re prefect because you can use them for multiple uses!!

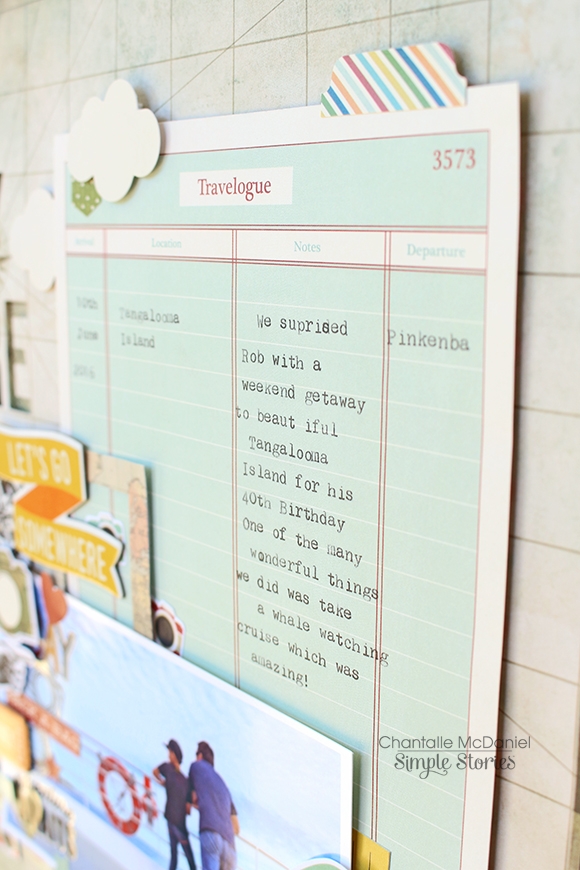
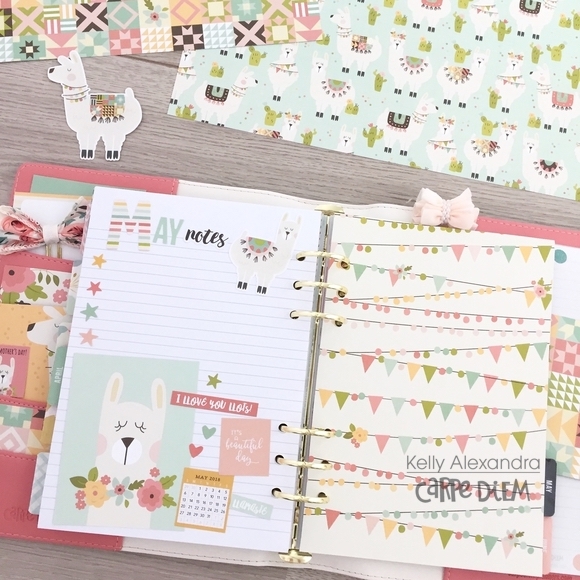
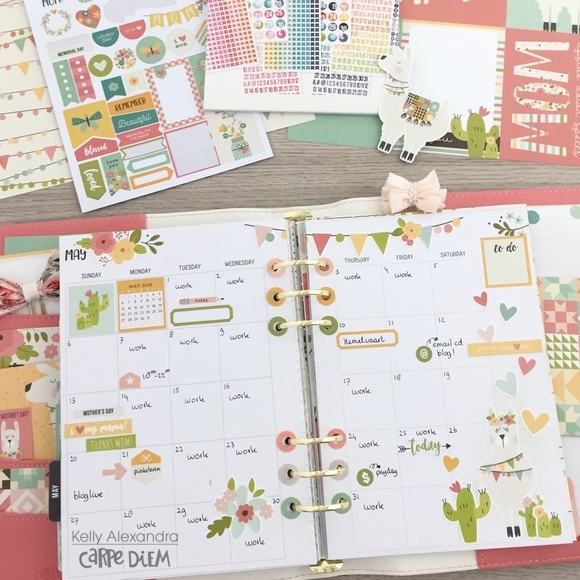
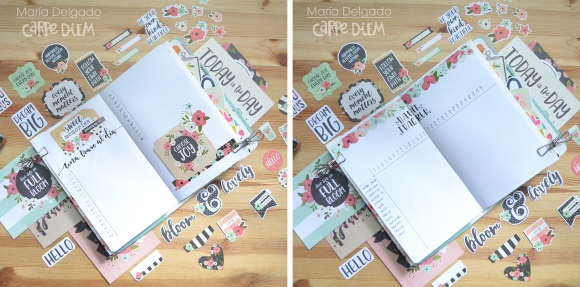
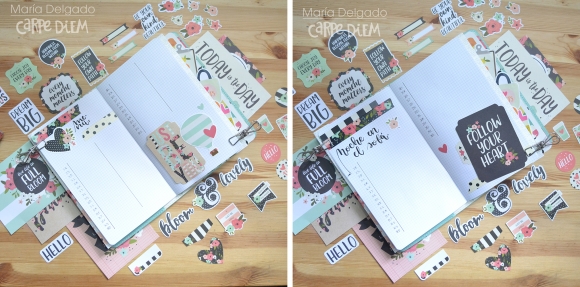
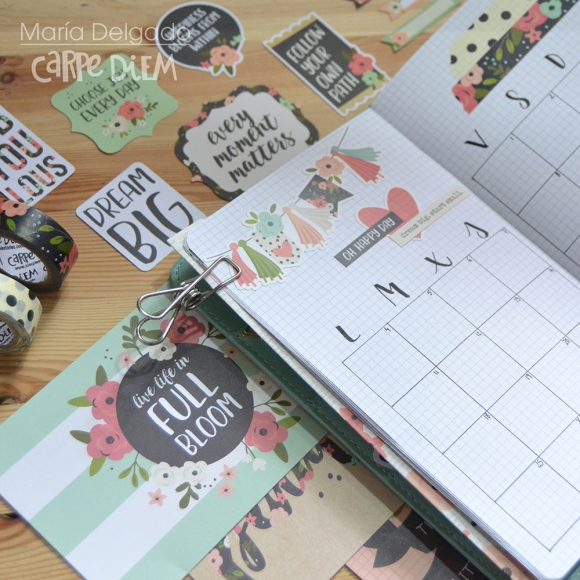
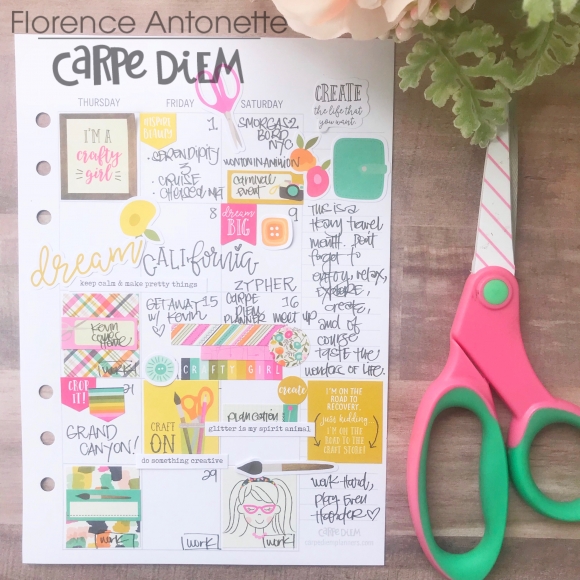
It’s been a while since I did a decorative month on two pages layout spread. I have tons of traveling to do in June and two of the events I’m attending are  planner related!! I love how the planner inserts have a daily page where it’s numbered. This is great for planning ahead and a quick overview of what you need to write in your boxes! 

Since Summer is near I enjoyed how the bright all the colors are. Especially since I’m going to be in hot places! NYC will be humid (California Girl here- and we aren’t use to that lol) and Arizona and Las Vegas will be high heat! Not ready for that at all. But I am ready to play and get crafty with my girlfriends!!!!

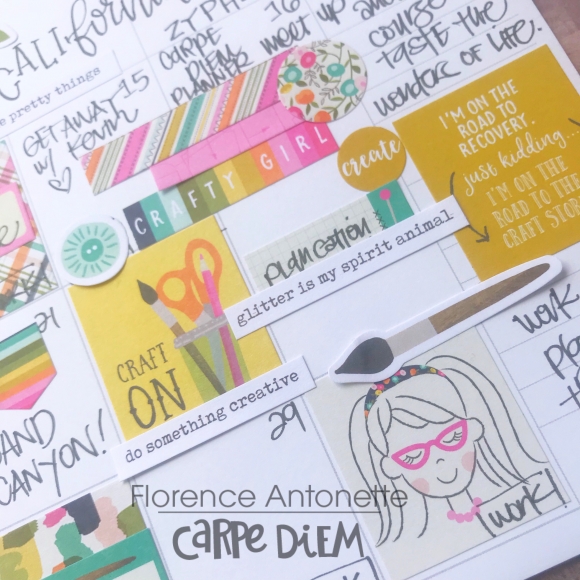
Speaking of getting crafty with girlfriends do you know that Layle will be in Northern California?! She has a meet up on the 16th at the Islands Creative Escape!! They’re so much fun and if you’re in the area you totally should calll and see if you can purchase a ticket. Layle is soooo much fun and definitely throws great events. There’s nothing like a fun time and getting crafty with like minded women who enjoys planning! 

I can’t wait for my crafty adventures next month! Until next time :) Take care!

XO,

Florence

Memorial Day is just around the corner and for me that signals the beginning of Summer.  The kids are almost out of school, people are opening their pools, and the smell of BBQ is in the air!   

Today I’m sharing some patriotic cards made with the Simple Stories Hometown USA Collection Kit.   These will make great invites for the big celebration!  We usually have a house full over for a BBQ and to watch the fireworks after it gets dark.

The paper packs are a great value because they include everything you need to make several layouts and greeting cards.  On the reverse side of the paper prints you’ll find journaling cards that make a great focal point for a greeting card.  

A sheet of stickers make easy embellishments.  I use baby powder to dull the sticky adhesive back and add adhesive foam tape to pop up the stickers to add dimension to projects.   The sticker sheet also includes several sentiments.

The best part of all is that the papers are meant to work together.  The colors match perfectly and there’s no guessing what paper matches another paper.

So go ahead!  Celebrate the Red White and Blue in style with the Simple Stories Hometown USA Collection Kit!

Supplies

Hello Simple Stories fans and welcome to the blog today! I’ve been playing with some new releases, Good Vibes and Travel Notes and I’m really so excited to share my pages with you!

It’s not often I actually document stuff that happens to me. Not that it’s not important, but I’m sure you’ll agree, being a Mum can sometimes feel like everyone else’s lives are more exciting. This big exciting thing that happened to me is something I have been chasing for a while and finally plucked up the courage to get out there and do! Getting my motorcycle license has been an incredibly fun and empowering thing to do and it’s proof to me to keep chasing my dreams because it’s not worth giving up on them!

The page came together with a jump start in the form of that gorgeous title which is a sheet in the Good Vibes 6x8 paper pad. I’ve used the whole sheet and it worked a treat to break up the large chevron pattern of the background paper. Incidentally this paper is called ‘Be Amazing’ which made me smile even more!

Those brush stroke with script is a fave of this collection. Everything just pops and fizzes and I absolutely love the mix of brights and prints.

The little feathers add a whimsical note. 

The journalling was a test of this do-it-yourself-rub-on material which didn’t quite work the way I thought it would, but it did allow me to avoid my terrible handwriting and get quite a bit of journalling down on the page.


Ahoy There!

This page was also so much fun to create. Again, the Travel Notes 6x8 pad gave me some awesome inspiration with a mini version of a travelogue which is also a full size awesome 12x12 sheet in the collection.

The title was cut in to a sheet of ‘Go See Do’ using my Silhouette Cameo. I chose this paper because it has a beautiful subtle map print, which really showed off the blue ocean in the photo. I’ve raised the background paper with foam tape and mounted it to some plain cardstock. I like the extra depth it gives the title which allows me to keep the colours neutral. The map print below comes from the 6x8 pad as well.

The 6x8 travelogue allowed me to jot down some of the details of the getaway we surprised my DH with for a special birthday.

Another little thing that I find liberating sometimes is to just go crazy with those stickers and die cut shapes. What is the point of hiding their beauty in a box or on the shelf? Don’t get me wrong, there are some things I will never use and admire for years lol, but it’s also just nice to see them arranged on a page to admire as well. Go wild and use your nice things!

Thanks so much for stopping by the blog today!

Happy crafting

Chantalle

Supplies

Hi everyone, it’s Kelly here on the blog today with my setup for May. This month I decided to change my Robin’s Egg A5 planner with the new gorgeous Mint Blossom planner. I used the Simple Set ‘Mama Llama’ and some sticker tablets to decorate my monthly spreads.

First, I made a notes page, to be able to write a few things I need to remember this month. Because I already knew I didn’t needed the whole page, I decorated half of it with some pieces and stickers from the Simple Set.

I used the A5 divider templates and my A5 planner punch to quickly make a divider from the 12x12 paper with the cute lama’s on it. It is very easy and the result is a fun divider that matches my decorations.

I love to decorate my monthly spreads but leave enough space to keep it functional and write down important appointments.

On the ‘this month’ page for May I used the new Number sticker tablet to mark the dates and the Seasons sticker to tablet to decorate.

I hope you enjoyed reading this blog! You can find more spreads in my Carpe Diem planner on Instagram createplannernl https://www.instagram.com/createplannernl/

Have a nice day!

Supplies

Hello, Simple Stories Fans! Jana Eubank here with a wedding layout using the beautiful and timeless Always & Forever collection.

My brother and his wife had the most beautiful wedding. Their color scheme was a unique combination of each of their favorite colors; orange and green. Their flowers were the most beautiful and different I had ever seen, with a fresh, citrus-y, summer vibe about them.

No matter what color scheme your wedding celebration is, your pictures will look gorgeous  scrapbooked with the Always & Forever collection. The neutral and timeless colors of this collection allow YOUR color scheme to stand out and be the star of the show, just like they are supposed to be!

I chose a favorite photo of the couple and gave it the special treatment, accentuating it with all kinds of papers and goodies layered around it. The photo block is anchored on the page by a vertical band of paper strips. The strand of lightbulbs across the top of the photo lets you know this is a very special occasion and it is time to celebrate!

Who can resist fussy-cutting out flowers for a wedding page? I sure can't! Flowers and weddings just go hand-in-hand!

I used the chipboard "Mr. and Mrs." stickers as the title for this page. A couple of friendly birds and a shiny gold heart give the title additional personality!

This photo was taken just moments after the ceremony, so of course I had to use the adorable "Just Married" sign sticker. I surrounded it with the wedding cake, gift box, hearts, and wedding ring for a bit of dimension and shine.

Weddings are the beginning of a couple's forever story, and scrapbooking their photos with the Always & Forever collection is the perfect way to treat them special!

Supplies

HI! Odessa here with some SN@P! pages using the I AM Collection! The I AM collection goes great with This Black and White Designer Binder they both have such a chic style!

I’m working on some layouts about me so I Am is the perfect choice! This collection is all about telling your own story with lots of I am-themed phrases to help out and cute icons like cameras, butterflies, typewriters and hearts.

I Am has a great 6x8 paper pad. It’s full of smaller 6x8 papers that slide into 6x8 page protectors easy peasy for full page layouts. There are also some totally frameable phrases that add some easy word art to layouts.

These layouts are about nothing in particular, just me and things I like. Like this page all about cupcakes and face masks, because why not?!? This is my story so I get to decide where it goes. I love how the simple word strip and heart looks on the cupcake picture here.

I just love all the florals and delicate touches in the I Am collection balanced with strong statements and affermations. It’s bold and delicate and complex, just like telling you own story. I included things like screenshots of what I am listening to because it’s a big part of my story. 

I used the Basic Alpha Stickers to make bold titles on my pages to guide the story. Along with lots of the phrase stickers and cute Bits and Pieces. This collection is so cohesive that I found the layouts just came together!

If I were to write a list of pocket page things I almost always do, hearts on drinks is a big one. It’s just a great place to add a little touch of whimsy and maybe a word sticker or two. And chipboard hearts are my absolute favourite to add!

I Am has a great SN@P! set that made getting my pockets all filed up even easier! There are some gorgeous double sided 2x2, 3x4, 4x4 and 4x6 cards in there on top of the great (FOILED!!!) cut apart papers. 

I really wanted to use some of the cute 2x2 cards so I added in a 4x6 vertical pocket full of 2x2 pockets! 

I love adding tabs to inserts so I used the Carpe Diem Tab Sticker Tablet and the matching clear stickers that fit perfectly over the tabs to make them even stronger.

I am all about sticker clusters. A word phrase, maybe some alpha stickers and hearts. That is my happy place. These all about me layouts are the perfect place for the abundance of pretty coffee cup photos I take. Haha!

I found I did not do a lot of journaling in these pages because the journal cards and stickers and Bits and Pieces said what I wanted to say better than I could. I love when photos and paper pair so well!

On the back side of the 4x6 protector I cut up one of the patterned I Am SN@P! cards and stuck some of my favourite stickers and chipboard stickers to it for something decorative. 

Another favourite pocket page thing of mine is using a more background photo in place of a 3x4 card and using alpha stickers to make a big title on it.

I hope you enjoyed this look at my SN@P! pages! If you haven’t documented your own story you should give it a try! Round up all those pretty plant and coffee pictures, your stacks of books, selfies and playlists and put it together to tell your story!

Supplies

Hello friends! How are you? I am ready for July in my journal bullet. And very excited for all the adventures that are to come. I really wanted to use the bloom collection because I love flowers, so it's perfect for me.

This month I am using the Cream Blossom TN, I have decorated the inserts with the "Collection kit" papers as well as the element papers and the cardstock stickers. I used the beautiful bits and pieces diecut papers in the pockets.

On the cover I have also used the elements papers, they are beautiful and the rounded corners give them a more decorative feel! I month is written with a thin brush-tip pen, I like to finish decorating with stickers.

Gratitude and habit tracker decorated with stickers and "Bits & Pieces", I also added flower washi tape, my favorite!

Ive added menu's and list's of movies that I see, decorated with washi tape, stickers and paper elements.

Something I like a lot is the monthly, this page is indispensable in my bullet journal. I decorated it with stickers and washi tapes. I just love the garland!

For my weekly this month I decided to change,  in the past month I made columns and now I have placed horizontally. I like the use of the "planner basics A5 sticker tablet" for the date.

Supplies

Hello Friends! 

It's Kristine Davidson with you today and have a fun layout to share! I used the most amazing crafty collection called CRAFTY GIRL - and you must admit that this is the cutest arts and crafts collection right ?! I have created a few layouts with this kit and I am not tired of it yet!!! 

Today I am sharing a layout about an event my friends and I attend every year called Crop & Create.  We meet here yearly to talk about life events and scrapbook. 

I created a few layers with the bits and pieces, the chipboard and even with the pattern papers. I cut a few strips of paper about 1/2" to 1 inch wide and layered them to create some visual interest. 

Adding more details and layers with chipboard and the cute diecuts is just one of my favorite things. I added pop dots on a few of the embellishments to create dimension. My journaling is simple in my own handwriting at the bottom of my layout. 


I hope you enjoyed my layout today and come join Simple Stories and Myself on social media. We have so much more to show you!

Supplies

Pages