May 2019 Blog Posts


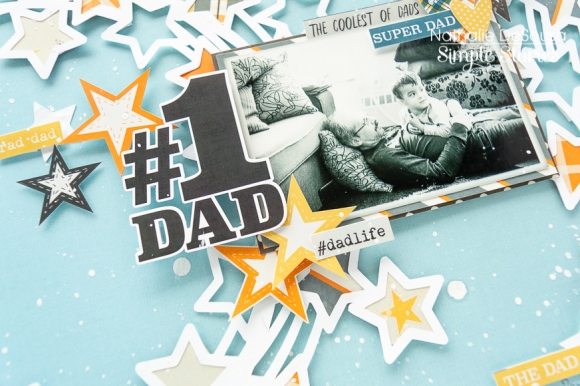
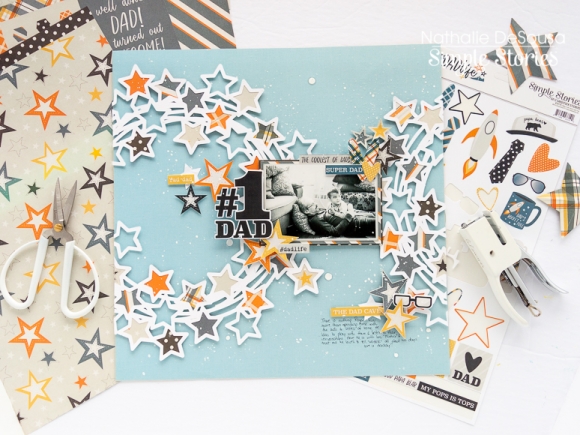
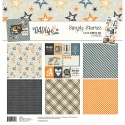
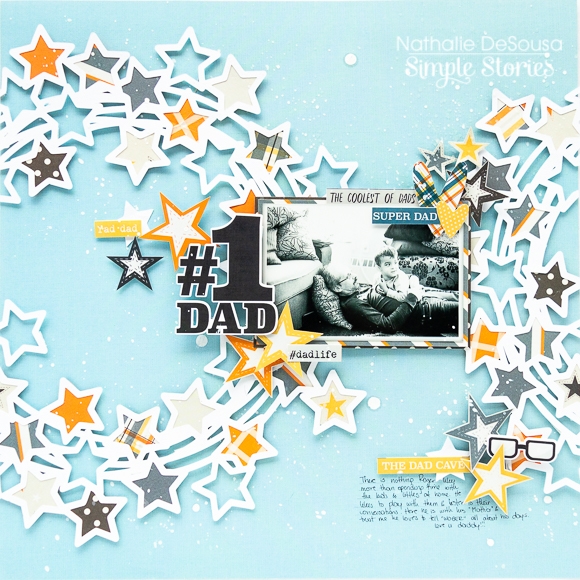
Hi, there!  Nathalie with you today with a new project fit for the upcoming Father's Day weekend, and what better way to celebrate and document those sweet memories than to use the new Dad Life collection from Simple Stories.


To start this page, I used cut file design # 249913 from Paige Evans - Silhouette Store- and cut the Star wreath out of white cardstock.


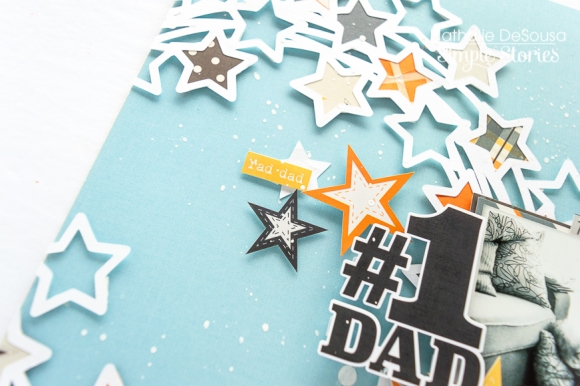
The stars in the die cut were back with papers from the Dad Life collection. A few of the stars were kept blank so that they create a few breaks from all the patterned paper stars and to help create a dimensional look for the  page


Once the wreath was ready, it was glued to the background (Say Cheese 4 basics paper) so that it sit a bit off the layout. Carefully, I trimmed the excess and then glued it to other side of the page, so that  it reads as a link of circles.   


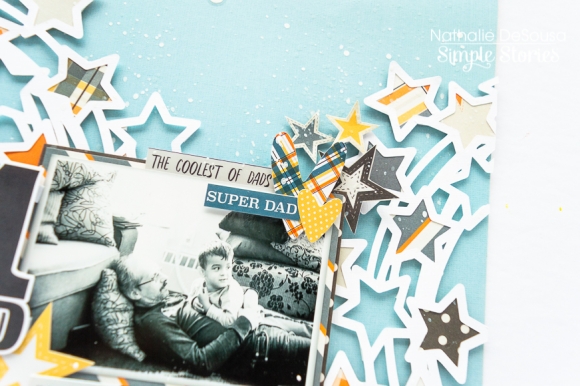
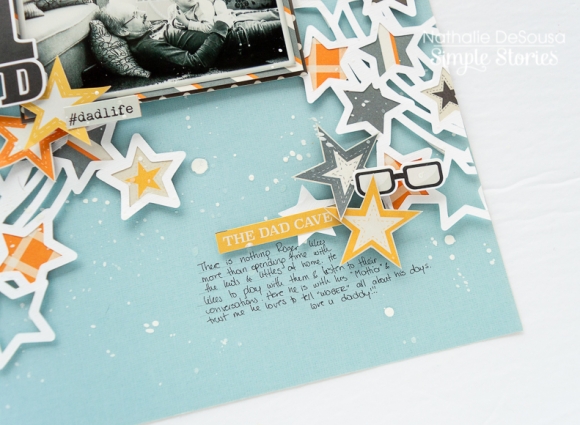
The picture was backed and layered with papers from the collection and then glued onto the layout. Using stickers and fussy cut images from the collection, clusters were created around the picture and layout. One of the large stickers was then propped with foam adhesive so that it serves as the title for  the page.


I hope this has inspired you to check the new DAD LIFE collection from Simple Stories. It is the perfect collection to document your Father's day celebrations or daily life.


As always please do not hesitate to ask me any questions.


XO


Supplies

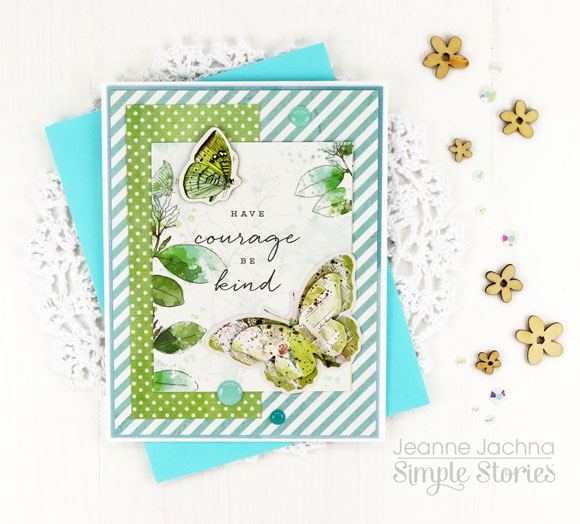
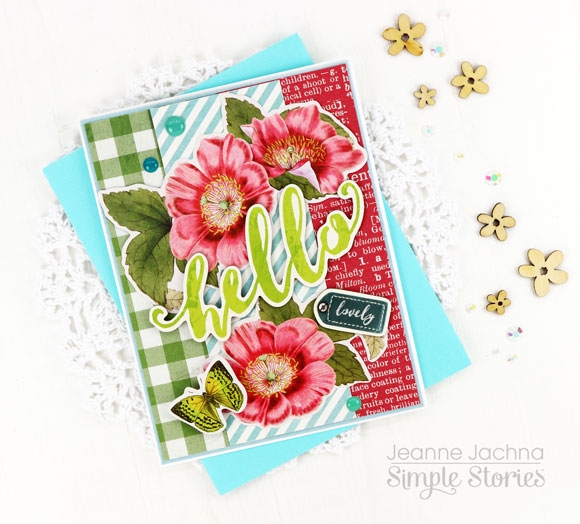
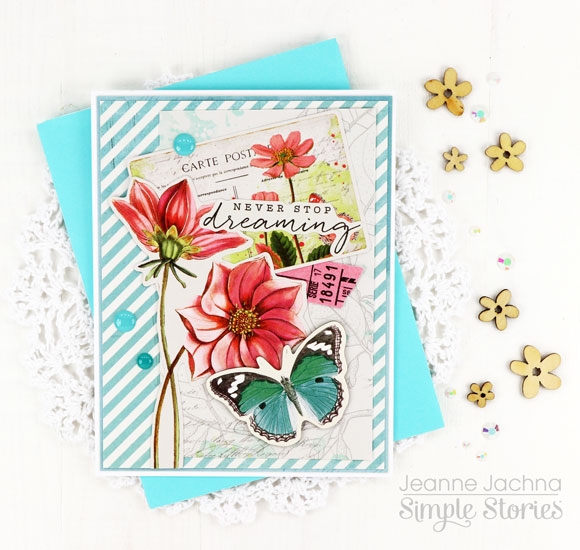
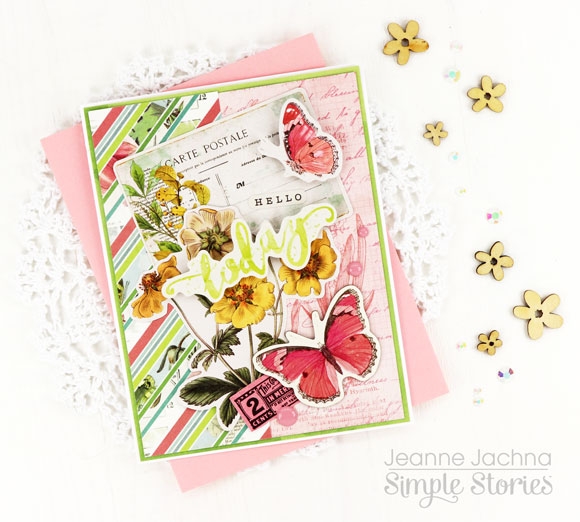
Ever since I was a little girl I have loved gardening.  I give all the credit to my grandmother who was always patient and willing to include me in her passion.  Her garden was always a delight to behold and I try to carry on that tradition today.

In the winter months I remember looking though her books of botanical drawings.  These were the “off limits” books that I was only allowed to handle when we would look at the pictures together.

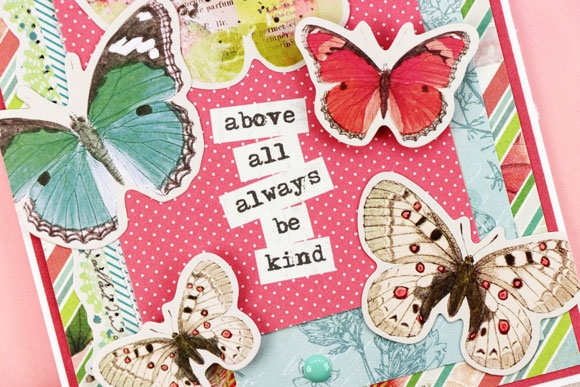
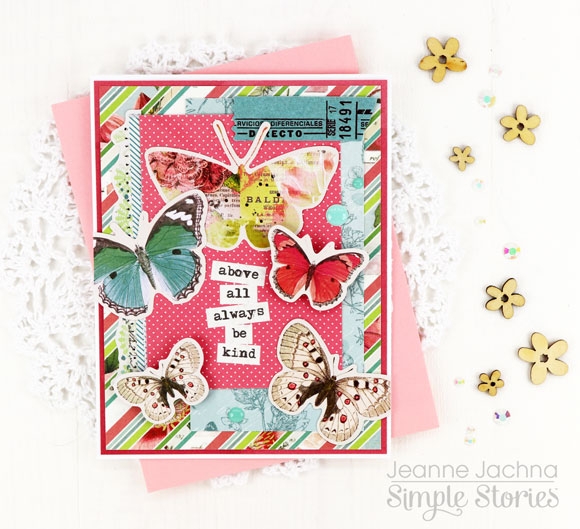
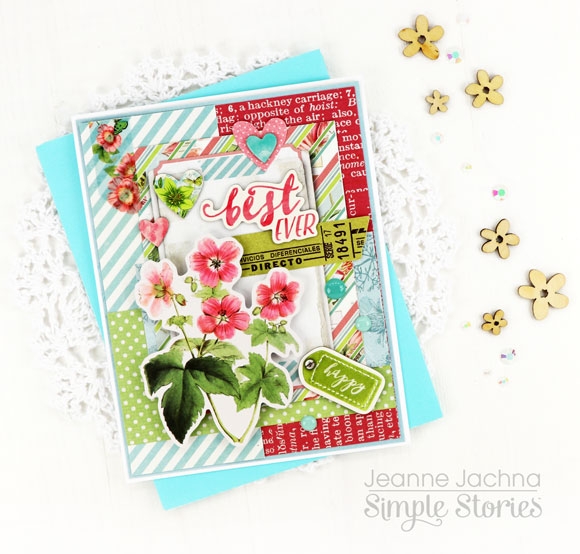
The Simple Stories Simple Vintage Botanical Collection reminds me of those treasured books. The images of flowers and butterflies in this collection are exquisite and so life like.

The collection includes chipboard stickers, bits and pieces die cuts, stickers and washi so there are so many possibilities for greeting cards, layouts and more!   Everything is beautifully coordinated and a pleasure to create with.

I start my cards by arranging elements on pieces of clear plastic the size of my card fronts.   When I’m happy with the arrangement I can pick up the plastic and see how it looks layered over different papers.   The clear plastic lets me see the paper so I can choose the perfect one before I commit and adhere the images to the card.

When layering paper I try to alternate dark busy patterns with lighter more solid ones.   Simple Stories has added “Basics” to many of their new collections.  These are solid card stock colors coordinated to work with the pattern papers.  I used Basics papers to add matts as the first layer to each of my card designs.

This collection really is a feast for the eyes and will delight all the gardeners and flower lovers in your life.

Supplies

Hi! Odessa here with a couple of pages using the super fun Oh Happy Day collection. Both of these pages incorporate non-traditional photos with the fun colours and graphics of this collection. I love all the little cameras, coffees, hearts and cute phrases, they worked perfect with the pages I was working on. I picked the bright Pink Stripe Designer Binder to go with this collection to keep the fun vibes going.

I knew I wanted to incorporate some of the Instax photos my son took on our trip but in a way that kept them all together as a look into his viewpoint. A little collection of photos like this seems what the Simple Stories Photo Booklets are made for! Knowing that I wanted to incorporate them into my album as a whole I used one of the pocket pages that features 2x2 squares along with a big 4x6 pocket in the middle which I could slide the Photo Booklet into. 

The left side of the layout is pretty simple with some photos and a big graphic journal card. I used a lot of the camera icons from Oh Happy Day throughout this page since photos and taking them was the focus. I added in a little photo I had printed with my portable printer and then attached to the gorgeous photo cardstock from Oh, Happy Day. I sprinkled some cute stickers, chipboard and enamel dots (can I just say I am loving the coordinating enamel dots) to embellish my photos. 

I had a lot of fun embellishing the Photo Booklet with Oh Happy Day. I covered it in a cute dot pattern cardstock from the collection and added some stickers and washi to the front. Along the back of the booklet I used the scallop boarder from the combo sticker sheet to add some fun dimension along with one of the adorable Oh Happy Day bow clips! I also embellished a plain paper clip by adding in some strips of folded over washi from the collection just for more fun. I slid some 2x2 cards and Bits & Pieces to fill up the pockets to keep it less busy around the Photo Booklet.

Inside the photo booklet I cut down some of the coordinating solid cardstock from the Oh Happy Day Simple Basics Kit as a simple background to the photos. The coordinating cardstock was a great way to keep the fun colours throughout the booklet without overpowering the tiny photos. I added some simple phrase stickers to the photos to keep the embellishing simple. The big instant camera is cut down from one of the 4x4 cardstock elements.

On this spread I have some standard SN@P! pockets with a cute insert in the middle to hold a photo strip. The photos on this page are from a fun trip to the mall which is a perfect thematic match for Oh Happy Day! The left side is some cute photos of my boys and 3x4 Element cards to go with them (and a ton of embellishments, of course!)

I cut down one of the Insta Photo Pockets for this page. There’s one with a long vertical pocket and two 4x4 pockets that is perfect for making these little inserts. I slid in a photo strip that I wanted to include with the layout as a stand out element and attached some tab stickers from the Combo Sticker sheet along with some phrase stickers.

On the back of the photo strip I added my journaling and some stickers to tie it into the rest of the layout. On the page facing that I finally got to use ALL THE COFFEE STICKERS on a photo of a coffee cup and a bit of sass with a “normal is boring sticker” on a funny photo of my guys. I hope you’re inspired with some new ways to add non-traditional photos into your pages!
Supplies

Hello Friends! 
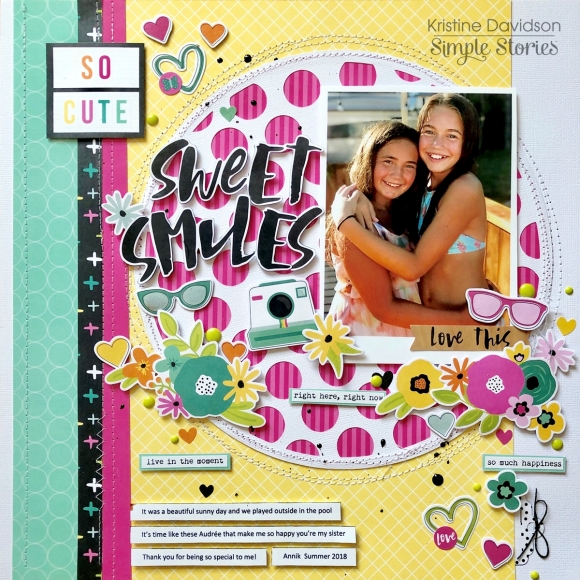
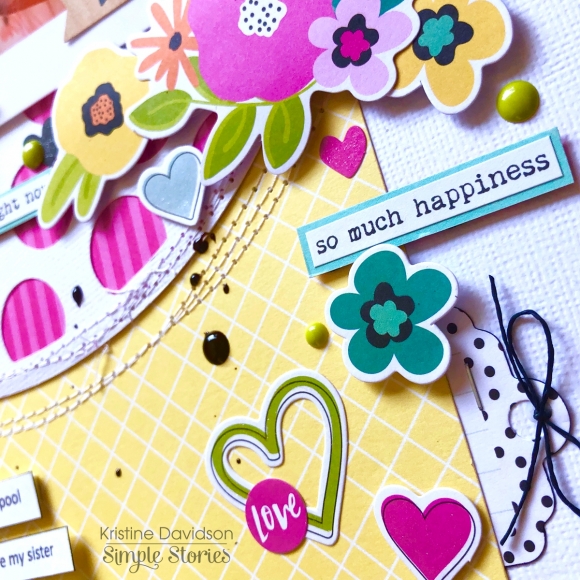
I played with the Oh Happy Day! Collection this week and excited to show you my layout. The colors for this collection are so bright and vibrant - gorgeous for summer pics! I wanted lots of colors on this page and well maybe I over did it with embellishments cut I couldn't stop! I used a picture of my friends girls enjoying a day outside together. They are the cutest gals and have "sweet smiles!"
I started creating this layout with a white cardstock base. I wanted to add a cut file but wasn't sure where and what I wanted to do so I took this circle one and added the bright pink patterned paper behind it. 

I added a piece of yellow paper about 8x12" and sewed the cut file on top of it. I did some messy sewing for this one. I wasn't worried about straight lines. 

I added some other papers to the sides of my layout - 3 different ones actually and sewed them as well. Adding some diecuts from the Bits & Pieces package was really easy. I took mostly the flowers and hearts with a few other misc items such as sunglasses,  and the camera. I formed small clusters surrounding my cut file and well maybe went a little crazy with the hearts and enamel dots. 

All these gorgeous colors I couldn't stop! 

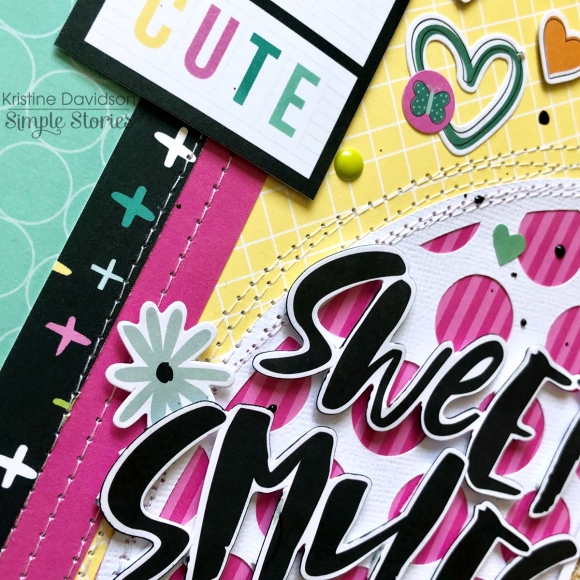
To create the title I used the Sweet and Smile words from the Bits & Pieces package - I was lucky enough to have an extra package and used the S from another word in the package to create Smile(s). 

To add some dimension and give it a contrast on the white cut file I used a black brush marker and traced the edges of the words. This gave me a bit of black detail and kind of make the title stand out a bit more. I of course added dimensional adhesive on the back of my words.

Are you ready to get your own Oh Happy Day collection pack? It has so many awesome papers and fun diecuts too.  Hopefully I gave you a bit of inspiration or atleast something to think about for your next layout. You can find more projects on our instagram accounts - @SimpleStories_ and @KristineDavidson. 

Have a great day friends!

Supplies

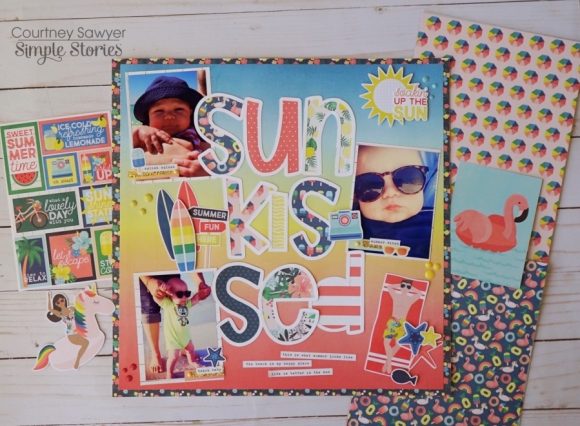
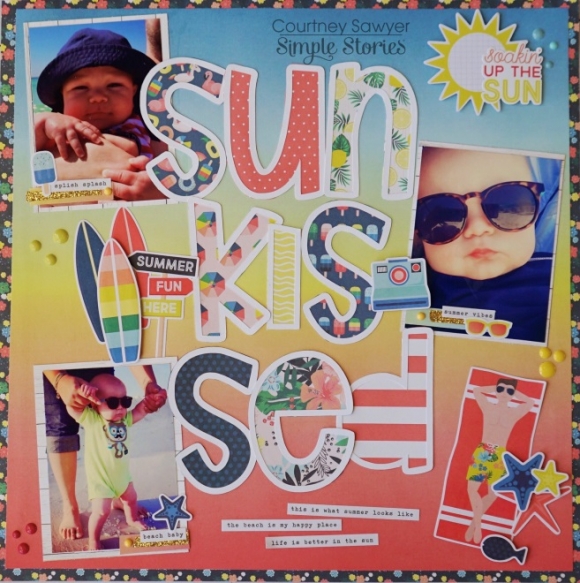
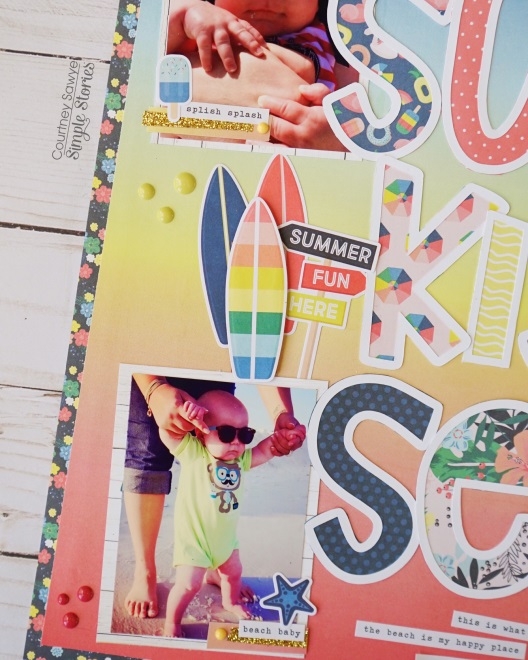
Hey y’all Courtney here and I’m sharing the layout that I created using the super adorable Sunshine and Blue Skies collection. Every piece of this collection is absolutely cute from the normal summer icons to the trendy floats and people. The colors and prints are what really drew me into it though.  Here is a look of what I created and I hope it inspires you to scrap some summer layouts!

So the main papers I used for this layout came from the 6x8 paper pad and I also used two sheets from the collection pack for my main layout. The main background page is Sunkissed then it’s backed with On Holiday.

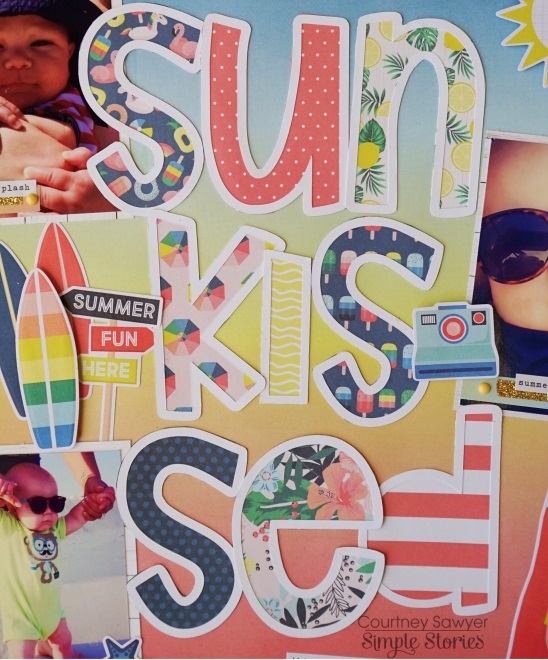
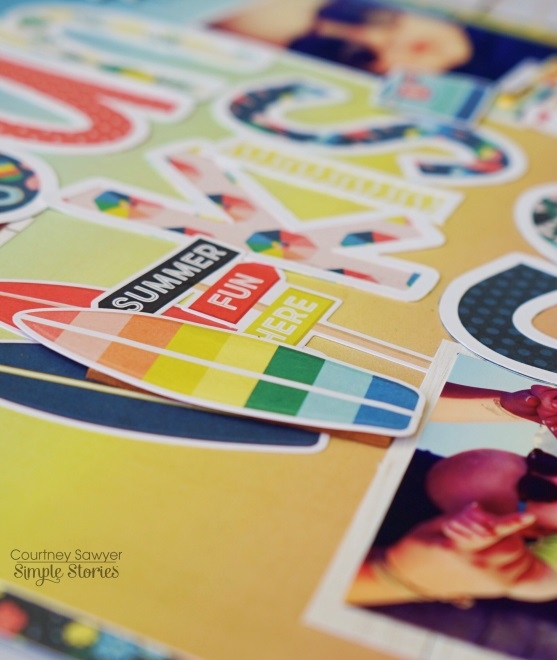
I used my silhouette to create my large title and cut it in white then I used the 6x8 pad to back it. You can use any font that you like and just add an offset to it. I used a different patterned paper for each letter. Did I tell you that I am in love with all of these patterns? This was the best way for me to not have to choose which one I went with, and there is still a ton that I didn’t use on this layout!

I spaced my cut file out so that I could add three photos and three clusters to stick with that rule of thirds. Each photo is cut down to 2 ¾ by 3 ¾ so that could back them with the wood grain printed 3x4 elements. This allowed me to have some more neutral going on. Each photo also had a little piece of branding strip cut down layered with gold glitter washi, a phrase sticker, a cute icon, and an enamel dot. This technique is a go to for me when I do pocket pages also. It just adds just the right amount for me. All of those elements came from the 4x6 sticker sheets.

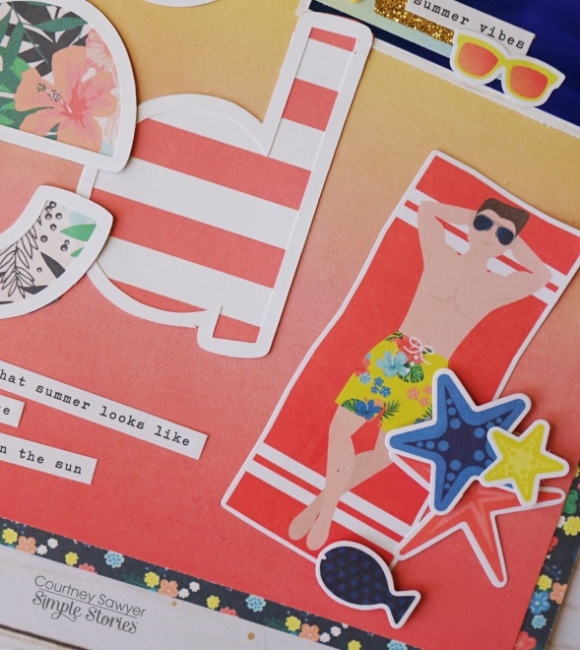
I created three clusters that I thought went well with the photos and the theme I was going with. This layout is created with pictures from my four year olds first beach trip. I used both the bits and pieces and pool people bits and pieces to create the look that I wanted. A few of the elements are popped with foam to help them stand out a little more.

I finished the layout with a few more word phrases at the bottom and sprinkled some enamel dots throughout.

Thanks for stopping by! I can’t wait to see how you use this collection!

Supplies

Good morning everyone! The time of vacations and traveling has arrived and one of my favorite ways to document those memories are by creating a mini book. Anya here today and I would like to share with you an album I created using the Simple Vintage Traveler collection.

For this mini book I used some heavy weight cardstock, faux leather and patterned paper to make an album cover, and white cardstock for the pages, which were sewn to the binding piece and then glued inside the cover. It may sound a little complicated, but once you make one you get the hang of it.

I really enjoyed the soft color pallete in the Simple Vintage Traveler's collection! I used the patterned paper to cover all the pages and then decorated them with chipboard frames, stickers and ephemera pieces.

One of my favorite ways to add photos to these mini albums is by including a folded piece of white cardstock, which I like to cover with one of the journaling cards from the collection. By gluing this piece down, it creates two spots for photos when you flip it open.

Also, I made a few long pockets, which can hold extra pictures and ephemera. These additions make the album more fun to look through and these pockets can hold larger pieces.

I hope this inspired you to document your next trip in the album you make from scratch. It gives you total freedom by choosing your own custom size, color of the cover and the number of pages inside!

Supplies

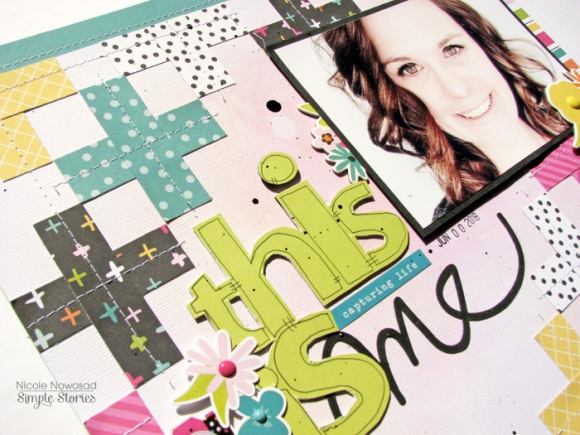
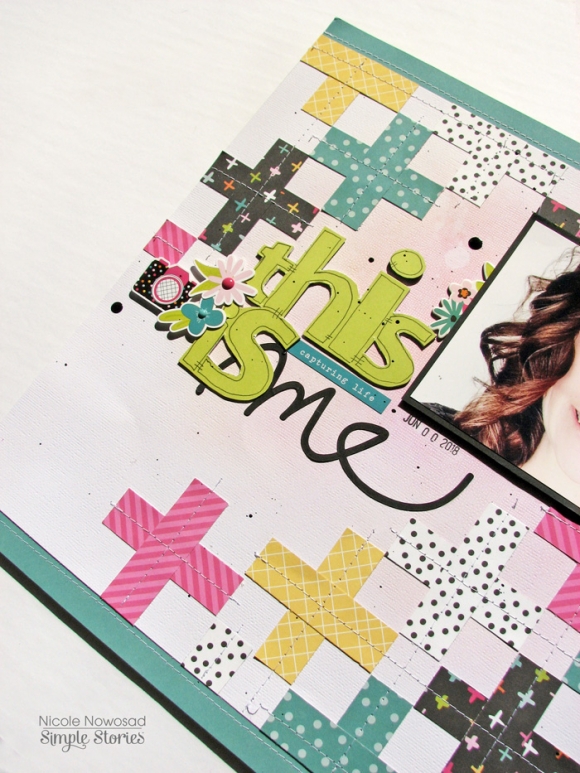
Good morning Simple Stories fans! Nicole here to share with you a bright and bold layout using the Oh Happy Day collection.

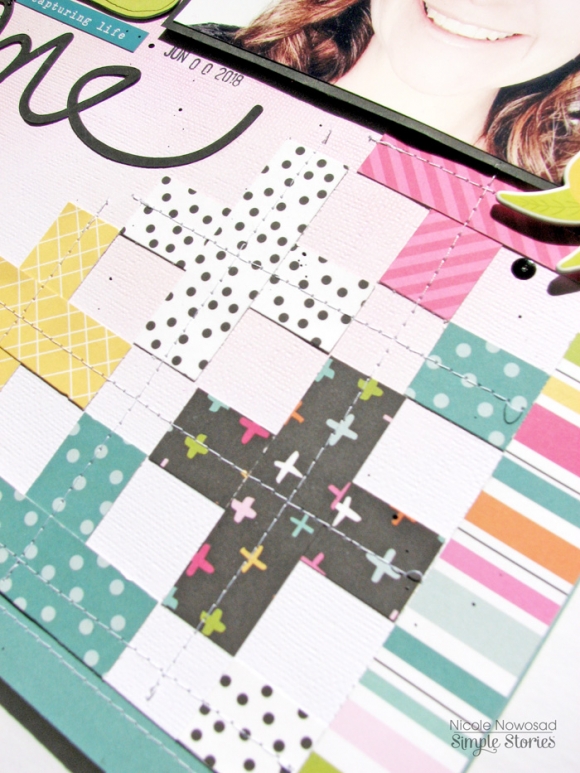
I just couldn't resist using a good variety of the patterned paper in this collection to create my page. I just adore the bright colors and gorgeous patterns and so I cut up several strips from several of those papers to create the background for my page.

I create some simple + signs around my photo and anchored the project with a strip of neutral teal along the top and bottom edges of the project. I added several rows of machine sewing across the + signs to add a little texture too.

I finished off the page with a title cut from my Silhouette Cameo and popped it up with plenty of foam dots. I love that you can get a co-ordinated Simple Basics kit to go with this collection, they are perfect for die cutting and layering.

Thank you for joining me on the blog today, I hope you are inspired to create something of your own that is bold and colorful!

Supplies

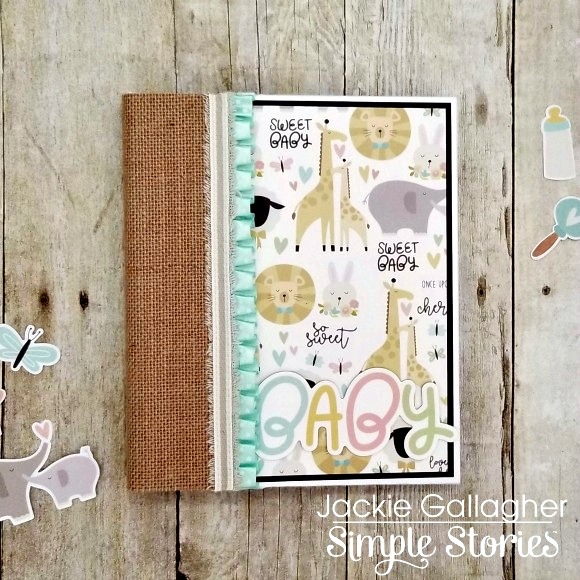
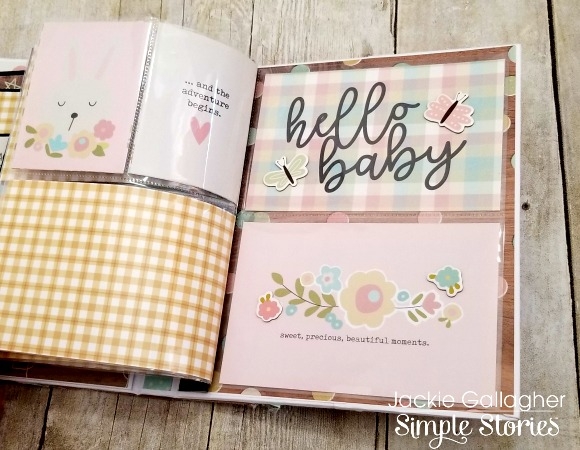
Hello everyone, Jackie G here on the blog today!!  I have a fun little mini album using the Oh Baby! collection I want to share with you all!!  Spring has finally arrived and with that all the freshness of new life.  In fact, we have baby birds chirping in our trees, and the baby cows and ponies down the road have dropped!!  Babies are everywhere!!

This mini album measures 7.5” by 9” with a small ¾” spine, but has plenty of room to store those precious baby photos!!  For the front cover I decided to keep in very simple and allow the paper to be the main focus.  I did use the “baby” chipboard sticker to title the album, along with burlap paper and ribbon for some added decoration.

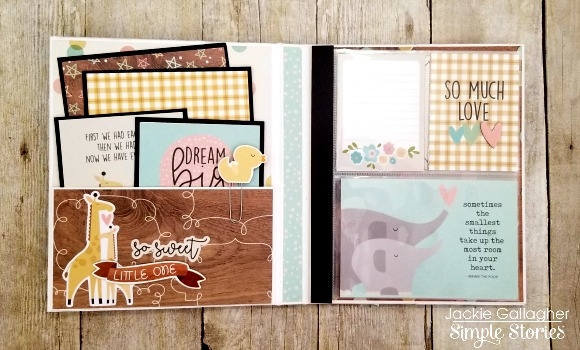
On the inside pocket I made a couple different sized photomats.  I kept the measurements very simple so the recipient of this album can adhere a 5x7 or 4x6 photo directly onto the mats, no cutting involved!! 

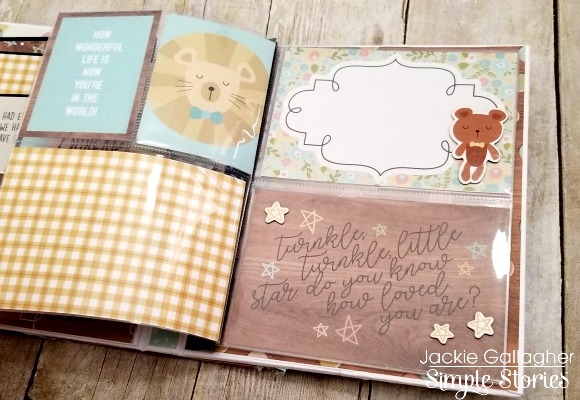
I wanted the recipient be able to store a lot of photos in a small space so decided to use the Pocket Pages and created my own binding to hold them in place.  A simple accordion fold was all in took to hold these pocket pages in the album.  I glued them right in between each fold so they flipped like a book.  I used the horizontal 4x6 and 3x4 patterned paper elements to fill in my pockets.  For some added dimension, I glued down a couple chipboard stickers on some of the pages. 

I hope you enjoyed this simple little mini album!!  Happy Crafting!!

Supplies

Pages