December 2019 Blog Posts


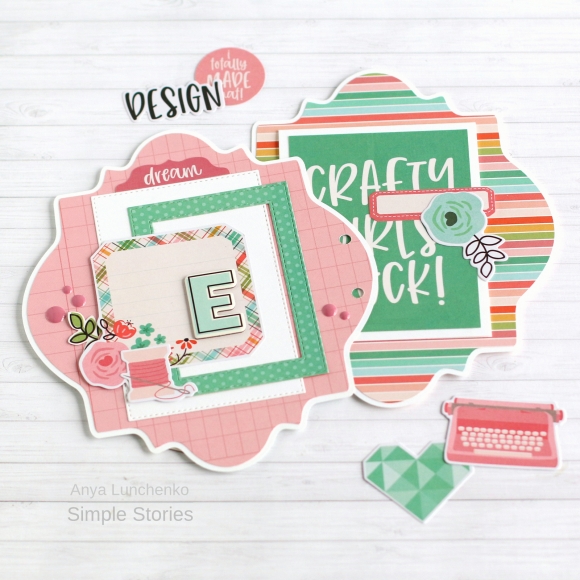
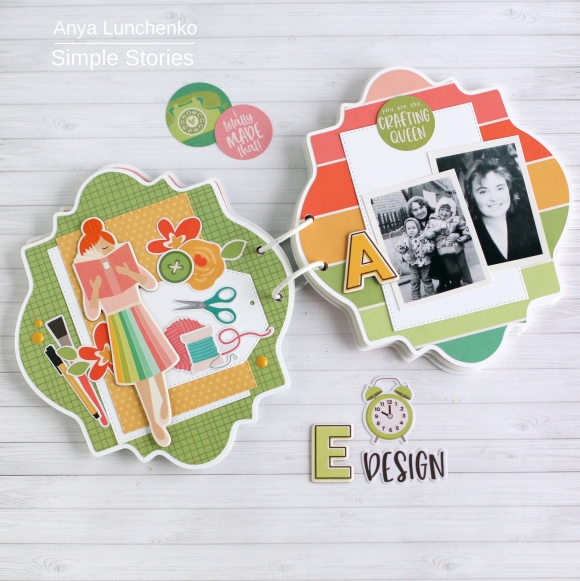
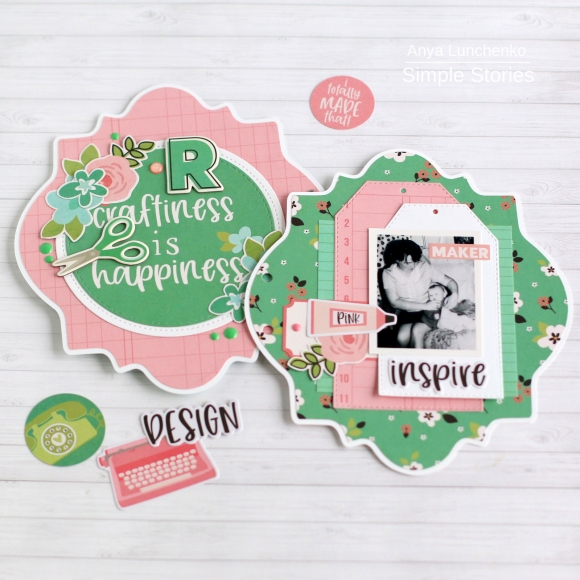
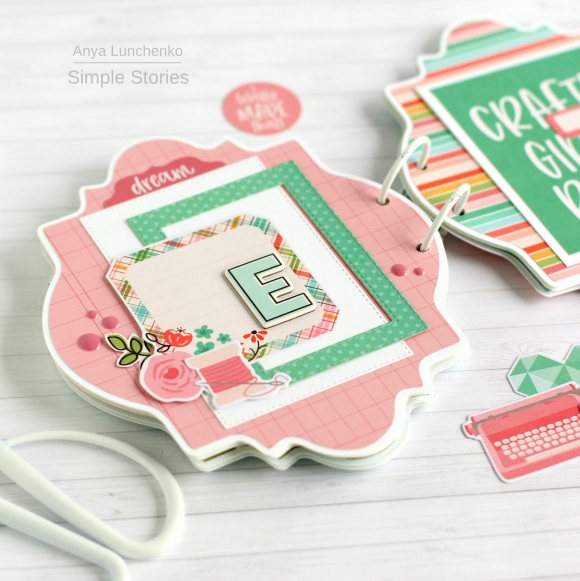
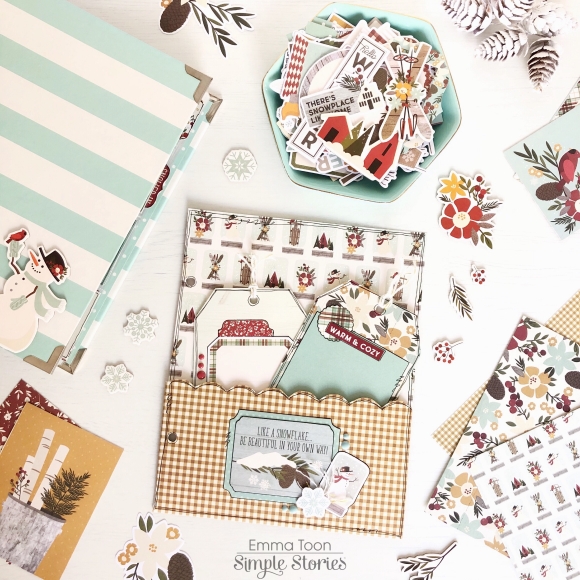
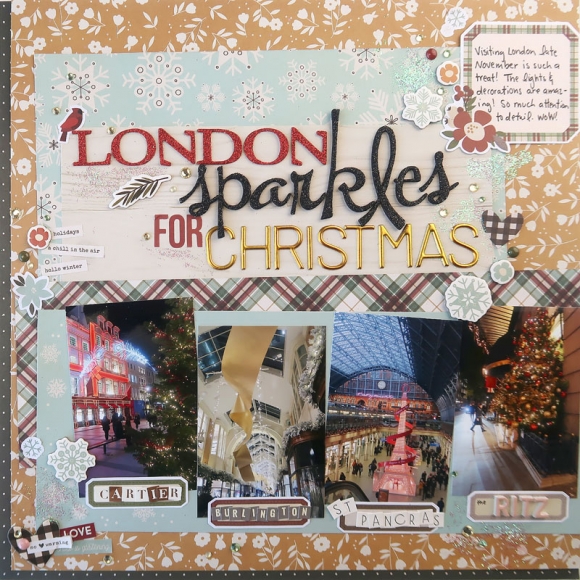
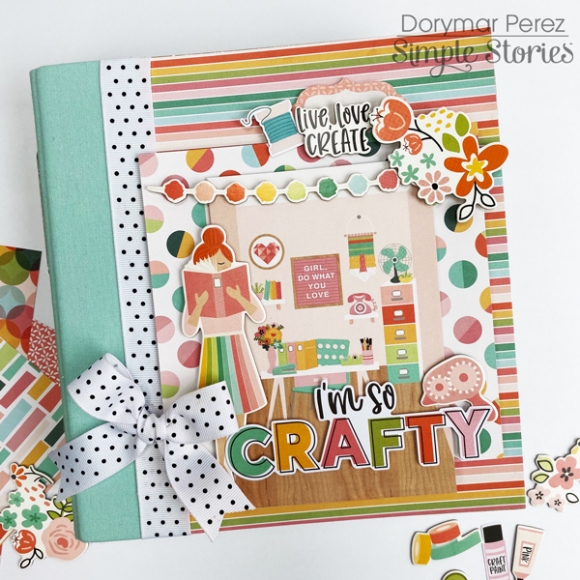
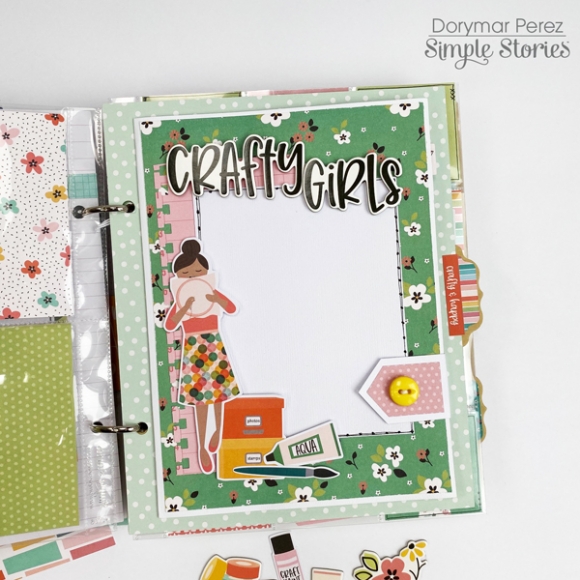
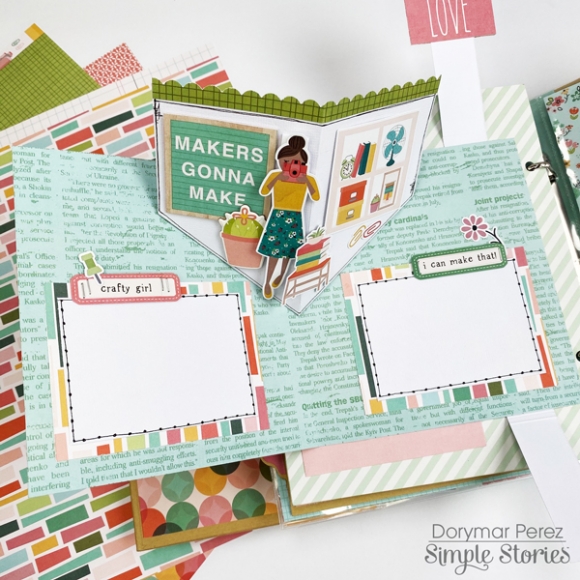
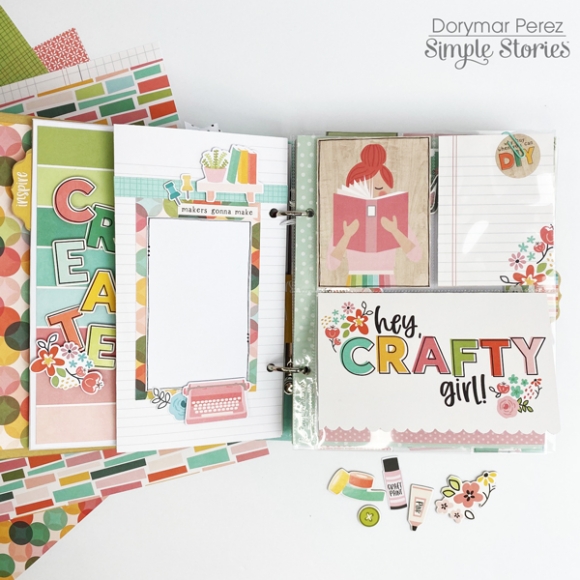
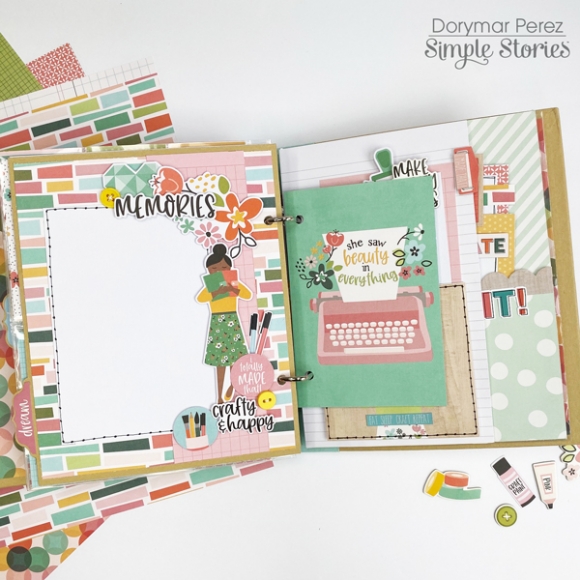
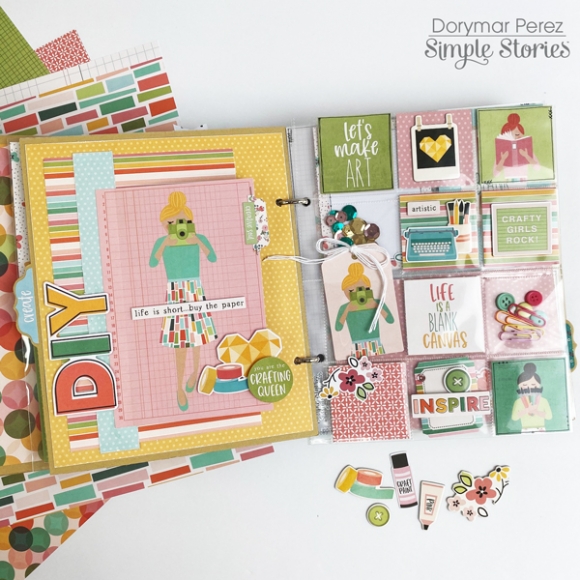
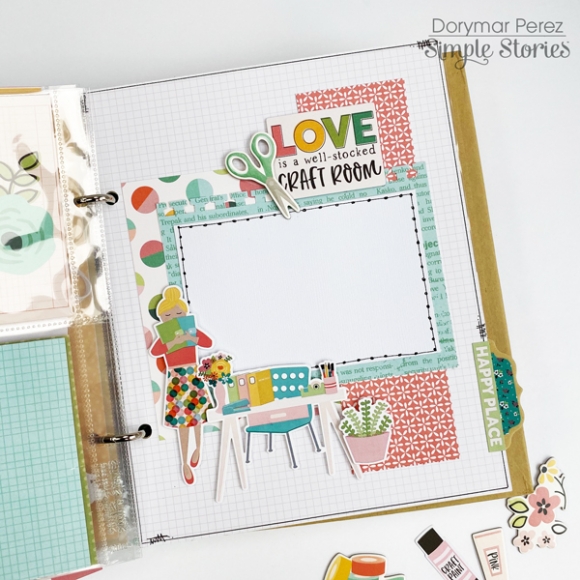
Hey there crafty friends. I am really excited to share my snap album I created using the "Hey Crafty Girl" Collection. As you can see, the elements and pieces speak for themselves. Everything about this is just beautiful.

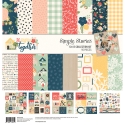
 Every crafty girls should own this collection because it's just so amazing and perfect for all kinds of projects you can think of.
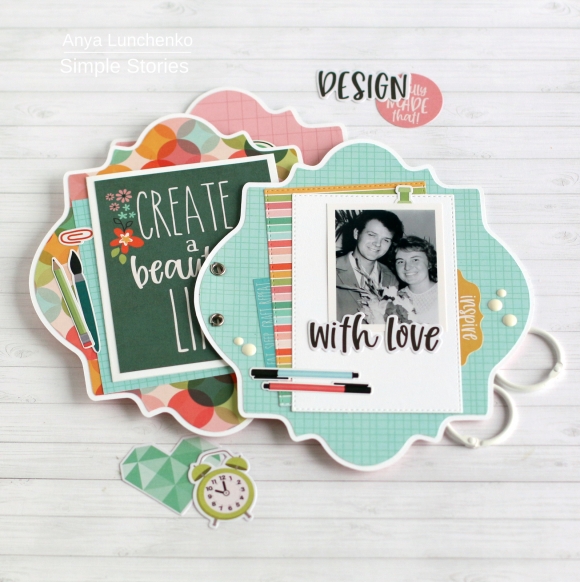
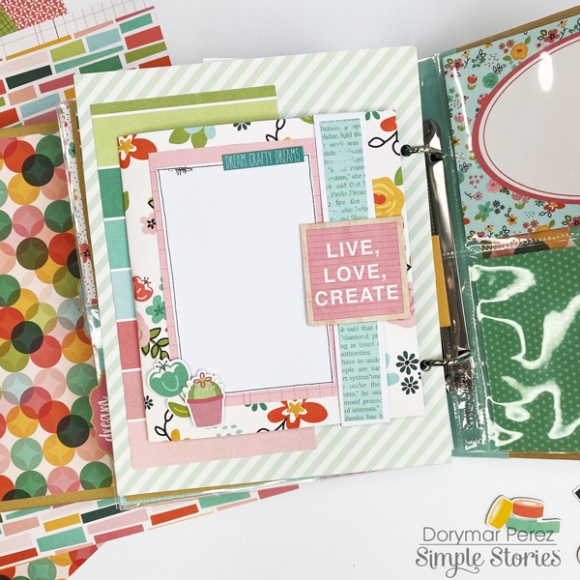
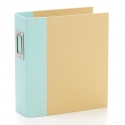
 I decided to use the Pink Stripe Binder to go with this collection since pink is one of my favorite color.
 There's just endless possibilities using this collection.
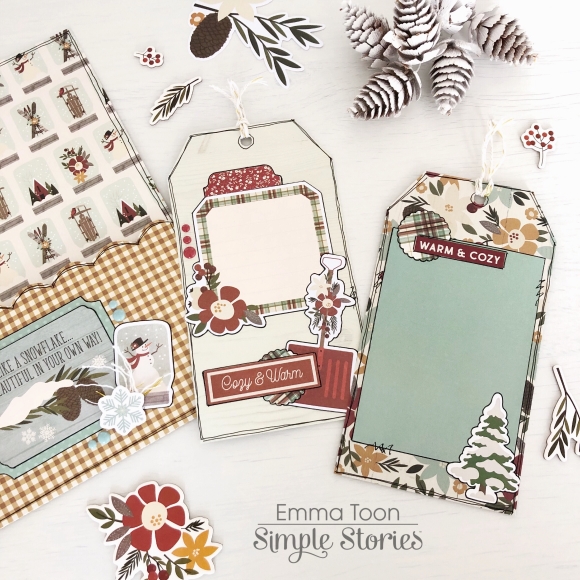
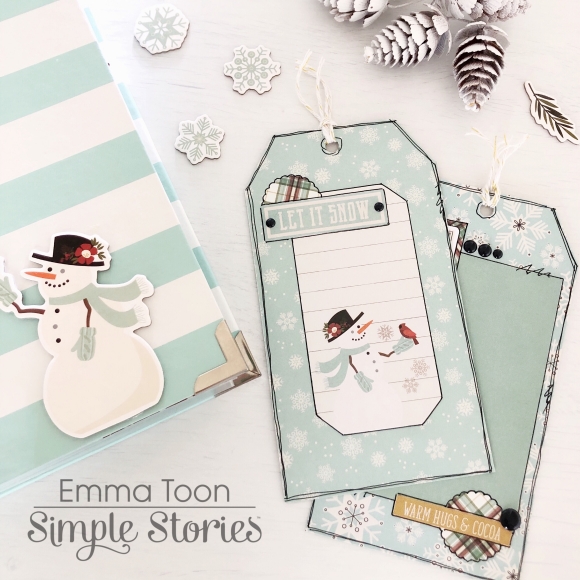
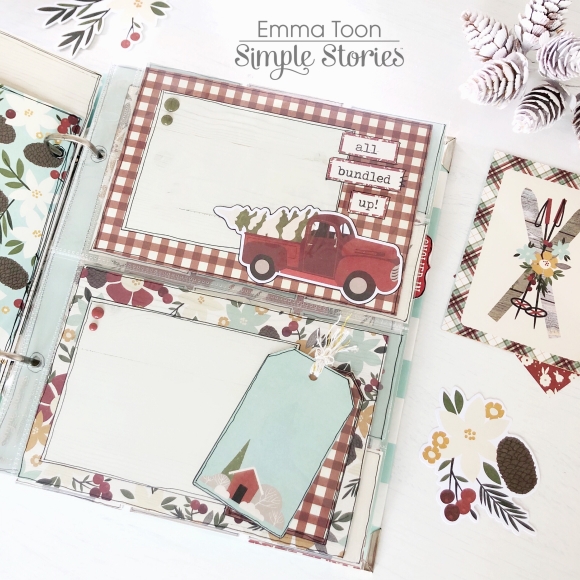
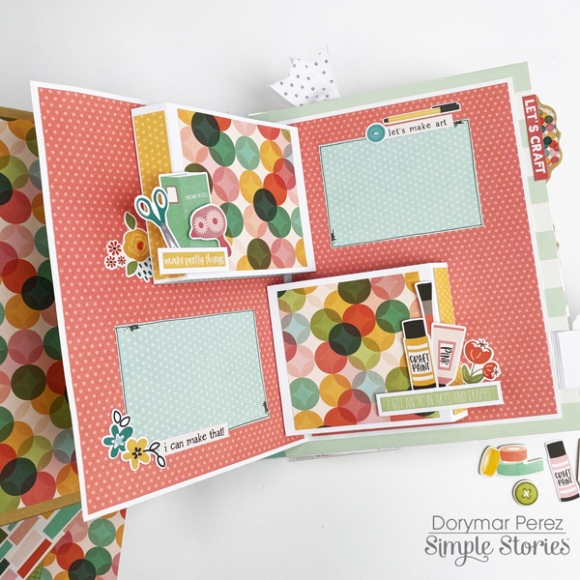
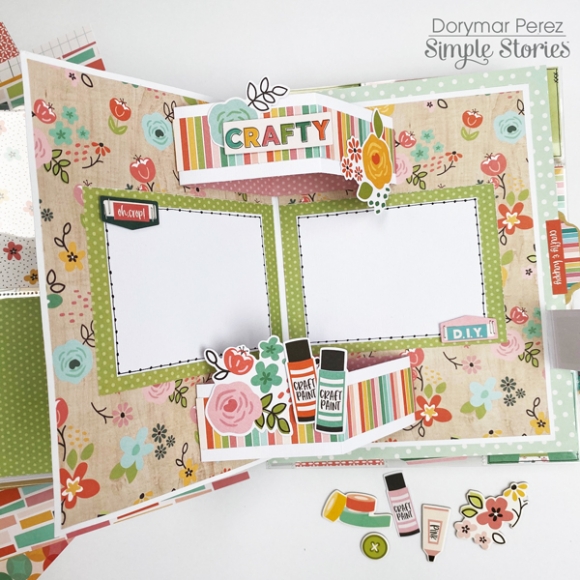
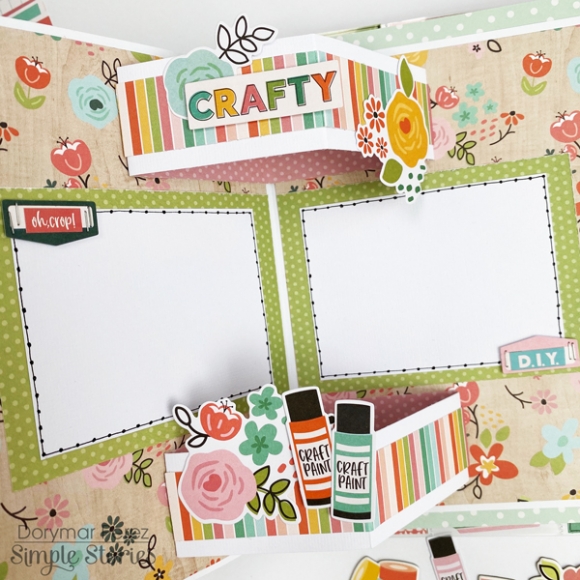
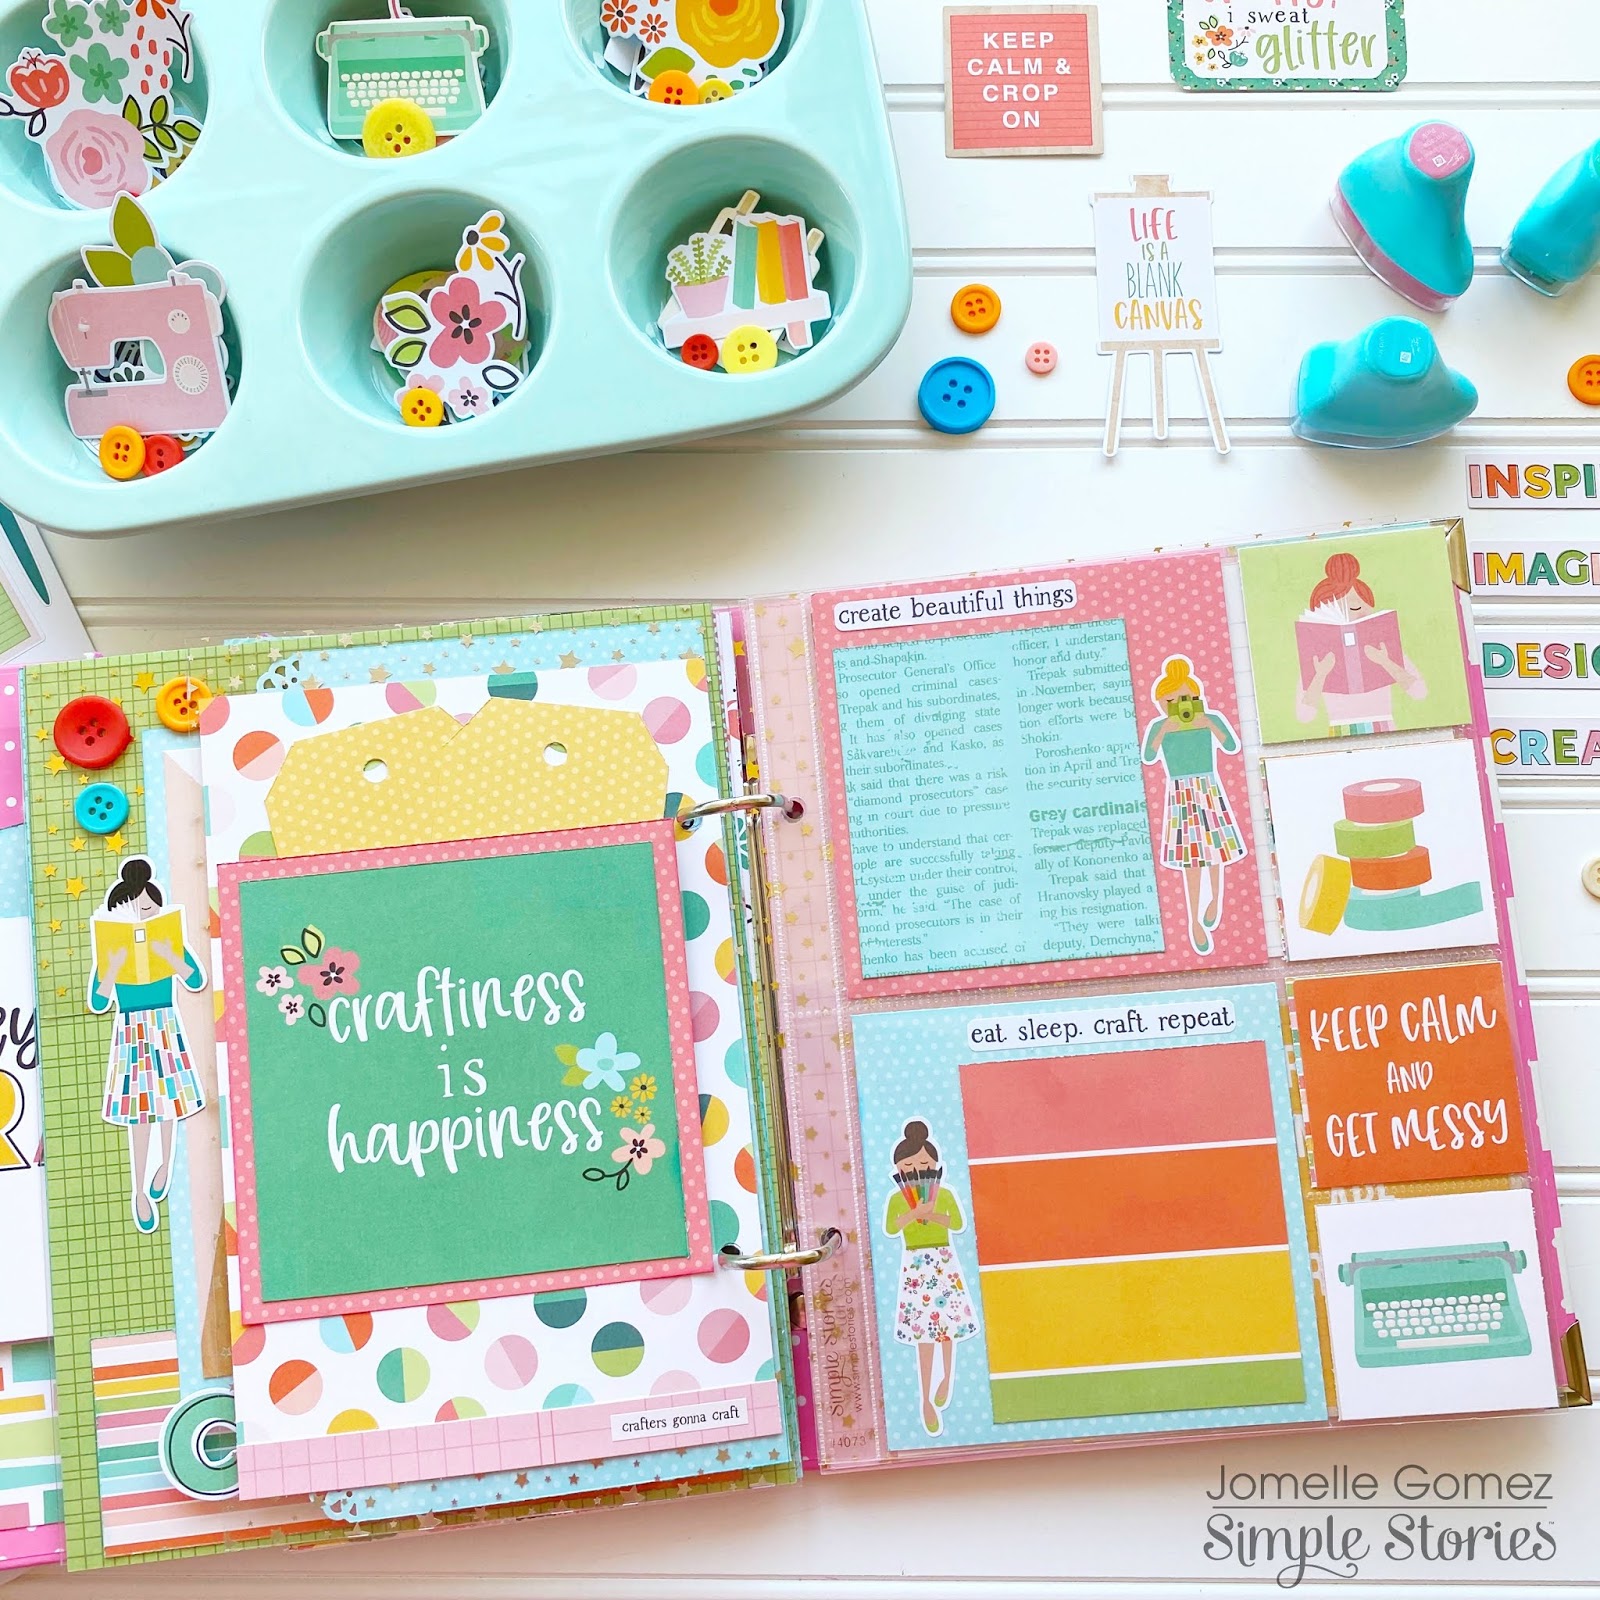
 I wanted to add interactive elements in my album so I created these tags from the basic kit card stock paper. I added twines from my stash. I stuck them behind so that they can be pulled out.

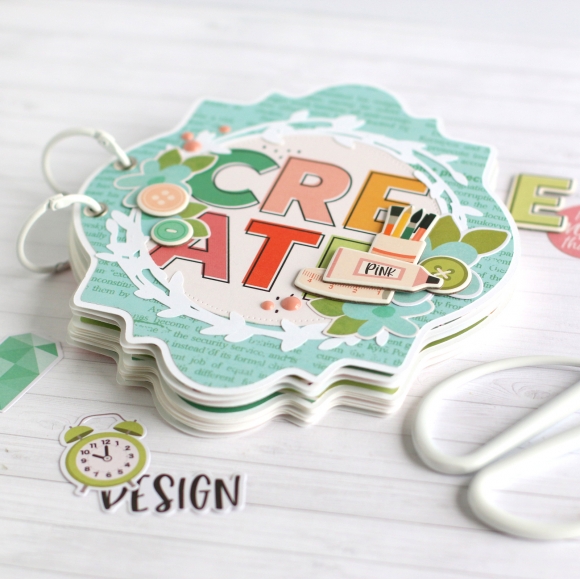
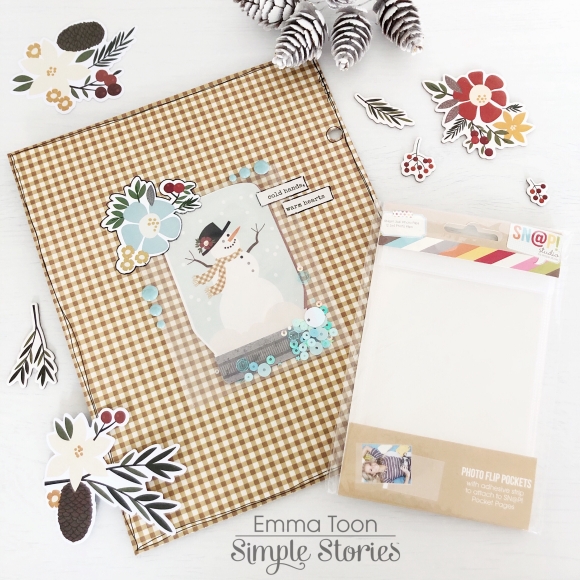
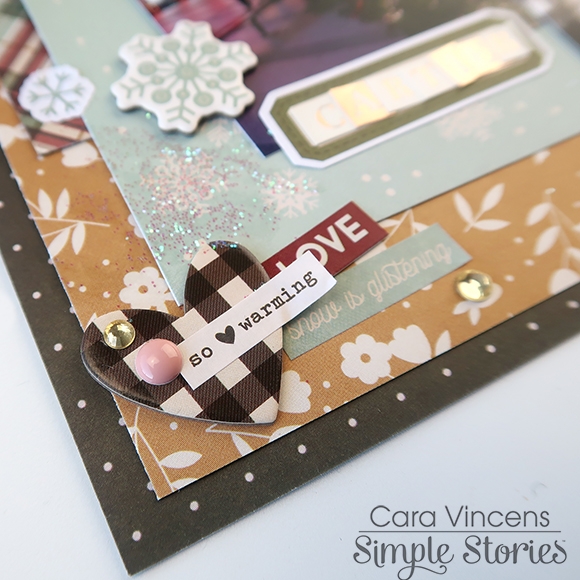
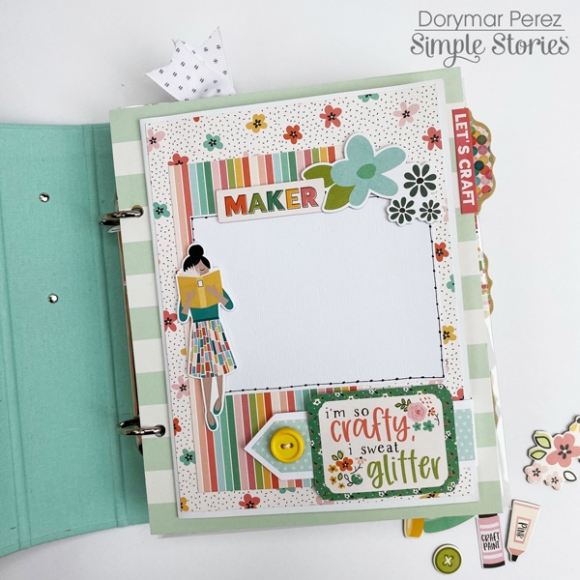
I finally was able to use my buttons that I have been hoarding during my scrapbook days. They are just perfect for this album.
I had so much fun creating this album and I am not even finish yet. I have more ideas and pages that I want to add. 
 Yaay for my buttons which added a little flair to this page.
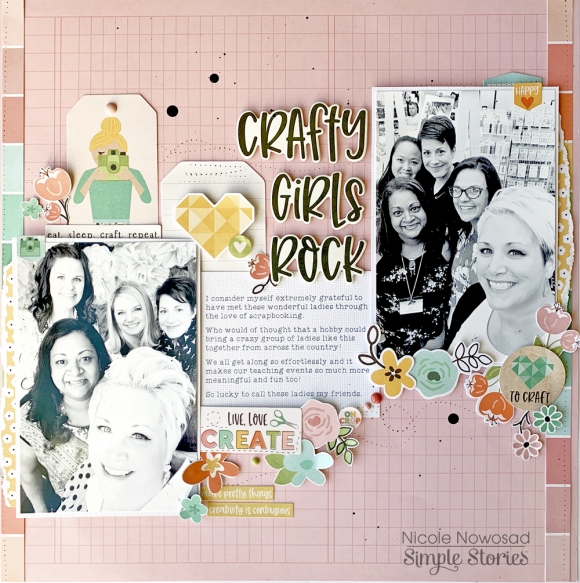
 "Creativity is contagious, Pass it on" It truly is contagious. I love browsing through Instagram for projects and they give me inspirations to create my own.
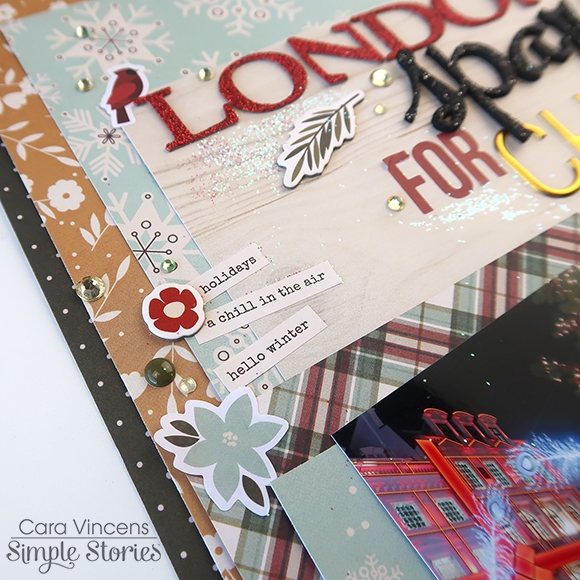
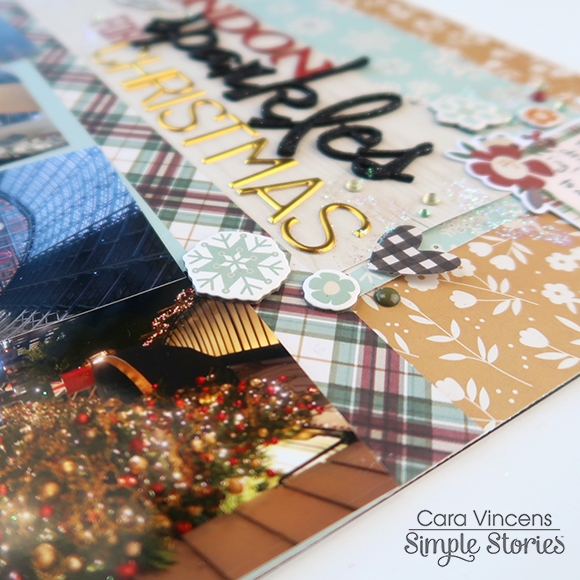
You can't go wrong with mixing and layering the pattern papers since they all go so well together. Just play with each elements and always have fun putting them together.


So what are you waiting for? Get going to create, design, imagine and just have fun. Thank you for stopping by.

Supplies

Hey y’all! Courtney here and today I am sharing the layout I created using the So Happy Together collection. This is such a beautiful collection and I wanted to put every single piece in the collection on my layout. I decided to go with a free cut file from Paper Issues so I could use a ton of patterned papers.

For backing my cut files I used a variety of pattern papers from the 6x8 paper pad. I love having the smaller prints to use with cut files. I cut my actual cut file on the Happy Heart paper, I am obsessed with anything polka dot and black and white. I cut about an inch ½ inch on each side so I could layer the beautiful Our Story paper behind it.

After I filed my cut file, I began laying a ton of ephemera, chipboard and stickers. There is a ton of great images and tiny word phrases.

I layered a 4x4 photo that I trimmed down to fit onto the gingham 4x4 card and then I layered it onto the My Family paper. Then I finished my cluster with a word sticker, chipboard heart, and a tan from the combo sticker sheet. I completed the layout with enamel dots, I’m pretty sure I include those onto EVERY layout that I create! I hope you love this layout as much as I do!

Supplies

Good morning friends! Have you ever had a moment when a certain theme or paper collection reminded you of a story you haven't told yet? Art and creativity runs in our family for at least four generations and I never thought of recording that story until I met this beautiful paper line by Simple Stories called Hey Crafty Girl.

Since there were a number of people I wanted to mention in this story, a mini book seemed like the perfect solution. I picked a decorative label shape as the base for the mini book and cut ten pieces from white cardstock. Then, I cut out twenty more pieces from patterned paper that were a bit smaller to cover all the pages.

For the front cover I cut a circle from one of the cards in the collection with the word “create,” which also served as a title for my book. I decorated the cover with another die cut piece, a few chipboard pieces and scattered enamel dots.

Most of the photos in this mini album measure about 2x3” and I printed them at home with a white border. I will be adding journaling to the tags and pieces that open like a card (behind the 3x4” elements).

I love decorating smaller format pages! As always, bits and pieces and some stickers make this step pretty easy. It was such a fun little mini book to create and I hope you will take a closer look at this beautiful collection if you haven't done so yet!

Supplies

Hey there Simple Stories fans! Nicole Nowosad here with you today to share some inspiration using the new Hey Crafty Girl collection!

I just love all the colors in this collection - and a collection dedicated to all the craftiness - so perfect for those of us who have crafty friends!  I couldn't resist mixing in lots of different elements in this project from the collection, including a chipboard title using the 6x12 chipboard set and some of the die cut Bits & Pieces. 

I cut a few thin strips of the rainbow paper in the collection and used that along either side of my project, adding some photos and then the diecut elements, filling it all in with some fussy cut flowers from patterned paper.

This collection is just PERFECT for capturing those scrappy memories ! I hope you are inspired to create something fun with this collection too!

Supplies

Hi there, it’s Emma with you today and I’ve been working on a fun new project. I’m now using Sn@p binders, it’s still all very new to me, so please bear with me! I’ve been using the fabulous Simple Stories Winter Farmhouse Collection, to set up my winter themed Sn@p binder. 

The first thing that I made with a sheet of 12x12 paper, was a pocket folder & some giant tags, which I’ve decorated and then left areas which will be perfect to add pictures or journal.

On the reverse side of the pocket folder I made a little shaker pocket, simply by fussy cutting out the snowman jar, sliding it inside a Sn@p flip pocket, sprinkling some sequins inside and sealing the top with some clear tape, I then used double sided sticky tape to fix it onto the back of the folder. 


I love to make dividers for my binders, and it’s such a great way to add more interest to your projects. 

I’ve decorated a couple of 6 x 4 cards to fill this pocket page, again, leaving space to add photos or journaling. 

I thought it would be fun to make some cute little cards to slot in between some of my pocket pages, the 6x8 pad makes it super easy and of course the 6x4 element pieces from the 12x12 collection kit. 

I knew I definitely wanted to use the 2x2 element pieces which are also from the 12x12 collection kit, I simply cut them out, arranged them in a way that pleased me, drew around the edge of each one, with my trademark faux stitching and also did exactly the same for the reverse side! I’m so pleased with how both sides turned out...super easy, but oh so cute!!

Hope you like what I’ve done, and that maybe it inspires you to have a play around with filling some sn@p pockets! If you would like to see more pictures using Simple Stories products then checkout my IG account.

Supplies

Hi, it’s Cara here today! I hope you are having a wonderful, festive December so far. I recently went to London and the Christmas decorations were incredible! I've never seen anything like it, I was amazed by the attention to detail and a surprise was waiting for me around every corner. I wanted my layout to showcase how beautiful it all was. The Winter Farmhouse collection not only matched my favourite London photos, but really highlighted them and made my photos stand out. I chose festive papers with a Christmas feel and I love how it all turned out. 

With so many lovely papers to choose from, I decided to go with lots of layers so that I could use as many of them as possible. I used the golden floral paper aptly named Warm and Cosy as my main background because it drew out the gold tones of the lights and decorations in my photos. I love having a peek of pattern at the edges of my pages, so I trimmed down the yellow paper to let a bit of the dark Falling Snow paper show on two sides.

Hello Winter and the backside of the 4x6 elements paper matted my photos and I used both sides of Feeling Frosty for the backdrop for the title. 

Little label die cuts from the Journal Bits and Pieces were the perfect spots to add the locations of each photo and a larger label was the perfect size for my journaling. 

I sprinkled a mix of stickers, die cuts, and cardstock stickers around the page as embellishments and then I topped the whole thing off with some gems and glitter. 

Have you scrapbooked the Christmas lights in your town yet? What other festive decorations have you scrapped? 


Supplies

Hi crafty friends, It’s Dorymar today with a super fun Sn@p Album with the Hey Crafty Girl Collection! This collection is seriously perfect for all crafty girls.  It’s just fantastic! 

For the cover I want to recreate a craft room, to create it I used one of the 4x6 journaling cards in combination with the gorgeous chipboard stickers. I put all of them in 3d foam dots to create layers and dimension. I love how they look together.

The mini was decorated with all the beautiful patterned papers, ephemera die cuts, chipboard pieces, stickers, buttons, ribbons, etc.  Each divider is different from the others, this makes the album very fun.  In this occasion I decided to do something crafty in honor to the collection and created three-dimensional pages.

Inside of this spread, you have space for four pictures, two of them are in dimension. Closer to the photo mats I created a fun cluster with the die cuts and embellishments.

The collection has several crafty girls and I had a lot of fun playing it on different pages. For this spread, in particular, I created an open fold layout and I used the Crafty Girls chipboards as a title, inside of this spread I created a fun dimensional page.

When you open the spread, I’ve got a HUGE 3d pop up!  There is also room for photos or memorabilia to be stored. Closer to the pop up I created little clusters with the die-cut from the ephemera packs. 

Here is a close-up of the spread. The embellishments are so beautiful, I love them all!

This spread is very fun, on the outside I wanted to keep it simple but when you open it is so fun and pretty.

I wanted to showcase the papers in this collection, so I used as much as I could.  When you see each of the pages of this album you fall in love more with the collection. Here I show you some of them.

Many pages are pocket pages with inserts.  So again, LOTS of room for photos!!

This album could not stay if the pocket page for 2x2 cards. I love these pocket pages!

I had a lot of fun designing this project and I hope it inspires you to create your own with the stunning Hey Crafty Girl Collection! Thanks for stopping by!

Happy Crafting!

Supplies

Pages