January 2020 Blog Posts

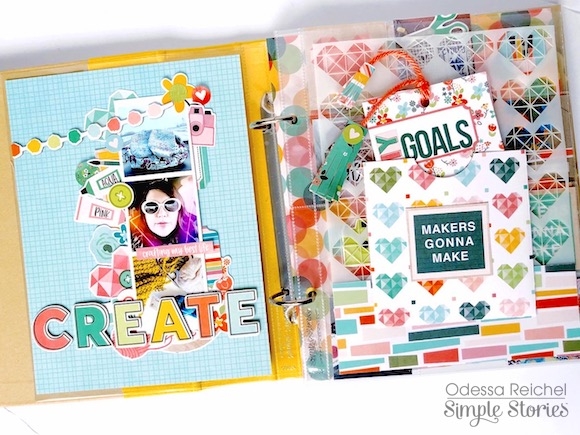
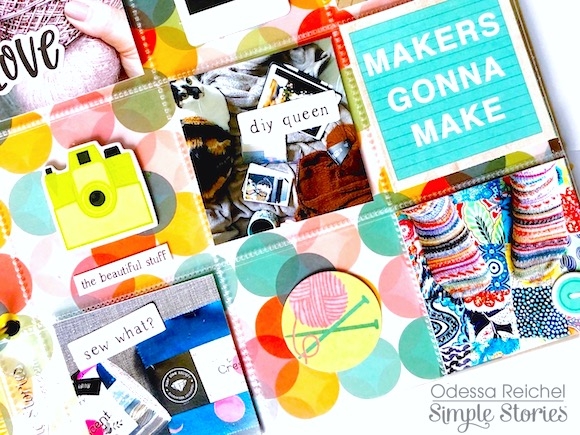
If you’re a DIY sort of gal (like me) then WOW!  Do I have the collection for you!  Simple Stories Hey Crafty Girl is going to steal your heart, because it’s all about your favorite thing.. MAKING!   Just the name is practically calling out to you! 

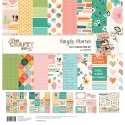
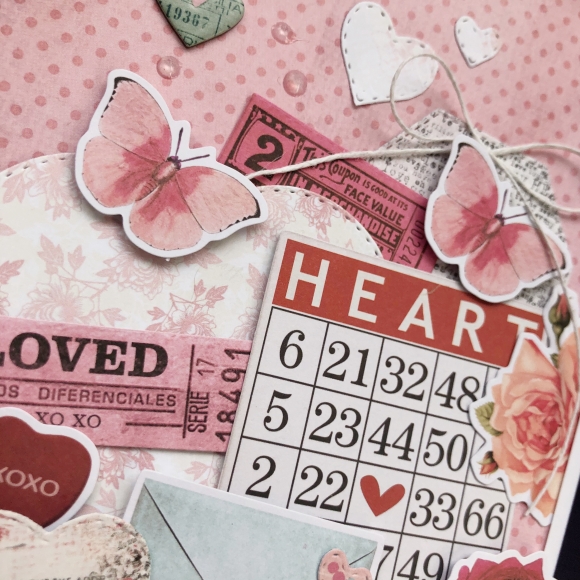
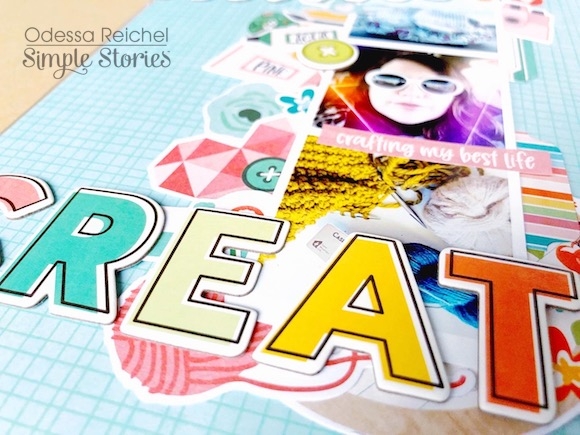
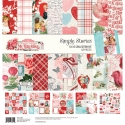
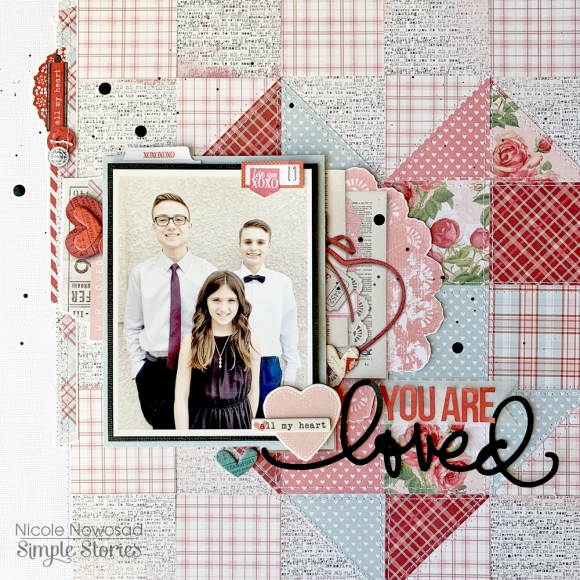
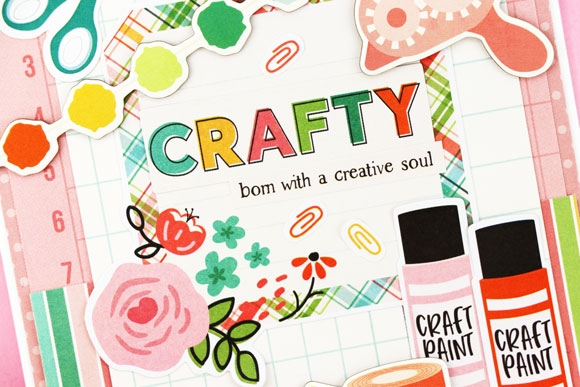
You’ll love the printed pattern papers with numbered grid marks, paint swatch rainbow colors, ruled lines, florals, plaids, dots and more.

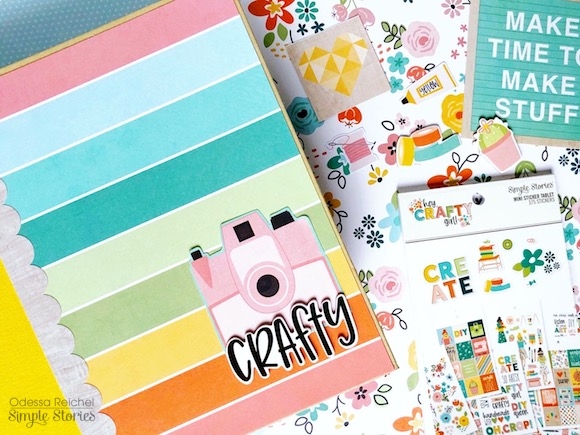
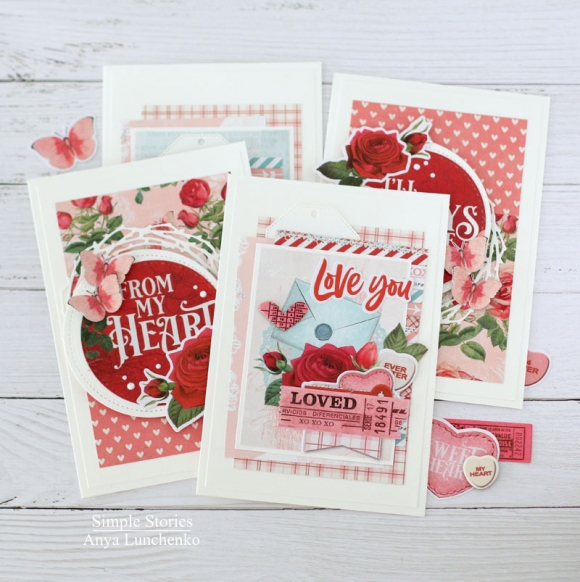
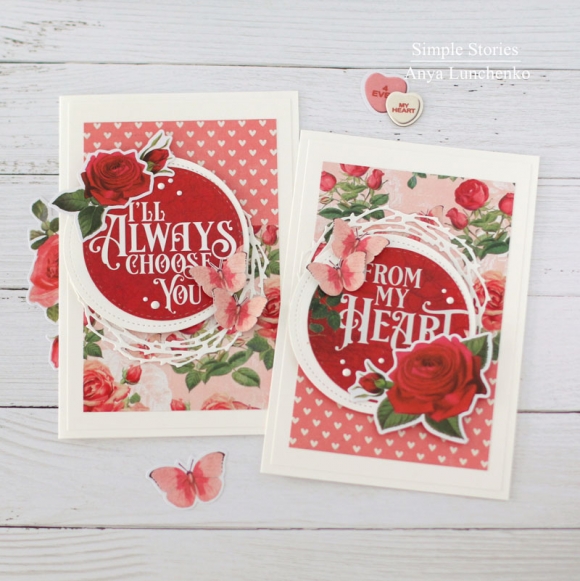
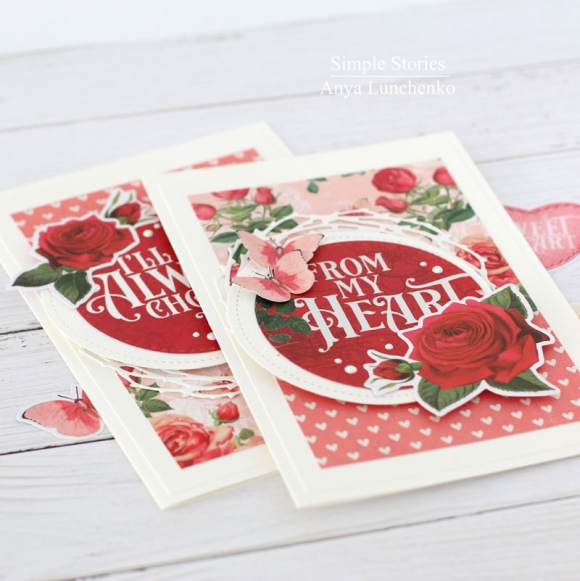
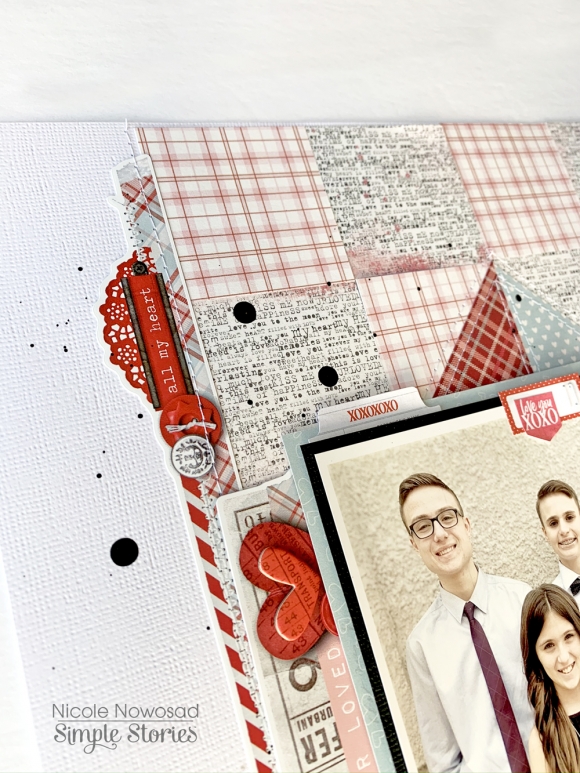
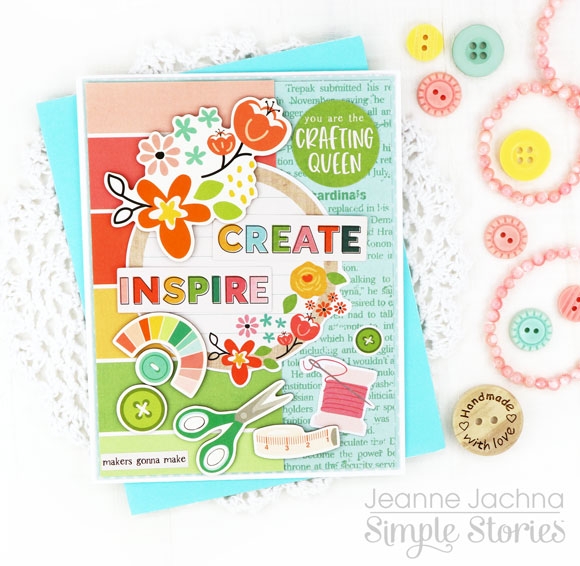
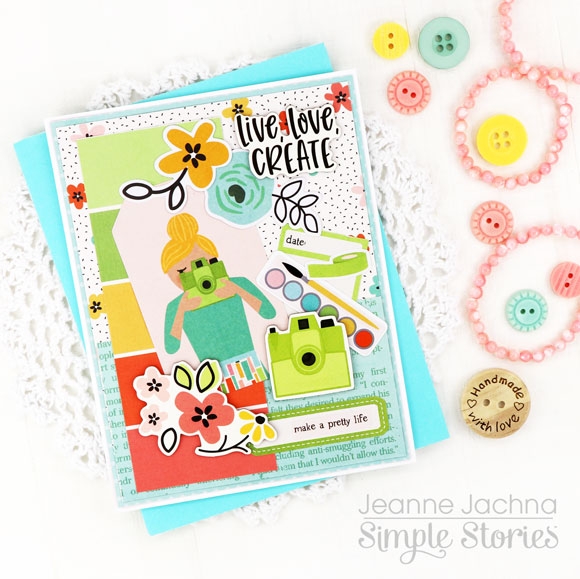
All of my cards start out with a white card stock base topped with a slightly smaller matt cut from the Simple Stories Simple Basics papers.  Each sheet is color coordinated to match the printed papers in the collection.  The Simple Basics papers are solid on one side and have a soft dot print on their reverse.  When patterns get a little busy, it’s easy to break things up with a panel of solid.

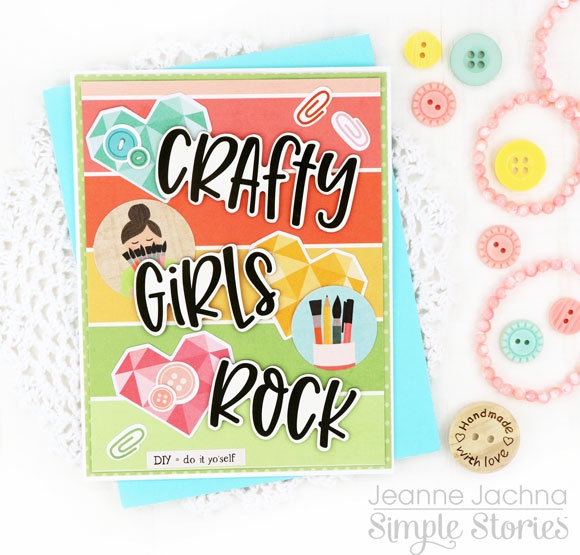
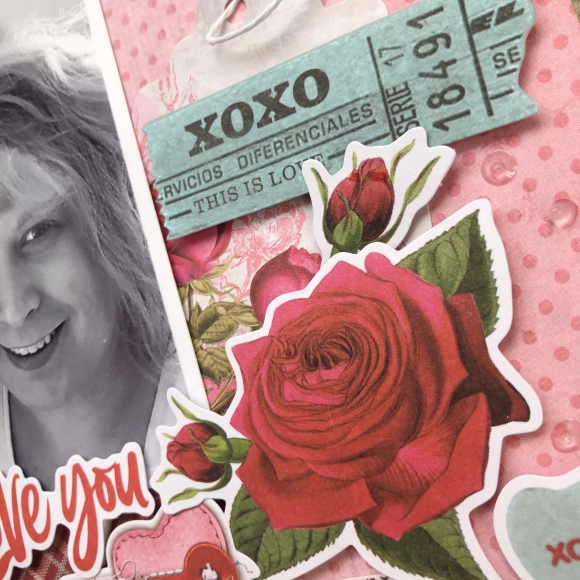
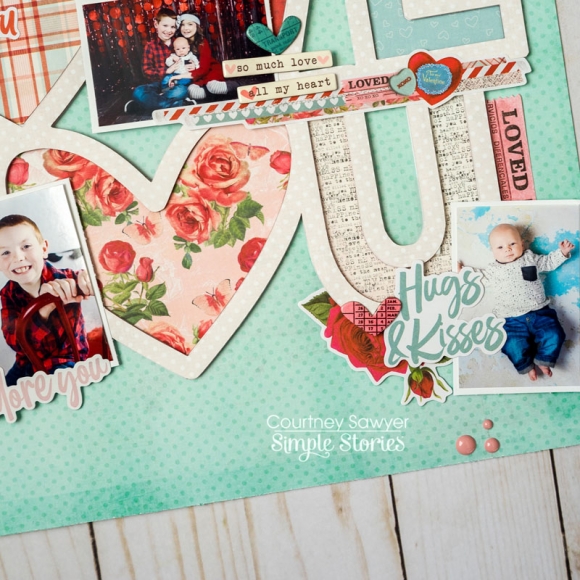
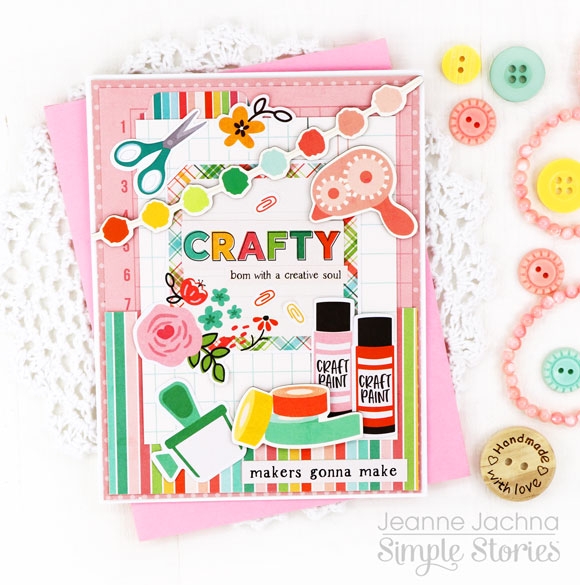
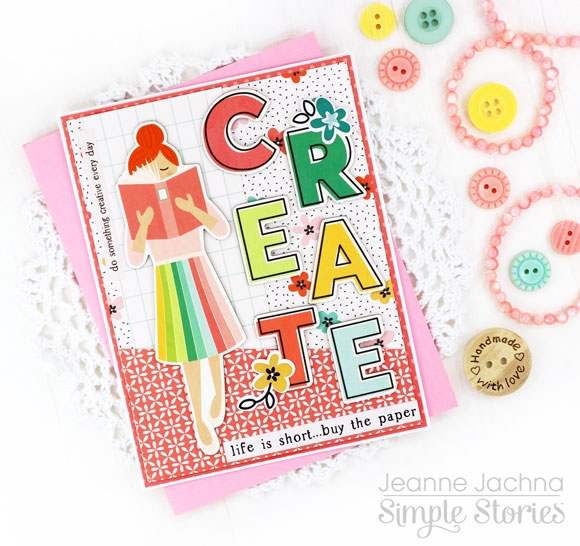
I’m smitten with the fun sentiments in the set that you’ll find everywhere.. in the Bits and Pieces, Stickers, and Chipboard.  Sentiments like “Life is short – buy the Paper!”, “Crafty Girls Rock” and “Keep Calm and Make Pretty Things”.  Are you smiling yet?

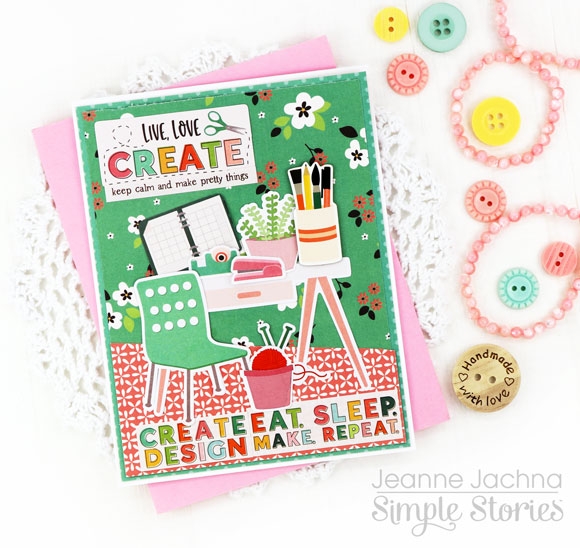
We all love showing off our crafty space.  A place where we can create, dream, imagine and explore.  And while our little hobby can get expensive. lets face it.. it’s cheaper than therapy!  LOL!    And the best part of all..   I feel so blessed that paper crafting has helped me find friends that enjoy making just like me.

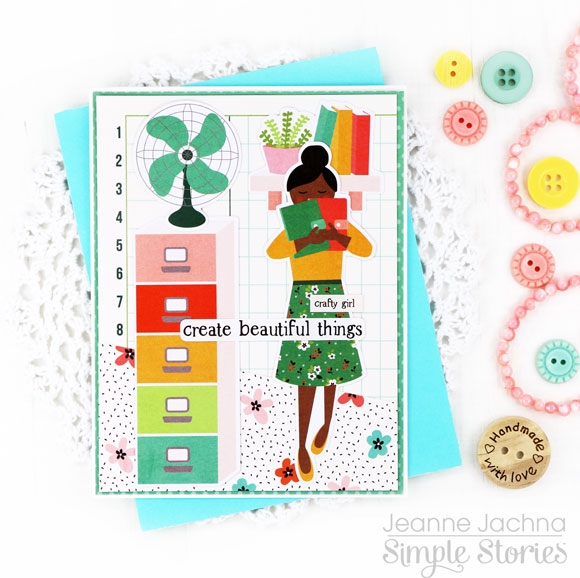
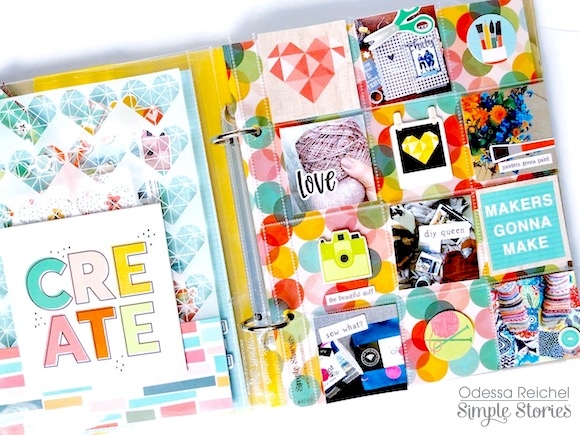
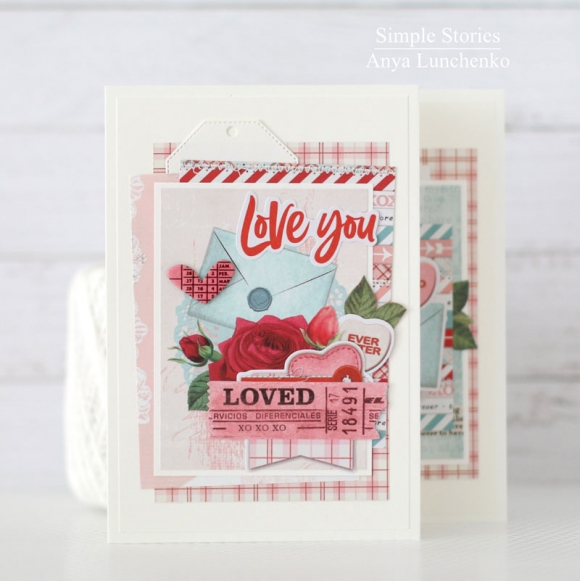
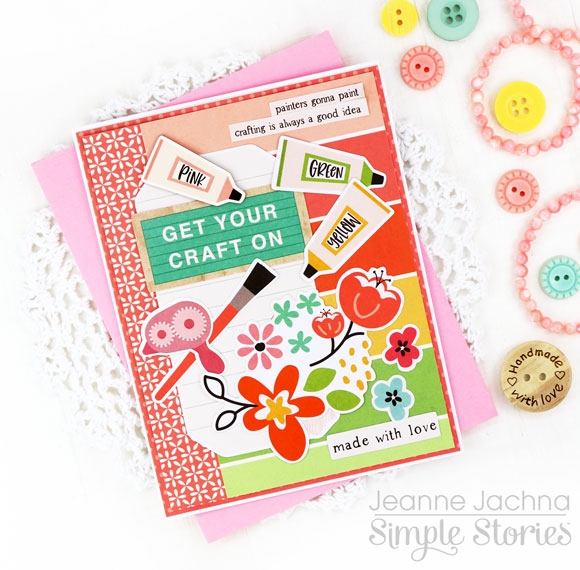
The images are all wonderful too!  You’ll find tubes of paint, tape runners, washi, flowers and lots more!   Most of us are multi taskers, and this collection is too.  You’ll find embellishments for your inner photographer, decorator, journalist and fashion designer too! 

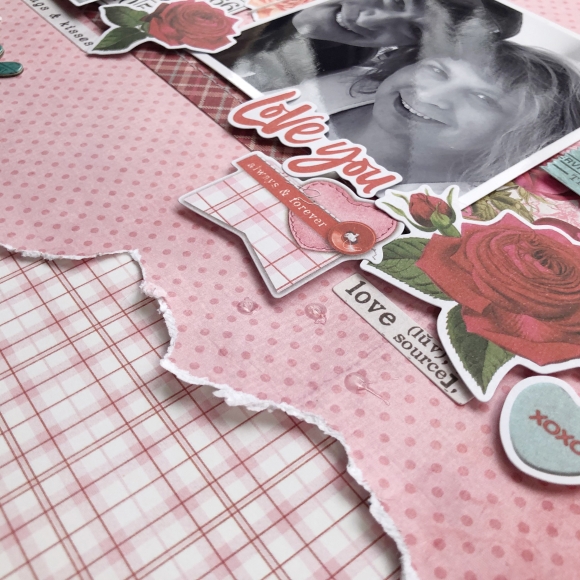
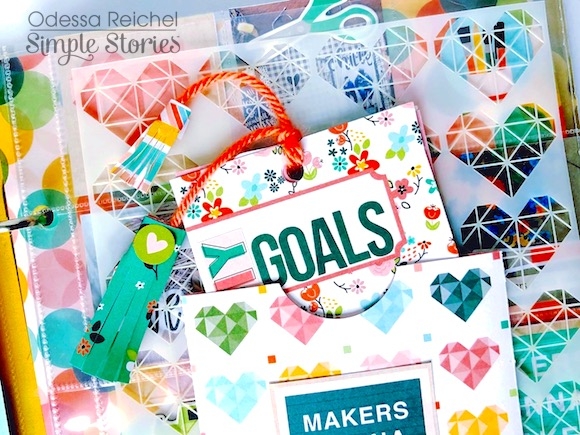
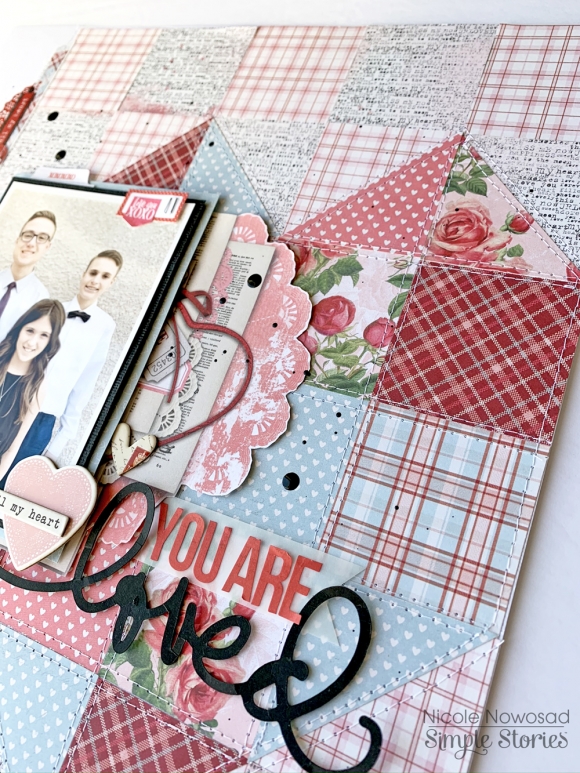
This collection includes traditional Bits and Pieces as well as Journaling Bits and Pieces die cuts.  The journaling set includes tags, tabs and labels perfect for layering.   

Simple Stories has expanded this collection to include a stamp set with coordinating dies, and a stencil too so you can explore even more ways to make with this wonderful collection!

Crafting is always a good idea and I can’t wait to share these pretty cards with my crafty friends!  I know they’ll appreciate these fun images and whimsical sentiments that bring out the crafty girl in all of us!

Supplies

Hello friends, and a Happy New Year to you all. It’s Kylie back with you all today with a new layout to share! I have been working with the super adorable ‘My Valentine’ collection and have scrapbooked a photo of my two munchkins from several years ago being all sorts of cute.

I was particularly drawn to the pink heart side of the 2 x 2 Elements paper, so this became my main background page. I used the Aqua/powder Dots paper from the Simple Basics Kit as a border page and loved the colour combo together. Since I wanted to add lots of texture to my page, I added some strips of Be Mine, 4 x 6 Elements and Carnation/Blush Dots paper throughout the middle of my background. I used a lace border punch on both edges, so it gave a sweet ruffled effect. Again, using a punch from my stash, I added a paper vine to the top and bottom of my page using the Rose/Lace Dots paper which I ran some machine stitching through.

The Layered Frames in this collection are so cute so I decided to add a ‘shaker’ heart frame to my layout. The heart was backed with some clear acetate and I added some foam tape around the edge on the back. Once I knew where to position my heart, I poured some sequins onto my page directly before adhering the heart over the top. It turned out super cute!

Next, I adhered my photo into place, again with foam tape so that it sat up from my background for dimension. I trimmed the white edge off some of the floral die cuts and layered them in behind my photo for balance.

To complete my layout, I added a large title from the sticker sheet.

Thanks so much for taking a look at my layout today. I hope it gives you a little inspiration for your own creating.

Kylie.

Supplies

Will you be my Valentine My Love? 
 
Jomelle here today and it's my last blog post and project for Simple Stories. It has been wonderful the past 3 years. I've loved every minute of it. Today I would like to share a very simple last minute gift you can create for your love one for Valentine's Day.
 
 
 I am using the "Simple Vintage My Valentine" Collection.
 
 
I decided to create a mini album in the shape of a heart. I plan to give this to my hubby on Valentine's Day. 
 
 
First thing I did was I cut up heart shapes using 5 different 12x12 double sided cardstock papers. I used one of my heart shape calendars from my stash. You can choose which patterned paper you want to use.
 
 
Then I started decorating each of the hearts. I used chipboard stickers, bits & pieces, ephemera, washi tape and stickers from the 4x6 Sticker Tablet.
 
 
I started by putting the embellishment pieces together to see which ones I liked and then decorated each heart. With Simple Stories you can never go wrong with your embellishments. I like layering the pieces as well.
 
 
I used foam adhesive to "pop" some of the pieces for that 3D effect.


So there you go, easy last minute mini album for your love to give on Valentine's Day.
 
 
Thank you for stopping by and I would like to Thank Simple Stories and Amber Crowell for an amazing 3 years. I loved creating using all of your products. I'm hoping to be a part of this company in the future. Thank you again for this opportunity.
 

Supplies

Hello friends! 

It's Kristine Davidson here today and I'm sharing a layout with you using the My Valentine collection. I wanted to create something different for this layout. I just felt like using more papers but I didn't want to layer them like I usually do. I ripped the edges of the background paper and added some different patterns behind it. It is different but I feel like the papers from this collection all go together so very well. 

I added layers of clusters of course using some chipboard stickers and Bits & Pieces from the collection. Layering different elements on your page creates a wonderful dimension and creates texture when using different pieces. 

Here is another close up of my ripped edges. I added some pop dots underneath to create more shadows and dimension. 

I hope you enjoyed my project today and please come share on instagram your recent layout using Simple Stories!

Supplies

I like to set some crafty goals for myself at the beginning of the year and the Hey Crafty Girl collection was perfect for visualizing those goals! With bright cheerful colours and lots of different crafts represented it was so easy to start putting these pages together.

I used a SN@P! binder with a yellow spine and covered it with the Crafty & Happy cardstock. Love those stripes! I used the scallop border sticker from the Combo Sticker sheet along the edge to smooth out the transition between cardstock and album spine. To make it a little more fun I cut out a larger camera from one of the 4x4 elements and added a chipboard word sticker.

Inside the album the first thing is a full page 6x8 layout and an interactive page. I liked the idea of making my list a little more interactive with a tab booklet.

For my full page layout I printed out a photo strip with two current crafty projects and me! I picked some cardstock for the background (DIY Queen), loosely adhered my photo and started building around it! I added SN@P! elements, Bits & Pieces, stickers from the Mini Sticker Tablet and Combo Sticker Sheet and chipboard stickers. I like to start by finding my favourite bits and positioning them around my photo and then work on filling in the spaces until I’m happy. I added the CRAFTY chipboard stickers at the bottom and the chipboard pom pom garland on top to finish it up.

I had too much fun working on the page with my tag booklet. To start, I made a 4x4 pocket on top of a 6x8 page protector out of the Made With Love cardstock. I had planned to do some stencilling to go inside the page protector, but when the Hey Crafty Girl stencil was under my page protector I liked the way it looked so much I just added a 2 inch paper strip to the bottom so it would fill the whole pocket. I love how it adds more layers and you can see the page underneath peek out. Inside my little pocket is the tag booklet - I used a few different 3x4 elements and some actual tags from the Hey Crafty Girl Bits & Pieces and punched a hole in the top. I used some yarn to hold it together and made some cardstock tassels to go on the end. I just cut strips of cardstock and added fringe along the bottom and rolled them up around the ends of the yarn. So easy with a high fun factor. Little elements like that really encourage touching and actual interaction with layouts - I just love that!

Inside my tag booklet I used the big number stickers from the Hey Crafty Girl Mini Sticker Tablet to number off my goals. I also added in a tag made from the Simple Basics paper that coordinates with the colours of this collection and added lots of embellishments to make it fun,

Since the backside of the pocket I made was visible through the stencil, I used one of the 4x4 elements to cover it up. I left the rest of that page plain because I wanted the layers going on to shine! On the other side I used one of the SN@P! pages with all the 2x2 pockets to bring together some visuals for my crafty goals. I combined 2x2 photos with 2x2 elements and some embellishments. I put the Happy Place cardstock underneath to play with the negative space around the embellishments.

Working with Hey Crafty Girl was great way to make my craft goals visible! Now I can look back and add to it as I craft my way through 2020.

Supplies

Hey y’all! Courtney here and today I am sharing my layout that I created using the collection My Valentine. This collection has some amazing vintage images and beautiful colors. I loved using it with a cut file by Paige Evans

I cut the cut file out in the Lace Dots paper and then in white as a solid background. Then I cut each letter in various patterns from the 6x8 paper pad and the 12x12 sheets. I added foam to the top portion of my cut file and adhered the patterns to the white cut out to give it some dimension.

After I adhered my cut file I added my 4 pictures. They are approximately 2x3’s and I added a white card stock mat to them.  Once I was happy with the placement I began to add my embellishments. I used the bits and pieces, My Valentine Card Ephemera, the mini sticker tablet, the 6x12 chipboard, and Combo Sticker sheet. Then, I finished the layout off with my clusters of enamel dots from the So Happy Together collection.

Thank You so much for stopping by!

Supplies

Good morning Simple Stories friends! Anya here today to share some Valentines Day card inspiration with you. To make these cards I used the gorgeous “Simple Vintage My Valentine” collection and created the cards in pairs of two.

This collection comes with a beautiful line of Bits and Pieces, but the “My Sweetheart” patterned paper in this collection is full of gorgeous flowers that can provide additional decorative pieces by fussy cutting them. I used a few of those in clusters on my cards.

Also, you can also create a variety of unique ephemera pieces by taking 3x4” cards and cutting them in different shapes. I used simple stitched circle dies to turn 3x4” cards into elegant sentiment pieces and backed them up with a larger die cut circles cut from white cardstock. I like finding ways to stretch my supplies, especially when I love the paper line so much! I hope you enjoy these cards as much as I enjoyed creating them!

Supplies

Hi there Simple Stories fans! Nicole here with a heart filled project using the new My Valentine collection!

To create this page, I used a variety of patterned papers in the collection to build a grid like heart on the page. Using the My Valentine 6x8 paper pad, I chose some more neutral designs and trimmed them to 2" squares and started to place those in the top right corner of the page.

I chose a few more bold patterns and cut those to 2" squares also, using those to build the heart design on the page, trimming some of the squares into triangles for the top edges of the heart design. Once the heart was on the page, I filled in the empty areas with the neutral patterned squares, leaving a white border on the left edge of the project.

I love the large border stickers in the My Valentine collection and used one to overlap the edge of the quilted design and the white border on the left side. I love the easy layered look of this sticker and decided to add a bit of my own machine stitching overtop the design. Next I fussy cut the large doily design from the Just a Crush patterned paper and used it to layer to the right side of my photo.

I love the vintage feel of this collection and it is so easy to get the layered look with less by using some of the papers and stickers in this collection!

Supplies

Pages