August 2014 Blog Posts

Hi everybody ! It's Mindi here with you today. I am very excited to be sharing a Life Documented layout using the Sweater Weather collection. Here is a look at both pages. 

I just love this collection, with its rich colors, fall inspired pieces, and it's wood grained patterned paper. It has definitely left me dreaming, yearning, and wishing for all things fall. Especially since it's still very hot (105+) here and the kids are swimming daily.

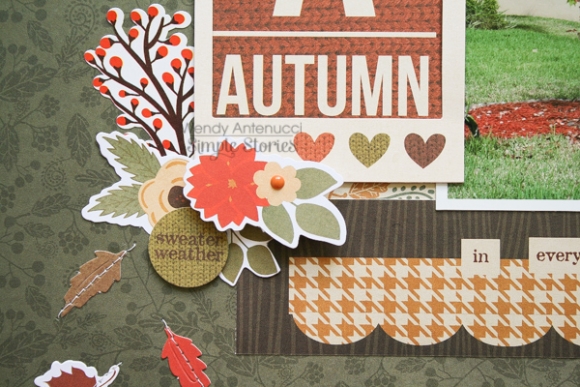
Here is my title card. I left it fairly simple, using the chipboard banner sticker as a focal point. 

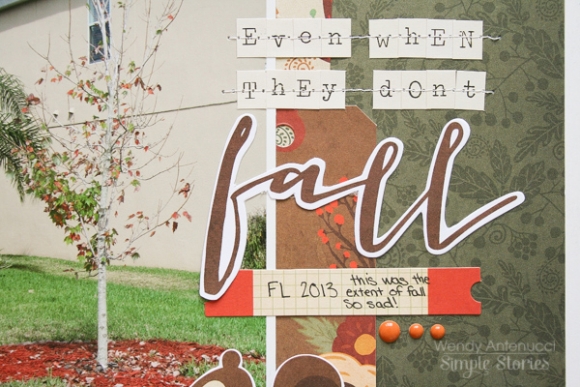
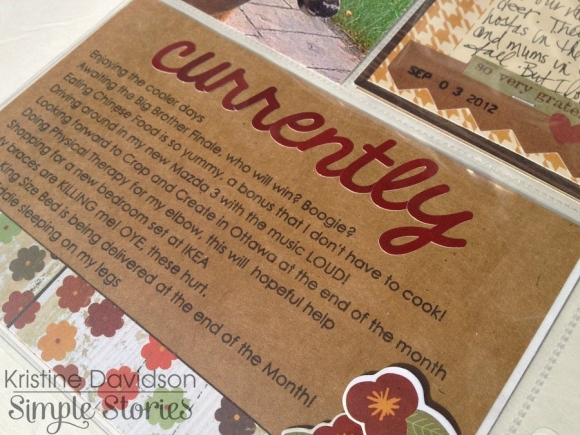
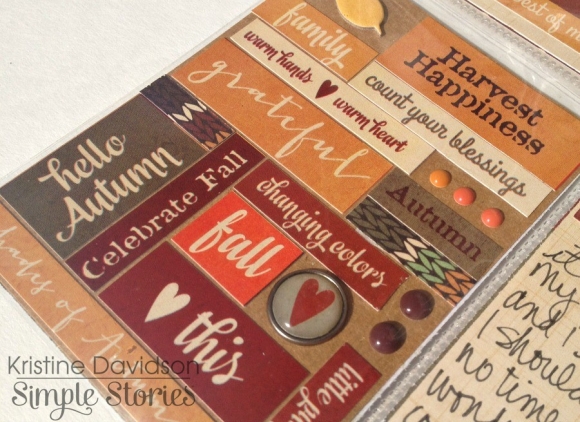
A close up of one of the journaling cards. I started out with the chipboard stickers that spell out fall, doodling around it with a pen to make it pop. 

One of my favorite things about fall is the changing colors. The trees were starting to turn colors this particular week and I made sure to stop and snap a photo. 

I printed out my photo of the tree in color as a base for this pocket. I took some vellum and cut it down to 4x6 to go on top. I didn't want to hide the whole photo so I took the vellum piece and punched a 3" hole in the middle. I used my pen around the edge of the circle to draw attention to the colors of the tree. Then I layered it with some die cuts from the Bits and Pieces set and some enamel dots. Love those things !

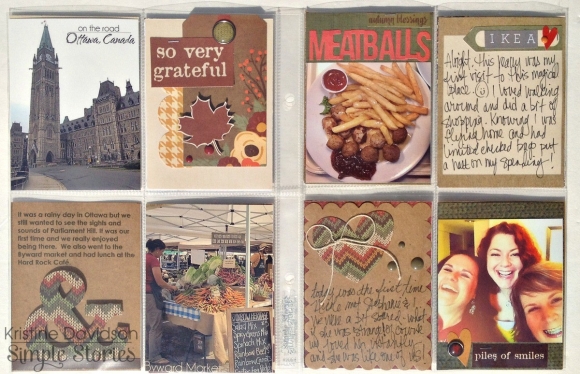
Here is the second page. 
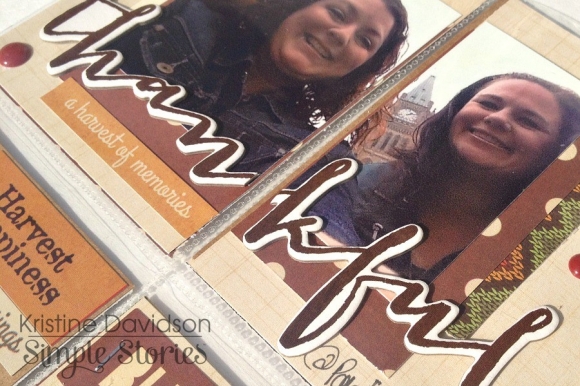
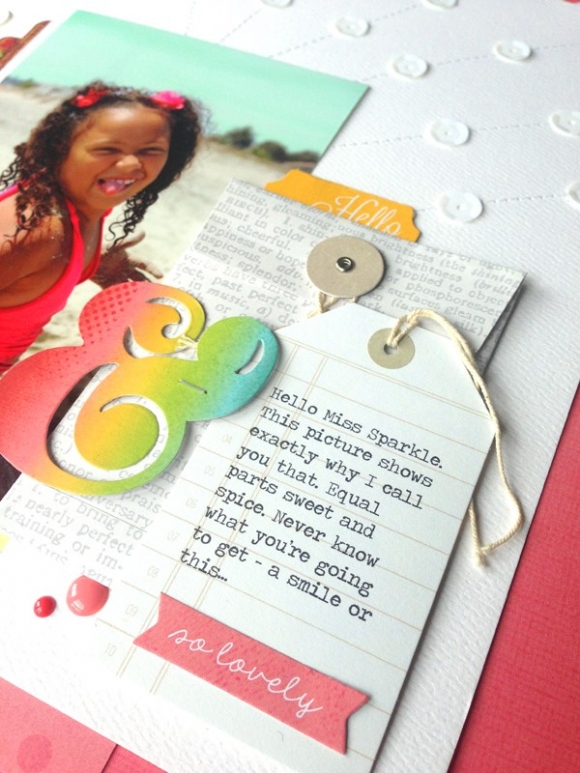
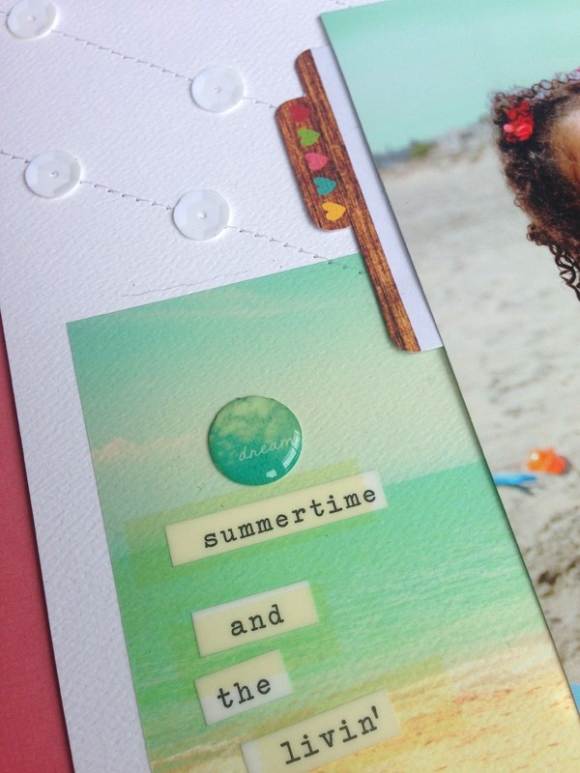
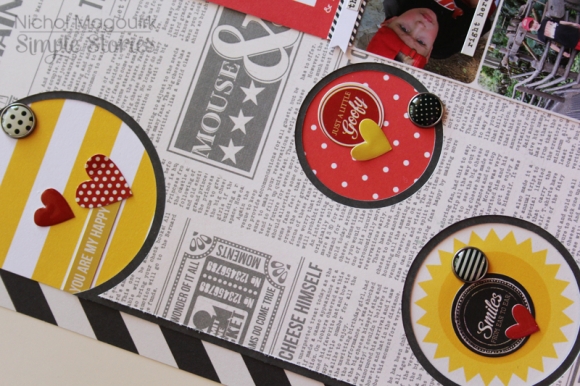
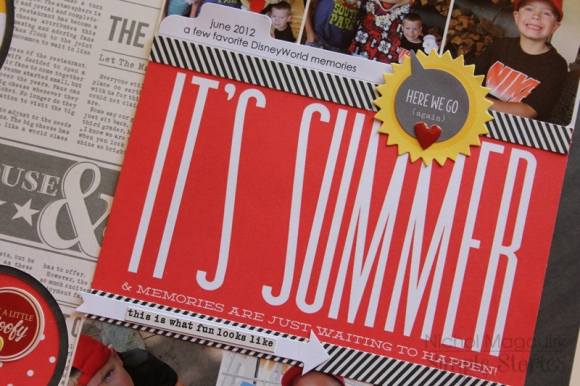
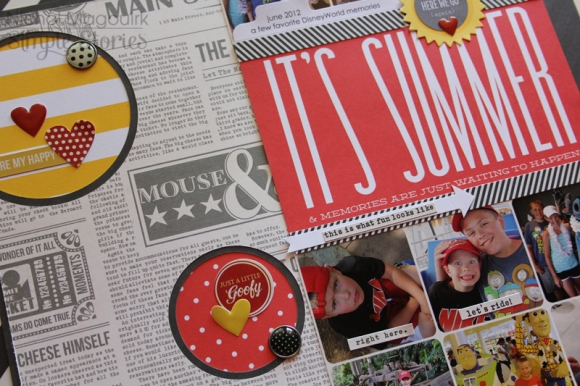
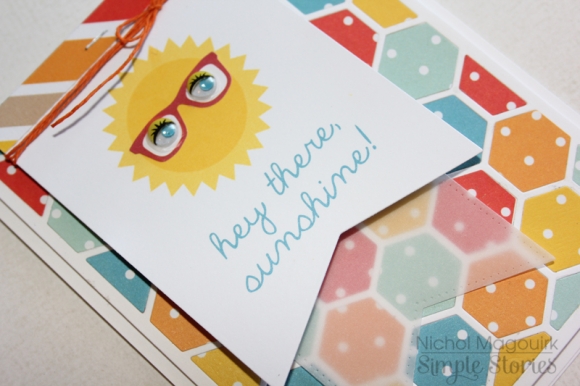
Some close ups.

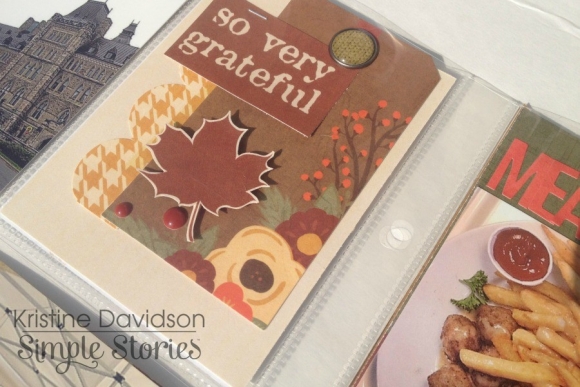
I saw this card on the sheet of 4x6 cards and knew that it would make a great frame. I carefully cut out the middle and placed it on top of my printed journaling. I used some of the die cuts from the Bits and Pieces set and some of the chipboard stickers as well to embellish. 

One of the ways that I like to maximize my "space" on my pocket page layouts is to use the empty space in a photo. This particular week I had a lot of photos and stories that I wanted to add to my pages. This photo of my son in his pilgrim hat was perfect to help me solve my space problem. I added the journaling right on top of the photo. I decided to print my journaling onto a strip of vellum for a see through look.  

Hi Angella here to share with you a mini book made with the new Legacy collection

I do love creating mini books about memories, and I find that the 4x6 Vertical Element papers are great for creating my little mini books, all the guess work is done!

I don’t know about you but sometimes I take more time picking the papers then I do creating.

The colours in the Legacy collection are great for all your heritage memories, this mini book is about my mum's story growing up in the Australian Outback! And I love how all the elements in the 4x6 fit in with the era. 

The Bits and Pieces in Legacy are great embellishments on your pages, to give that extra touch.

I like to mat my  fundamental stickers and fussy cut them a lot, as it gives me the option to adhere with pop dots for extra dimension. 

Hi  Wendy here today :) 

Here in FL where there is no Autumn I had this picture of the one tree that dropped its leaves (in January).  Since my photo was so pitiful I had to rely on the amazing journaling cards in the new Sweater Weather collection to carry the layout.  To do this I also framed the card to add some more weight/interest.  I embellished the area further with leaves falling (wishful thinking) and some flower bits & pieces.

To further add interest to my sad Autumn page, I started with the sticker "Count your Blessings" at the top of the page and finished with some stickers and die-cuts beside my page, "even when they don't fall" 

Some sewing and enamel dots added texture on my page giving me a perfect Autumn page, even without pictures to prove the story!

This layout was built because of all the fun pieces in this collection.  I loved the die-cuts and brads and the cute foxes; perfect for our little boy!  I loved the red and black floral pieces, but they were too intense for my layout, but by using the woodgrain as the base I was able to use smaller portions of my other colors.  I then lined up my journaling card and insta squares and filled in with the various bits and pieces that matched my theme.  

The layout came together really quick as Simple Stories thought of everything you could want in this collection.

I love the enamel dots that are now a part of the collections, but how do you get them in the perfect location?  Here's a little trick I found, grab a few wooden veneer pieces and scatter them.  

Then when you are happy with your scattering that is natural since you didn't have to place them, remove the veneers one at a time and put your dot.

As you can see on this version, the base of my layout is complete, but my layout feels empty and unbalanced on the bottom, so...

add some lines and put in your journaling!  It is an easy way to include the who, what, where, when of a layout and it doesn't have any weight, but can balance the empty areas of a layout!

I have one more layout using Sweater Weather on my blog and some more fun journaling tips, http://antenucci.blogspot.com, see you there!

Aloha everyone! Heather's here on the blog today and I just got back from a wonderful vacation in Hawaii. I was eager to jump in and start scrapping our vacation photos with the Good Day Sunshine collection. The rainbow of colors and the gradients just epitomize the bright, sunny days we spent on the beach. We were lucky enough to spent our second week in Hawaii with friends who live there. They took us to all the local stops, which included secluded beaches that we had to ourselves, like Makalawena. My oldest daughter claims that the sand is "angel soft" and she couldn't be more right.  It was the perfect sand for drip castles...

I was looking at this collection and I knew I wanted to scrap these photos with it but I didn't have a design in mind. As I was looking through all the great pieces of the collection, I was drawn to the SN@P! Pockets and SN@P! Cards. They inspired this offset grid design and it all just fell into place.

The cards are great by themselves but it's a fun part of the creative process to dress them up. I also cut little strips to use as a border on the top, bottom and left. I added enamel dots to add some dimension.

This cute little journaling card fits perfectly in the SN@P pocket. Simple Stories is just cool like that!  You can also see the "HELLO" SN@P! Cut card. I love that it has the word pre-cut. You can leave it as it or do what I did and back it with solid or pattern paper. I added a die cut and sticker on top to dress it up a little more.

So who else is scrapping their summer photos with me? Are you doing individual layouts, a mini album, Pocket Pages or something else? I have a gagillion photos from this trip so I think I will do a combo of individual layouts mixed with Pocket Pages but I'd love to know what you are doing. 

Supplies

Hello Everyone! It's Kristine Davidson here today with a Life Documented post using the NEW Sweater Weather Collection.  In my previous posts I shared with you that I would document 2012 and I'm happy to say I'm right on schedule! As for 2014 that's another story. Today, I'm sharing the month of September 2012.

The first page of this spread is a simple one. I added a picture of our home with the glow of the sunset. We have really beautiful sunsets here and it's something i want to remember.
I used quite a few of the 3x4 cards from the Elements page. It was easy to use by simply cutting up the entire sheet and using the cards for journaling or filler cards.

We constantly have deer in our yard. This day in September was special because i  was walking down to our basement and this face was literally staring at me!
I also added a currently page to document a few things that I never took pictures of.

Layering Bits & Pieces is something I love to do on my spreads. Adding one on top of the other and maybe adding a brad is a great little added touch without the bulk.

I added a little tag from the Bits and Pieces pack and cut out from the 2x2 4x4 Element sheet a few elements such as So Very Grateful and the maple leaf.

We were in Ottawa and i thought this was a great way to add that Canadian Symbol!  

I used a 4x3 picture on my top card. I cut it in half, added some elements and created a little mini layout that fit in my 4x6 pocket.

The bottom card I used tons of little stickers from the Combo Sticker Sheet and added a brad, enamel dots and a piece of chipboard to finish off. I love that I could use up some stickers and it makes a cute card!

For my Life Documented 2012 album I am using the 6x8 Sn@p! Leather Album in black. The sturdiness, metal corner accents, and stitch details are fantastic features to this album but I really like the fact that it's timeless and because they are so well built will endure the  many years to come.   

I used two varieties of inserts for this monthly spread - in the 6x8" size featuring 3x4" and 3x4"/ 4x6. The Sn@p pocket pages come in a variety that you can add to your album. PERFECT for any project!

I hope you enjoyed my LIFE DOCUMENTED post today !

Supplies

Hey there Simple fans, Nancy here with a little summer sparkle as the season starts to wind down. I based this layout on one of my favorite items in the Good Day Sunshine line - the ombre patterned papers. This pretty pink was the perfect mat for this photo of my niece that really shows her 'sparkle'. It's my nickname for her and the inspiration behind the sequin sunburst. 

The design is mostly clean and simple allowing the sequins and photos to shine. The cluster on is made up of layers of an envelope and tag from the DIY collection and die cuts from the Good Day Sunshine collection.

The colors in the photo are highlighted by placing it on a similarly shaded transparency. Adding two simple matching embellishments adds some texture and a punch of color to this corner.

Supplies

Hi everyone! Nichol here today with a layout and card celebrating summer sunshine. I thought it would be fun to create a couple of projects using sunshine icons. I love adding sunshine shapes to my projects, whether it be scrapbook page layouts or cards. There are tons of ways to use them and so many of the Simple Stories Collections showcase sunshine icons in one way or another. I'm using sunshine designs from the Summer SN@P! Set for both of my projects today however Good Day Sunshine and the Summer Paradise Simple Set are two recent collections which feature sunshine elements as well.

For my layout I combined 12x12 patterned papers from the DIY Boutique and Say Cheese collections. I love how easy it is to mix and match the paper designs from the Simple Stories collections! I drew several circles in the Silhouette Cameo Software and used the offset button to create approximately 1/4" outer circle for each. I then cut the larger (offset) circle shapes from the Say Cheese text paper and cut the smaller circle from the other Say Cheese black tone-on-tone patterned paper. When these two papers are layered together it provides a lovely "frame" to pop some of the Summer Sn@p! cards behind!

I embellished these circles with stickers and brads.

I printed a 6x8 photo collage and trimmed the top row apart from the rest to split above and below the 4x6 Summer Sn@p! Card I used for the title of my page. I added thin patterned paper strips from the DIY Boutique 6x6 Paper Pad above and below the journaling card and layered a couple of the DIY Collection Office Journal Layers around the title card.

I finished the page with a few phrase stickers on top of some of the photos in the collage and a strip of the tone-on-tone black paper along the right edge adorned with brads.

To create the "hey there sunshine" card I first used a manual die cutting machine and some steel rule dies from my collection to die cut several of the 4x6 Summer SN@P! Set journaling cards with the hexagon background shape. I cut the design again from some smooth white cardstock, matted the "frame" on a piece of cardstock trimmed to the same size as the hexagon background and started replacing the "inside" hexagon shapes using the colorful patterns. This creates a wonderful inlay style background!

I die cut a 3x4 journaling card with a banner die for the "greeting" of my card and adorned the sunshine with some glasses stickers and glued some fun wiggle eyes inside the glasses.

I trimmed a thin strip from one if the other cards to adhere along the top of the banner, layered another die cut banner made from vellum behind and wrapped some pretty twine around the top, tying it into a bow. I stapled the two banners together at the top and secured them to the card.

Easy, bright and FUN!

Want to see how I put both of these sunshine-y projects together? Check out the video below:

Supplies

Hello there everyone! Donna here with you as your host for the blog today, and I don’t know about you, but I can hardly believe that summer is almost over! Honestly, since we homeschool, life doesn’t change all that much when the school year ends. But keeping three little boys occupied in the summer months means that I don’t have all that much time for scrapbooking. Still, I get a bit antsy when I don’t make time to create. When I do get some time to scrapbook I try to keep it simple, and today I have two easy summertime layouts to share with you.

We’ve had a lot of fun this summer with our Zoku pop maker and ice cream machine. Sam is always up for a sweet frozen treat and my first layout is all about him:

He’s enjoying a bowl of homemade honey ice cream. It was so delicious, if you can’t tell from the photos. He loved it so much he was practically licking the bowl!

I used one of the decorative polaroid-style frames from the Bit & Pieces ephemera pack to highlight the photo of him giggling. I also used a square from the Insta-Squares pack to balance the photo collection. A few pops of pattern and color, from the paper and stickers strips along the bottom of the page, add fun to the page, but keep the focus of the layout on these funny pictures. These were taken just before he got a haircut and so you can see that his hair is a little wild too. But, I think it’s cute!

Next up is a layout I made of my two oldest boys and a yearly summertime ritual. Our neighbor has several lemon trees in her backyard and their branches extend just a tad over onto our side of the fence. The boys love to collect lemons for me to use in my cooking (or making lemonade or lemon bars).

Again, I’ve kept the layout very simple; just a trio of photos, a few strips of pattern paper and a smattering of stickers and brads to embellish the page.

The title for this layout is a bit tongue-in-cheek because the truth is that our neighbor lets them collect as many lemons as they want. And believe me, they collect quite a few lemons! In the summer I never have to buy lemons at the grocery store since they keep me well stocked.

Both of today’s layouts feature multiple photographs, but I kept the layouts simple with a focus on the photos by using either a grid or ledger background. I finished the designs by adding colorful strips of paper and embellishments from the Good Day Sunshine Collection. And now I have two happy layouts documenting some of our summer fun!

Have you found time to document your summer memories? I’d love to hear from you in the comments. As always, thank you for stopping by!

Supplies

Pages