January 2015 Blog Posts

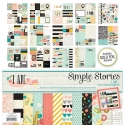
There is an amazing new release from Simple Stories called I AM... and every scrapbooker needs it. Why? Because we all scrapbook everyone else first. Our kids, our families, our friends, husband's, boyfriends, siblings, and pets. For some reason we always come last! This new collection makes it a breeze to get YOU into the scrapbooks. Plus, it's gorgeous! 


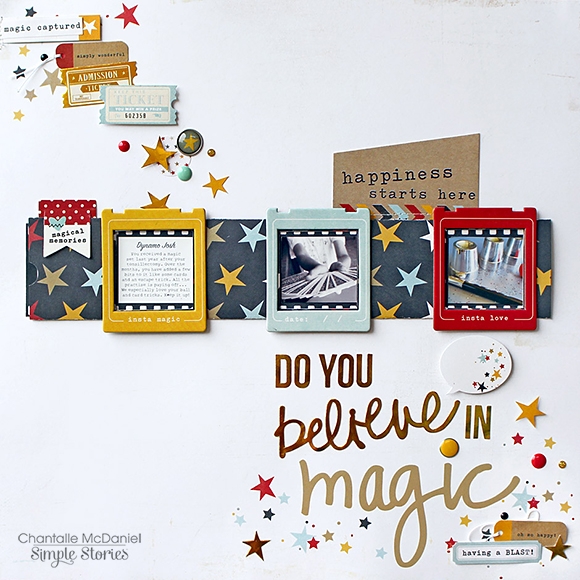
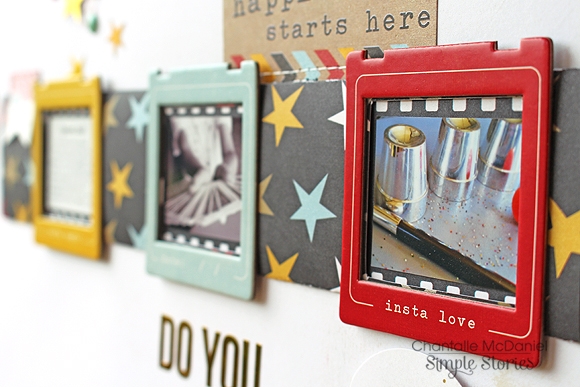
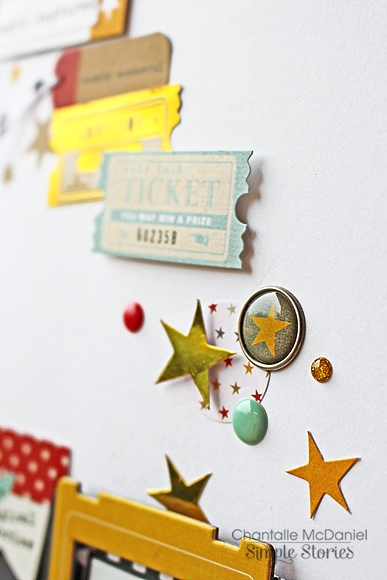
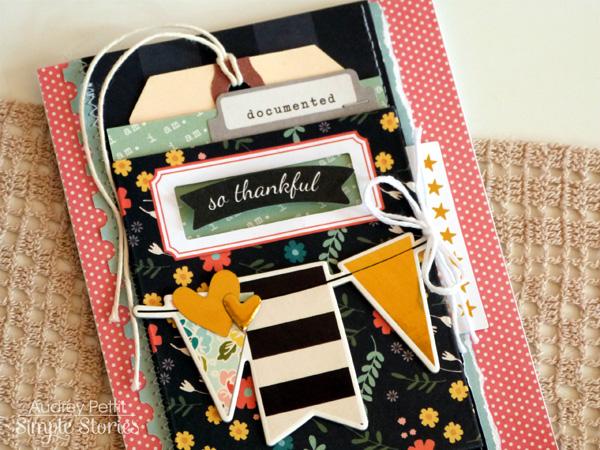
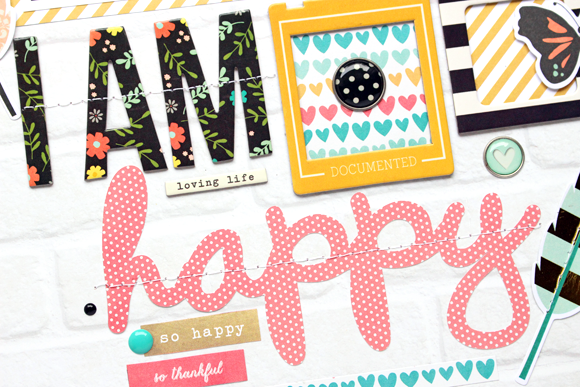
New to Simple Stories are chipboard frames and FOILED pieces. Love them both!


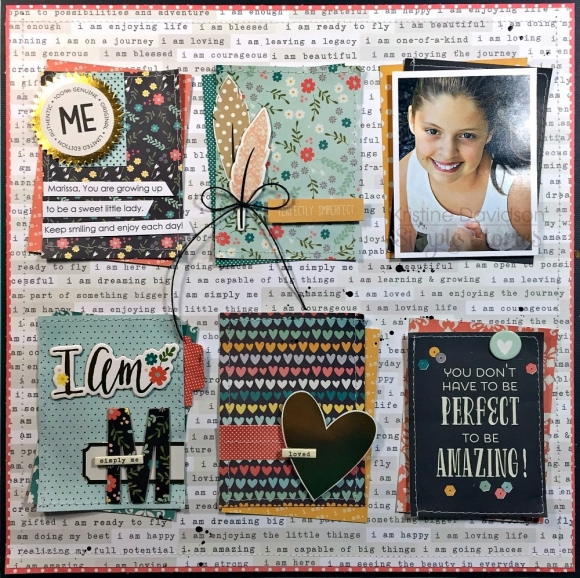
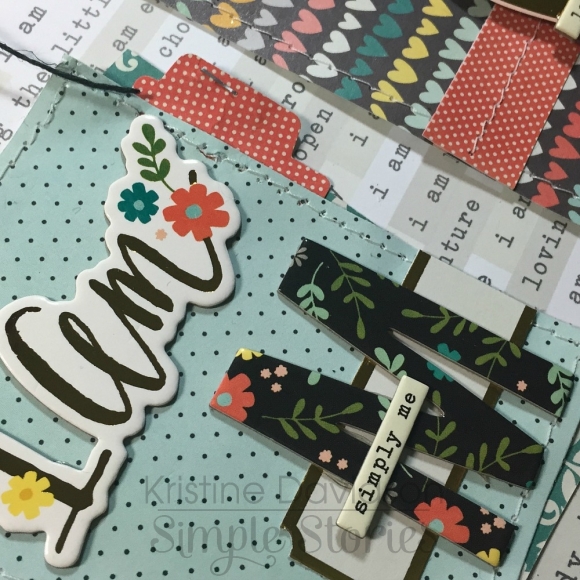
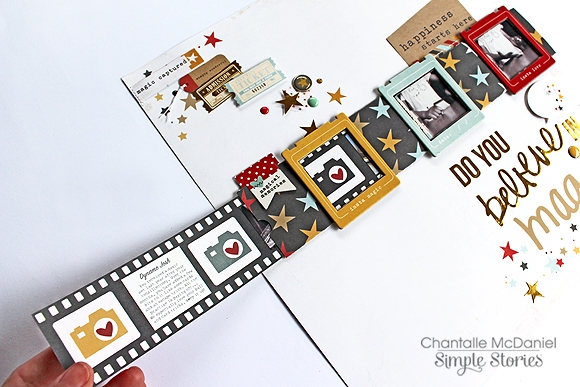
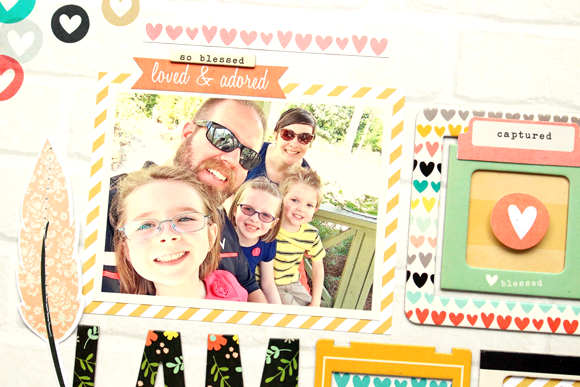
I also loved the interactive pockets. This one had 5 flags with strings that fit inside. I added journaled word stickers as my journaling. I chose the ones that were appropriate for my layout, but seriously, does it get any easier than that?!
 
 
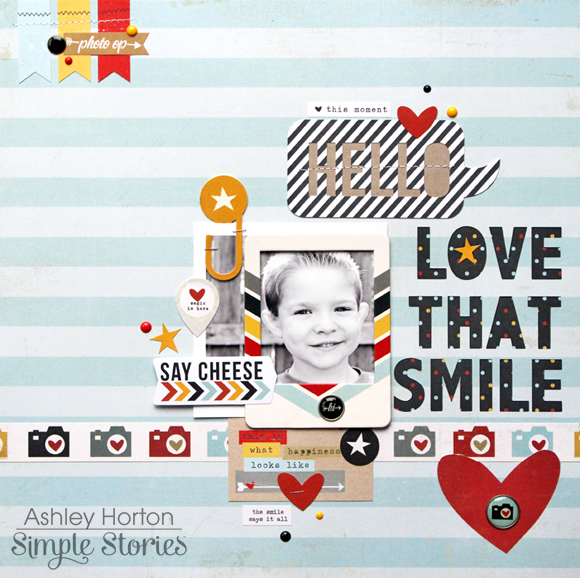
On this layout I typed my journaling, but the strip of patterned paper at the bottom also includes journaled sentiments in the I Am theme.
 
 
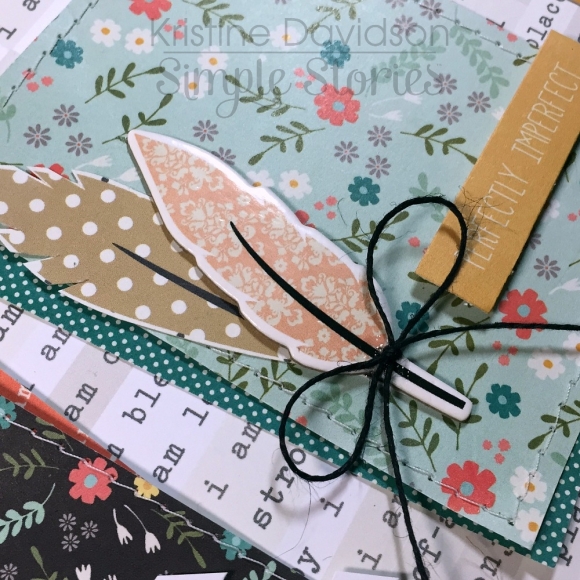
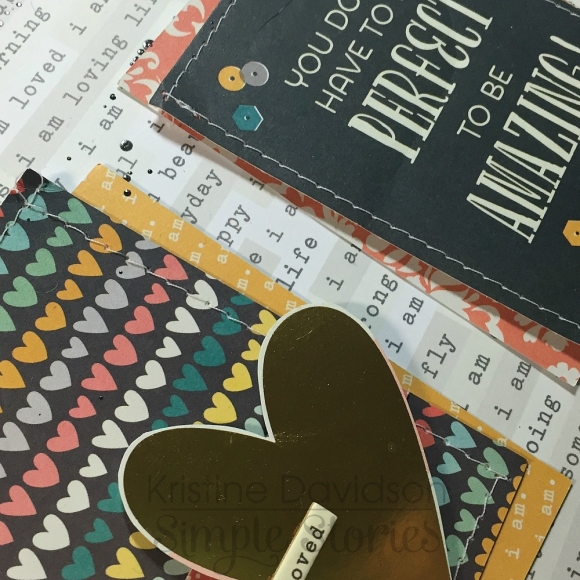
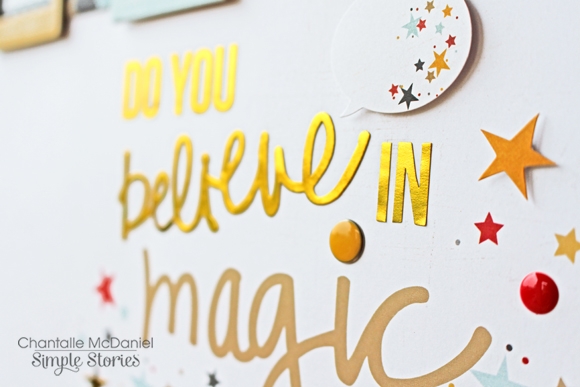
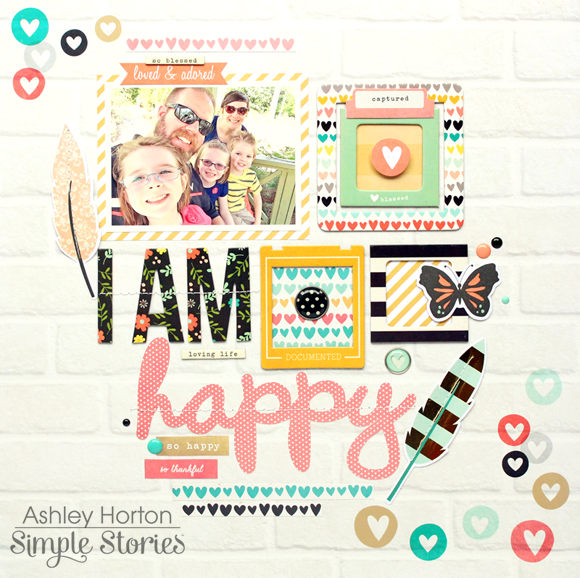
I can't get over the beauty of the foiled pieces like this die cut.
 
 
And with that in literally no time at all I had not one but TWO layouts about ME! I can't tell you how long it had been before this that I'd made a layout about myself. Grab this collection and get yourself in the books!

Supplies

Hello Friends! 

It's Kristine Davidson with you today and I am here to share a layout I created for CHA using the new I AM... CollectionThis collection is filled with such beautiful colors; a little red, turquoise, black, yellow and touches of gold. For my layout I used mostly 3x4 journal cards from the collection, the 6x6 paper pad and also the Chipboard pieces. I had no Bits & Pieces but I made my own by cutting out some elements from the journal cards. It's really easy to do !

I wanted to add as many colors and papers as I possibly could on my page so i added several 3x4 cards or cut up 6x6 papers underneath each other for layers - I sewed a few of them for a little extra texture and because I love sewing on my pages.

Here is a little close up where i created my own " diecut ".  I used the feather from a 3x4 card and cut it up to place it underneath a piece of chipboard.


For this next card I added the letter M from the " I AM "  for my niece's initial M - for Marissa.  

The last one I'll show you is a the gold heart. I cut this up as well and added a pop dot under it to give it some dimensions.

As you can see, it's so easy to add dimensions or little extras even if you only have a few 3x4 journal cards!

I hope you enjoyed my post today and I'm sure you'll enjoy creating with your Simple Stories I AM... Collection - Make sure to tell your Local Scrapbook Store you NEED this collection ;-)

Supplies

Hello hello! Chantalle here and I’m so excited to be sharing my first Simple Stories projects with you! Adding to this thrill was seeing one of two of my layouts on display in the SS booth at CHA. I’m sure you will agree that the new collections are absolute must haves!
 
Today I would like to show you more of this page (which you may have spotted on social media). I love to include interactive elements on my pages, so let’s take a closer look…
 
 
The new Enchanted collection is perfect for the little Princess in my life. The main image has been mounted inside a chipboard frame. (I actually did a little dance of joy when I saw these for the first time!) and then together they have been mounted onto a 4x6 Sn@p card that I have folded in half. Tip: Round the edges once you are done to get a neat finish.
 
 
To the left of the framed image, I have another teeny mini you can open. I created this by using a 4x6 Sn@p card (they are so versatile!) and folding it in half again. To extend the inside and make a gatefold, I have taped another 3x4 Sn@p card to the right hand edge with some Enchanted Washi Paper Tape. I love the tape as the sheets include patterns, punched circles as well as sentiments! Machine stitch over the top for extra hold.
 
 
Under the mini, I have used one of the gorgeous silver camera die cuts from the Enchanted Bits & Pieces. Don’t be afraid to alter things to suit your project. Here, I have punched out the centre of the camera to let the detail from underneath show through.
 
 
Lastly, to tie the butterfly theme together, I have used some die cuts as well as fussy cut extra butterflies from the patterned papers available in the collection. Some hand stitching adds a special touch and you can easily use a die cut shape as a template! Simply place the shape on your page, and using a hole piercer, punch at regular intervals around it. I like to use embroidery floss as it stands out a bit more than regular thread.
 
 
The next page I would like to share with you, is this one, using the stunning new Say Cheese II collection. The gold foil is absolutely lush!  My DS is very into his magic tricks at the moment and loves to put on little shows for us. I have tried to include a bit of a magic trick on my page with some photos that change!
 
 
For my ‘trick’ I have created a sleeve from a strip of ‘Let’s Ride’ paper, that I have folded into three equal parts. Before I taped it closed, using the chipboard frames as a stencil, I have cut out three squares the size of the inside of the frames into the middle folded area. Once they were removed, I adhered the frames over the holes.  
 
 
For the removable strip, I have used the film strip print from the 6x12 Element paper. The sizes matched perfectly with the inside of the chipboard frames. Along lengths of the filmstrip, I have replaced with print with some small photos and some journalling.
 
Now, to make the images change as if by magic, I marked out with a pencil, through the cut out squares, the area where some more pictures could go. These lie behind the pull-out strip IYKWIM and are fixed in position. I printed the additional images out and glued them down. I then folded the sleeve and taped the back shut, not too tight, so as to leave a bit of breathing room for the filmstrip, which I then slid inside the sleeve. 
 
 
Finish your page off with some ‘pixie dust’ in the form of gleaming alphas, die cuts and glittering enamel dots!


Supplies

Hello Simple Stories fans!!  Have you been seeing the posts from CHA with all the fabulous collections that are being released. Wow!!!  I am so excited about so many of them and I had a blast playing with the new I AM... collection.
 
I created this layout about me - the I AM... collection is perfect for just that!   Scrapping 'me' is  something that I don't usually do because most of my layouts are about my family.  Maybe that's because I don't have enough pictures of me - something I guess I should remedy this coming year!  Anyways, here's the layout that I created.
 
 
I chose to journal about a life-changing event in my life which keeps me grateful for everything!  I printed my journaling on one of the I AM... SN@P! Cards.
 
 
I layered some patterned papers from the 6x6 I AM... paper pad onto the fabulous black striped 12x12 paper (which I absolutely adore!).
 
 
I love the new gold foil look that's in the embellishments!  It's just brings so much life to your projects!  The die cut feathers reminded of taking flight and continuing on this journey of life - so I thought that they were a perfect touch on my layout.
 
 
Oh, and how could I forget the new paper clips embellishments!  I used the flower design at the top section of my page and love it!
 
 
The second layout that I created for today is titled "My exercise today".  I used the new SNOW FUN collection for this page and it fit perfectly with some pictures I had from our big snowfall last year.
 
 
I love the colour scheme and rustic nature with the wood grain in this collection. 
I layered my title with some alpha stickers and then cut out the word 'today' with my silhouette .
 
 
I added a few more embellishments here & there - some with foam squares just for added dimension.


What a fun collection this is for all those winter pictures!
 
Thanks for popping by today!

Supplies

Hi everyone, Amy here to share my first layout on the Simple Stories Blog! I created a layout using the fabulous new I Am collection that was just released for CHA 2015.  This collection is amazing, and very versatile.  It worked perfectly for a layout about my sweet boy at three.

Here are some closeups. I cut the 3 out using my Silhouette Cameo, and all the other bits and pieces are from Simple Stories.

This line has the most perfect embellishments and so much color and good things that come with it! I loved using it and can't wait to create with it again.


Happy Wednesday!!!  Candi here today to share with you a few peeks inside my Life Documented Planner.  There really is so much to show you, but there is always my next blog post, right?!!!  Right now I am using this planner for my Design Team Projects and Life Documented Planning (Pocket Pages).  Let's get started...
 

When you open up my planner I created a transparent flyleaf.  The flyleaf is there to protect my cover page and a place to quickly put any sticky notes with important information that I need to jot down later in my planner.  I thought it would be fun to punch a few circles out of the 2015 Card Set and add that to the flyleaf (front and back)...I love how the punched out circles add a little something to the top of the next sheet which says "12 months, 52 weeks, 365 days"

Inside the package of the Monthly Dividers, you will receive a fold out Year Planner.  I used some of the Letter Stickers to spell out "Twenty-15".


I am loving this quick glance at the whole entire year!!!  To block off the "quarters", I used a highlighter...since that is the way I receive my Design Team Assignments (per quarter).  I added a 3x4 card of the current month, just in case I need to take a quick glance to see what day the date landed on.  Once I am finished with that task, I use a grey highlighter to highlight over it.  

Here are a few photos at my month at a glance...to find this spot quickly, I have a bookmark in place.  I am a huge fan of decorating my planners so I had to add that January 4x6 card (by using a single hole punch) from the 2015 Card Set...stamped some snowflakes using white acrylic paint and added a few stickers from the Snow Fun Simple Set...so much fun :) makes me happy every time I open up my planner!

I am thinking that I want to add an Insta-Pocket Pocket Page for each month!  The front side, decorate it with patterned paper and embellishments...then on the back side add some of my favorite shots throughout that particular month (you will get to see that finished next month {wink})  SUPER happy with how this turned out!!!

My favorite part about a "ring" style planner is...you can add ANYTHING to the inside of your planner!  In this photo, I am sharing how I printed off a monthly calendar schedule that was emailed to me...added a few punched holes and inside my planner it goes!  Another tip...whenever I receive any invites in the mail, I punch a few holes and add it in my planner for that particular month/week!


Here is January 1st and 2nd, using the Daily Planner Inserts.  These inserts are great...so much room!  I especially love at the top where you jot down your top 3 things that need to get done on that day.  You also have a to do list, schedule and a notes section.  Once again...LOVE to decorate my inserts so I had to add a few stickers here and there using the Snow Fun Simple Set.  

I am so thrilled to be on the Simple Stories Design Team for 2015, to show you all how I am using the Life Documented Planner.  There is just so much to share...

Next month I will show you how I finished off my Insta-Pocket Page for January, a peek inside how I am using the Life Documented Planning (pocket pages) Section and my planner will be all set up for Valentine's Day Month!!!
 

Thanks for stopping by...

Happy Planning,

Candi


Supplies

Hi everyone, it's Audrey, and today I'm here to share a couple of fun cards using the adorable new I AM... collection.

AudreyPettit-IAm-LovingLifeCard

Gold has been such an on-trend color this past year, and I am so excited to see that trend continue into the new year. For this first card, I combined the shiny, elegance of gold accents with the softer look of pastel papers and fabric for an eye catching combo that's full of visual texture. 

AudreyPettit-IAm-LovingLifeCard3

As a card-maker, I am always smitten with the smaller prints of the 6x6 paper pads, as the toned-down scale is perfect for card designs. For this card, I started with a base made of two contrasting prints, then added in additional paper accents and a soft layer of cotton batting.

AudreyPettit-IAm-LovingLifeCard2

A 3x4 SN@P Card creates the perfect frame work for the focal point and sentiment. Chipboard, Bits & Pieces die cuts, and a yummy gold glittered Enamel Dot, all tied up with some pretty metallic trim.

 AudreyPettit-IAm-SoThankfulCard

My second card shows a bit of the bolder side of I Am, with lots of pops of strong black mixed into the works.

AudreyPettit-IAm-SoThankfulCard4

The main focus of this card is one of the cool Interactive Elements, the window pocket card. So great for hiding journaling on a scrapbook page, or for housing a secret pull-out note on a card. Or why not tuck in a gift card, too, for an instant all-in-one gift idea.

AudreyPettit-IAm-SoThankfulCard3

Once again, this card starts with papers from the 6x6 pad. And this time, I added interest with both a torn edge and punched edge border. A plain manila tag placed behind the pocket helps convey the interactive theme.

 AudreyPettit-IAm-SoThankfulCard2

The window slot was the perfect spot for a die cut sentiment banner. Additional Bits & Pieces accents and a chipboard banner add the finishing touch. Although the original chipboard banner was too big for the card, one quick snip brought it down to size, with some left over for another project. So don't be afraid to alter embellishments to perfect suit you. 


Hi Simple Stories fans!  It's Ashley and I'm here today to share my very first projects with you, as one of the new DT members!  I was so excited to create two layouts, using the Say Cheese II collection and the I Am collection.  So without further ado, let's take a look at how I used these new collections!


I wanted to create a masculine layout, using the Say Cheese II collection.  I love that it's versatile enough to use for your Disney layouts and projects or for your everyday projects.  I started my layout by choosing the Laughter patterned paper for my background.  Before I started working on my layout, I cut my title from the background paper, using my Silhouette Cameo, and backed it with one of the patterned papers from the 6x6 paper pad.


Then I got to work on placing all of my embellishments.  I love to cluster elements around my photo, so it helps to draw attention to the subject of my layout.  I created a fun look by layering one of the Chipboard frames, some of the Bits & Pieces, Stickers and a Decorative Clip.  You just can go wrong with so many awesome coordinating embellishments!


Next up, is a layout using the gorgeous new I Am collection.  This collection is perfect for telling your own story...it's okay to be in front of the camera once in a while!  If you find it a little too intimidating to create a layout completely focused on you, then why not start out with baby steps, and do a family layout with a fun, family selfie!


Once I chose the Grateful patterned paper for my background, I knew the I Am Chipboard Frames would look great against the muted pattern.  Plus, it's pretty fun to fill them with different patterned papers and embellishments!  


I wanted to create an over-sized title on my layout, to balance out the photo and use of the frames.  I decided to mix the large I Am phrase from the Chipboard Stickers, with one of the Simple Stories die cut words, to create my title.  Once I had it in place, I added a little machine stitching to add some texture to my page.


Both of these collections are being debuted at WCHA, along with the Enchanted collection and lots of other new Simple Stories goodies!  If you are at CHA this week, then make sure you stop by the Simple Stories booth for a visit, and check out all of the amazing new products!


Pages