March 2016 Blog Posts

Hi Simple Stories Fans! I’m Jennie and today I’m going to share with you how I used the “Let’s Party” Collection for every day pages!

The Let’s Party Collection is geared towards birthday parties but it can be used for any fun and happy days!  In these pages I used it to document part of my week and a trip we had to The Playroom.

When I printed my photos I knew that I had to use this collection! The colors match perfectly!

I am obsessed with Chipboard Frames! However, I never seem to use them for photos. My favorite way to use them is for making my weekly title card but I also like to put QR Codes on them or journaling.

I like to mix and match my journaling. I use my typewriter on photos or cards that don’t have lines in them and I use my handwriting for cards that do have lines. I’m not the biggest fan of my handwriting but it takes a little bit less time and future generations can see what it looked like.

My daughter’s favorite activity at this place was the ball pit so when I saw the “Having A Ball” die cut I knew I had to use it!

Whenever I have a few extra photos I like to use the 6x8 Pocket Pages as inserts - the 2 holes on the 6x8 pages line up perfectly with the holes on the 12x12 album!

I love the fact that the Expressions Cardstock Stickers sheet comes with 4 different fonts. It’s nice to mix the sizes and styles to make it look more interesting but also because sometimes we can’t use the biggest font to make a complete title, at least in pocket pages. You can also sprinkle the alphas in photos and other cards.

I LOVE Confetti pockets so so much! I like to add flair buttons inside but the bad thing about a flair is that is too bulky and the back is plain. Even if you punch a circle or put a sticker on it, it won’t look the same in both sides. I had a sudden lightbulb moment looking at the Bradz because they are pretty flat so even when you put them back to back it won’t be bulky. They're also self adheisve so you don’t have to look for the adhesive that will hold them perfectly.

I saw the banners in the Bits and Pieces Pack and decided that they were be perfect to add on the outside of the pocket pages.

I also glued back to back the stars in the Bits and Pieces pack. There are multiples from each size so you can pair them.

I hope you enjoyed these pocket pages. They have a few of my favorite items and ideas. Let me know which one you will try next! Take Care!

Hello there Carpe Diem Planner lovers! It is hard to believe that we are already nearing the end of March! It took me awhile, but I feel like I am finally getting settled into my planner. I have it set up in a way that is really working for all of my needs. I only carry 2-3 months at one time, but I still manage to keep my planner pretty chunky! Today I want to show you how I have created my own custom dividers and the dashboard you see below, using products from the Carpe Diem Collection.

I selected four of my favorite 12x12 Carpe Diem scrapbook papers and took the March insert out of my planner to trace the shape onto each piece of paper twice. I did not bother tracing the tab because I am making tabs later. Since I like my dividers to be thicker, I cut out the two traced shapes with my paper trimmer and then glued them together with a glue stick to make one divider. To make my dividers even sturdier, I placed them under a heavy book for a few minutes while the glue dried and then punched the holes for the rings that I had marked earlier.

I punched some tabs using a paper punch from We R Memory Keepers, and laminated them with clear tab stickers. I prefer not to laminate my dividers because I really love the feel of paper, but I do like to laminate my tabs. It makes them extremely durable which is important because the tabs get the most “wear and tear.” Also, the lamination allows me to re-label the tabs later if I want. If you use stickers or a label maker to title your tabs, the slick surface should allow you to peel off the sticker later. Personally, I use a black Sharpie to label my tabs. The writing does not smudge until I am ready to remove it. You can remove Sharpie from a laminated surface by scribbling over the writing completely with a dry erase marker and then simply wiping away with a cloth or paper towel. My dividers are currently labeled as “Calendar,” “To Do Lists” and “Budget.”

The Carpe Diem 12x12 scrapbook papers have such beautiful patterns that I did not do anything to decorate the front side of the dashboard or the three dividers. I just wanted to let the lovely designs shine!

However, the back sides were feeling a little plain, so I decided to add some decorative flair to each one. I love having the little something extra when I flip the dividers over in my planner!

I want to show you each one closer up, starting with the one on the top left. That one has no tab because it is a dashboard that is just being used to decorate the front of my planner.

I used a few different sized pieces from the Carpe Diem SN@P! Pack as well as some ephemera from the Bits and Pieces pack. I dressed things up a bit with a little washi tape and a floral chipboard sticker from the Carpe Diem 6x12 Chipboard Sticker set.

Here is what the divider looks like in my planner. On the right side, I have one of the Carpe Diem Pocket Inserts stuffed with the Carpe Diem Insta Quote Stickers. I embellished the pocket insert with one of the decorative pieces I made for my blog post last month.

The “Calendar” divider below is being used to mark the first section of my planner where I currently keep 3 months of calendar inserts.

For this one, I used more embellishments from the SN@P! Pack, some washi paper tape and enamel dots. The arrow and heart are from the same 6x12 Chipboard Sticker set mentioned before.

Below is the “To Do Lists” divider which marks the section of my planner where I keep plain lined paper for my excessive list-making and a few daily inserts for creating detailed lists on especially busy days.

More SN@P! Pack pieces were used here (there is a LOT in that pack!), with a chipboard frame and bow, and a decorative brad. Below is what the divider looks like inside my planner next to another Carpe Diem Pocket Insert holding some Word Label Stickers. I also decided to add one of these adorable Carpe Diem magnetic clips!

Lastly, I have a divider to mark the “Budget” section of my planner. This is an important section for me because my husband and I have a lot of financial goals this year, such as paying down our credit card debt and hopefully buying our first home! This section is where I keep our monthly household budget breakdown, our debt repayment plan, and a calendar insert to mark due dates for bills. Budget/finance information is not very exciting, so dressing up this divider really makes this section feel more welcoming!

This one is my favorite! I used different paper punches to cut out a bunch of shapes from the 6x6 Paper Pad that I layered behind this pretty 6x12 element from this piece of 12x12 paper. Additionally, I used several stickers from the Fundamental Cardstock Sticker sheet.

In my planner, this divider is sitting next to a third Carpe Diem Pocket Insert. These pocket inserts have been SO handy in housing supplies for on-the-go planning!

I had so much fun decorating these dividers! I just love how they make each important section of my planner feel like it has a “home.” If you would like to know more about my planner setup, please feel free to ask here in the comments or over on my Instagram

Thank you for stopping by the blog today! I hope you all are starting to feel more settled into your Carpe Diem planners as well and are using them to reach for your goals!

Supplies

Hello everyone!  Marcia here today with some travel layout inspiration for you. My husband and I recently returned from out first vacation in Hawaii and I could not wait to dig into the Simple Stories You Are Here collection to start scrapping my favorite photos. The first half of our trip we stayed on the island of Oahu. One of the places we visited was the Polynesian Cultural Center ... a must if you are ever on Oahu!! These awesome dancers performed on huge canoes in the river and were so much fun to watch. My layout is bright and energetic, just like the dancers.

I used a few Chipboard Frames to add dimension and frame some of the Bits and Pieces die cuts. This flamingo was a hands down favorite of mine. Layering palm leaves behind adds a tropical flair and keeps the flamingo from blending into the background.

 
 I also used a chipboard frame that I cut in half at the top and bottom of my layout and layered more die cuts here too.
 
 
 I love the variety of alpha stickers on the sticker sheets. They are perfect for long titles like this one where I can mix the fonts...
 
 
************
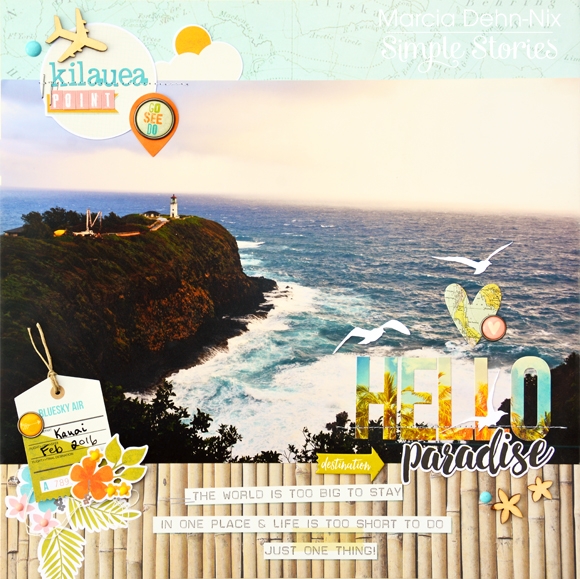
My second layout features my favorite photo from our stay on the island of Kauai. I caught the morning sunrise colors still in the sky. Since this photo was a favorite, I decided to use a large print. The Simple Stories papers are  perfect to frame larger photo. This layout is much more serene...
 
 
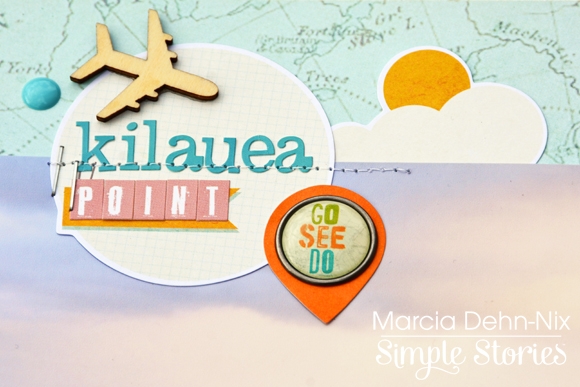
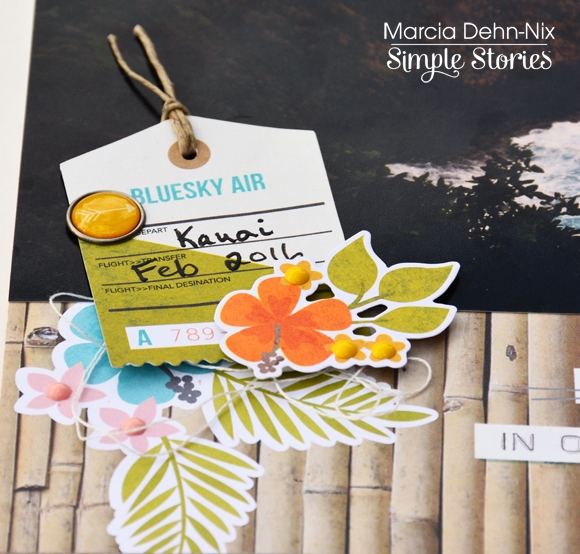
I used the alpha stickers to document the name of the lighthouse and created clusters by layering die cuts, wood veneers, enamel dots, and brads. I love adding a little texture on my layouts by machine stitching on them.
 
 
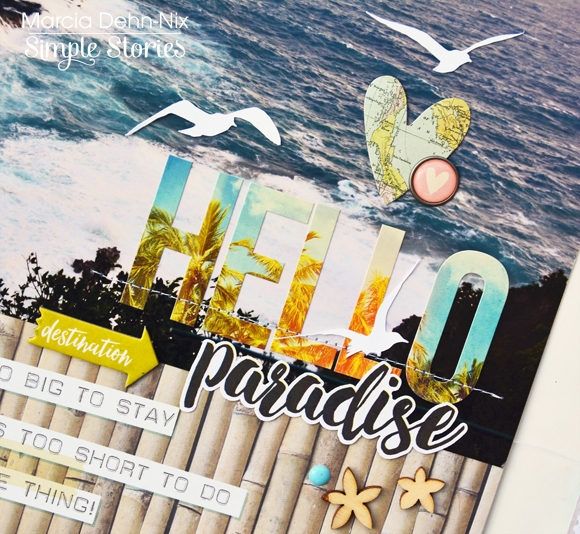
This title came from the Fundamentals Cardstock Sticker Sheet. I love that "HELLO" with the palm trees! 
 
 
Thanks for stopping by today. I hope I inspired you to put the You Are Here collection on your must have list!

Hello planners!  Theresa here with a couple of my March layouts in my Carpe Diem planner.  This month I decided to use the Carpe Diem scrapbook line and planner line.  I added some of the fun and bright colored stickers, washi tape, die cuts and clips to my pockets.  

As usual, I use photos on my monthly layouts to mark birthdays, and this month we are celebrating my daughter's 8th birthday!  I used washi tape to block out days that we would be on trips and labeled them with alphabet stickers so they stand out. 
 
I used dot stickers from the scrapbook collection to mark tasks that I needed to get done on my weekly layout
 

I used the blank lined sheets from the paper pad in the back of the planner to do party planning.  I cut the sheets down to 7 3/4"x4, leaving all six holes in the page.  I decorated them with washi and stickers, and labeled the top with alphabet stickers.  
 
By cutting the sheets down, I was able to add them to the week of her birthday party without having them cover the weekly pages entirely.
 
Are you planning any special events this month? 

Hello Crafty friends!  I am so lucky to have been able to play with Simple Stories'  Carpe Diem scrapbooking collection! If you are a "planner girl" you will already be loving the planner version of this collection - speaking for us scrapbookers, I am super thrilled that the scrapbooking version of the collection was revealed at this past CHA!

I created two pages documenting small aspects from a couple of day trips our family made.  Sometimes when you are not looking, you can find stories within the stories.  I have sort of scrapbooked both of these events, but not these smaller details from either of these days.
 

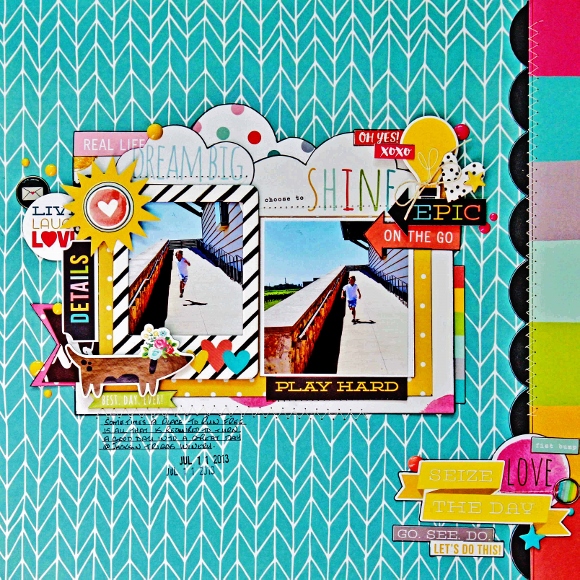
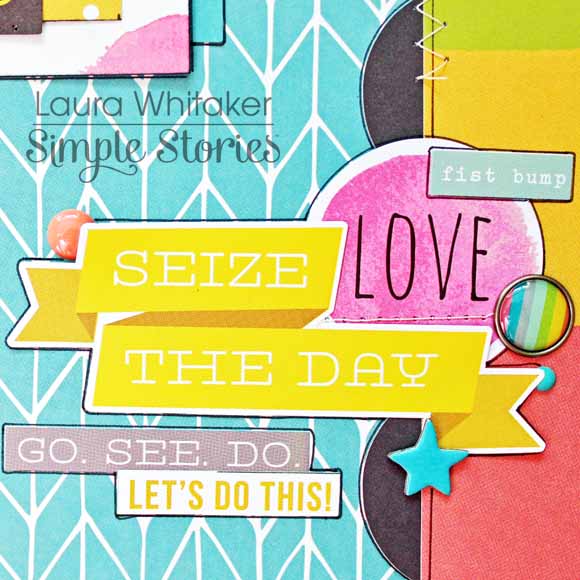
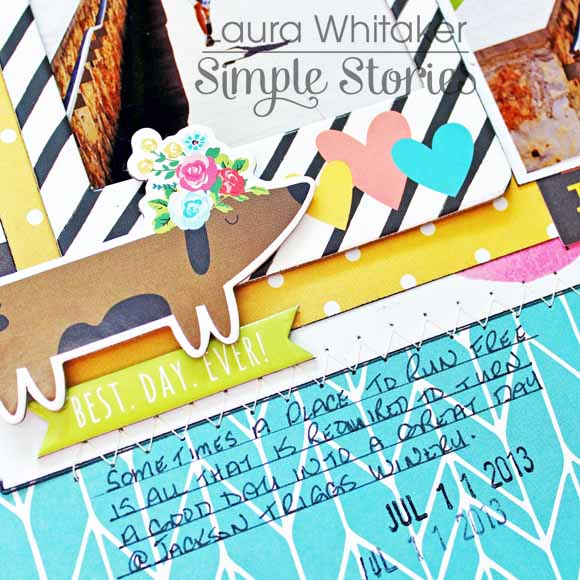
My first page is called "Seize the day", I chose to use two photos with a central focal area and framed one of the photos with a pretty little chipboard frame.  This page documents a day trip that my husband, our youngest son and I went on to a (then) local town and took a winery tour while we were there.  My son enjoyed learning about the process and the science-y parts of the tour; he even asked loads of great questions.  He is really a good boy when we do these grown up things with him.
 

Later when my husband and I were participating in the tasting portion of the tour, I glanced over to see our son running up and down a large ramp just enjoying the moment, the sunshine and the extra speed that he could pick up by running downhill.  
 

Sometimes little opportunities are presented to seize happy moments and memories. Like running down a sunny ramp with wind in your hair and happy parents at the bottom!
 

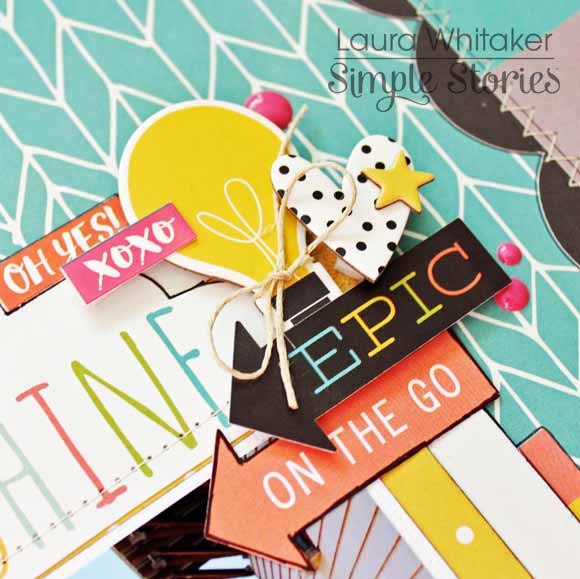
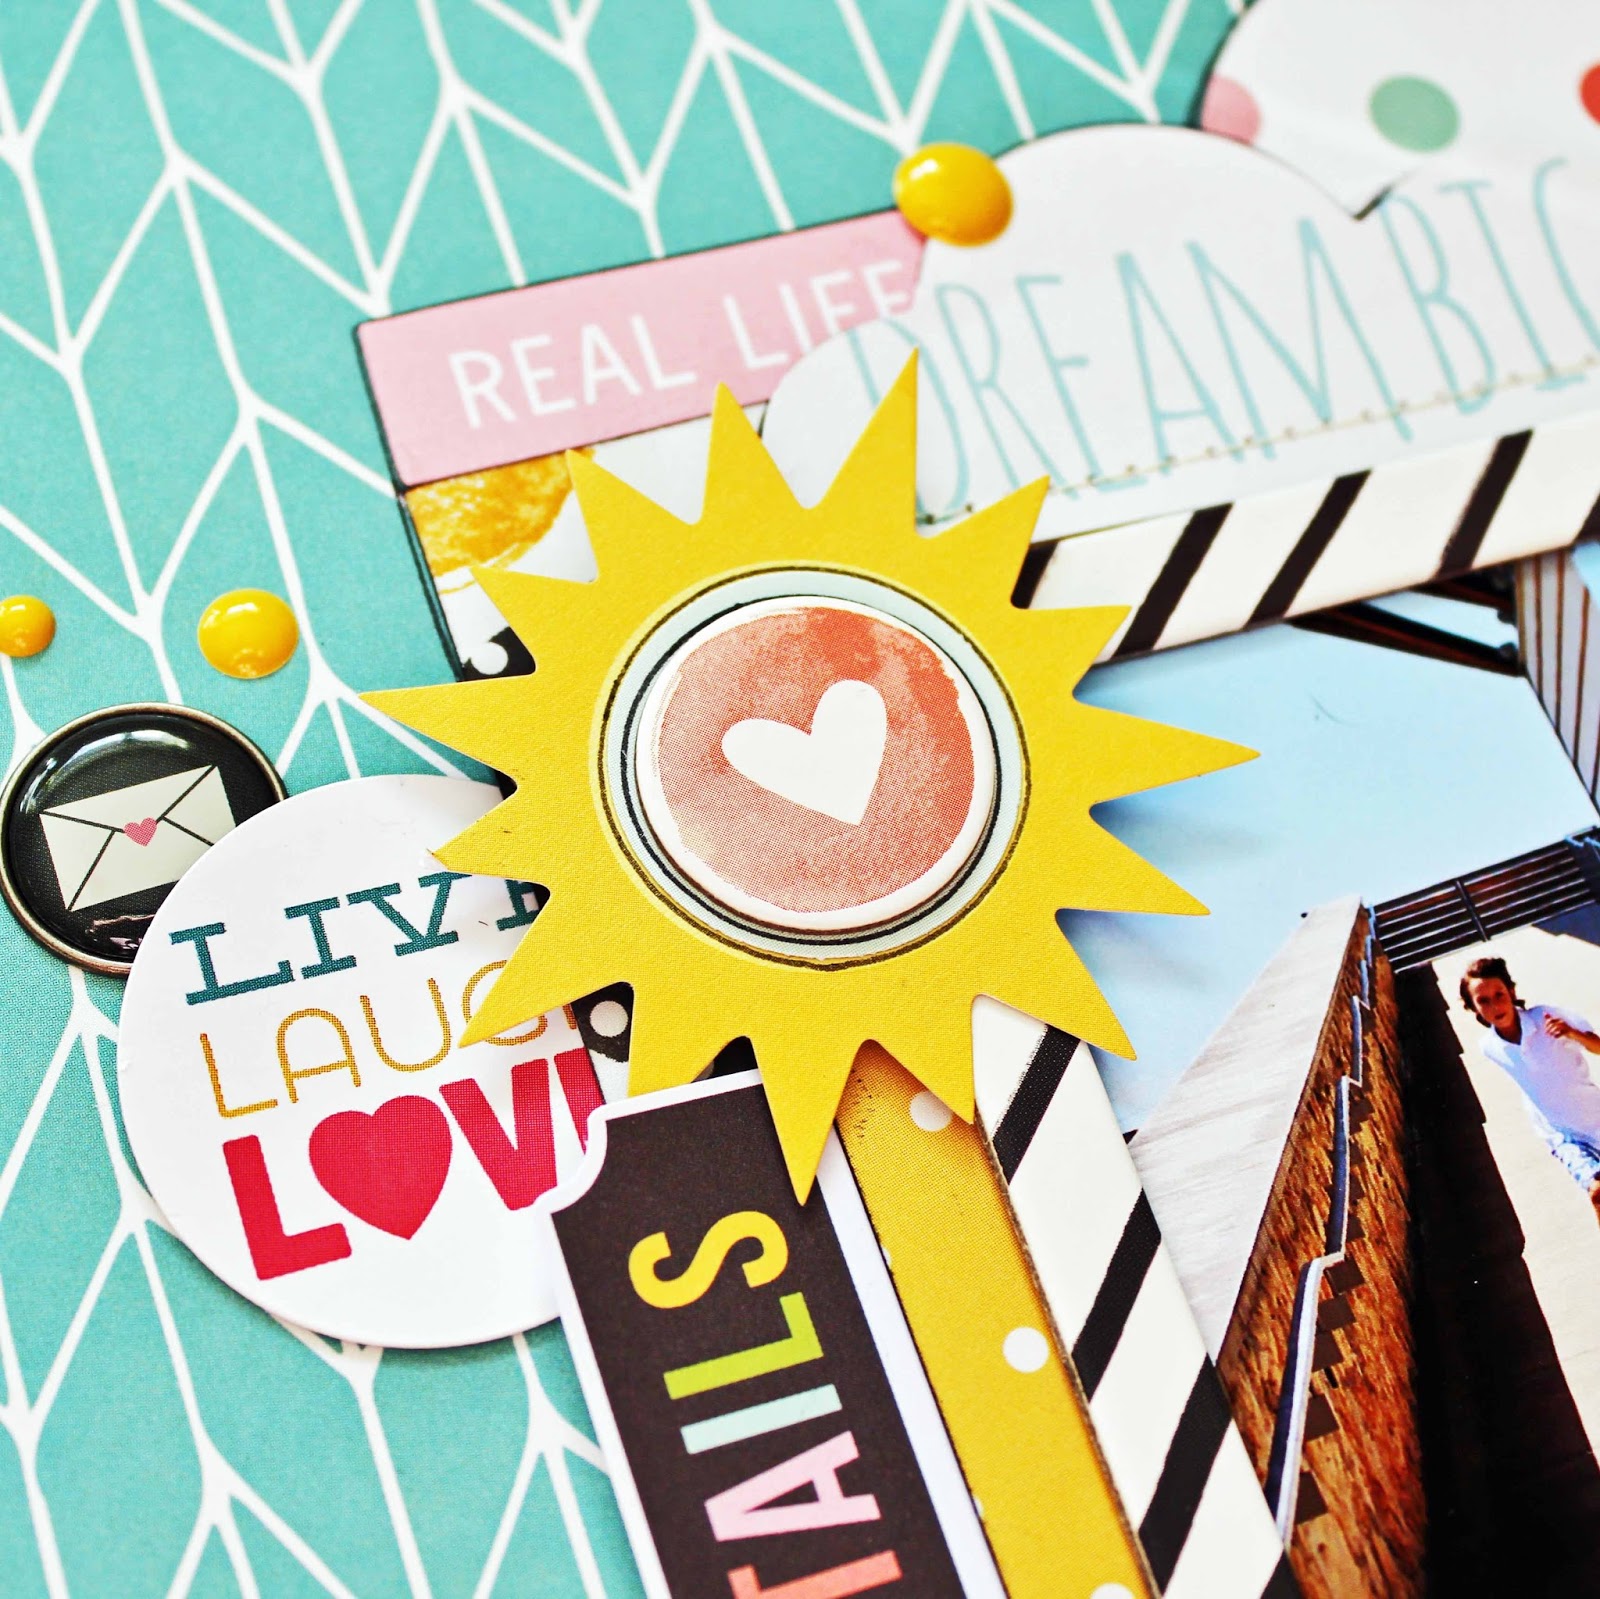
Don't you love all of the bits and pieces in this collection?  I think I could have layered these sweet elements forever!
 

I used loads of patterned papers, and even fussy cut some clouds from one of them!
 

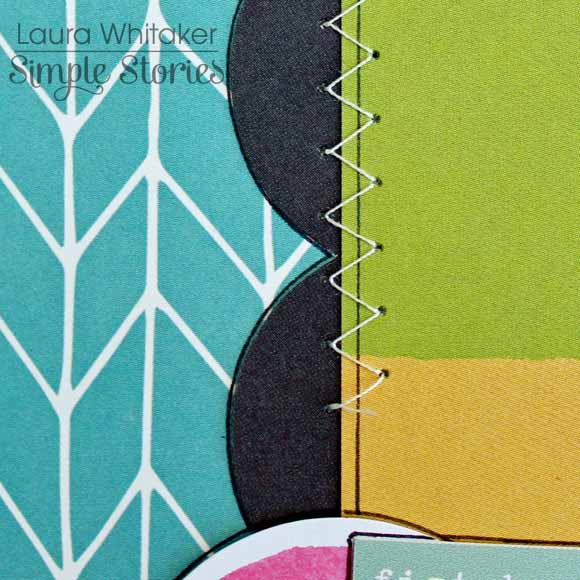
I added some machine stitching and freehand "doodling" to accent the patterns on this page.  Oh and the colours, oh the colours!  So perfect for happy pages!
 

*****


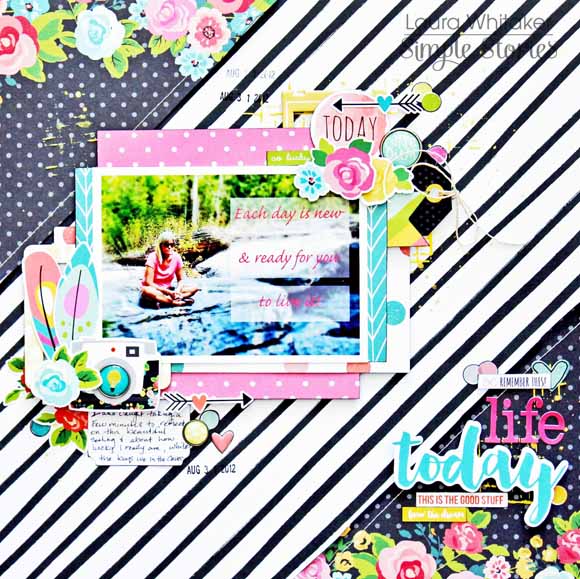
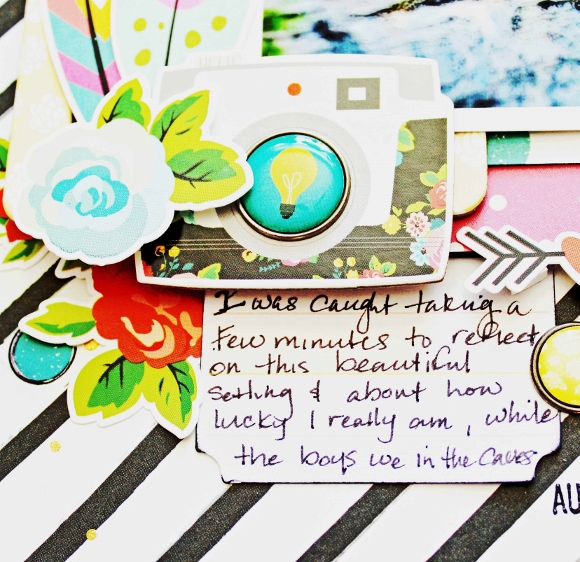
My second layout documents a photo taken of me.  This is unusual since I am most often the one holding the camera.  I know I am not alone in this!  The phrase that I added onto my photo prior to printing it is from one of the patterned papers in this collection. I really loved it, it spoke to me.  However, I wanted to use the other side of the paper so this is how I incorporated the quote onto my page.  I also blurred out everything but myself in the photo prior to adding the text, so that it would "pop" a little more.
 

My husband and three boys were exploring some caves at a Provincial Park, while I sat in the sun and reflected on life as I waited.  I have a habit of zoning out / daydreaming.  So I was unaware that my husband had taken a few photos of me, or else I may have altered my poor posture ;)!


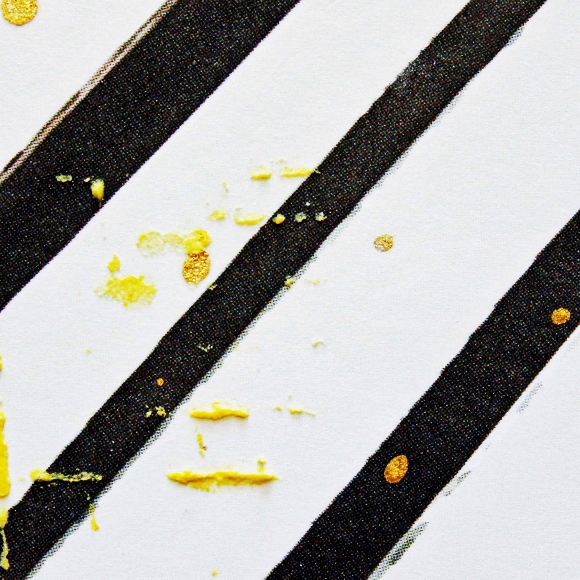
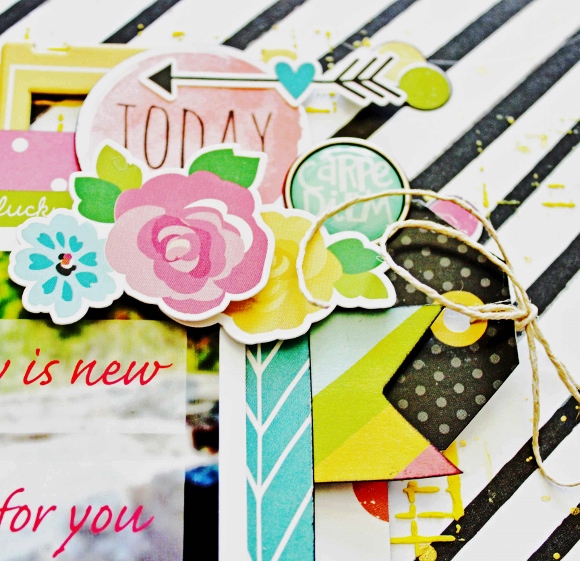
I love this bold black and white diagonal striped paper and NEEDED to use it for my background.  I added a bit of texture paste here and there that I coloured with a yellow Gelato and some gold Color Shine.  I also cut some triangles from the polka dot / floral paper to adorn two of the corners of my page.  I am in serious heart with the bold patterns this collection offers!


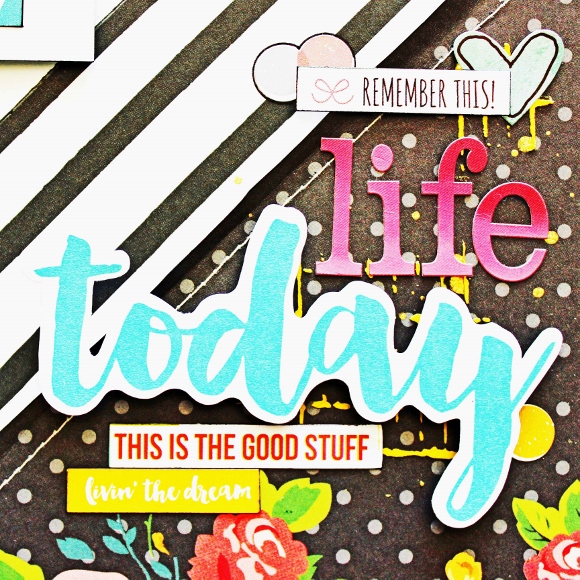
You can see I am still working hard to remember to add journaling to my pages, and this collection has perfect little die cuts for that very purpose!
 

As I am wont to do, I added a few embellishments clusters to this page, as well!

Thank you for visiting today!

Supplies

Good morning! Brenda Smith (hyperlink to my Instagram: www.instagram.com/idocumentlife) here with you today to share a pocket page spread made using the Carpe Diem collection. I love how fun and vibrant the colors are in this collection and I couldn't wait to make it work with some photos from early March. 
 
 
I was inspired to find a use for the Simple Stories panorama page protectors and decided to create a collage modeled after a watercolored polka dot paper included in the Carpe Diem collection. 
 
 
I made the panorama collage in Photoshop, adding my photos and leaving placeholder circles where I would punch circles from the 6x6 Carpe Diem pad. I decided to make the photos in the collage black and white so they'd pop with the bright colors of the Carpe Diem collection. 
 
 
I picked out cards that mimicked the watercolor feel of my collage. I tried to keep things light and airy by choosing cards with white backgrounds. Because I do type so much journaling, I often find that the dark block of text can be too heavy for my taste without offsetting it with something much brighter (like the white cards). 
 
 
I hand-stitched the outsides of all the circles in my panoramic collage. I used variegated embroidery floss so that it would create an ombre effect. This was a long and tedious process as I am a painfully-slow hand-stitcher, but I think the final effect is quite the statement.
 
 
I repeated the floral embellishments and the watercolor effects throughout the spread. While I love the artistic part of this craft, my main focus is usually on the storytelling. I make sure to include ample spaces to tell our stories. When I go to journal on my cards, I like to look at the photos for a few moments to think about what emotions and words come to mind when recalling this moment. I often find this lends to deeper journaling than just the who, what where, why of it all. 
 
Thank you so much for stopping by the blog today. I do hope I've inspired you to fill those panorama pockets with something fun and unique! 


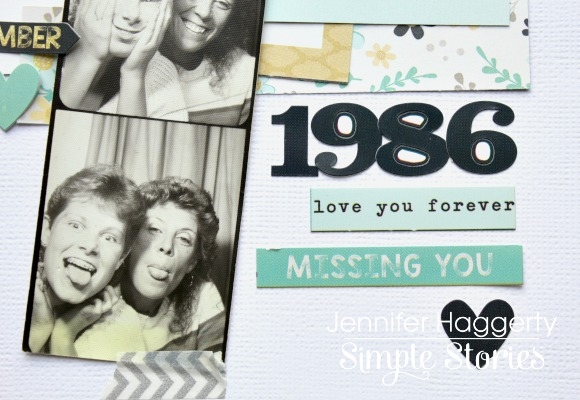
Hello! Jennifer on the blog today to share layouts I created using the Heart Simple Set. I am so in love with this line! The colors are bold without being overwhelming; the sentiments are heartfelt and perfect for honoring a loved one! I will admit there were tears shed while making these pages!  It's not always easy scrapping about my mom, but it is definitely therapeutic.  I miss her so much and I cherish photos of her even more now that she is gone.  
 
For my first layout, "Forever In My Heart", I utilized the journaling cards of Elements #1 and #2 layering them under and around my photo strip.  The 3x4 and 2x2 sized cards are the perfect size to accent your photos. Over Christmas, my dad had surprised me with old pictures that I thought were destroyed in a basement flood.  This old photo strip was included and its absolutely a gem. 
 
 
I used the letter stickers from the 6x12 Expression Sticker sheet and a sentiment from the Fundamental Stickers for my title. The navy and gold look classy together!  Also included in the Fundamental Stickers are cute hand drawn star stickers! I used a cluster next to my title.  
 
 
​I also used the number stickers to document the year the photos were taken, as well as added a few sentiments from the Expression Stickers. 
 
 
I love adding a little dimension to my pages so I used a wooden veneer ampersand from the Life in Color collection.  
 
 
Showing one of the 3x4 Journaling Cards from the Elements #1 sheet. This saying can't be more true and I'm glad it is included in the collection.  
 
 
The plaid print is one of my favorites of this line! I used a 2x2 plaid heart element from the Element #2 sheet and stitched with my sewing machine.  
 
 
************
For my second layout, " Always Remember", I used both side of Forever In My Heartcutting 6x12 sheets to split the page.  I also cut a strip of the grey/white dot of the B-side of Never Forget.   For my title, I used the letter stickers from the Expression Sticker sheet as well as the "Remember" Simple Stories Silhouette cut file.
 
 
I love the Circle Hearts Cut File designed by Simple Stories for the Silhouette shop! I used the celestial print of the B-side of  Love You and layered coordinating stickers over the top.  


I typed my journaling on my typewriter using the bold yellow of Never Forget and then accent with coordinating stickers.  
 
 
​Thank you for stopping by today!  I hope this inspires you to document about a loved one you have lost!  I think creating special pages is a wonderful way to honor someone who has passed.  

Supplies

Hey lovely planner addicts! Today I wanted to show you how to make the most of your planner with Simple Stories accessories as well as some everyday common accessories that you see in the planner community. Simple Stories has such bright, vibrant beautiful products that it's so fun to accessorize and really utilize your planner to its full capacity. 
 
 
Everything that you see in my planner pockets are solely based off of the robin's egg blue color of the planner and also the adorable little 'Today" magnetic clip you see on my Carpe Diem cloud card. The front of the card had a beautiful pattern, but I wanted to use the pretty clouds since spring weather is in the air. It also matches the planner nicely. As you can see, everything that I have added tends to have a pretty blue hue or a contrasting color. I am a person who likes my planner to be "matchy matchy" and I'm loving the way this look turned out. 
 
 
I've always been a huge fan of the Carpe Diem Pocket inserts. I'm using them here since I like to transfer my things from one planner to another. That's what I love about ring bound planners! I have stuffed the folder with lots of goodies including the bright, vibrant Carpe Diem Icon Stickers.  I also took a Pocket from a past summer collection and glued it to the folder for extra storage! They are perfect for storing mini sticky notes. I am going on vacation next week, so I really wanted to stuff my planner to the fullest since I won't be taking any extra planner goodies with me. And of course, the folder matches beautifully with my robins egg blue theme. 
 
 
Another thing I wanted to show off was one of the beautiful inserts included in the planners. I just love having them in my planner to look at, but you could easily attach a cute pocket to it to stuff even more goodies in. You could even laminate it and add sticky notes as well. 
 
 
One last thing I wanted to show you was the adorable charms.  In addition to the camera charm included with the planner, you can purchase more fun ball chain charms as well.  I've been using 3 or 4 lately on each planner because I love the extra look it gives my planner. They are super cute and easy to put on!


That's it for today! Thank you for taking the time to read my post. Make sure you check out the website for some beautiful planners and accessories. Again, I love the colors of the Carpe Diem items so everything you saw in my photos was based off of the gorgeous planner color. Please let me know if you have any questions! Thanks for stopping by! 

Pages