April 2019 Blog Posts

What's more fun than spending Spring Break at the happiest place on earth? This year my family was able to enjoy and create new magical adventures at Hong Kong Disneyland.
 
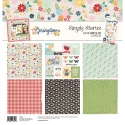
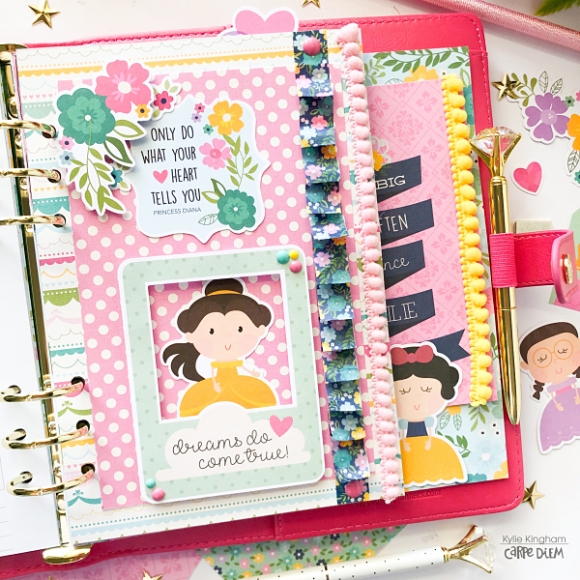
As soon as I saw the new Say Cheese Collection, I'm already imagining in my head what am I going to use it for. Say Cheese 4 is perfect to document all the happy memories my family experienced and will experience at all the locations for the happiest place on earth.
 
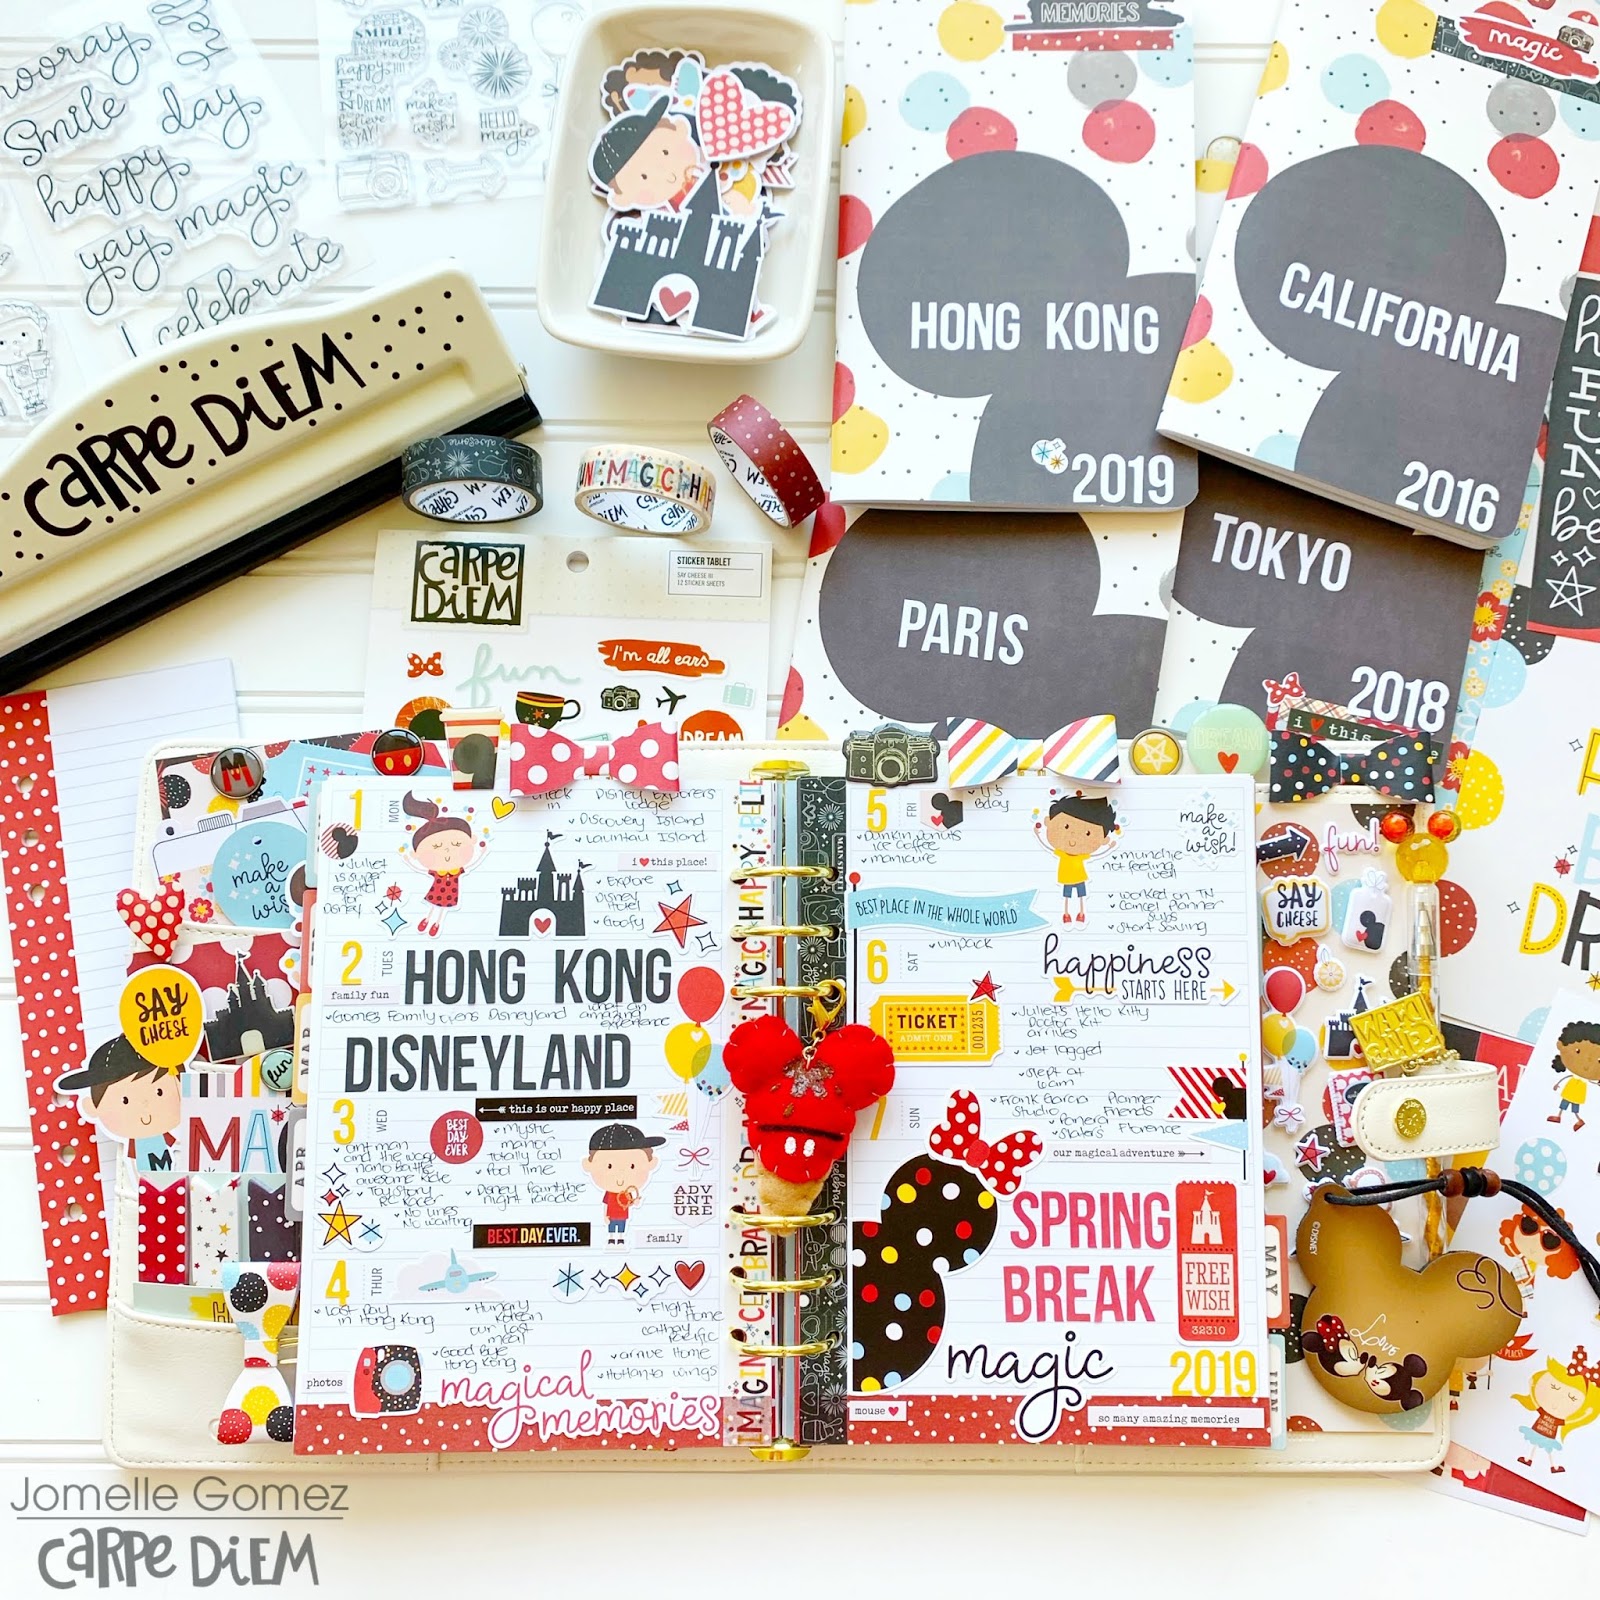
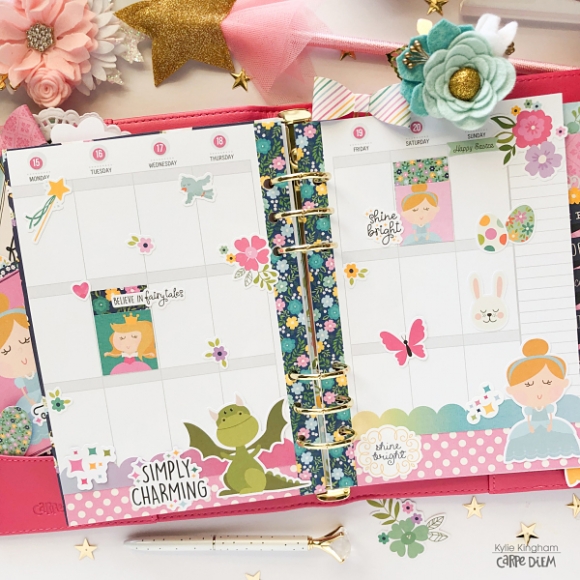
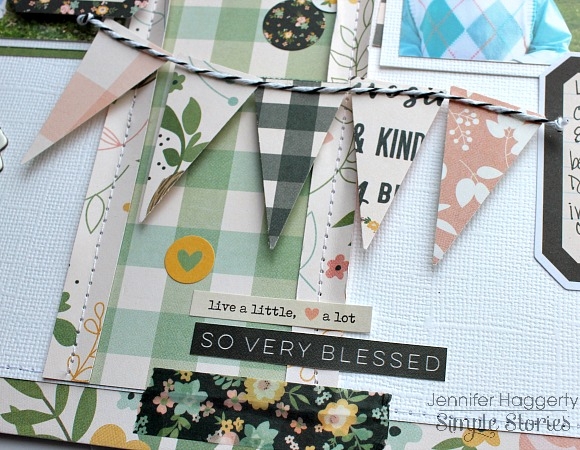
 My weekly layout. I used the letter stickers to create "Hong Kong Disneyland" I wanted it to be the main focus as soon as you look at this spread.
 On this page, I did the same thing for the word "Spring Break" 
When you look at both pages of my weekly spread, you will see "Hong Kong Disneyland" and "Spring Break" right away. 
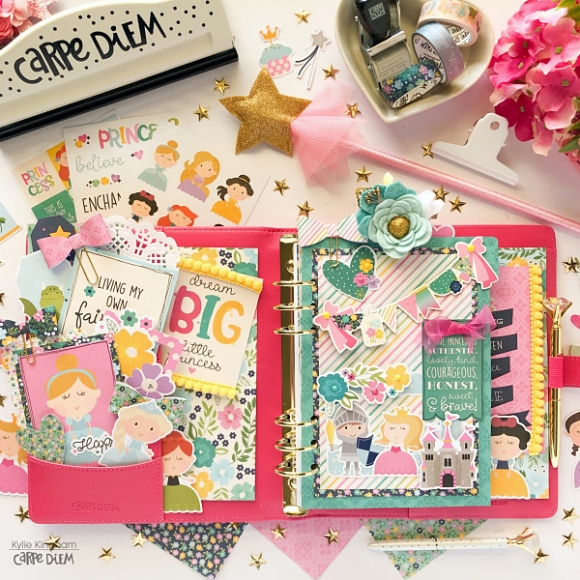
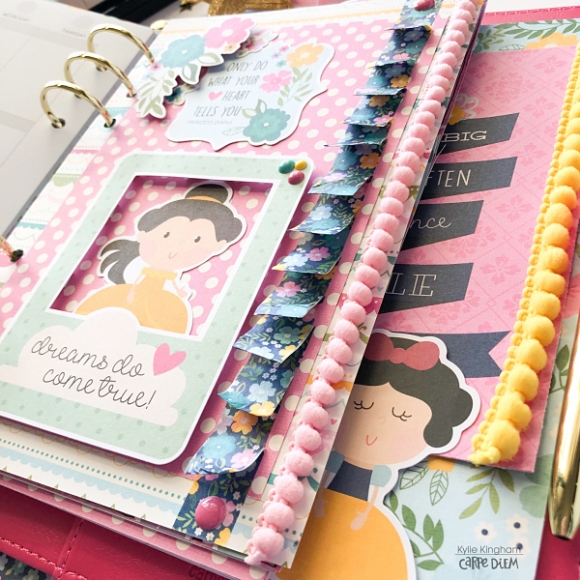
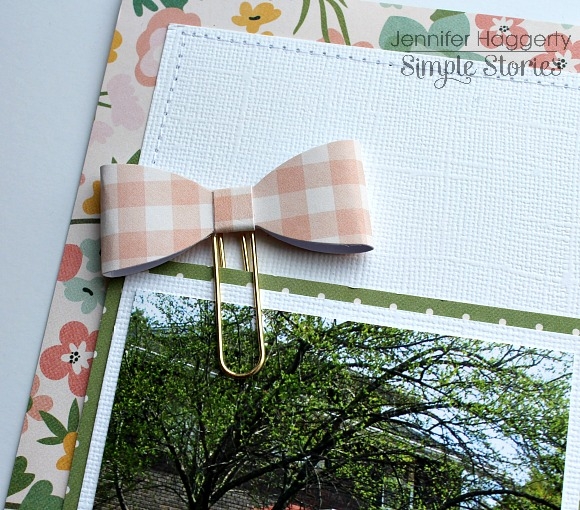
I used washi tapes, stickers and bits & pieces to create my magical layout.
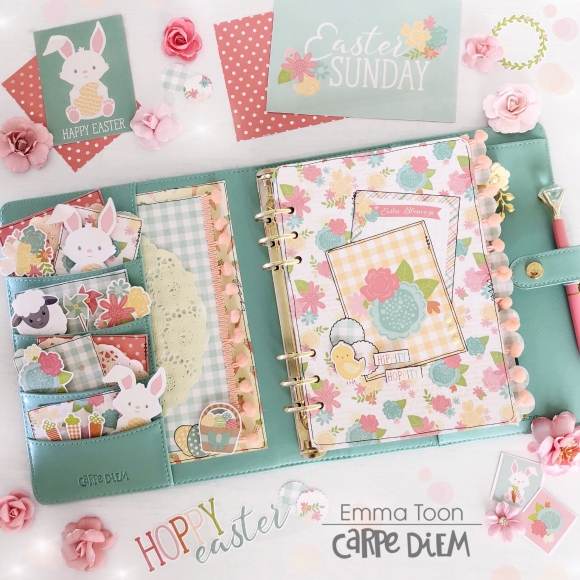
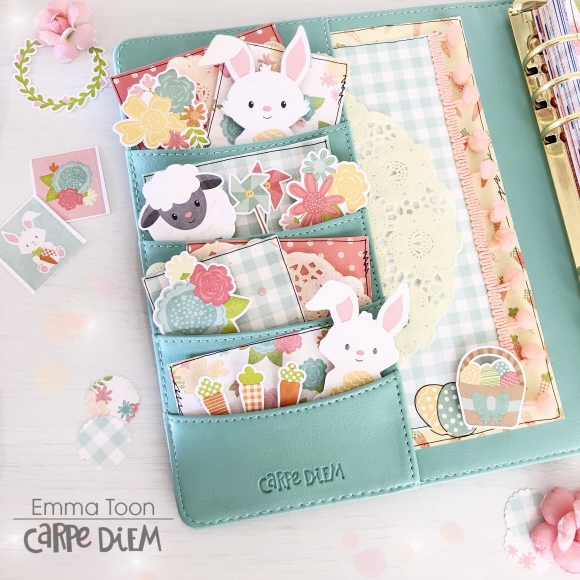
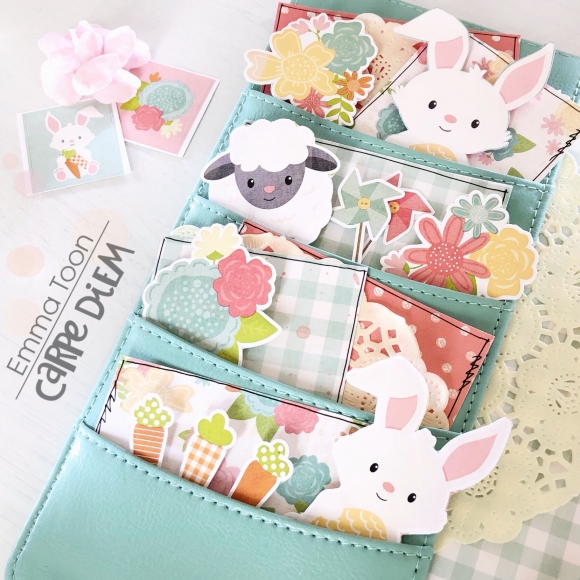
Planner Pockets full of magical elements. If you didn't noticed, I added 3 kids in all my layouts/spreads. They represent my 3 wonderful children. You will see 2 boys and a little girl. You can find them here in my planner pockets. Now go back and check them out in my weekly spread. You will also see them in my monthly spread.
 As you may already know, I love and enjoy decorating monthly view of my planner. I love using the yellow number stickers for the dates.

I labeled my Doc it journals according to Disneyland we have visited and plan to visit in the near future. I will be documenting our magical adventures in each of the Disneyland we have visited. I can't wait to visit Paris Disneyland.
Are you also a big fan of Disney? If so, what are you waiting for? Grab the new Say Cheese 4 and starting planning your dream vacation. 
To be able to visit all the Disneyland Parks locations is in our bucket list. We are hoping to go to Paris soon. All we have left is Shanghai and Florida. 

Supplies

Hello, Simple Stories Fans! Have you checked out the latest Simple Sets? With six papers (2 each of 3 designs) and a coordinating 6x12 Sticker Sheet, they are the perfect solution for a quick project or two!

Today I am working with the Springtime Simple Set. Butterflies and flowers are not only perfect for Spring, but work great for everyday memories, as well. This page is about my daughter achieving recognition in her writing class at college. Definitely, a "bloom where you're planted" moment for her!

Butterflies are a perfect symbol for growth and transformation, as well as following your own path. I fussy-cut the butterflies from the 3x4 & 4x6 Elements Paper and then adhered themto the page with foam squares as embellishments.

I layered several of the stickers together in this embellishment cluster, anchoring them with strips of patterned paper across the bottom and a scribble-style circle that I die cut using my electronic die cutting machine.

On the opposite side of the photos I used several patterned papers from my scrap bin and some metal dies from my stash to create a pair of dimensional flowers.

I hope this page will help my daughter remember to always celebrate her accomplishments! There is so much in our lives to be grateful for!

Thanks for stopping by!

Supplies

Hello everyone! It’s Dorymar Pérez here today and I couldn't be more EXCITED to be back with the Simple Stories Design team, a group of amazing and talented designers! I’ve always LOVED Simple Stories and being part of this team for the 2nd time is a dream come true!

For my first blog post this year, I want to share a beautiful and chunky album I designed with the Say Cheese 4 Collection. The collection is absolutely stunning: it is fun, colorful and playful – perfect to document those magical memories!

I selected the Say Cheese 4 6x8 Album for my project and embellished its cover with a piece of the All Smiles Patterned Paper, the castle card from the 4x4 Elements Paper, and different elements from the Bits & Pieces and the Happy Kids Bits & Pieces. Then, I added “Magical Memories” from the 6x2 Chipboard Word Stickers and some rhinestones. I love how it turned out!

When I travel, I like to keep memorabilia from my trip, so I used a black cardstock to create a big pocket and two small ones on the inside cover.  I wanted it to look like a traveler’s journal, with cute embellishments from the collection.

For the left page of the next spread, I used both sides of the All Smiles Patterned Paper, the back of the 2x2 Elements Paper, elements from the Bits & Pieces and stickers. When working with the Simple Stories albums, I like to embellish even more the sn@p pages that come with the album, so I used stickers, Bits & Pieces, patterned paper and a piece of yellow ribbon to make it stand out more.

The next spread has a combination of a sn@p page and a pocket page. As you can see throughout my project, I try to always maximize the elements of the collection. I am also a huge fan of clustering embellishments and fussycutting those images from the patterned paper that I really like. This gives dimension to the pages and provides an interactive look to the project.

When I designed this project, I wanted to create pages for the different activities that we enjoyed in the Happiest place on Earth.  In the following photos, you’ll see pages dedicated to document everything from waiting in line for the rides, photos with characters, autographs, food, etc.  I used the collection’s washi tape to decorate some of the pages - it is so cute!  Also, I added yellow ribbon, twine and buttons to add more dimension to the pages.

This was so much fun!  I hope you like this album as much as I enjoyed designing it and that it inspired you to create!

Happy scrapping!

Supplies

Hello everyone!!  Jackie G here on the blog today to share a couple cards with you!!  Let’s talk about scraps.  We all have them at the end of a project and sometimes they are SO HARD to get rid of.  I definitely can’t be alone when I say…I hoard scraps!!!  It’s so hard to throw those pieces away regardless of their size…I struggle!!  I know I’ve talked about this many times before, but let’s use those scraps to make some cards!! 

If you saw my previous design team blog post, you saw I created a very large mini album using the Say Cheese 4 collection.  I used majority of the collection with very little scraps left, yet I still kept them!! Oopies!!  So here is what I came up with.  Left over stickers created this custom background for my first card!!  I backed them up with some black cardstock extra interest. 

Next, I used the Say Cheese 4 Happy Kids Stamp collection and word dies to create my next card.  It was definitely a challenge with such little pieces to work with, so lots of pop dots to add some dimension!!

Lastly, I wanted a “wow” card so used the couple Happy Kids bits and pieces I had left to create an easel card.  I absolutely love making these interactive cards!!  Using some scrap acetate to make the children look like they are jumping for joy!!

Enjoy!!

Supplies

Hello friends! It’s Kylie back with you all on the blog today with some more planner inspiration. I have been setting up my new A5 Pink Planner for April and I am SO in love with this colour. It is the pinkest of pink I ever did see! I knew the new ‘Little Princess’ collection by Simple Stories was going to be perfect in this planner and I love how this collection brought out my inner little girl. Castles, Princess’s, a dashing Prince or two and cute Dragons. How could you not love it?? Let me share how I have brought everything together for some Planner happiness this month:-

By now you know I love to stuff those planner pockets full of pretties. Whilst it may not have any practical purpose for planning it makes me feel happy when I see my open planner on my desk or when I first open it up.I created some cute planner cards featuring positive affirmations and added some trims from my stash before slotting them into my pockets with some extra tags and die cuts.

This card is a favourite! I used one of the frames from the Tags and Frames die cuts to back one of the 3 x 4 elements.

Each month I really enjoy creating my own custom dashboards and dividers. SO easy to do with the A5 divider templates! Just trace and cut from your favourite papers.

I layered lots of different papers for this first divider, before adding many varying elements from the collection to include the Chipboard stickers, Die Cuts and the Tags and Frames.The enamel dots were perfect for adding centres to my flowers.

I used some pom pom trim from my stash to add a border to this next dashboard. I also created a little gathered edge with some of the wash tape.

The little Prince and Princess from the 6 x 4 element sheet was too adorable to not use on a dashboard. I’ve surrounded it with some torn layers of paper and a doily from my stash.

For April I am using my Vertical weekly inserts and snapped a photo of a week before the pen. Some washi was used down the inside edge of my inserts for colour and reinforcement. I also added some paper to the bottom edge of my pages for more colour. They are almost too pretty to write on!!

Thanks for stopping by today to see my April planner!

Kylie

Supplies

Hello everyone! It's Jennifer on the blog today to share a layout I  created using the beautiful Spring Farmhouse collection!  This by far is one of my favorite lines of this year; probably in my top five Simple Stories overall! The soft pastel pinks, greens, and yellows are perfect for springtime themed projects and I  love how the black and white gingham is mixed in!  I  documented favorite photos of my kids from a beautiful Easter day (when I  could still get away with dressing them in matching outfits!)

I   began with backing my white cardstock onto the beautiful floral print of Love A Lot. I  then adhered a 2x11 piece of the green gingham of Well Said to the center.  I  adhered and stitched through thin strips of the B side of So Blessed, pulling up on the edges to give it a distressed look. I  was then free to adhere my photos as well as this beautiful sentiment from the Bits and Pieces.  

The Bits and Pieces pack has a variety of shapes to accent your project such as the cute journaling spot I  used here.To accent, I  affixed one of the coordinating Enamel Dots to the center of the flower, as well as utilized a tiny heart sticker from the 4x6 Sticker sheets.  

I  did not want to overload the center of the page with too many embellishments so I  chose a few of the smaller circle stickers from the 4x6 Stickers as well as a floral cluster from the 6x12 Chipboard.


Using a hand punch in my stash, I  created a fun banner to adhere across my page using some of the great patterns in Spring Farmhouse! Using liquid adhesive, I  affixed some black/white bakers twine to the top of my banner to complete the look. I  also added two of the sentiment stickers from the Combo and 4x6 Sticker sheets.  You can also spy some of the fabulous Spring Farmhouse Washi Tape at the bottom. 

One of the many new additions to the embellishments are the Bow Clips! I absolutely adore these and love clipping one at the top of a photo! It adds so much dimension (and cuteness) to your project! 

Thank you for stopping by the blog today! You can see the entire collection by clicking HERE! Have a great day!

Supplies

Hi everyone! It’s Tara with Secretbees Studio. Get ready to smile from ear to ear with this amazing album that has been decked out in what has to be the cutest paper collection ever! 'Say Cheese' has been around for a long time but Simple Stories has really outdone themselves with this fourth version that is not only filled with the well loved bright colors and images of past collections but is super extra with the addition of happy kids!

Because this collection is so fabulous, I wanted a big book that would really show it off and this large gate-fold album was just the ticket! I found the design for this album online at yourbookofmemories and couldn't wait to get started! This album has multi flip-out pages and pockets and every turn and flip is a magical surprise that conveys the pure joy of Disney!

This album measures 9.5 inches square when closed and is over 2.5 inches thick! Inside, it unfolds to reveal 4 large pages that alternately flip and open to even more pockets and photo/journaling spots! Plus, the front flaps have their own marvelous surprises! On one side there is a large pocket that holds not only photos and mementos but also a small notebook to record all of your memories. The other flap starts out like this:

goes to this:

and then this!

With each turn of a page, the revelations keep coming and are made even better with this adorable collection that screams happy and fun! Following are some of my favorite sections of the album but to really see all of the stunning detail, watch the video at my YouTube channel and be prepared to want to create a magical album of your own!

"Laughter is timeless, imagination has no age, dreams are forever" - Walt Disney

Supplies

Hello, it’s Emma here to wish you a Happy Easter and share my Easter set up! I’ve used the Bunnies & Baskets Collection by Simple Stories of course! It’s so ‘me’ pastels and florals!! My favourite!! This is one of Simple Stories ‘Simple’ sets, there’s three designs which you get two 12x12 sheets of each, and a set of 6x12 cardstock stickers. I’m wanting to show you how with one of the ‘simple’ sets you can still set up a whole planner! I’ve chosen to use my A5 Robins Egg Carpe Diem planner, the colours work so well together...look!

I have made die cut pieces to fit in the pockets by sticking the stickers on to off cuts of the paper and cutting them out, I also used foam sticky pads to lift them and give the look of chipboard pieces! 

I also used a doily which I cut up to fit in a couple of the pockets and then used some more off cut paper and voila!! Pockets filled and looking super pretty!

One of the paper designs has 4x6 cut apart elements, so I cut these up to use for decoration on my dividers and dashboard. 

Using the Carpe Diem planners A5 templates and the A5 punch makes it so easy to make dividers, and for the dashboard, I simply traced around, missing out the tab! 

You can see how using the cut apart elements, and a sticker raised up on a sticky pad, how simple it is to create a decorated dashboard, and you can use this throughout your decorating of dividers too. I used some Pom Pom trim also running along the edge of a separate dashboard which I placed behind my decorated one, pom poms are a fun way to add more interest to your set up!!

Here’s the dividers, I used a heart punch to make the tabs, I’ve shown how easy this is in a previous blog. How lovely are all these papers together, such beautiful pastels!! So, there we have it, my nice and simple Easter set up! Have a great Easter, hope the Easter bunny visits!! If you would like to see more pictures Simple Stories products then checkout my IG account.

Supplies

Pages