Christine Meyer's Blog Posts

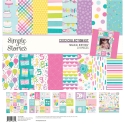
My daughter is at a beautiful in-between age.  She's not a little girl anymore but not a full grown adult either.  That has called for a shift in my scrapbooking style for her as well.  The brand new Kate & Ash collection is perfect for telling her story as she grows into a young lady! Christine joining you today with a layout about my thirteen year old!

This collection showcases a variety of icons and shapes that will make telling that teenage story easy! There's a little bit of sass mixed in with sweet all tied together with a bunch of fun!

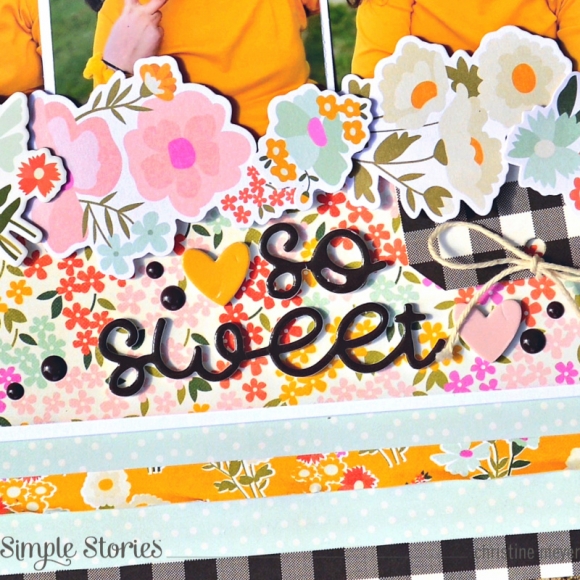
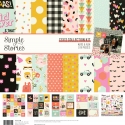
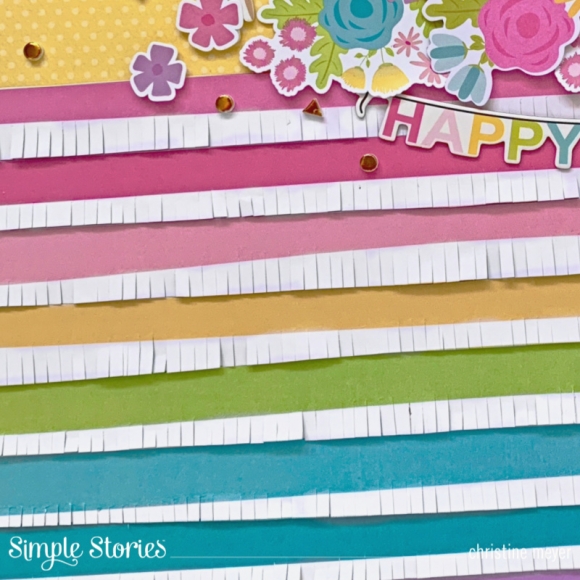
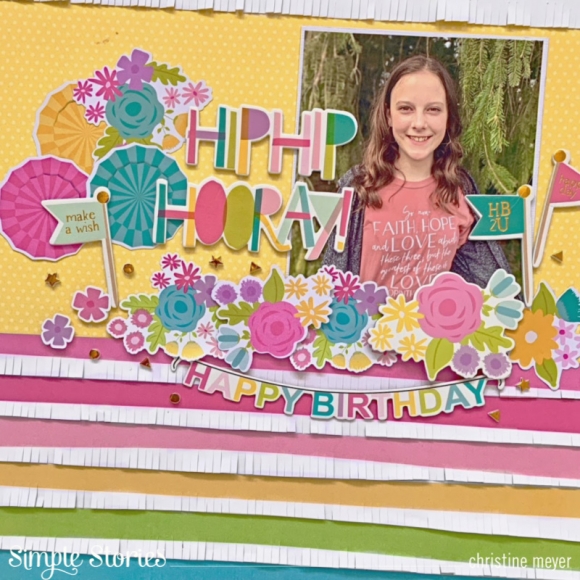
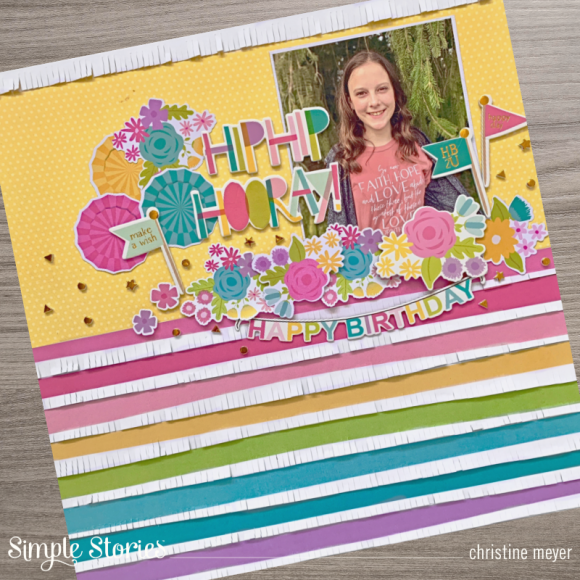
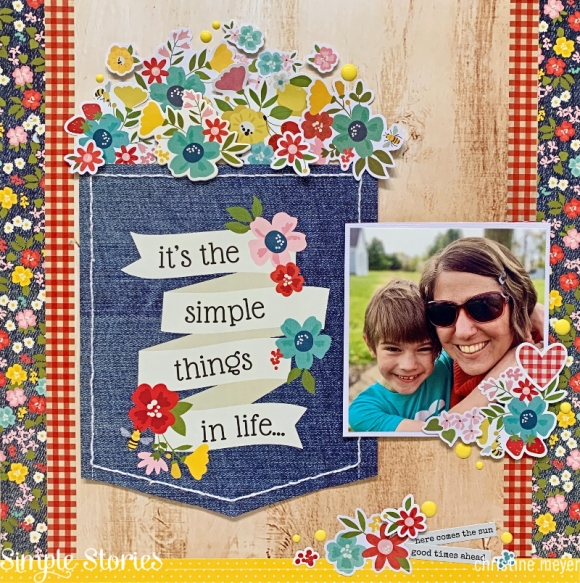
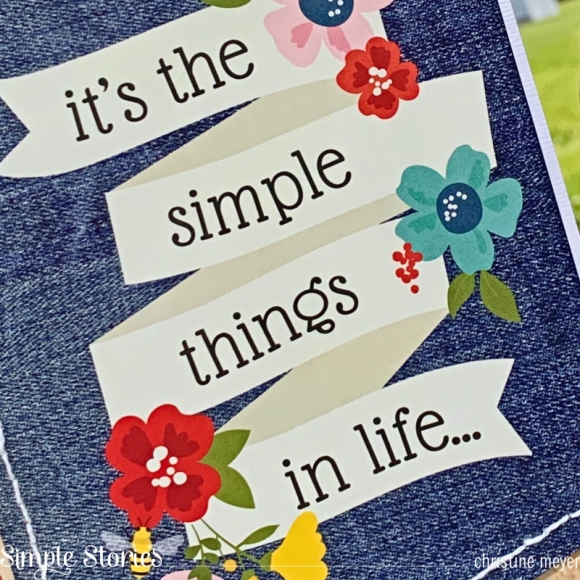
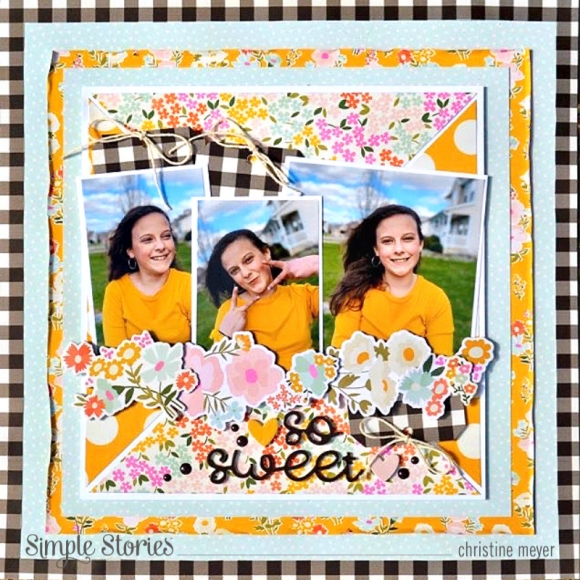
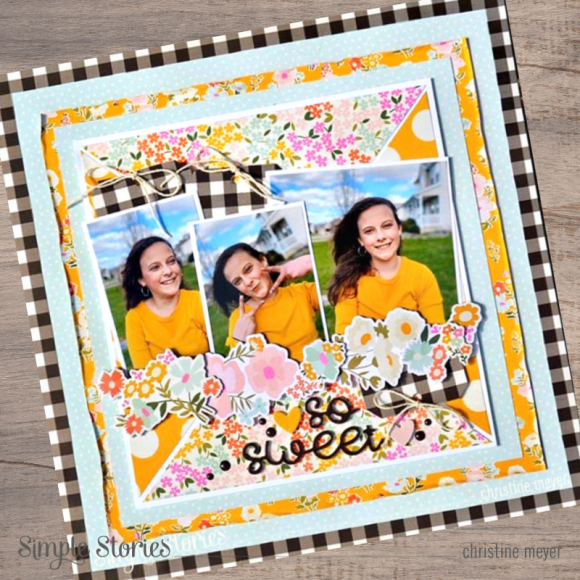
Kate & Ash has an amazing color combination that makes the patterned papers just gorgeous!  I wanted to use as many as possible!  So I created a huge layer of the papers on my layout. I used layers of large squares and then the top layer (before the pictures) was triangles put together to make a square.  I carefully chose my papers mixing light and dark backgrounds. The colors are some of my daughter's favorite - making it easy (as you can see) to match them to her pictures!  My title is made up of Foam Stickers in a fabulous script font.

Black is a big part of this collection and I wanted to make use of it with the other colors.  Having it in my title was a good start.  I also used the buffalo check paper for my layout border.  Additionally I cut out some tags from hat same paper and tucked those underneath my pictures.

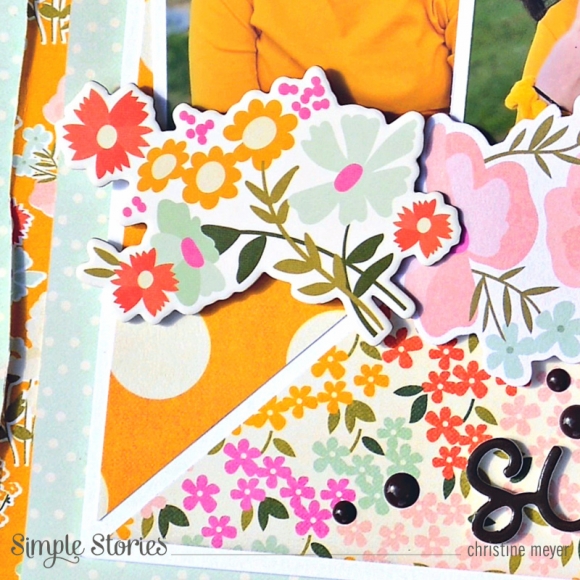
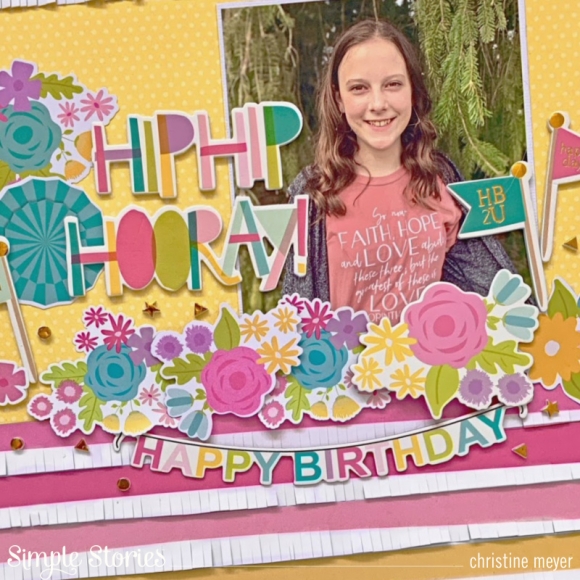
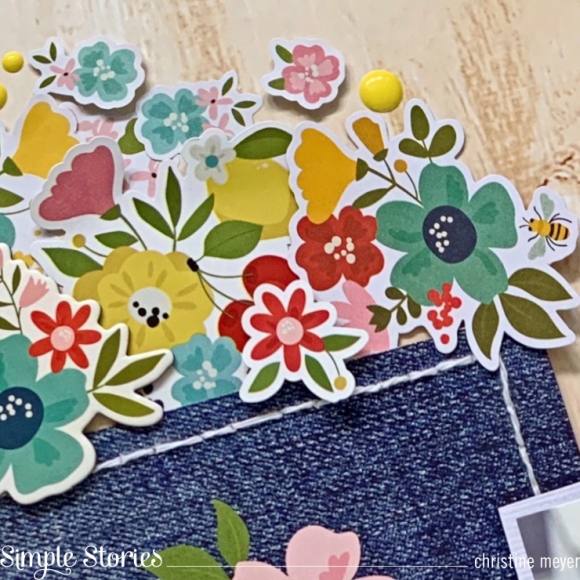
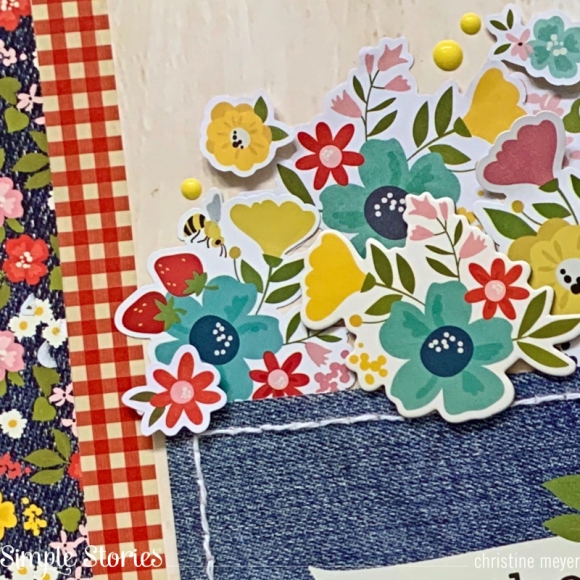
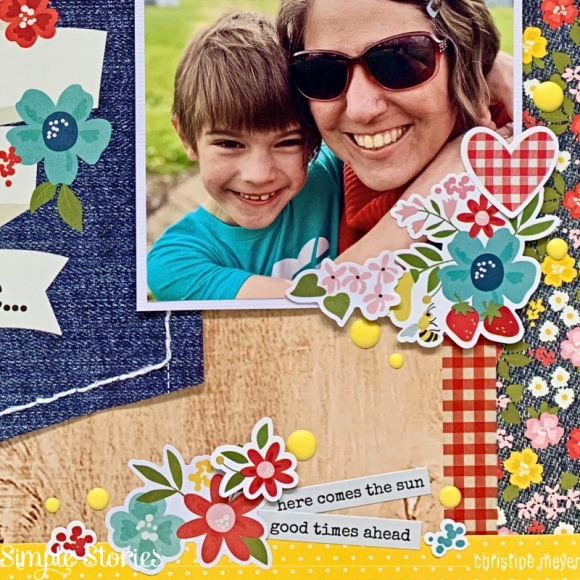
Any time Simple Stories includes flowers in a collection, I gravitate to them.  This collection has flowers in all shapes and sizes, including chipboard, ephemera, stickers, and of course patterned papers. I used them for this layout to create a border beneath my pictures.  By adding foam adhesives, I was able to have a variety of dimension throughout.

If you'd like to see more of how the layers of this layout came together, you can find the whole process on my YouTube Channel!

Supplies

Do you have a special birthday girl to celebrate?  The Magical Birthday collection is perfect for girls of all ages. Christine joining you today with a Magical Birthday layout that showcases a variety of elements from this fun collection!

I capture birthday memories a couple ways for my kids: one layout that showcases a great picture of them on that day and then a bunch of layouts that tell the story of their day!  This layout knocks out the first part - a great picture of her on that day!

One of my favorite things to do with layouts is to try and find a clever twist on the product.  Today's twist comes in the form of cutting up this wonky striped paper and then using my fringe scissors to add fringe to the white stripes. I cut the paper in half, cutting up one half and then gluing the stripes back onto the other half.  This made it easy to put it all back together!

Flowers are always such a highlight in any Simple Stories collection!  I pretty much can't resist them!  I added them as a border to separate my picture and the fringe part of the layout.  I combined chipboard, ephemera, and stickers to create the border.

I used several of the foam sticker elements on this layout including my title and those adorable flags that frame my picture. I also sprinkled the gold foil stickers around the layout to mimic confetti.

To build out my title more, I added some ephemera tucking it underneath the "Hip Hip Hooray."

I think my favorite thing about this layout is all the texture and dimension it has thanks to the foam stickers and fringe.  If you'd like to check out more detail on how this layout came together you can find a full process video here. Thanks so much for stopping by today!  Happy Creating!
 

Supplies

Have you ever looked at a a patterned paper and been inspired to recreate it on a larger scale?  As I was looking through the 4 X 6 Elements Paper in the Summer Farmhouse Collection, I was completely inspired to recreate the pocket piece!  So I set off into the collection to figure out how to do just that!  Christine joining you today with a colorful Summer Farmhouse layout!

I have really been drawn to incorporating the 6 X 8 paper pads lately and today was no exception.  My actual pocket for the layout was cut out from one of the papers in the 6 X 8 pad. I created a pocket template on my own and then used that to cut this one out.  Then I went over the printed stitching and added actual hand stitching to the pocket.

I wanted to have lots of flowers overflowing from the pocket.  But I had to approach this somewhat cautiously - not wanting to go overboard.  A combination of cardstock stickers, stickers from the 4 X 6 sticker book, ephemera, and chipboard all make up this bouquet. I did use a variety of adhesives in order to add dimension as needed.

The Washi tape in this collection is gorgeous and was perfect to add as a boarder on the layout.  I also incorporated lots of enamel dots throughout the layout.

Although I love the words on the original pocket - I opted to stick with what was printed on the sheet from the 6 X 8 paper pad.  

Having already used words in a big way on the layout - I only added some little word stickers to the bottom of the layout. I didn't want the other elements to get lost to text.  If you'd like to take a closer look at this layout you can catch my process video on my YouTube Channel

Thanks so much for joining us at Simple Stories today!

Supplies

Pages