Iris Fox's Blog Posts

Hello friends. Iris here with a back-to-school layout that goes back to some basics: the SN@P! Basics Maple/Cream Notebook paper, an easy cut file, a few embellishment clusters, a little stitching, some ink splatters, and the fabulous School Rocks! collection.

Using a modified cut file from the Silhouette store, I cut four rows of chevrons from the Notebook paper.  Notebook paper always makes a great neutral to pair with colorful papers, and it's especially awesome with a school collection. 

To capture the mixed feelings my daughter had on her first day of 2nd Grade, which is what the journaling is about, I printed a 4x6 photo of my daughter smiling as she waited outside, and also a 3x4 photo showing her sitting at her desk with an uncertain look.  I placed them a little off-center opposite the journaling, and united them with a cluster of circles.  The "FIRST DAY OF SCHOOL" circle - how awesome is the letterboard look! - is meant to be the title, so I popped it up on foam to make it stand out. I also added a staple to the cork circle for interest.

The chevrons give motion to the page and I accented that motion by stitching down the center of each row where the points are.  I wasn't concerned about making the stitching perfectly straight. It adds to the fun if it's a little crooked. ;)  

The bottom right had a natural spot to build up a cluster of icons.  To add depth, I popped up the globe on foam. I also added a stapled the star.

In each row, I placed word strips in random places.  So that they don't look like they are floating, each is anchored by another sticker element. Since the bottom star has a staple, I added staples to the other stars, which also help anchor those strips. The apple and paper airplane are up on foam so that they continue to grab the eye up the page. 

I added my date at the top right of the page, just like they teach us in school. The pencil journaling stickers in the collection fit the roller date stamp perfectly.  For the finishing touch, I picked a yellow mist (SC Mister Huey's in Custard) because it helps fill in the blanks around the three main areas but doesn't compete with the rest of the background.

Back-to-school time for kids means more scrap time for moms, am I right?! What better way to start than with some back-to-school scrapping with the School Rocks! collection. :)

Supplies

Hi everyone, Iris here with a layout using the new Lil' Dude collection. Sure, the primary colors, animals, toys, and playful fonts are great for scrapping all the lil' dudes out there, but I'm here to show you that it's perfect for all the strong, adventurous girls too. 

As soon as I saw the Never Grow Up teepee paper, I knew I'd scrap these photos of my daughter pretending to be a wild tribeswoman with paint markings. I started off fussy-cutting the teepees in tiers, and backed them with triangles cut from the corners of No Limits. It's nice to see such a vibrant true blue in a collection, and what's really awesome are the light blue splatters.  Mixed media without having to do the work!

I lined up four pictures just under the mountain scene. She had so many great poses that I wanted to include. I printed my favorite as a 4x6 and placed the bold title banner next to it, so that although this layout is chock full of colors and little bits sprinkled all around, the eye is drawn back to the center banner and my daughter's cute face next to it.

The supporting photos are printed as 3x4's and matted in alternating orange and yellow patterns from Never Grow Up and 2x2 Elements.  They fit perfectly across the page, staggered so I could nestle clusters of flat and puffy stickers where the photos overlap.  And of course she's a Fox girl, so that puffy fox had to make it on the page.

Who can resist buffalo plaid? Not me!  I love the addition of the text mixed into the plaid of the Hear Me Roar paper, and the black and white help ground all the bright colors. For my journaling I found a free font called "Blackout Two AM" that is very similar to the font with the filled-in letters.  And because it's a white on black, it blends in with the plaid, so that it doesn't distract from the rest of the layout.

Can't have mountains without a sky, and how pretty are those distressed plus signs on the blue of the "Boy Oh Boy" paper? The puffy moon and the black stars are some of my favorite elements in the whole collection, and add the perfect touch rising above the mountain to balance out all the black from the bottom of the page.

I finished it off sprinkling more puffy stickers and hearts all around to fill in little gaps.  I'm really loving that Simple Stories collections now include puffy stickers!

 Lil' Dude is perfect to document all our playful kids, boys and girls alike.

Supplies

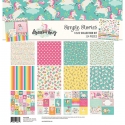
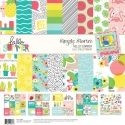
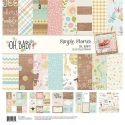
Hello Simple Stories fans.  Iris here documenting one of my precious snapshots of my oldest when she was a little girl playing dressup. If fairies and magic and dreams are big in your family, you're going to love the new Dream Big collection.  It made me and my girls squeal in delight!

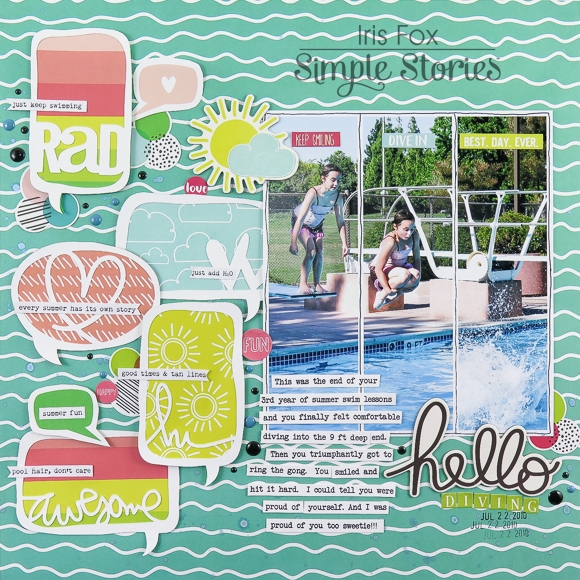
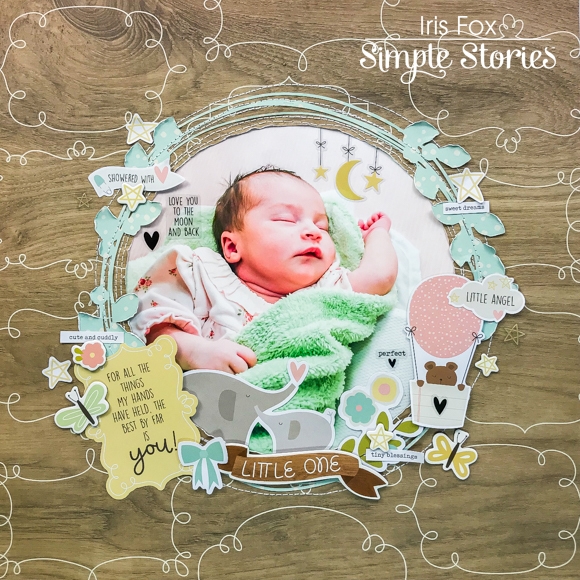
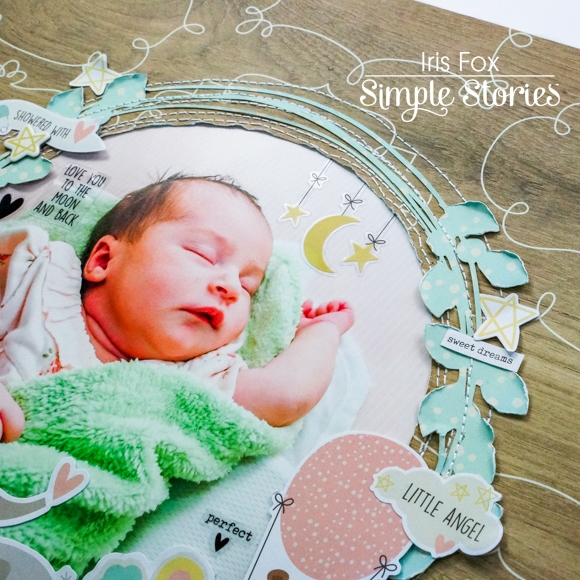
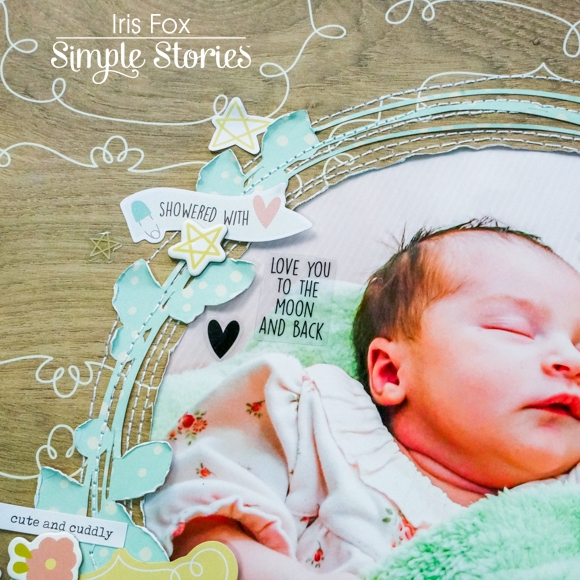
I was drawn to use the b-side of the 4x6 Elements because it was similar to the background of my photo, and it has all those twinkling asterisks, which made me think of fairy dust. I wanted to showcase lots of the adorable patterned papers, so I decided to use a cut file (The Cut Shoppe, GeoGlobe).  I liked that I could fill the spaces with lots of paper and it's reminiscent of the facets of gemstones. I raised the entire cut file with foam and left a few open spaces for the background to show through. Contrast stitching helps define all the spaces.

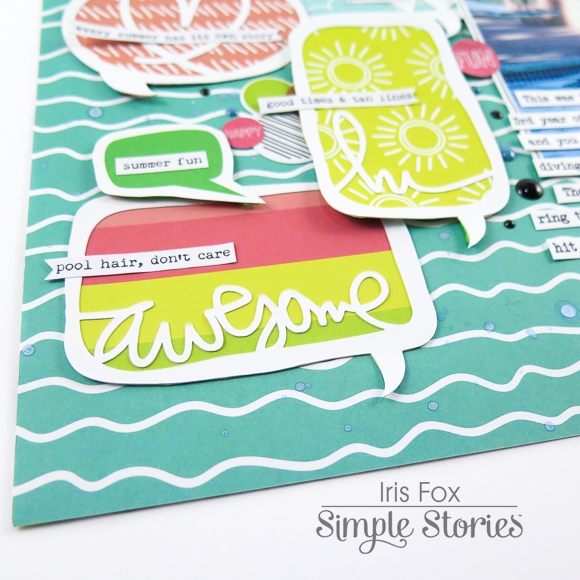
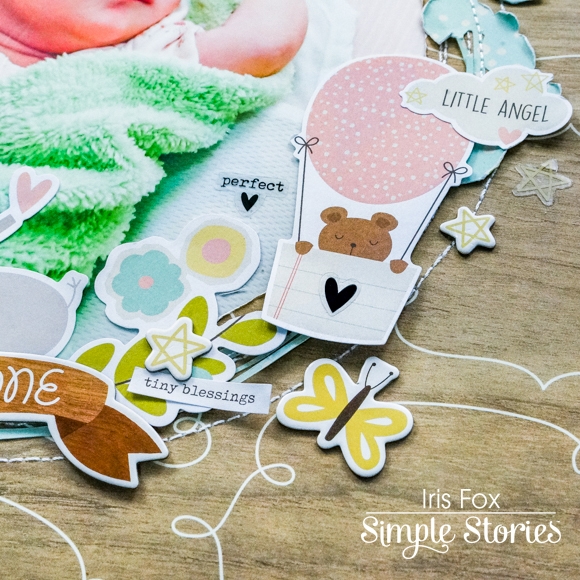
Within the open spaces, I added the little bubble stickers - more fairy dust! - from the Combo Sticker sheet and puffy stars, keeping the bigger chipboard fairy, rainbow, and butterfly pieces on top of the cut file. The Puffy Stickers are my new favorite thing and I made sure to have some in the three clusters surrounding the photo and cut file.  To draw attention to the photo, I matted it in the hot pink dot pattern (b-side of Chase Rainbows).  That chipboard flower and tassel banner is perfect for the photo of my daughter wearing flowers and tutu. And of course so is the fairy that looks a bit like her!

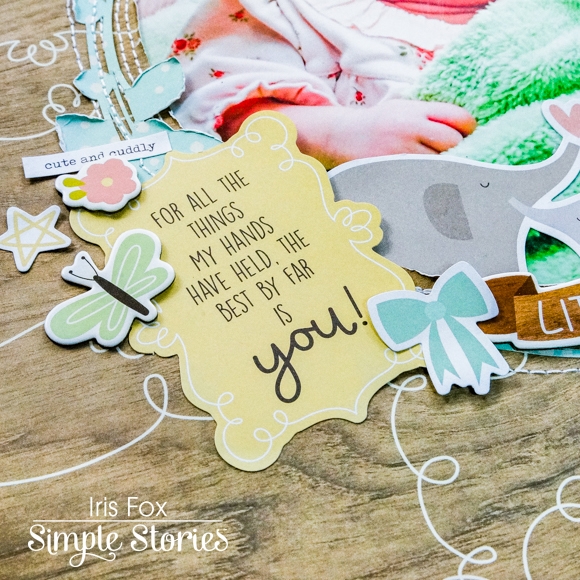
Along with the new puffy stickers, one of my true Simple Stories loves are always the word strips, so of course I made sure to add some of those.  

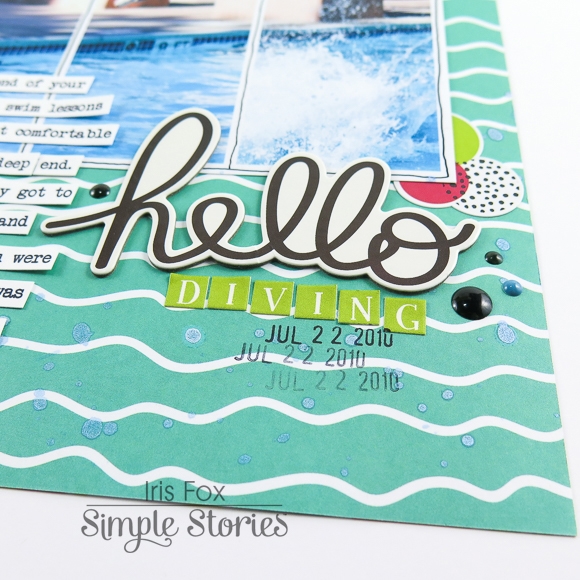
Lots of great phrases in this collection.  For my title I paired "Sparkle" from the Bits & Pieces pack with "Shine" from the Puffy Stickers, and snipped a teeny "&" from a word strip in the 4x6 Stickers Pack.  

The colors of Dream Big are candy sweet and there are so many dreamy icons and phrases. I barely scratched the surface of the cuteness to use on fun little girl layouts. And it's perfect for everyone who is still a little girl playing dressup at heart!

Thanks for stopping by. If you haven't had a chance, please visit my my Youtube channel where I have a haul video showing you every little piece of this new collection, other collections, plus process videos.

Supplies

Pages