Jackie Gallagher's Blog Posts

Hello everyone, Jackie G here today to share another fun mini album!!  I used the brand new Say Cheese 4 collection for this mini.  It measures 7” by 10” with a 2.75” spine.  I wanted this mini album to be fairly large so it can store TONS of photos!!  I did use a hinge binding system with pocket pages.  You can find a tutorial HERE from My Sister’s Scrapper.  All you have to do is adjust the measurements to your liking.

Onto the mini album!!!  I used lots of different Say Cheese 4 products with this collection!!  The first, and probably my favorite right now is the large word dies!!!  I have spread many throughout the album!! They are also very fun to use on cards!! Another favorite for this collection was the kids “bits and pieces”!!  I really wanted this album to focus on children so this product was a must!!  And lastly (besides loving it all), I love the coordinating solid cardstock to match the collection!!  How awesome is that!!

Both the inside covers have pockets on them to store additional photos or memorabilia.  I have put a handful of photomats inside of various sizes.  All the pocket pages have the same large tag you pull out from the top.  Another great place for extra photos and journaling. 

I get asked this question lots…how do I put my photos in if elements are covering part of the photomat??  Super easy!!  I don’t put adhesive down on any part that touches the photomat.  That way I can easily slide in a photo.  This also makes it easy if you are giving a mini album as a gift. 

Lots of fun little frames and ephemera are tucked away behind larger elements.  This makes a fun interactive book.  Make sure to check out my Instagram page for a full walk through of this album so you can see exactly what I am talking about!!

You can see I used more of those large word dies!!  To give some extra dimension, I did cut them out in two different shades and offset them to give a “shadow” look. 

I hope you enjoyed this magical mini album and found some inspiration to create something of your own!!  Have a wonderful day!!

Supplies

Hello everyone!!  Jackie G here on the blog today to share a meowgical boxed card set with you using the Dream Big collection!!  I decided to challenge myself to only use scraps for this project, and that is exactly what I did!! I did have to get super creative and piece a couple of smaller scraps together to create larger panels, but it worked!! 

Scraps are perfect to make cards with!!  Pair them with some leftover stickers or other elements and voila, you will have a plethora of cards in no time!!  In this case, I used leftover bits and pieces I had along with some of the puffy stickers and 4x6 stickers.

Of course, I couldn’t just stop at a handful of cards.  I still had a handful of scraps so decided to make a fun little box to put the cards in!! I think it would make a wonderful box set to gift to a friend. 

So, I encourage you to bust out your scraps and use them up!!!  What better way to get rid of them…and make room for some new product!!!  Be Meowgical and give it a try!!

Thanks for stopping by!!

Supplies

Love is in the air...it’s time to remind those special people how much you love them!! 

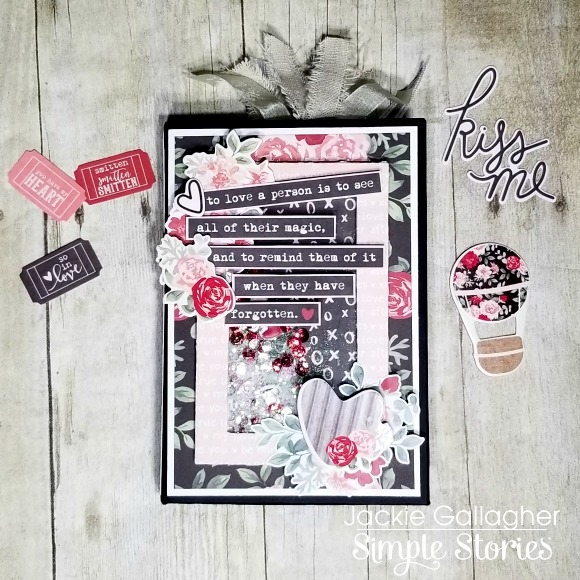
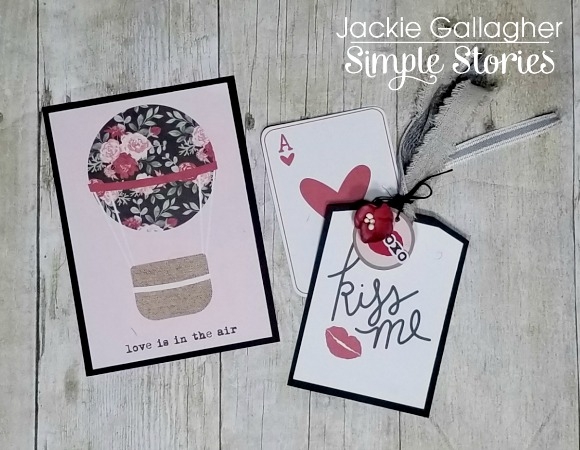
Jackie G here on the blog today to share a simple little mini album using the collection Kissing Booth!!  This little project is perfect to share with that special person!!  I decided to keep it more “love” themed than Valentine’s Day so it could be used anytime of the year. 

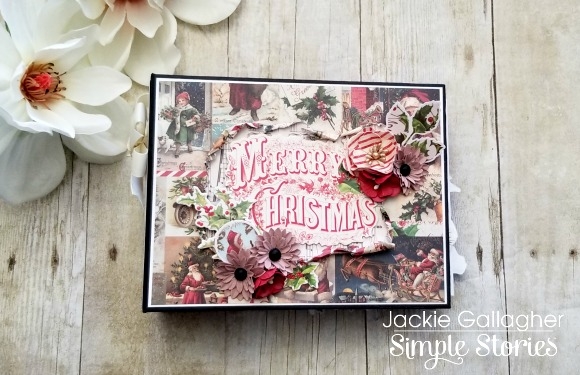
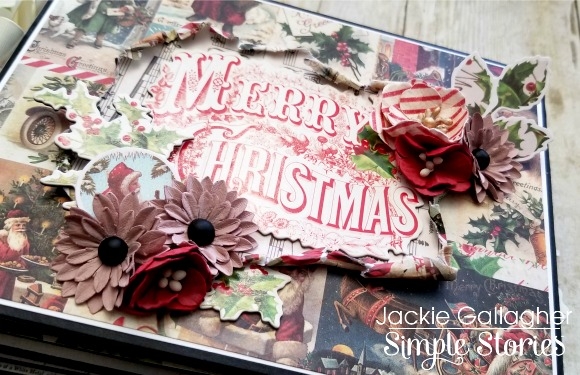
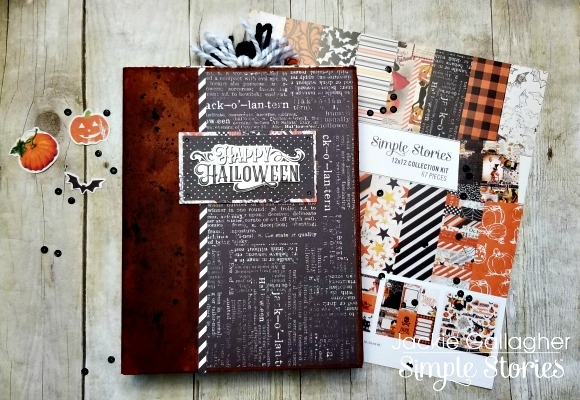
To start off I made a simple 4.75” x 7” folio with chipboard.  I wanted my cover to be super over the top…because why not?!  So, I made a fun little shaker that I filled with lots of different kinds of glitter, sequins and even some of the hearts from the puffy stickers.  I then popped up lots of the stickers and chipboard elements to decorate the frame.  Lastly, I took one of the journaling cards and cut the sentiment out “to love a person is to see all of their magic, and to remind them of it when they have forgotten.”

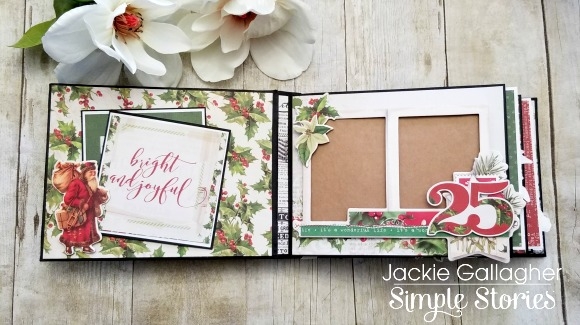
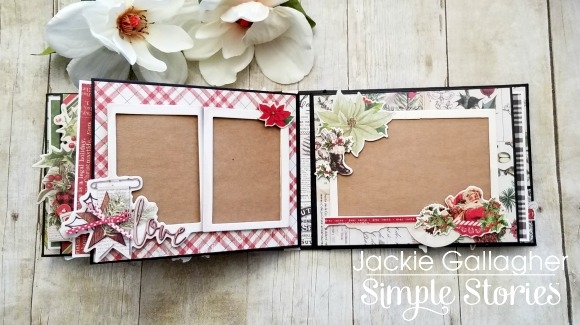
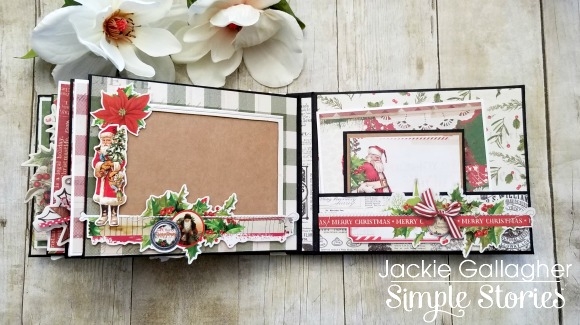
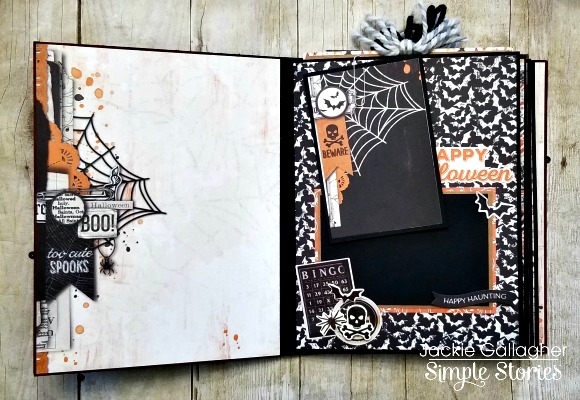
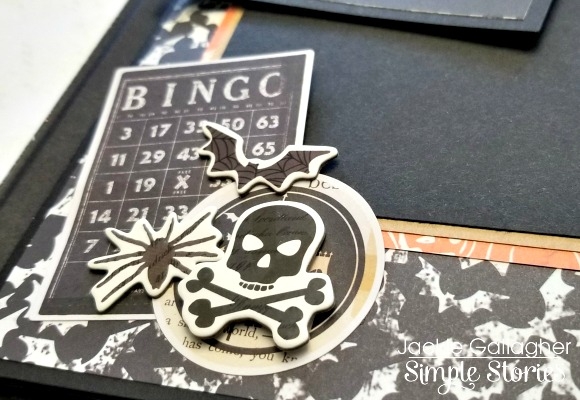
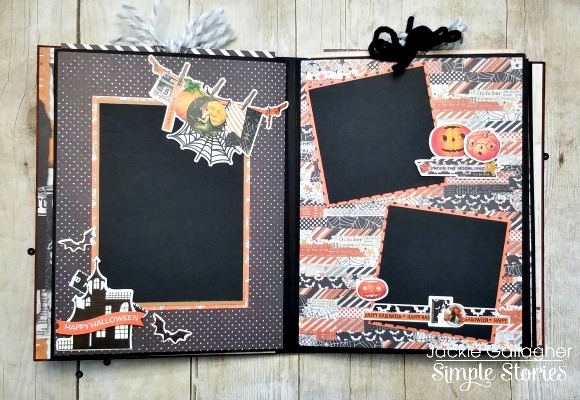
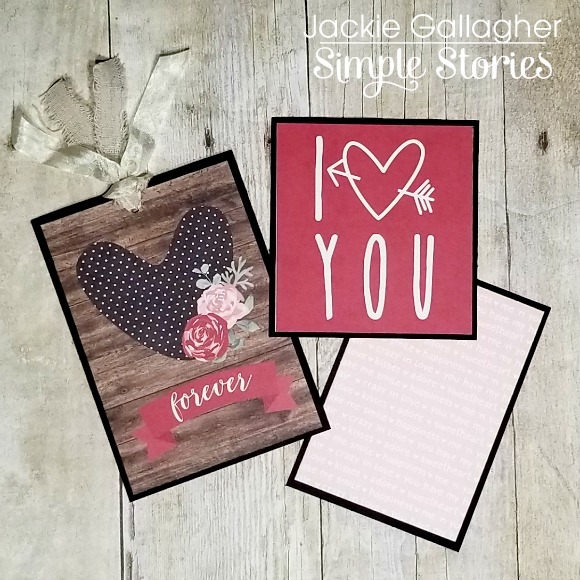
The inside of my folio is pretty simple.  It has lots of room for photos and journaling though!!  I used the bits and pieces, stickers and some flowers I found in my stash to decorate my pockets. 

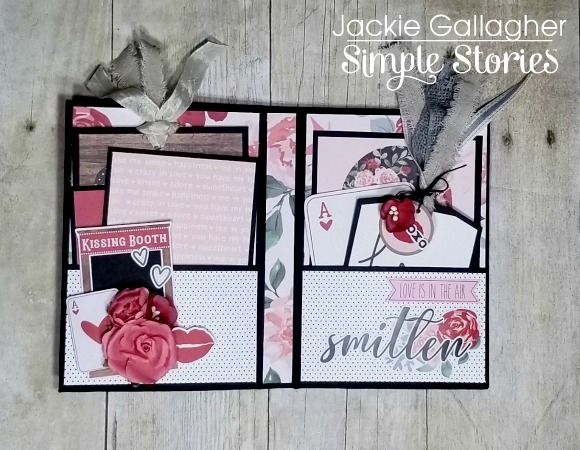
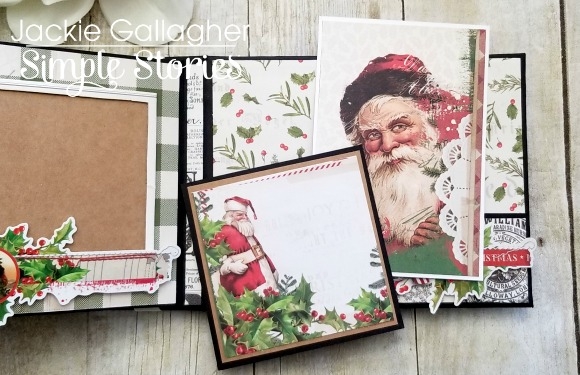
I did make two of the journaling cards into tags so I use some cute ribbons!!!  All the photomats and tags are blank on the back so you could put either photos or journal on them!!  With a 1” spine, there is lots of room to stash additional photos inside the pockets. 

I hope you enjoyed this project!!!  Have a wonderful day!!

Supplies

Pages