Where the Sun Shines
Although we appreciate the weather all year round here in Southern California, I truly enjoy Summer since the kids are off school and we have more family time.
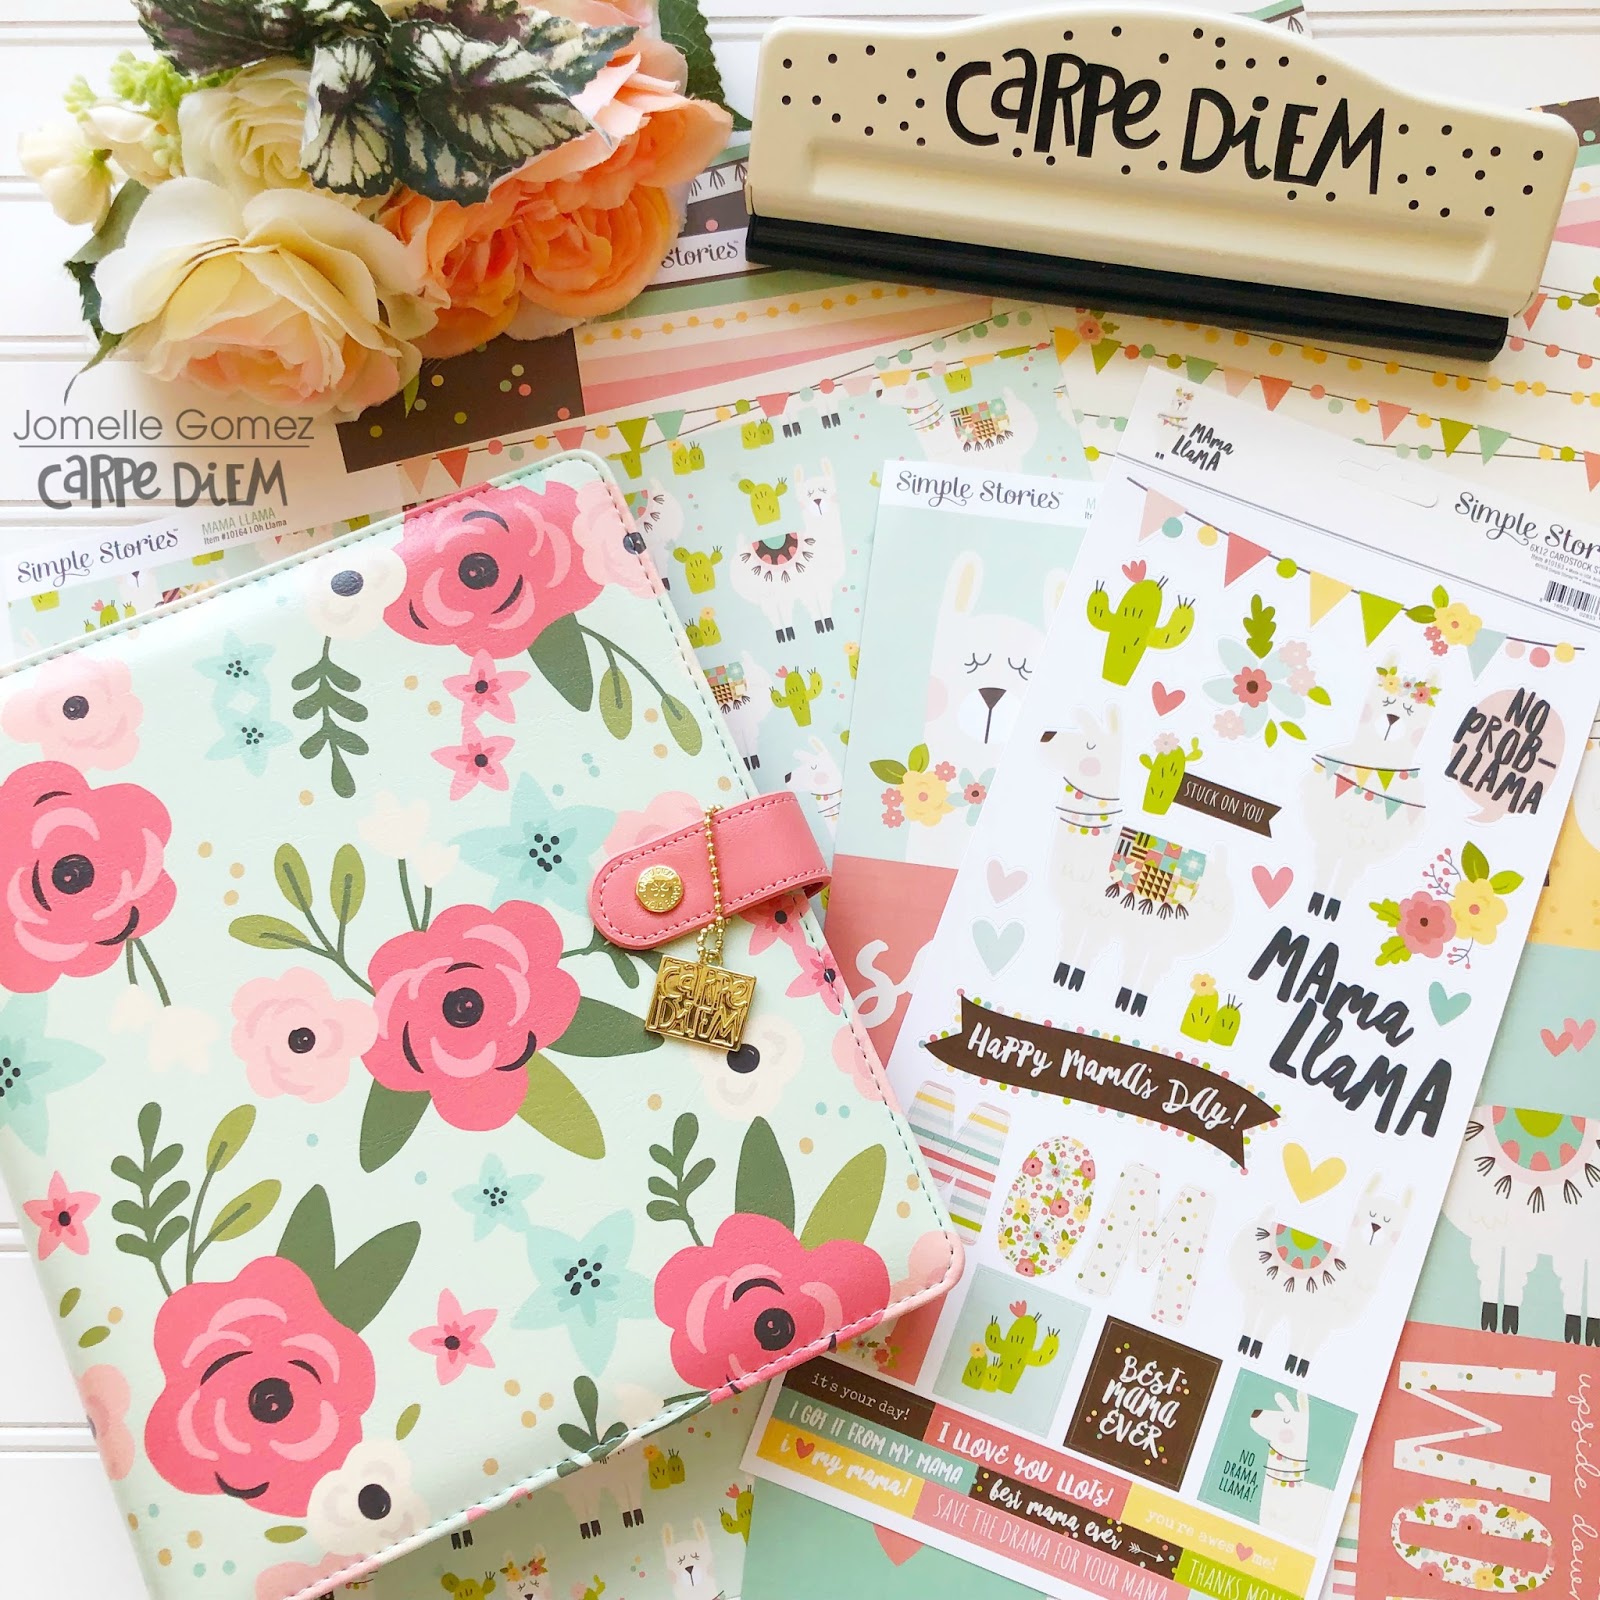
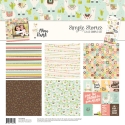
I love all the vibrant and bright colors in "Hello Summer" Collection. Working with this collection got me really excited like a kid in a candy store. I truly didn't know where to start. I had so many ideas running in my head.

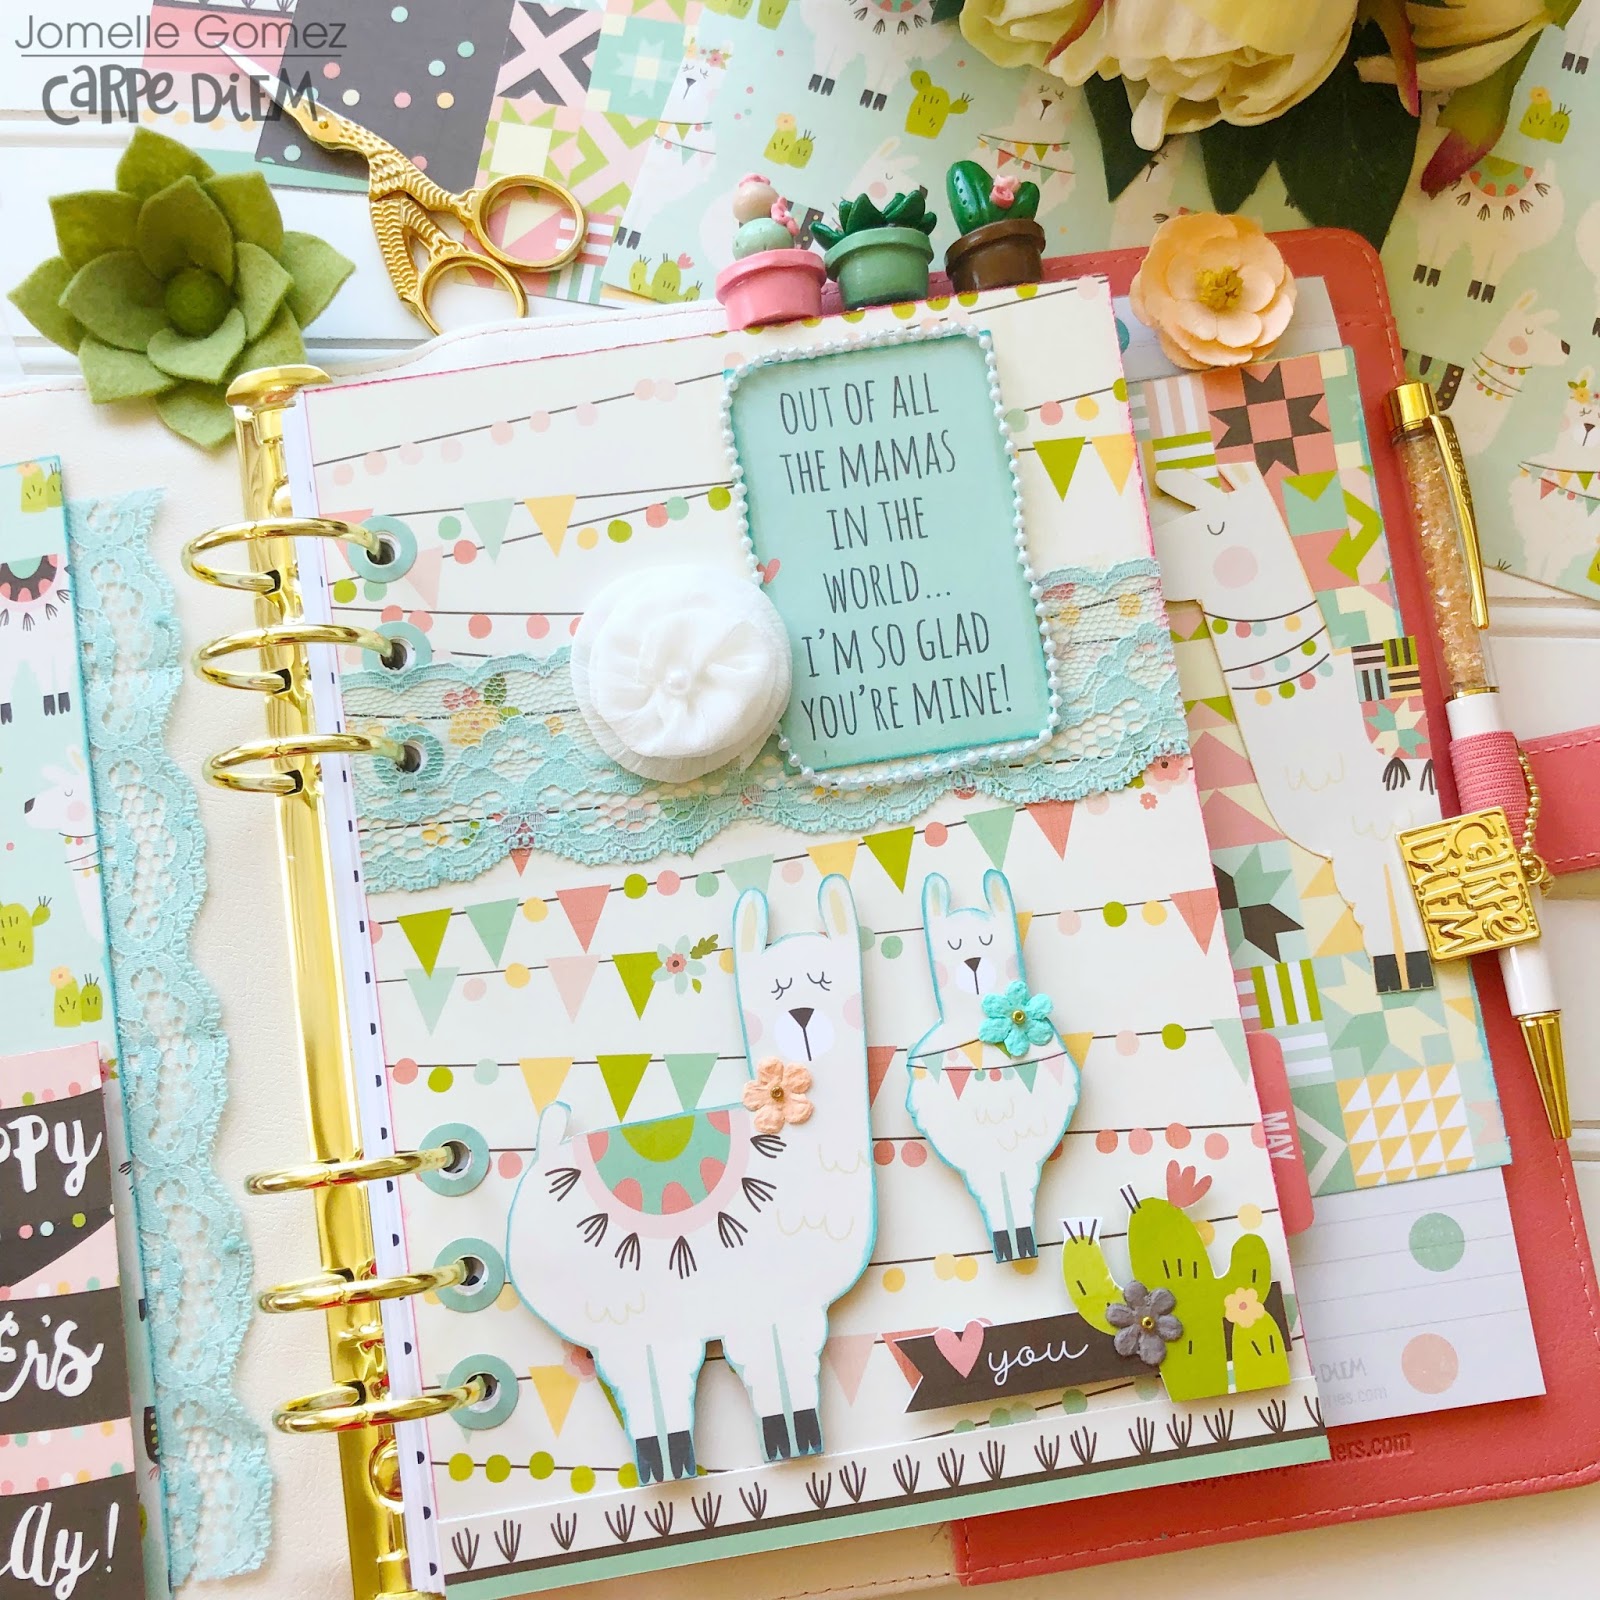
Summer has the happiest and most cheerful colors and it makes me want to scream for ice cream. I fussy cut the flamingo from one of the papers from the 6x8 paper pad. To create my dashboard, I used the "Life is Good" double sided paper from the 6x8 paper pad for the background. I then just added a couple of chipboard pieces. I used the "Catching Rays" paper to make some fun hole reinforcers.

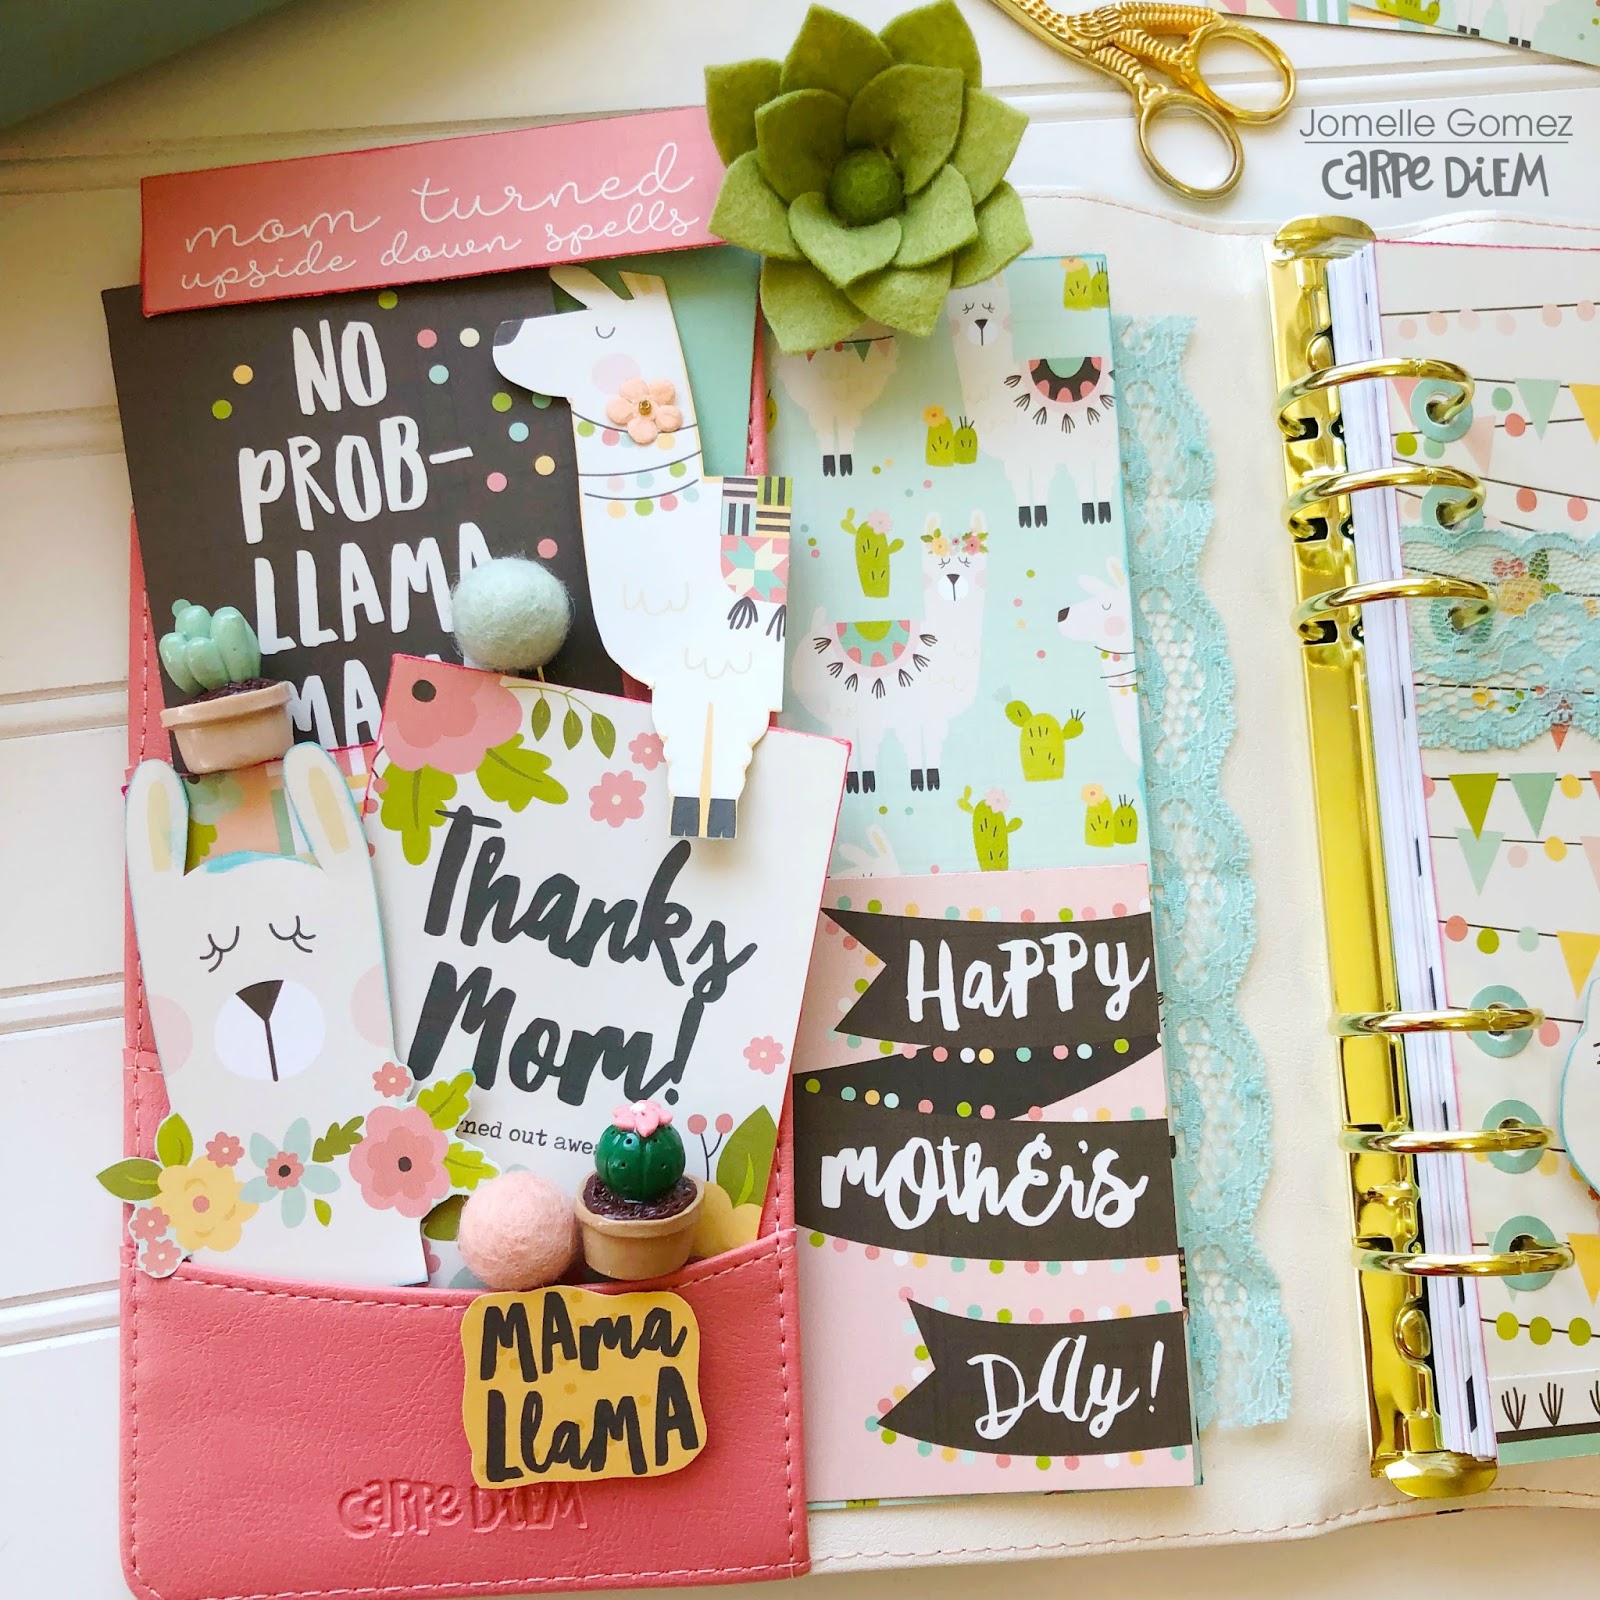
Who doesn't love to decorate their planner pockets? Whenever I look at this side of my planner, it set up the mood for the theme of my current set up. This scream "I Love Summer"
I also fussy cut the flamingo from the 3x4 journaling cards.

I couldn't help but create another dashboard that I can also use as a divider. My daughter's dress in this picture was just too perfect for this collection. I plan on making more dividers for my summer set up.

Isn't my daughter just adorable with her sunglasses?

I love all the layering I created on this page. I made a couple of tags with eyelets so I can add the twines. I frayed the border of the picture to add texture. I also inked the edges to give it a finished look.

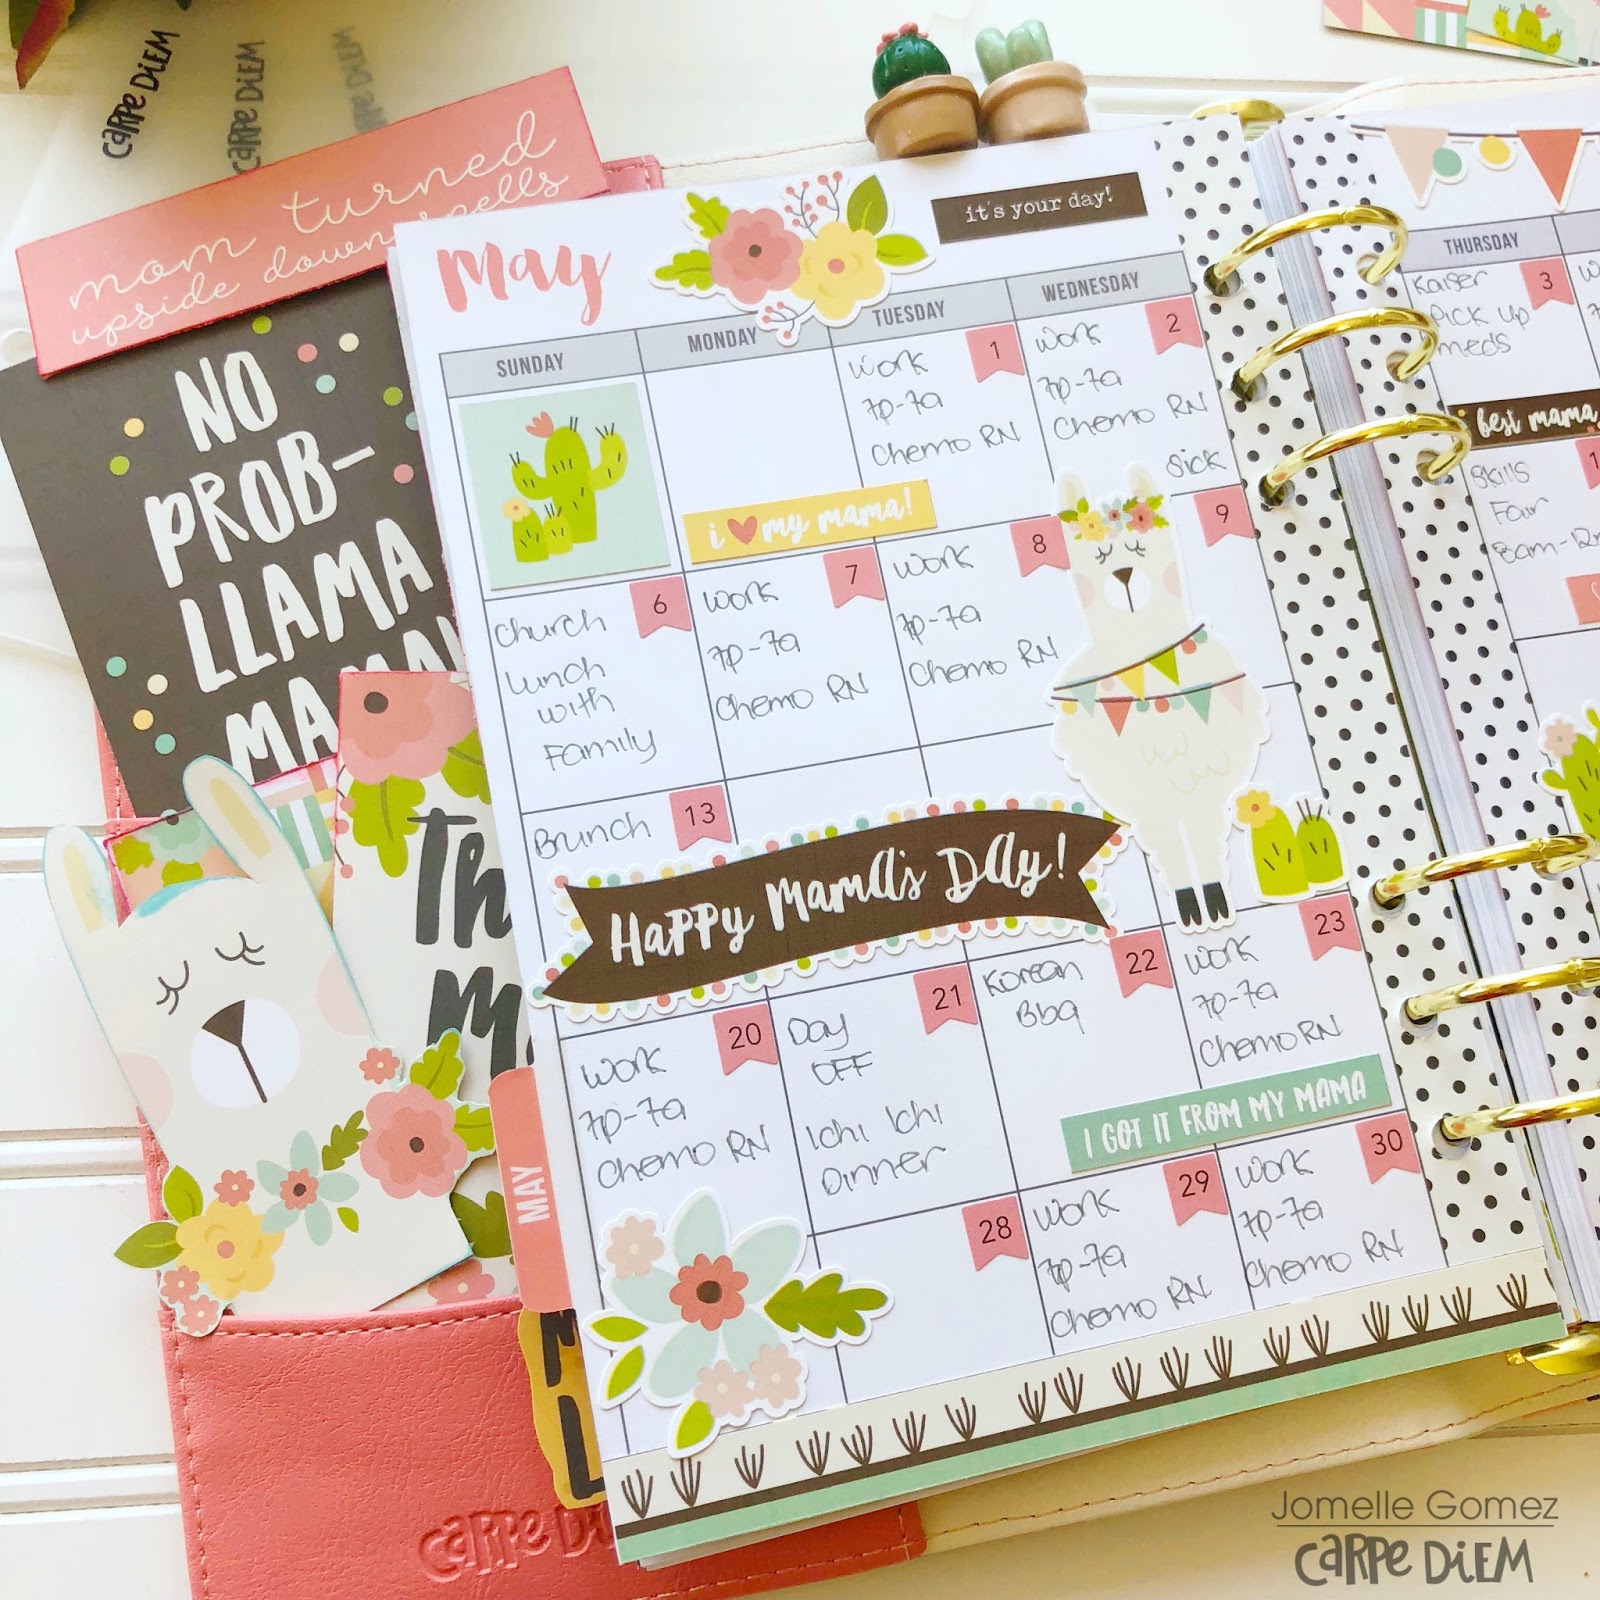
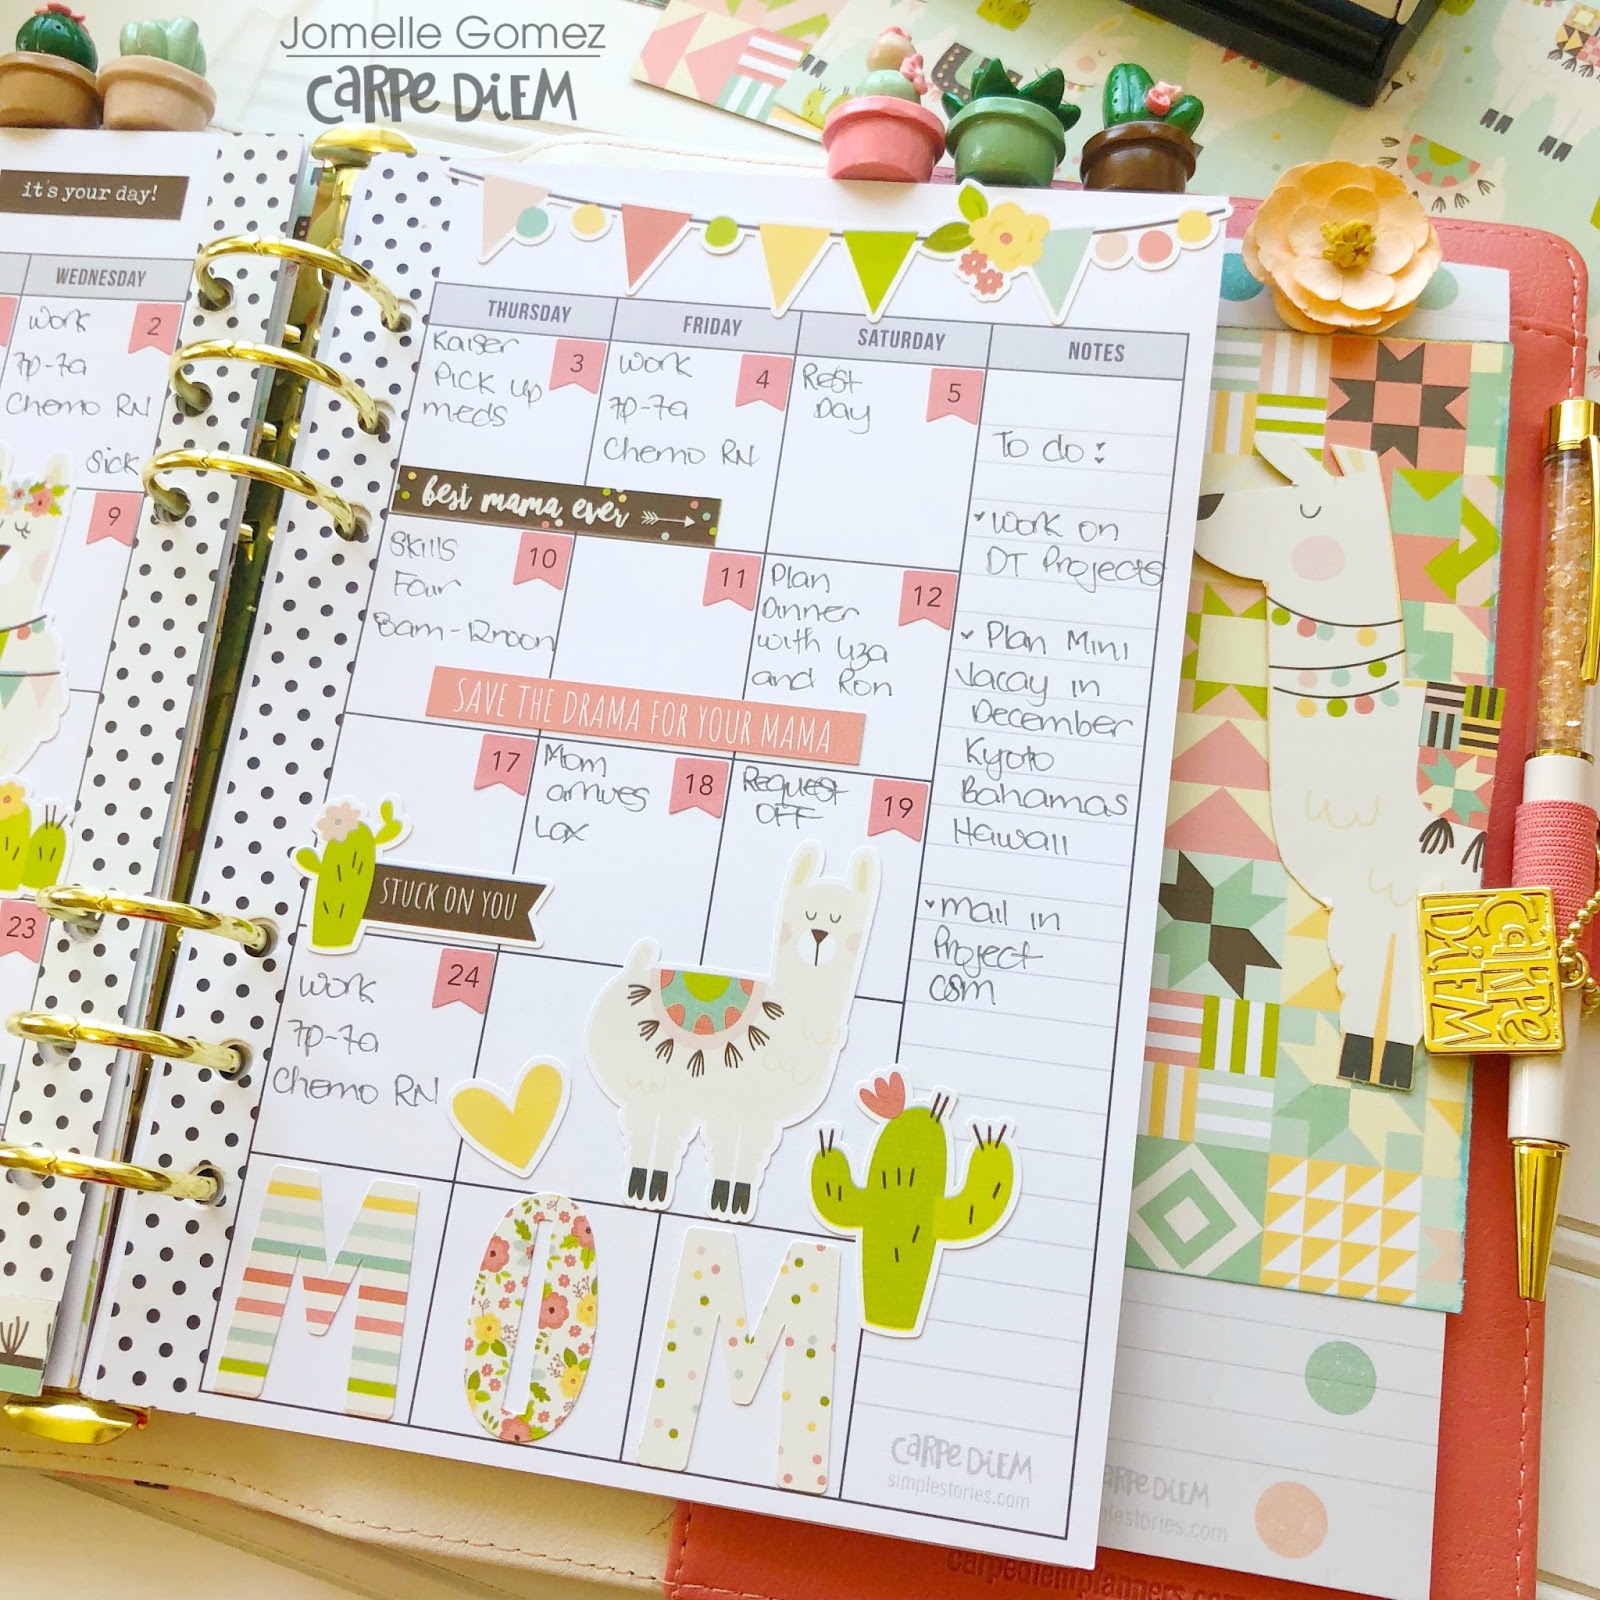
July Monthly Layout. As I mentioned in my previous blog, I love and enjoy creating monthly layouts.

I used the smaller numbers from the number sticker tablets for my monthly layout. Since I am using the Personal size planner, I also try to use smaller size stickers. Large stickers may overpower the page and may take away the focus of the whole layout.

I also started setting up my Traveler's Notebook. I created a simple but super cute cover for my insert. I used the "Who's ready for Summer" paper. The design of this paper is gorgeous enough by itself without having to do any more decorating. It was very fast and easy.

I hope you enjoy viewing my bright and cheerful planner set up. I can't wait to document my family's fun adventures this summer. I do have all year long to add more memories in my journal since we have an Endless Summer here in Southern California.