Jomelle Gomez's Blog Posts

What's more fun than spending Spring Break at the happiest place on earth? This year my family was able to enjoy and create new magical adventures at Hong Kong Disneyland.
 
As soon as I saw the new Say Cheese Collection, I'm already imagining in my head what am I going to use it for. Say Cheese 4 is perfect to document all the happy memories my family experienced and will experience at all the locations for the happiest place on earth.
 
 My weekly layout. I used the letter stickers to create "Hong Kong Disneyland" I wanted it to be the main focus as soon as you look at this spread.
 On this page, I did the same thing for the word "Spring Break" 
When you look at both pages of my weekly spread, you will see "Hong Kong Disneyland" and "Spring Break" right away. 
I used washi tapes, stickers and bits & pieces to create my magical layout.
Planner Pockets full of magical elements. If you didn't noticed, I added 3 kids in all my layouts/spreads. They represent my 3 wonderful children. You will see 2 boys and a little girl. You can find them here in my planner pockets. Now go back and check them out in my weekly spread. You will also see them in my monthly spread.
 As you may already know, I love and enjoy decorating monthly view of my planner. I love using the yellow number stickers for the dates.

I labeled my Doc it journals according to Disneyland we have visited and plan to visit in the near future. I will be documenting our magical adventures in each of the Disneyland we have visited. I can't wait to visit Paris Disneyland.
Are you also a big fan of Disney? If so, what are you waiting for? Grab the new Say Cheese 4 and starting planning your dream vacation. 
To be able to visit all the Disneyland Parks locations is in our bucket list. We are hoping to go to Paris soon. All we have left is Shanghai and Florida. 

Supplies

 
Every girls dream is to be a princess waiting for her prince charming and live happily every after.
I decided to use the "Little Princess" Collection to set up a fairy tale theme TN for my 3 year old daughter. She's at that age where she loves all the princesses.
 
  The little girl inside of me was so excited and I felt giddy when this collection came out. This collection has many gorgeous papers that I couldn't decide what to use for my front insert cover. 
I decided to create a simple and yet colorful insert cover. I used the paper with the quote "Believe in Happily after" This paper is already decorated with lots of flowers and it didn't really need much more embellishments. I just added the chipboard "Princess" sticker to the top, the princess chipboard sticker to the right bottom and scattered some butterflies with the flowers. I finished it off with adding some enamel dots.
 Of course, every princess deserves planner pockets full of love with magical embellishments.
Deep down inside we all want our own "happily ever after"
 I just love the side view of this set up with the princesses tabs sticking out to the side.
I had so much fun creating this section. I used different papers in which I cut them in different sizes and layered them to give it more of that 3D appeal. I also used my flower punch for the edges. I used couple of bits & pieces to decorate the middle area. I am planning to add pictures of my daughter later on when we visit Disneyland to see the princesses.
 Gotta love the side view which shows the layers I created.
As I mentioned in the beginning, I set up this TN for my 3 year old daughter. She love tracing her hands and I love documenting it. We can look back at this page to see how much she's grown.
 I also let her write and draw on the page as you can see here. I then decorated around her drawings. For now I didn't let her add stickers and washi tapes since I have a little OCD and I want everything to look perfect. Maybe later on when she's old enough I will let her add her stickers and decorate her own page with the washi tapes. Until then, mommy will control the pages.
 The planner community has always been my inspiration in creating my projects and layouts. I love love seeing every one's beautiful work. Everyone is going gaga over pen sleeves that I was inspired to create my own to match my Princess Set Up. I used the "hello princess" double sided paper and cut into the size I wanted to hold my pens. I cut two square pieces. One to go in the front and one in the back. I laminated both pieces and I sewed all around the sides except for the top.
I ran over a little challenge while creating this pen sleeve. I first used a 10mm laminating sheet but it was too heavy and too hard to sew. So I decided to use 5mm instead and it worked out well. I was able to sew through both laminated pieces.
I am super excited for my daughter to fill the pages with her drawings and I cannot wait to add pictures.
Thank you for stopping by and hope you have a great day.

Supplies

 
Spring Break is one of my favorite time of the year. Why? It's when my family always plan to travel somewhere new. 
 
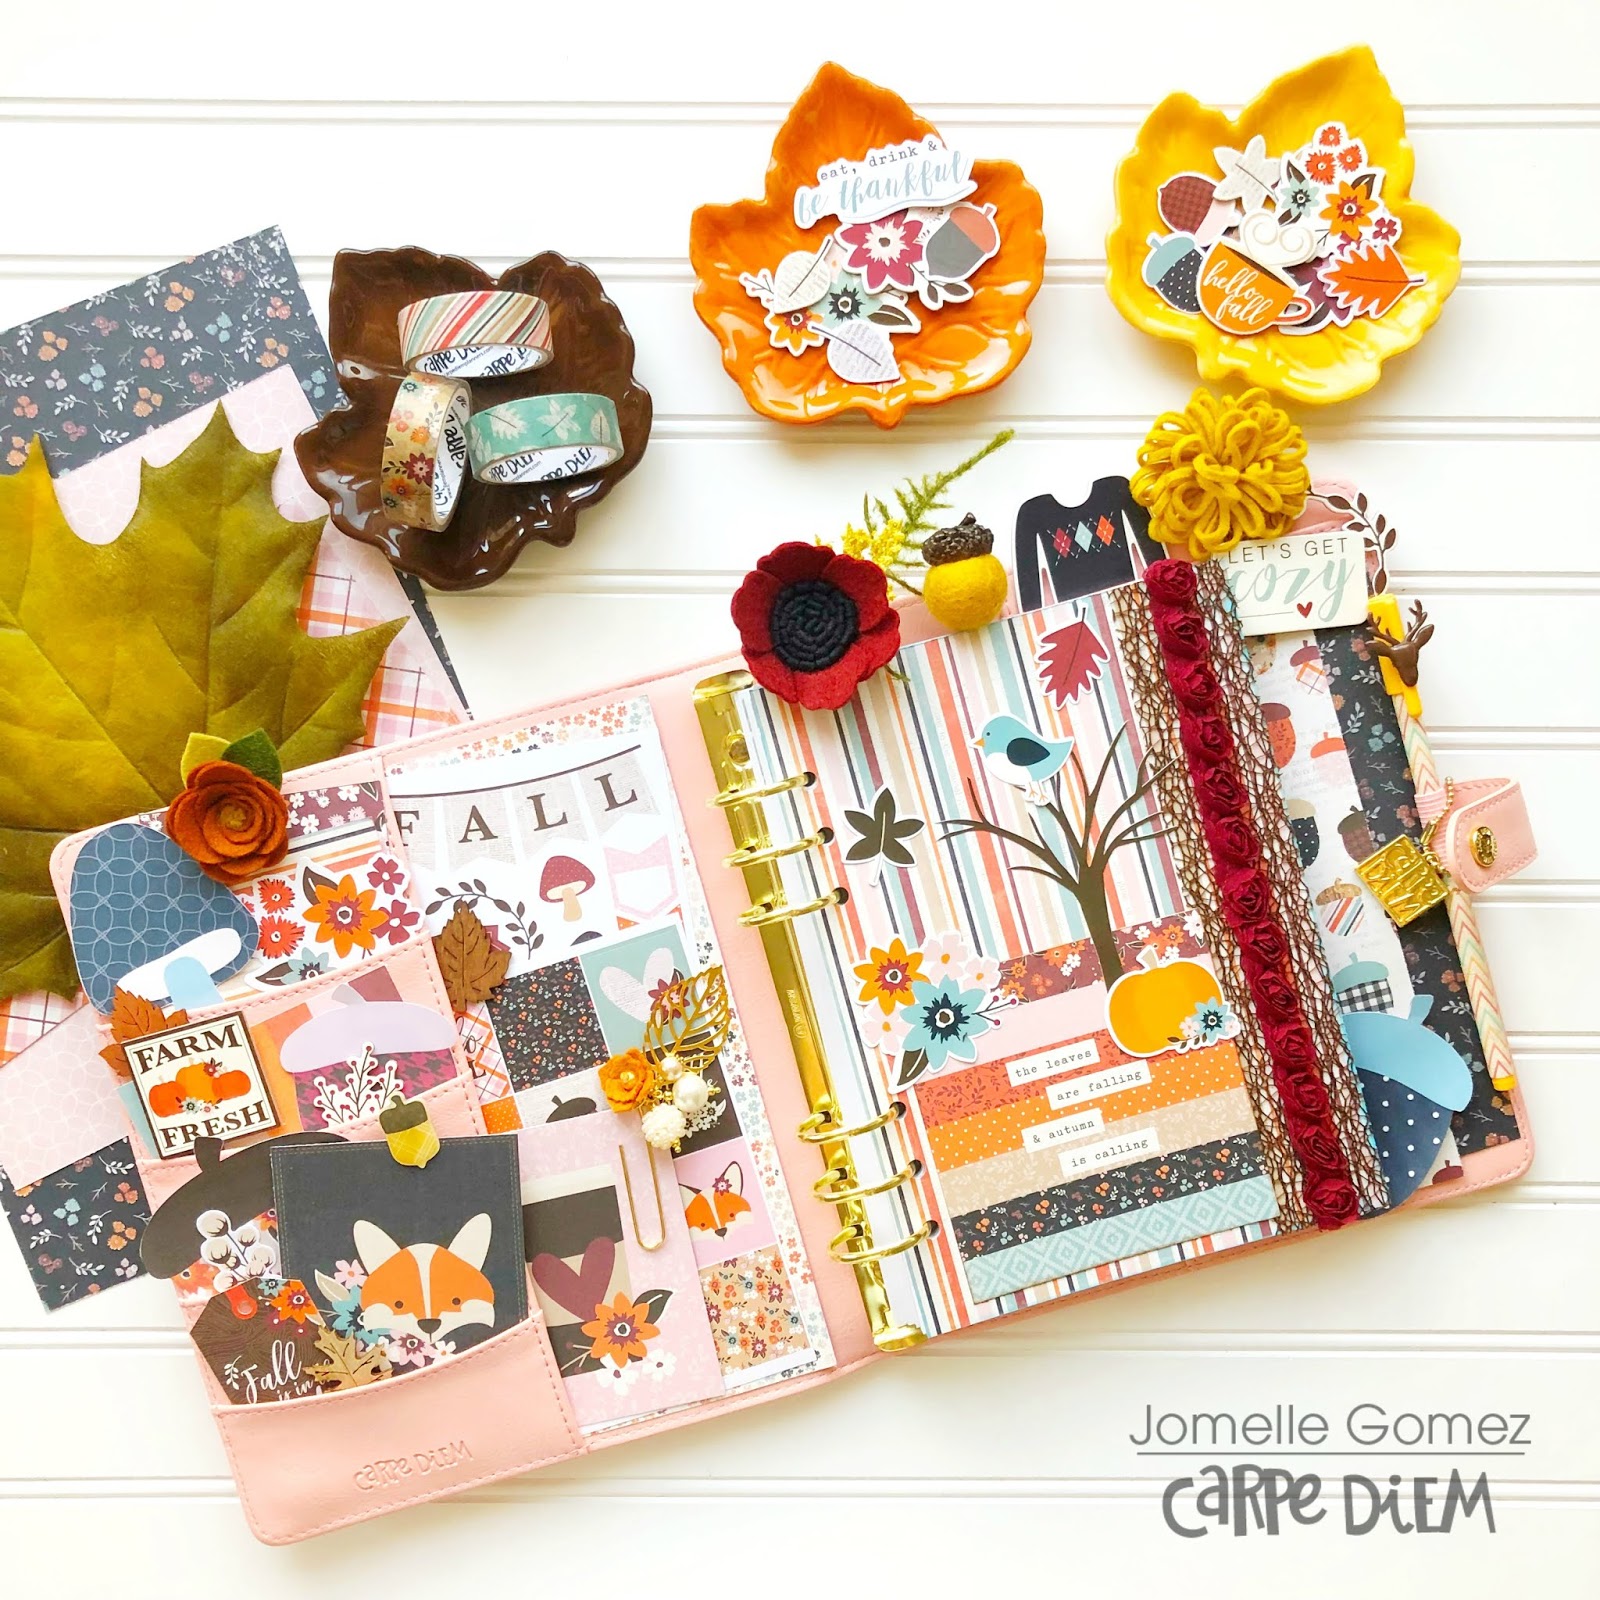
I've set up the new A5 Teal Planner with the Simple Vintage Traveler. This planner set up is making me more and more excited for my family's upcoming trip.
 
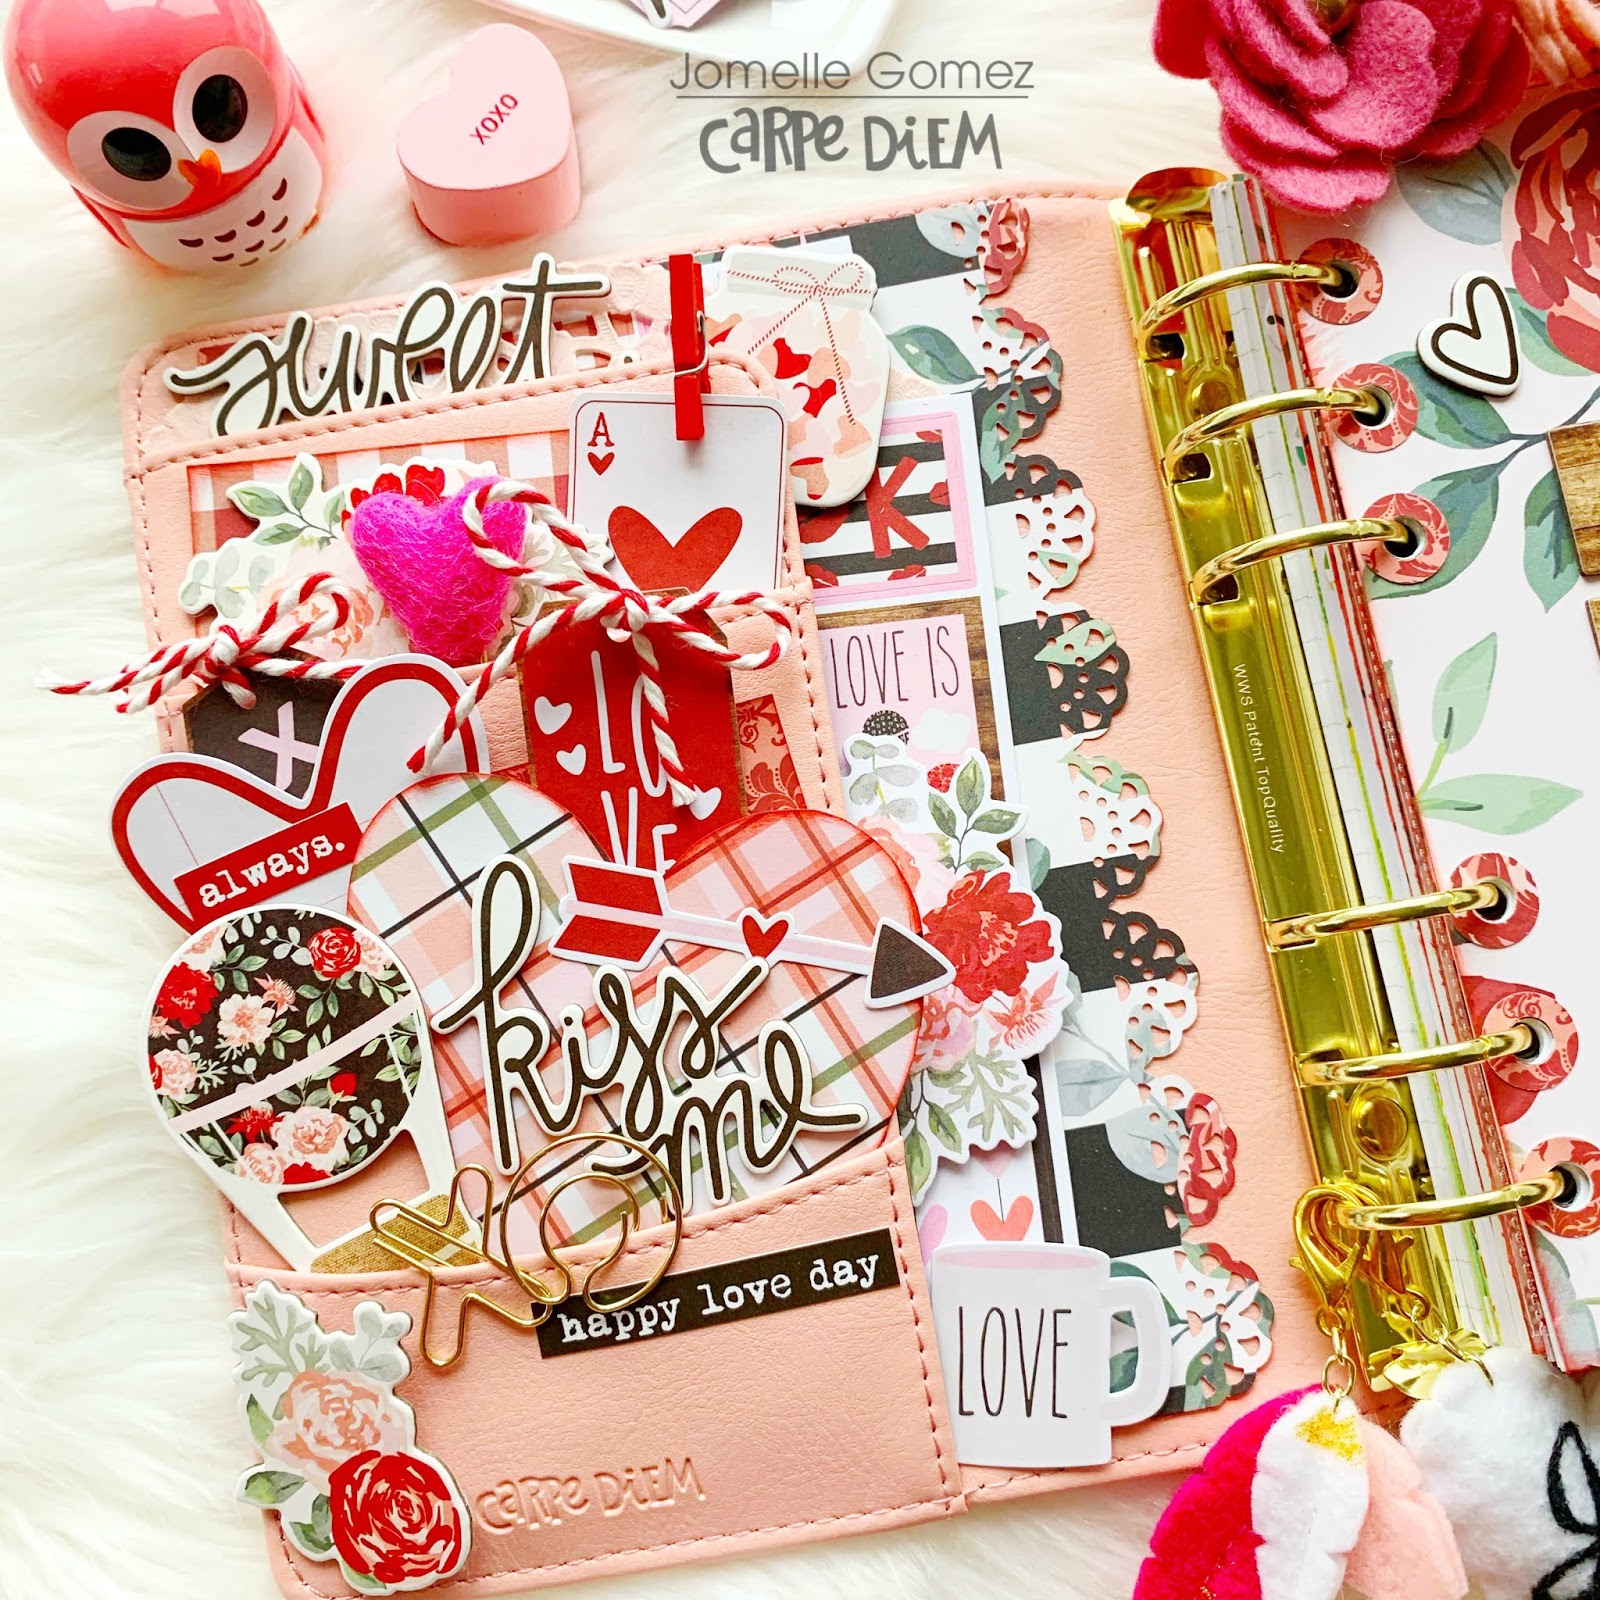
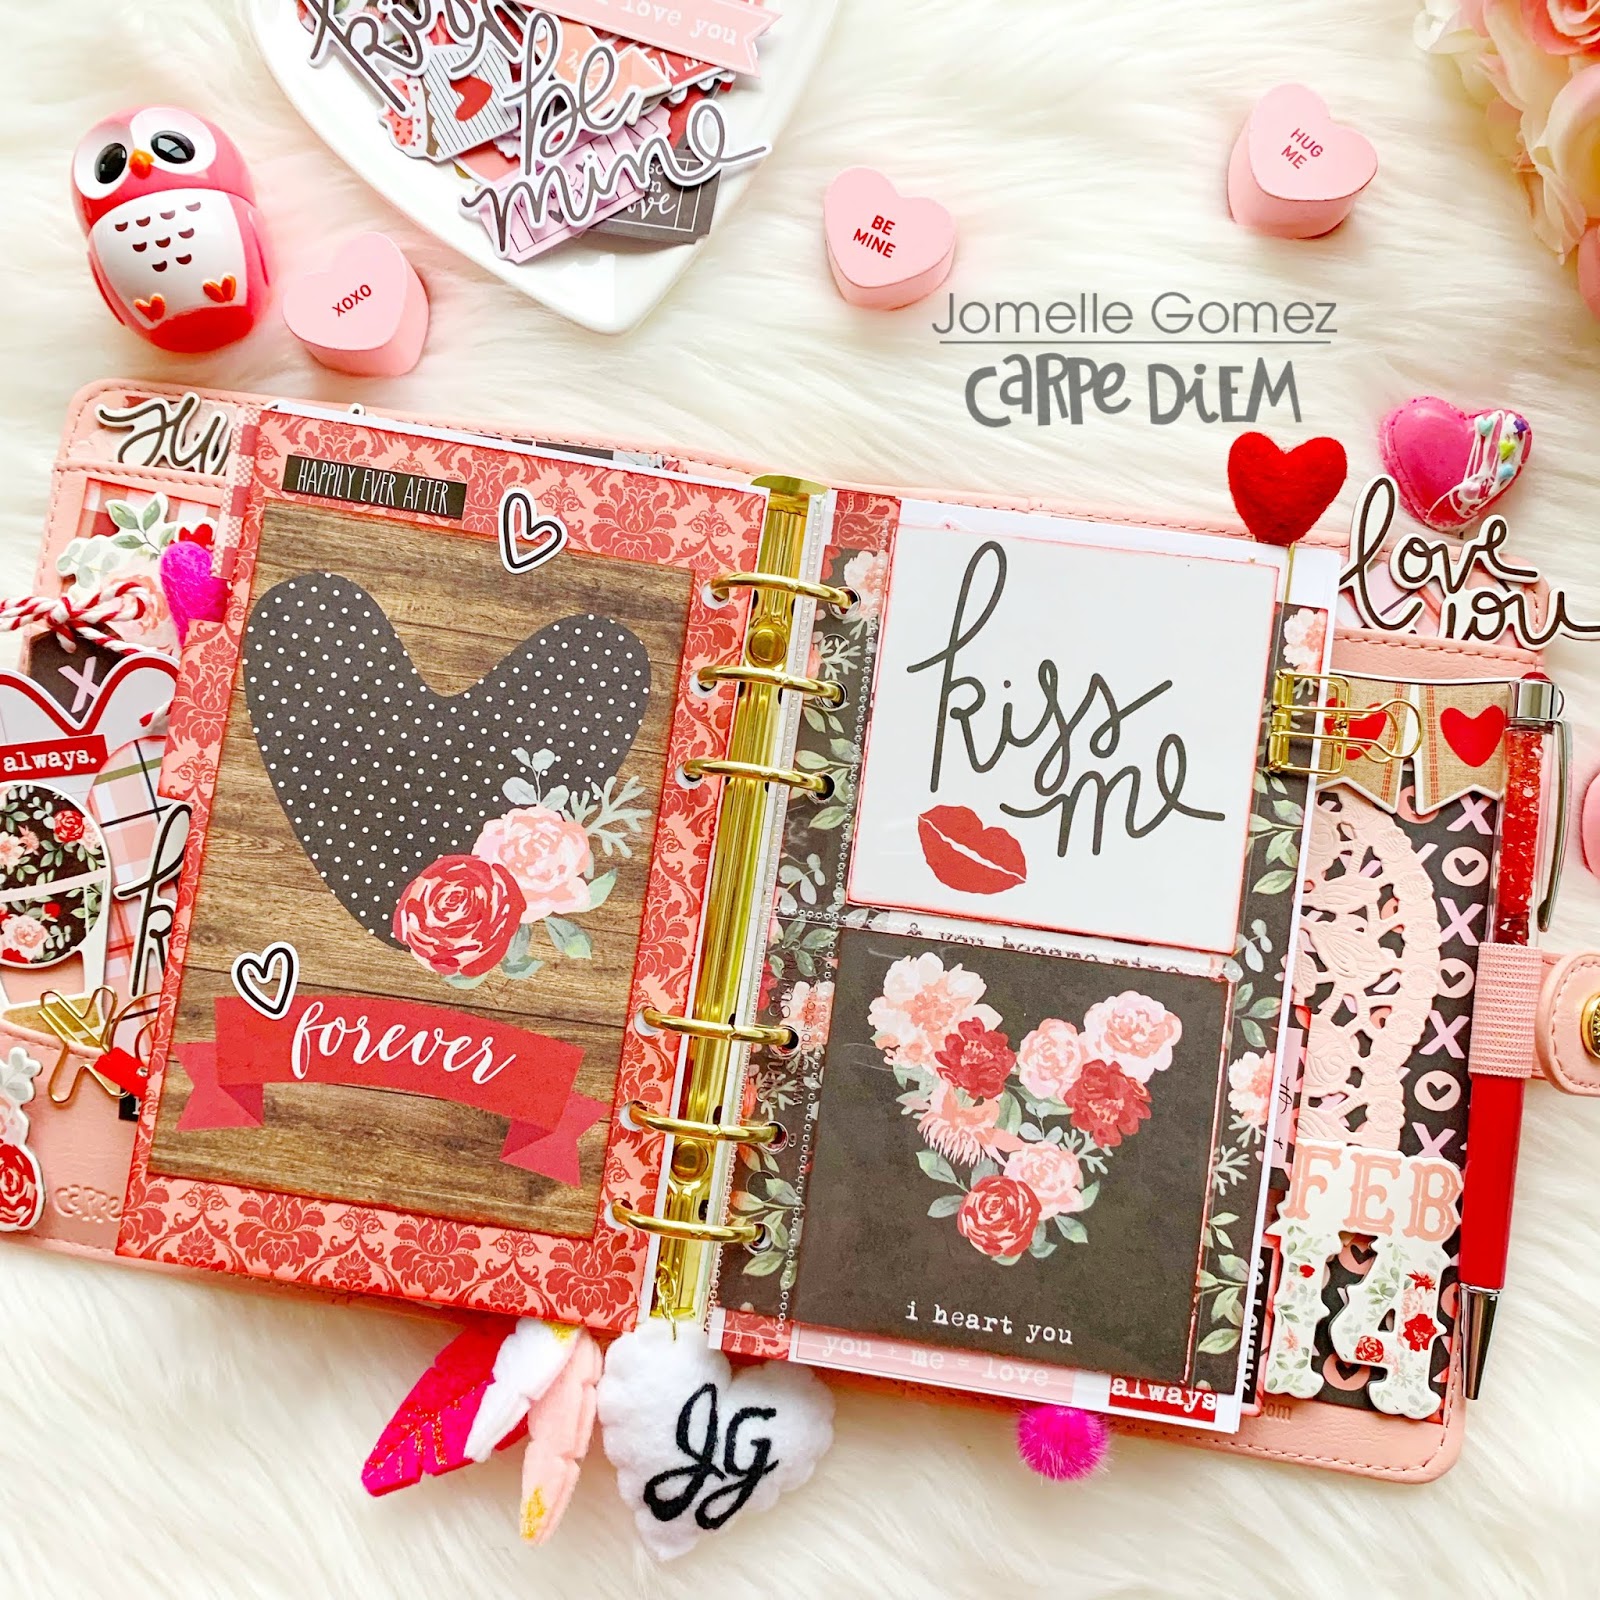
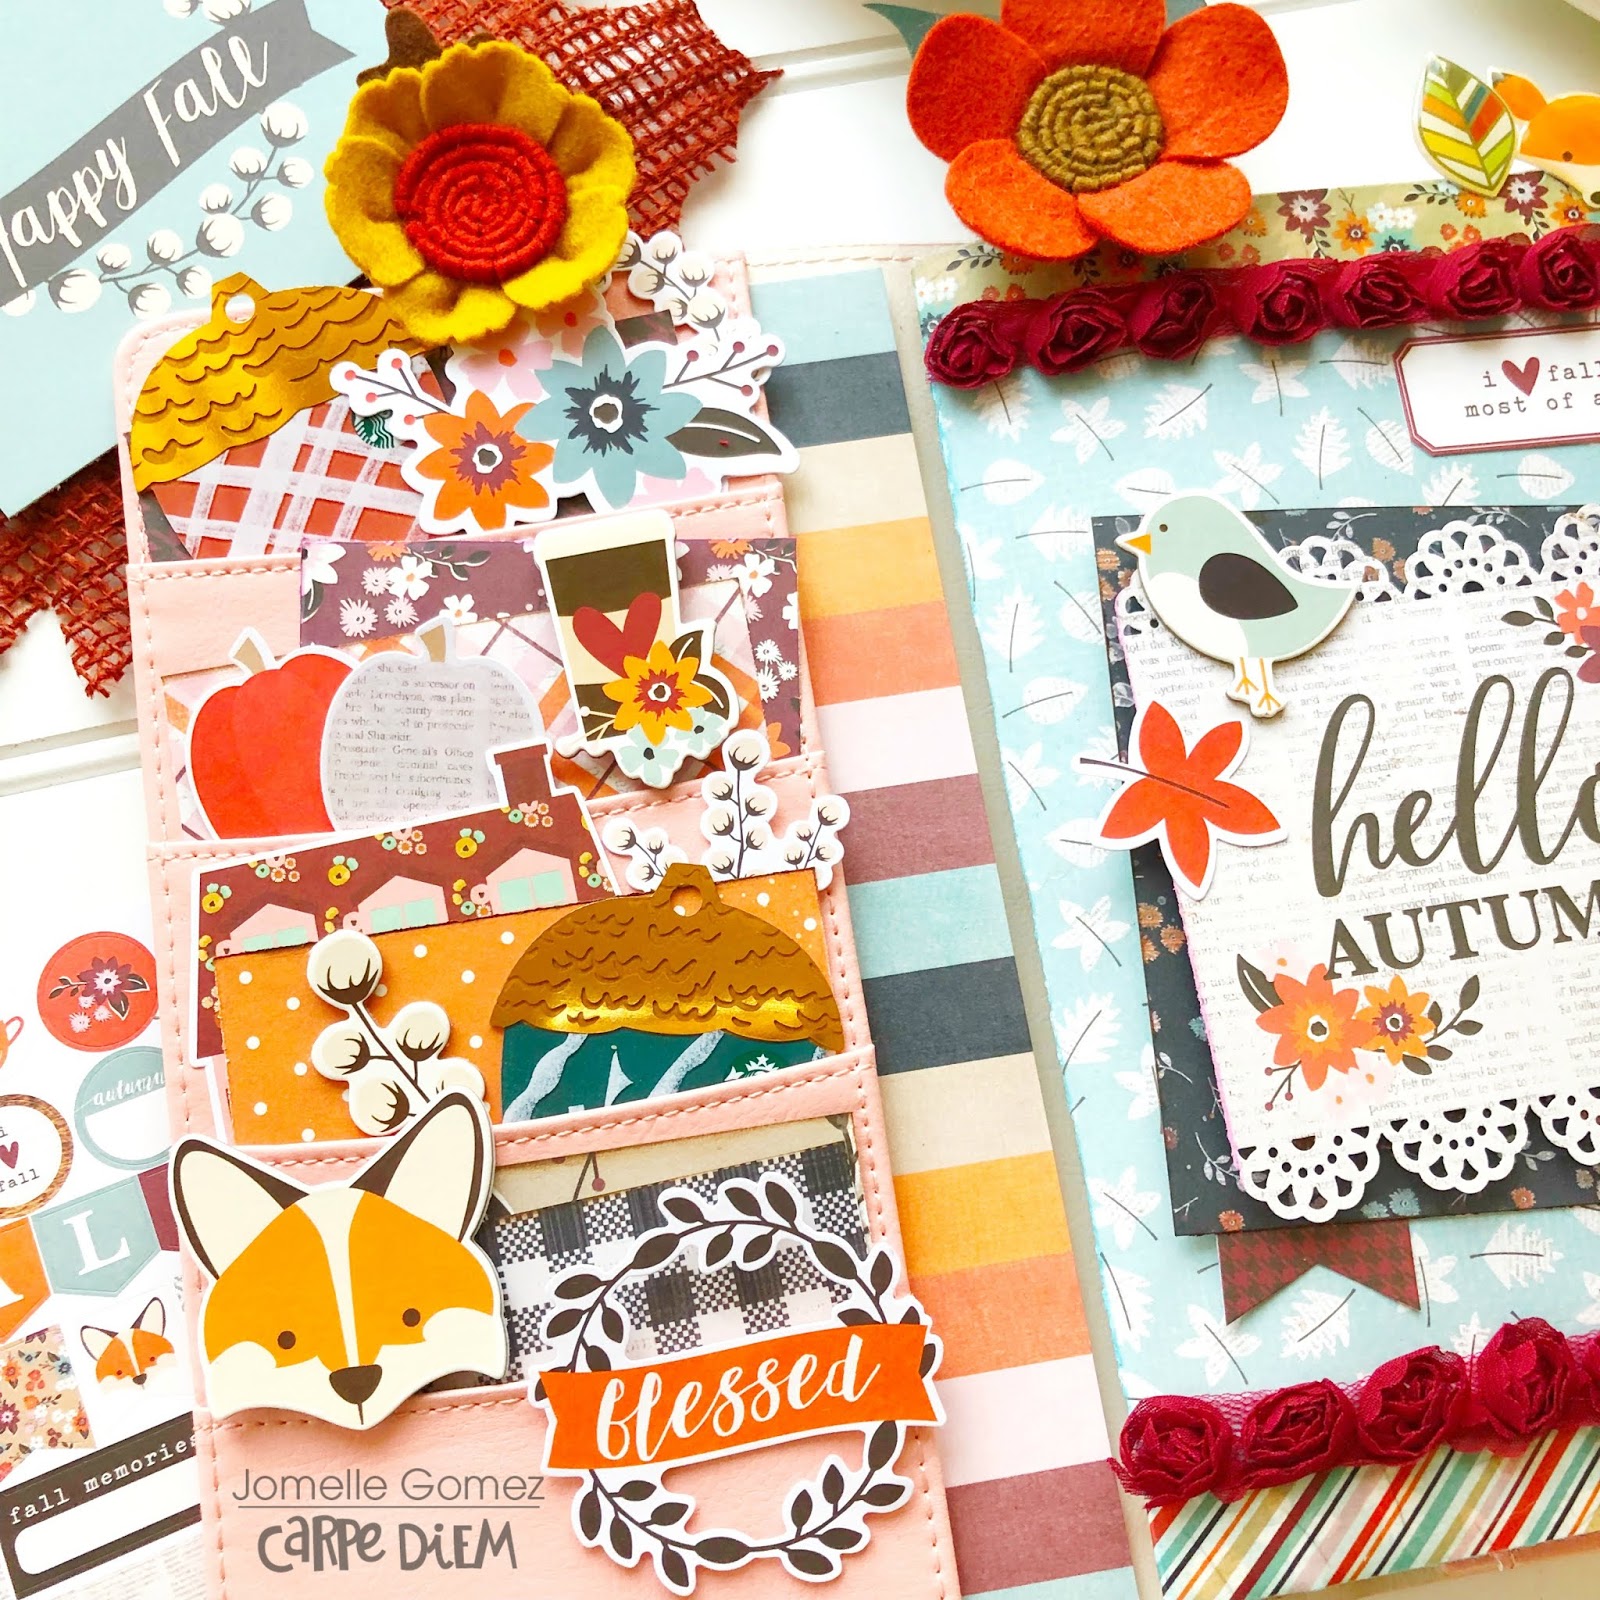
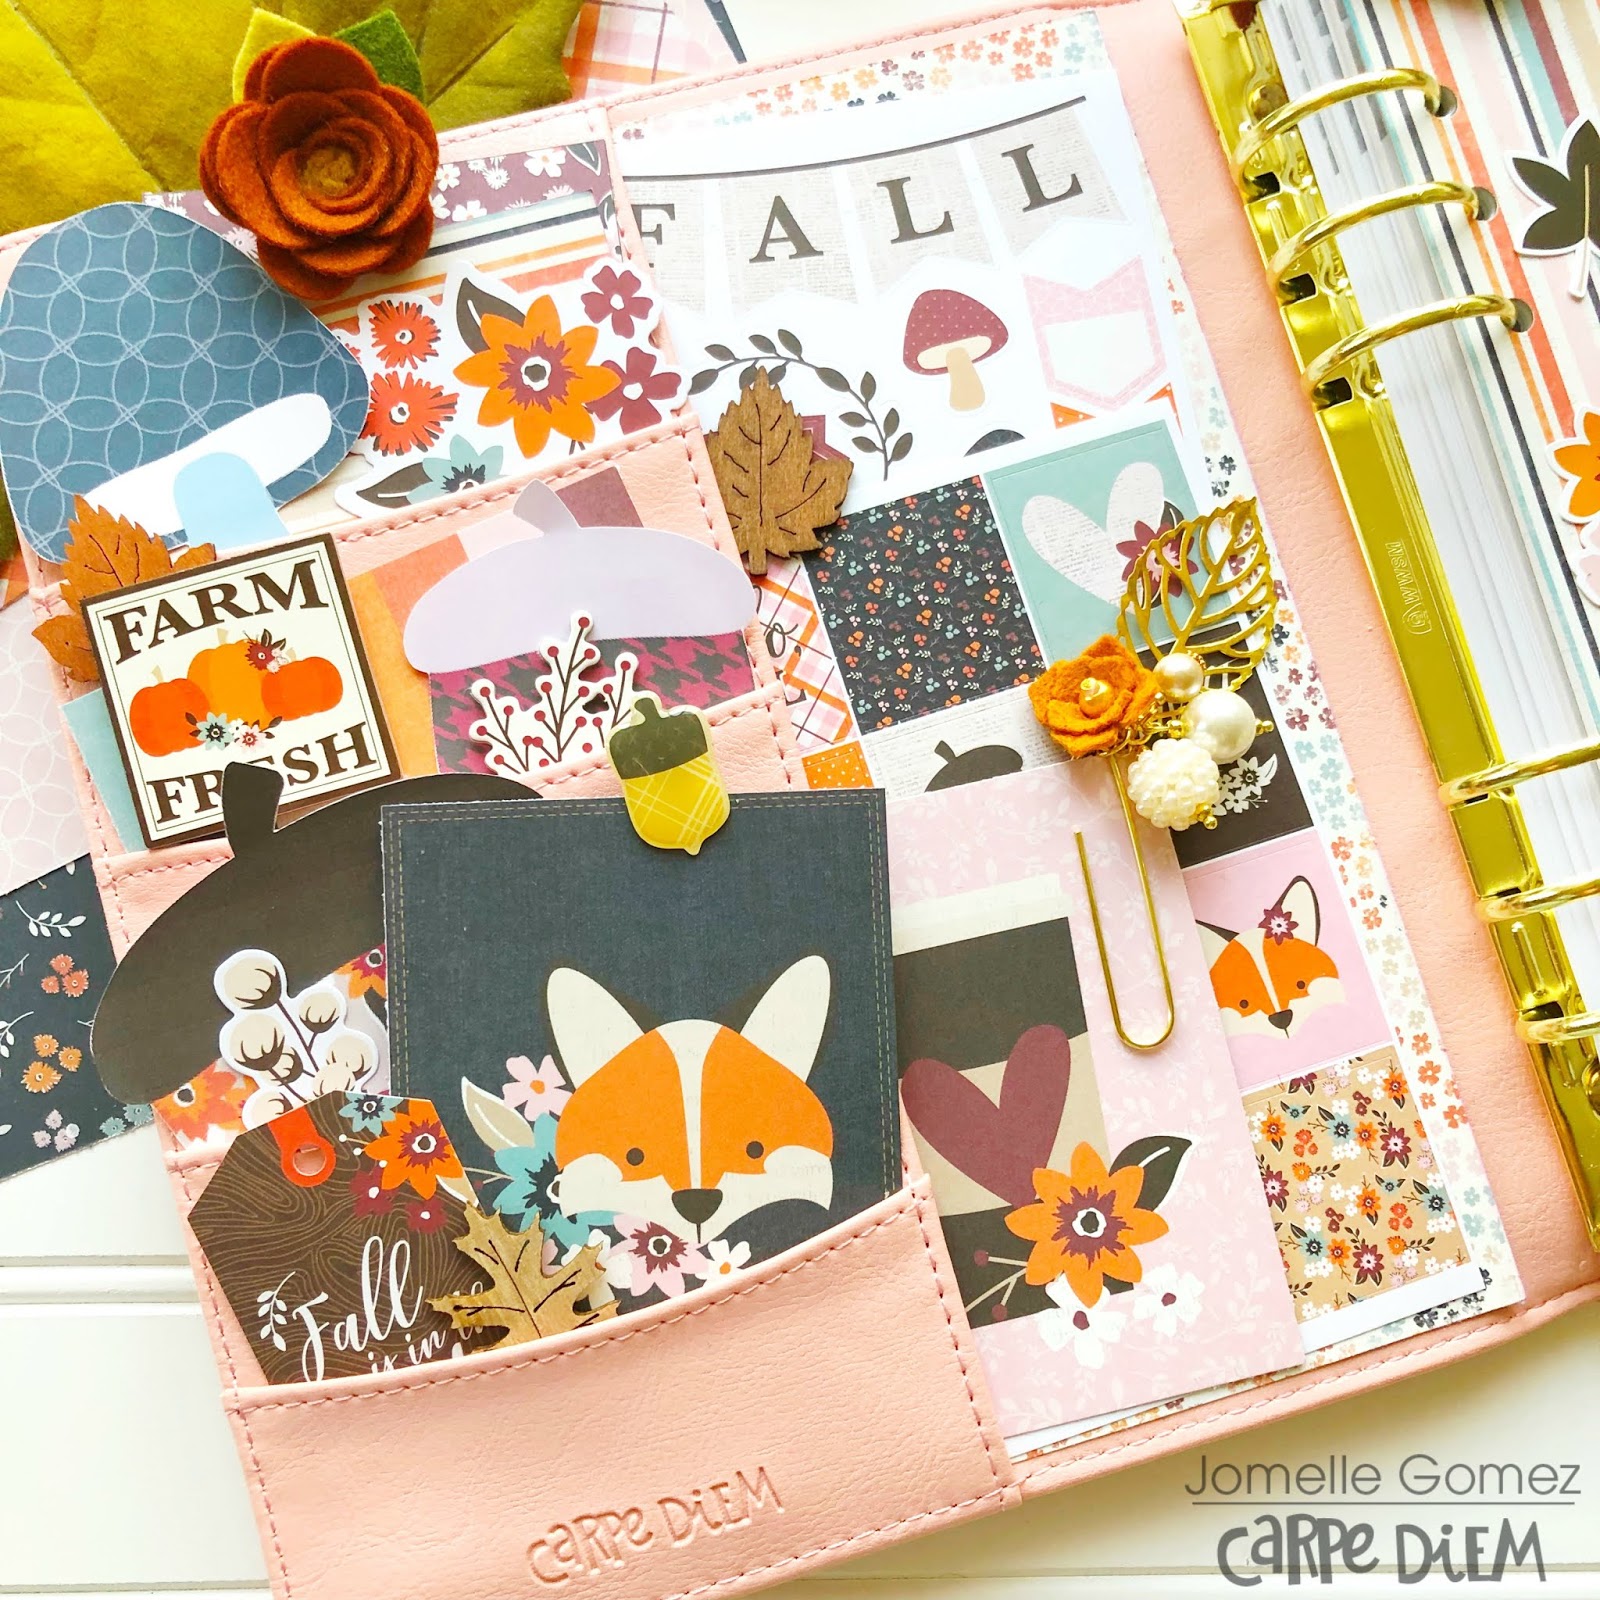
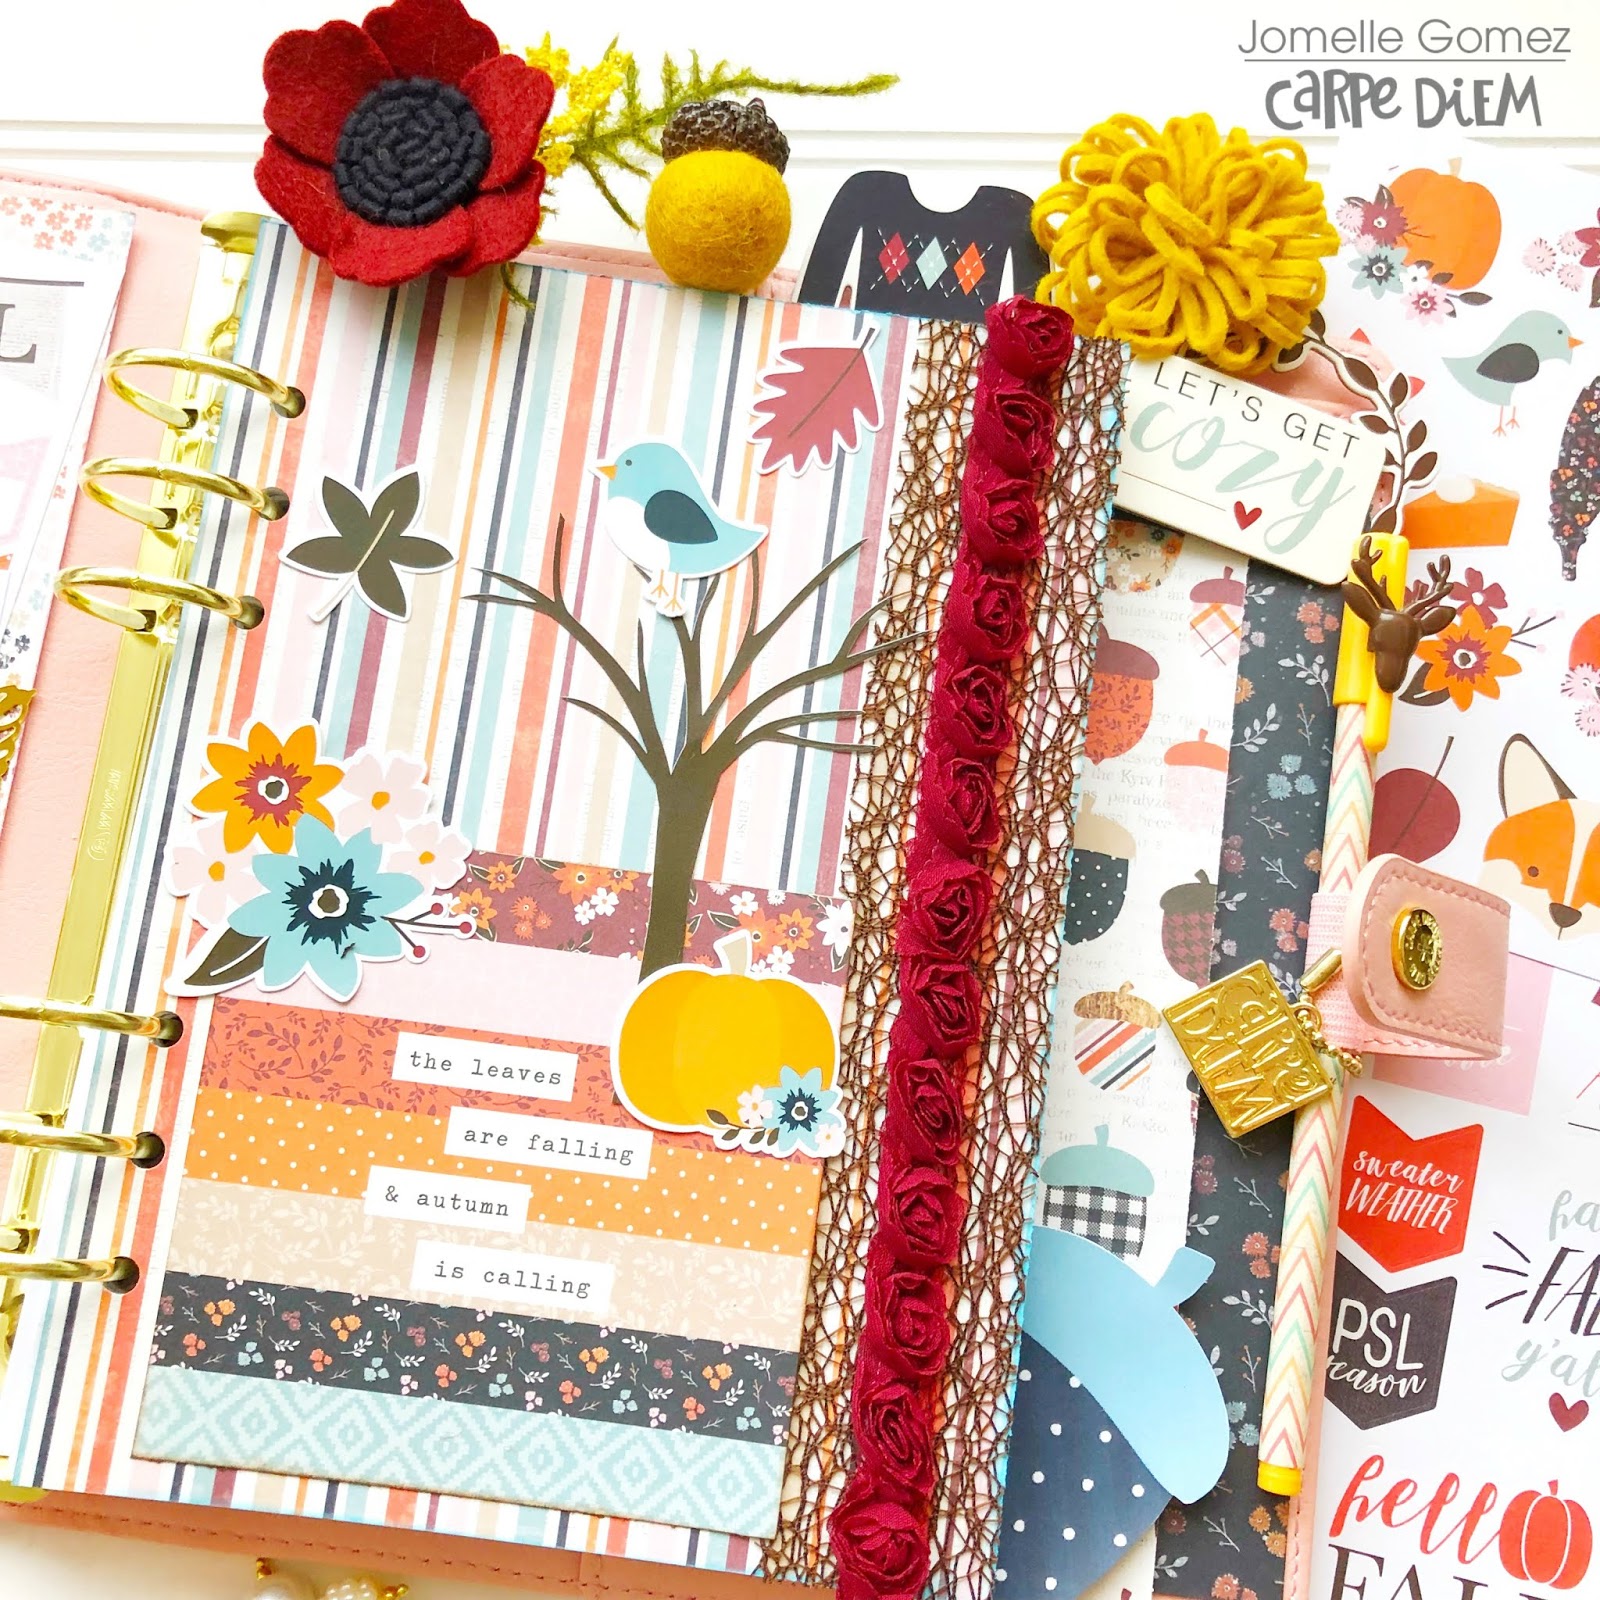
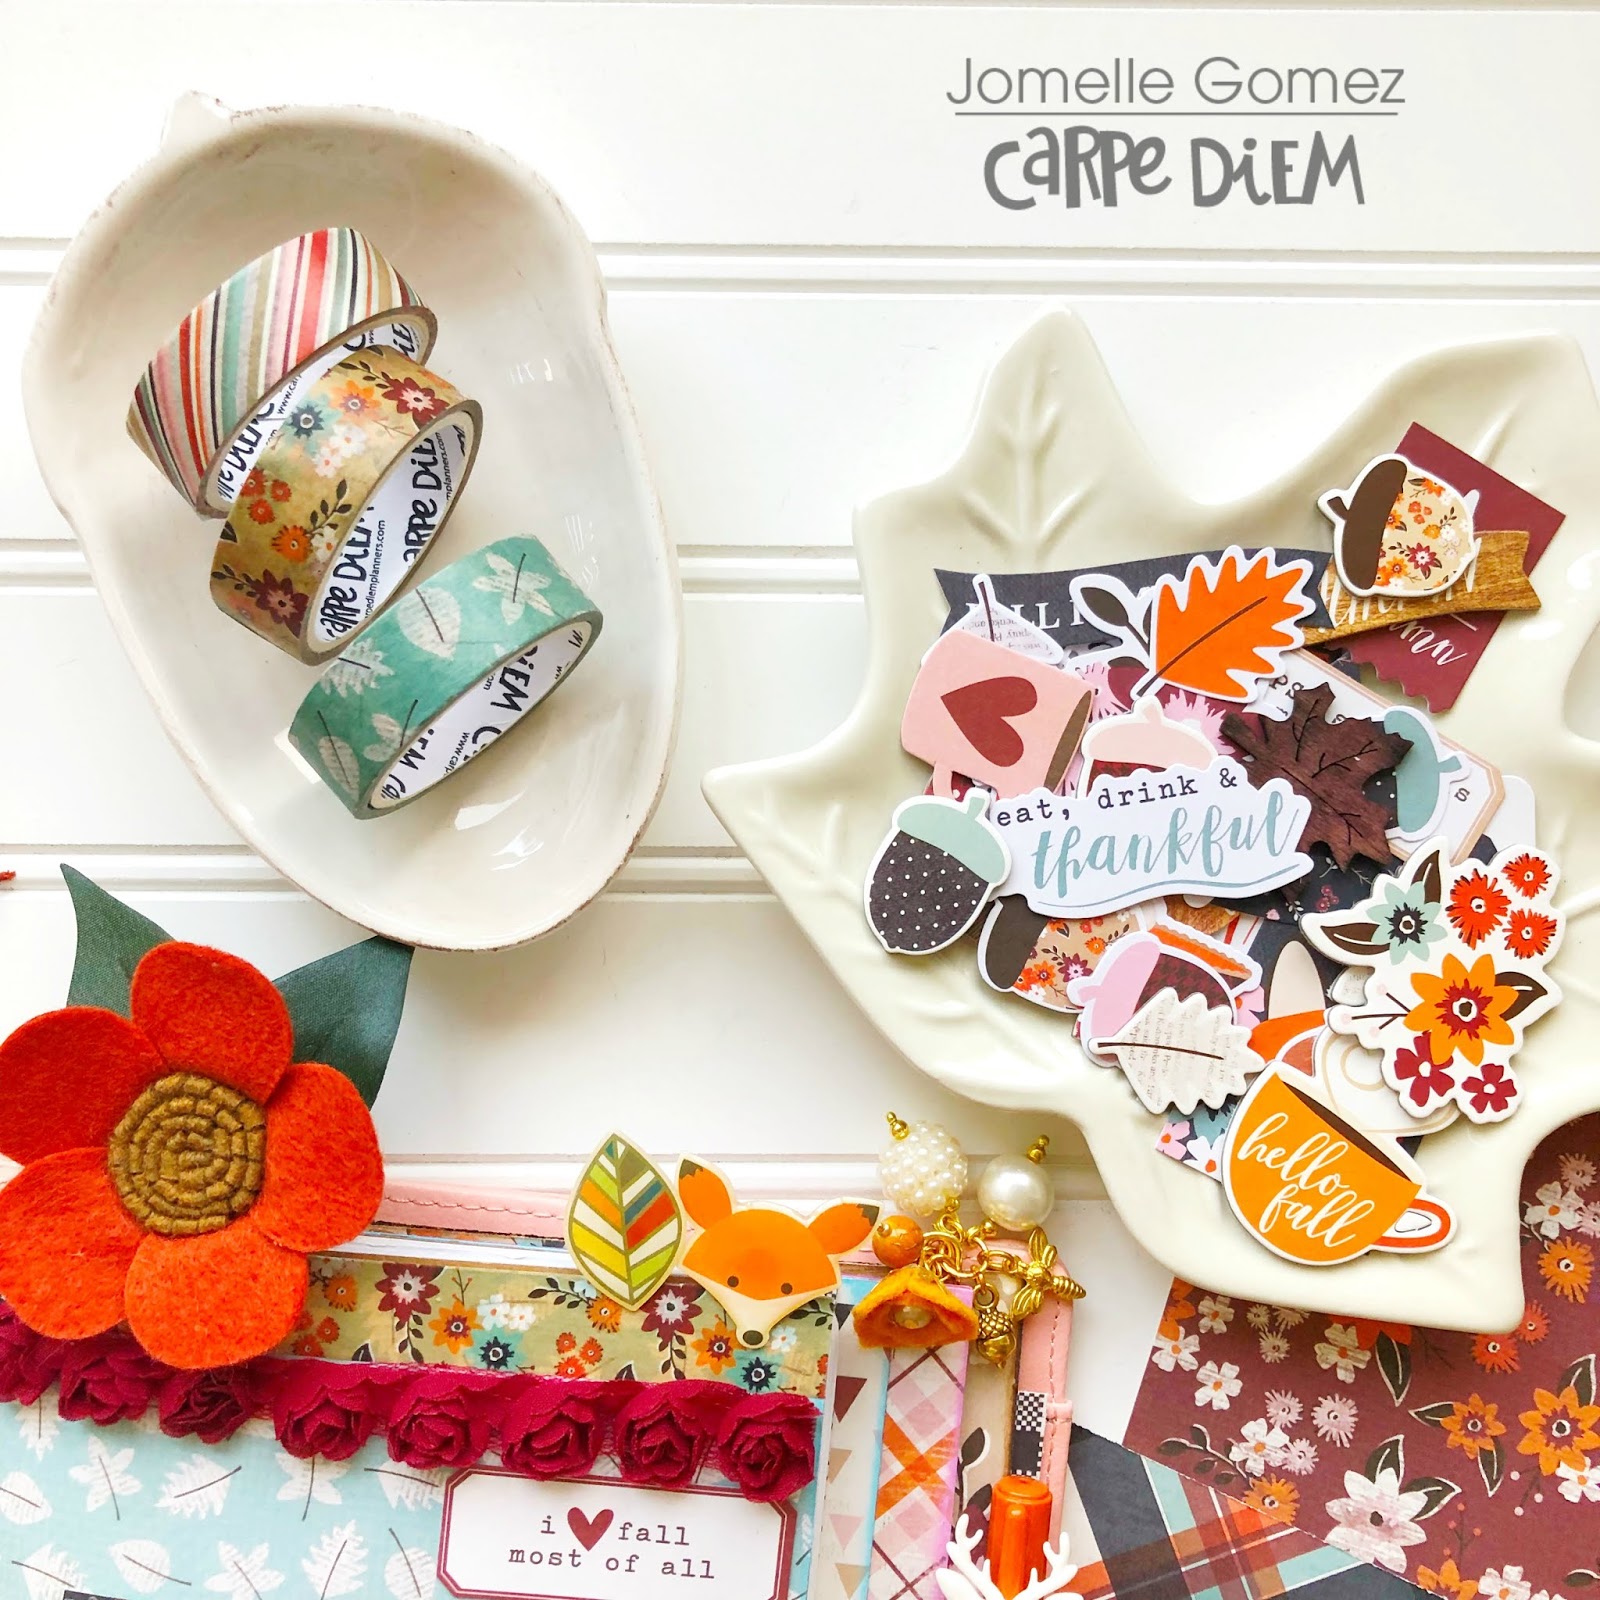
"Pocket Love" full of bits & pieces
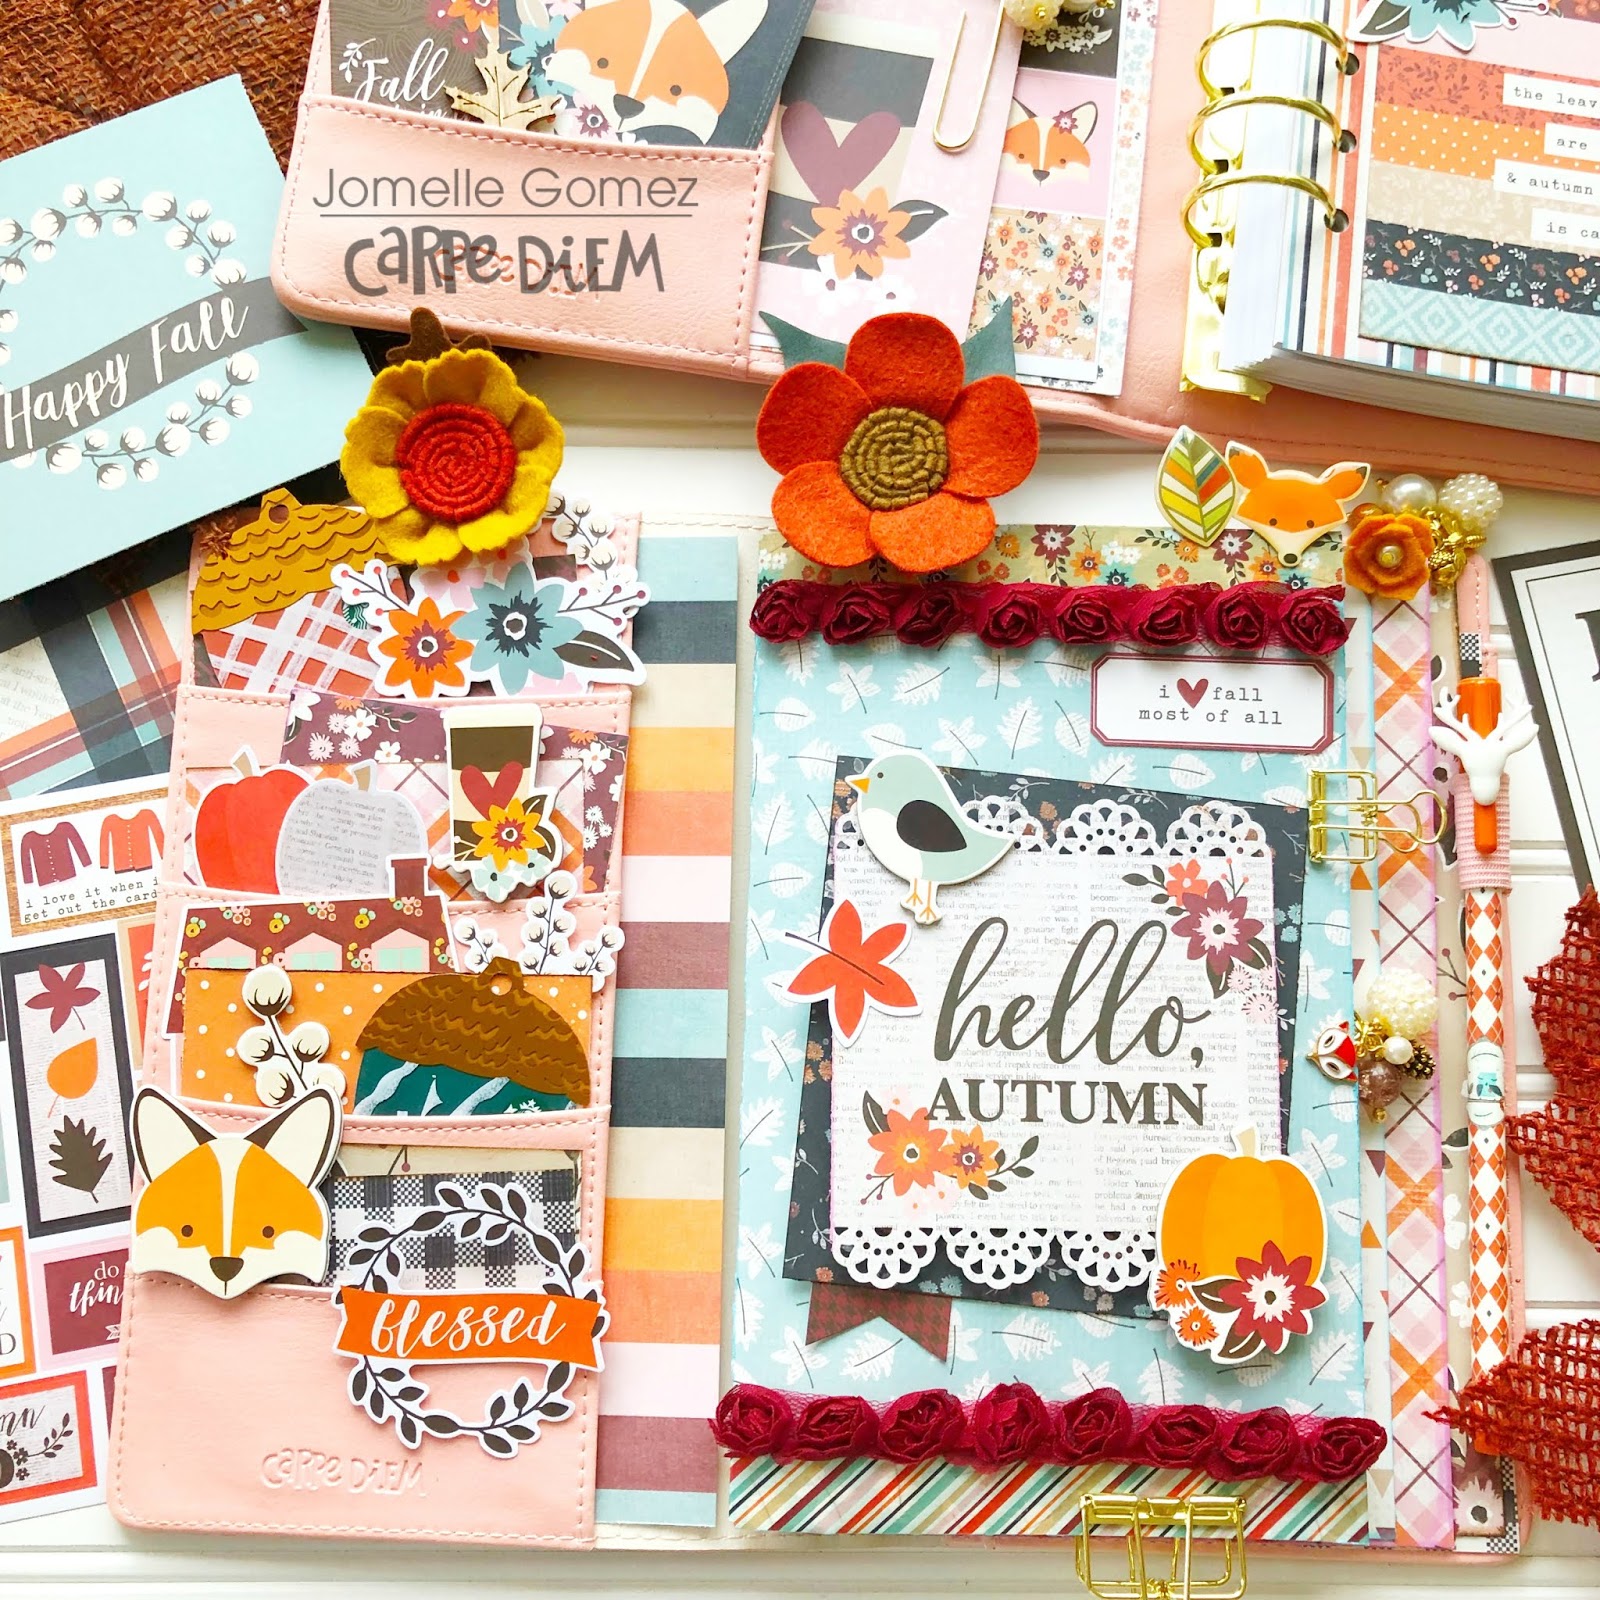
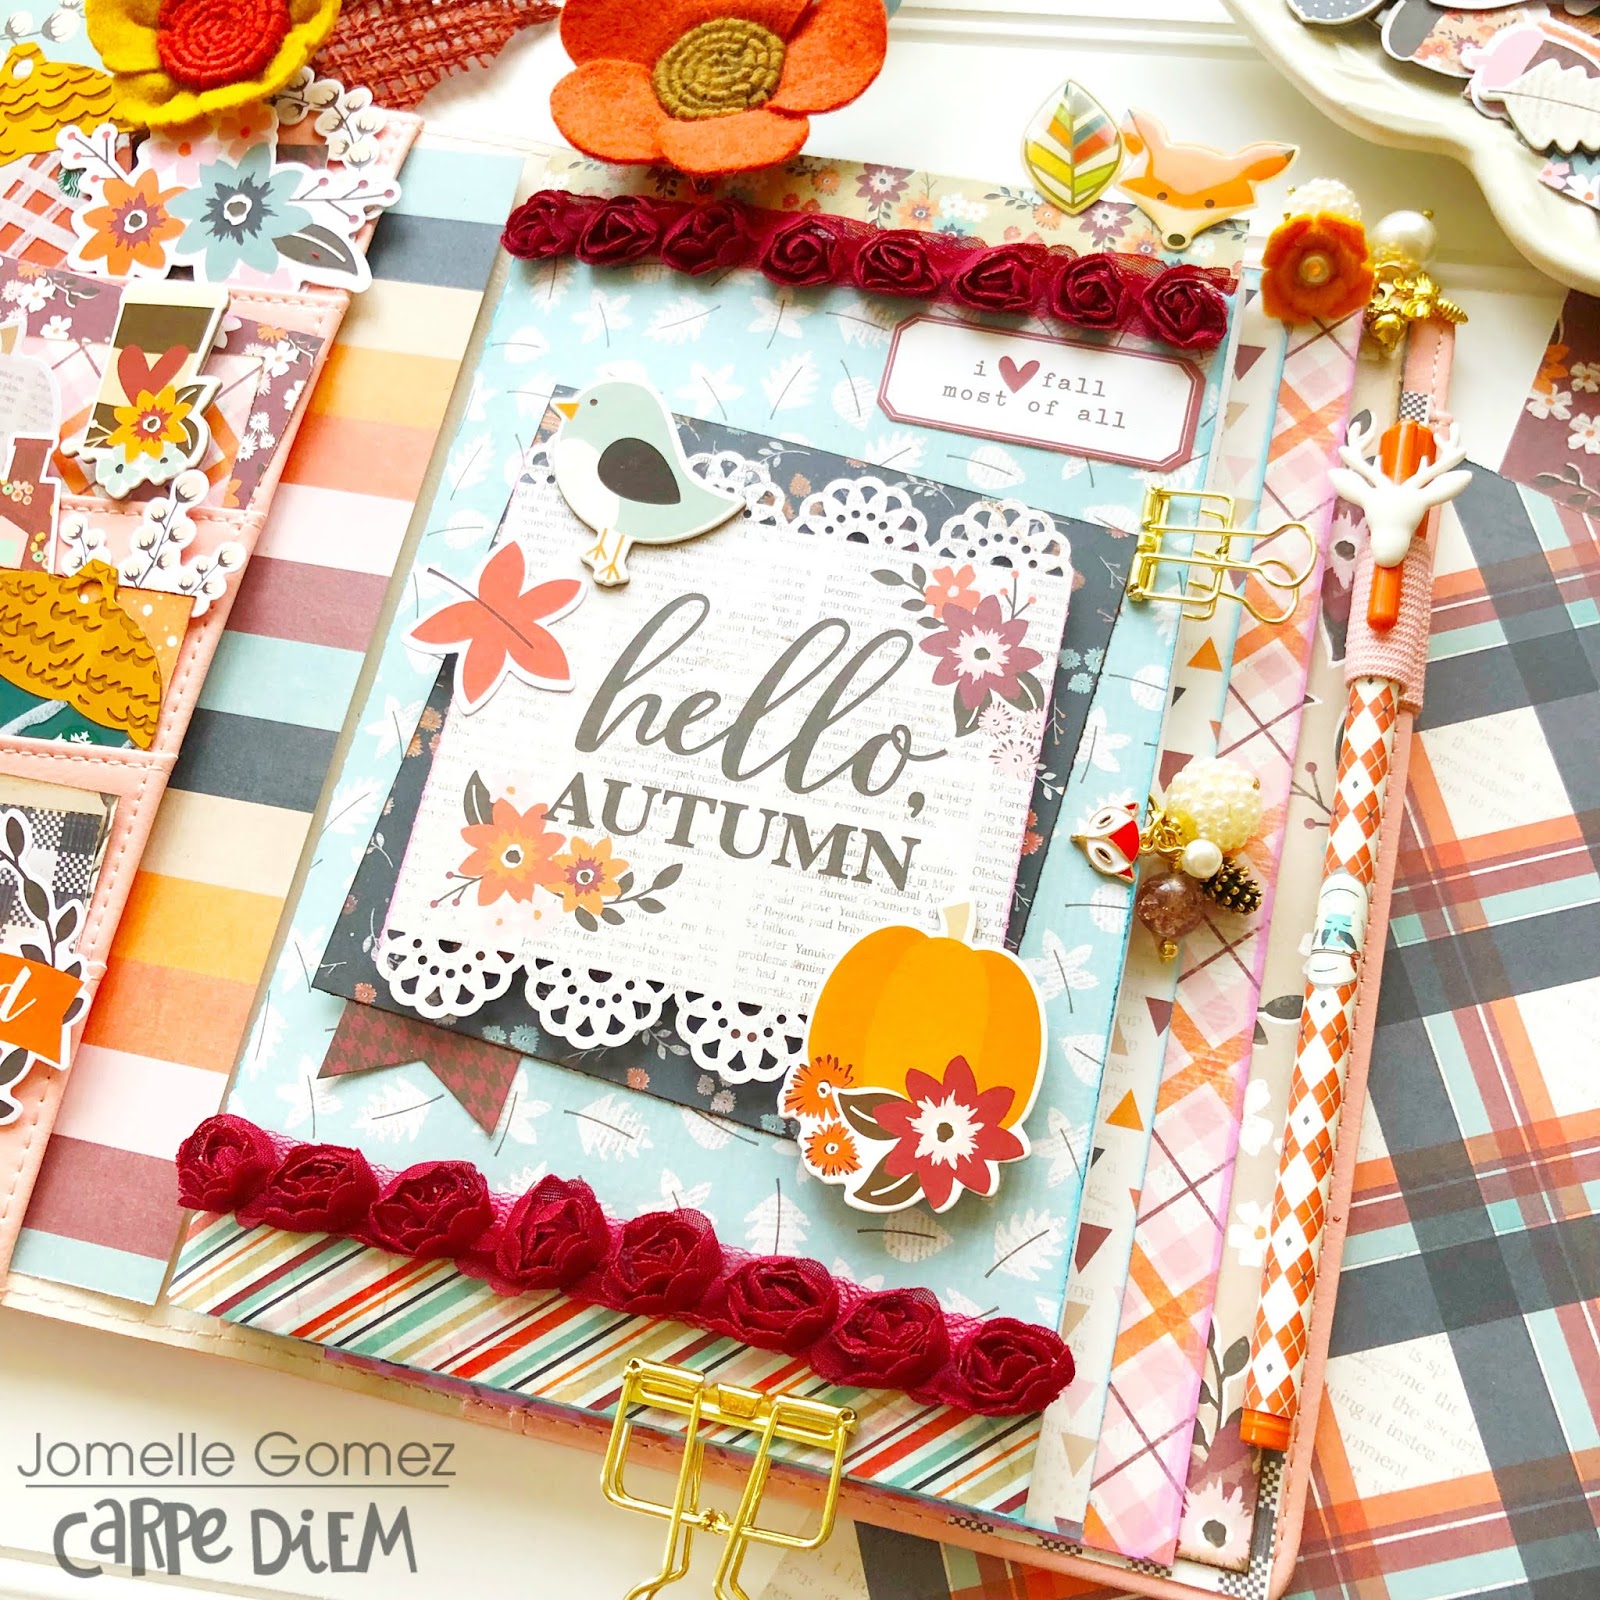
 I'm ready to explore the world.  There are so many places that I have yet to see and visit. I've created my dashboard using the quote "There's no time to be bored in a world as beautiful as this" to be the highlight. I layered couple of 12x12 paper to create this dashboard. I decorated it with chipboard stickers and I layered couple of the washi tapes together.
I just thought it's perfect for my family's adventures. Life is an adventure.
 ...and so the adventures begins. Where will my family go to next for Spring Break?  I can't wait to document new memories in my travel planner.
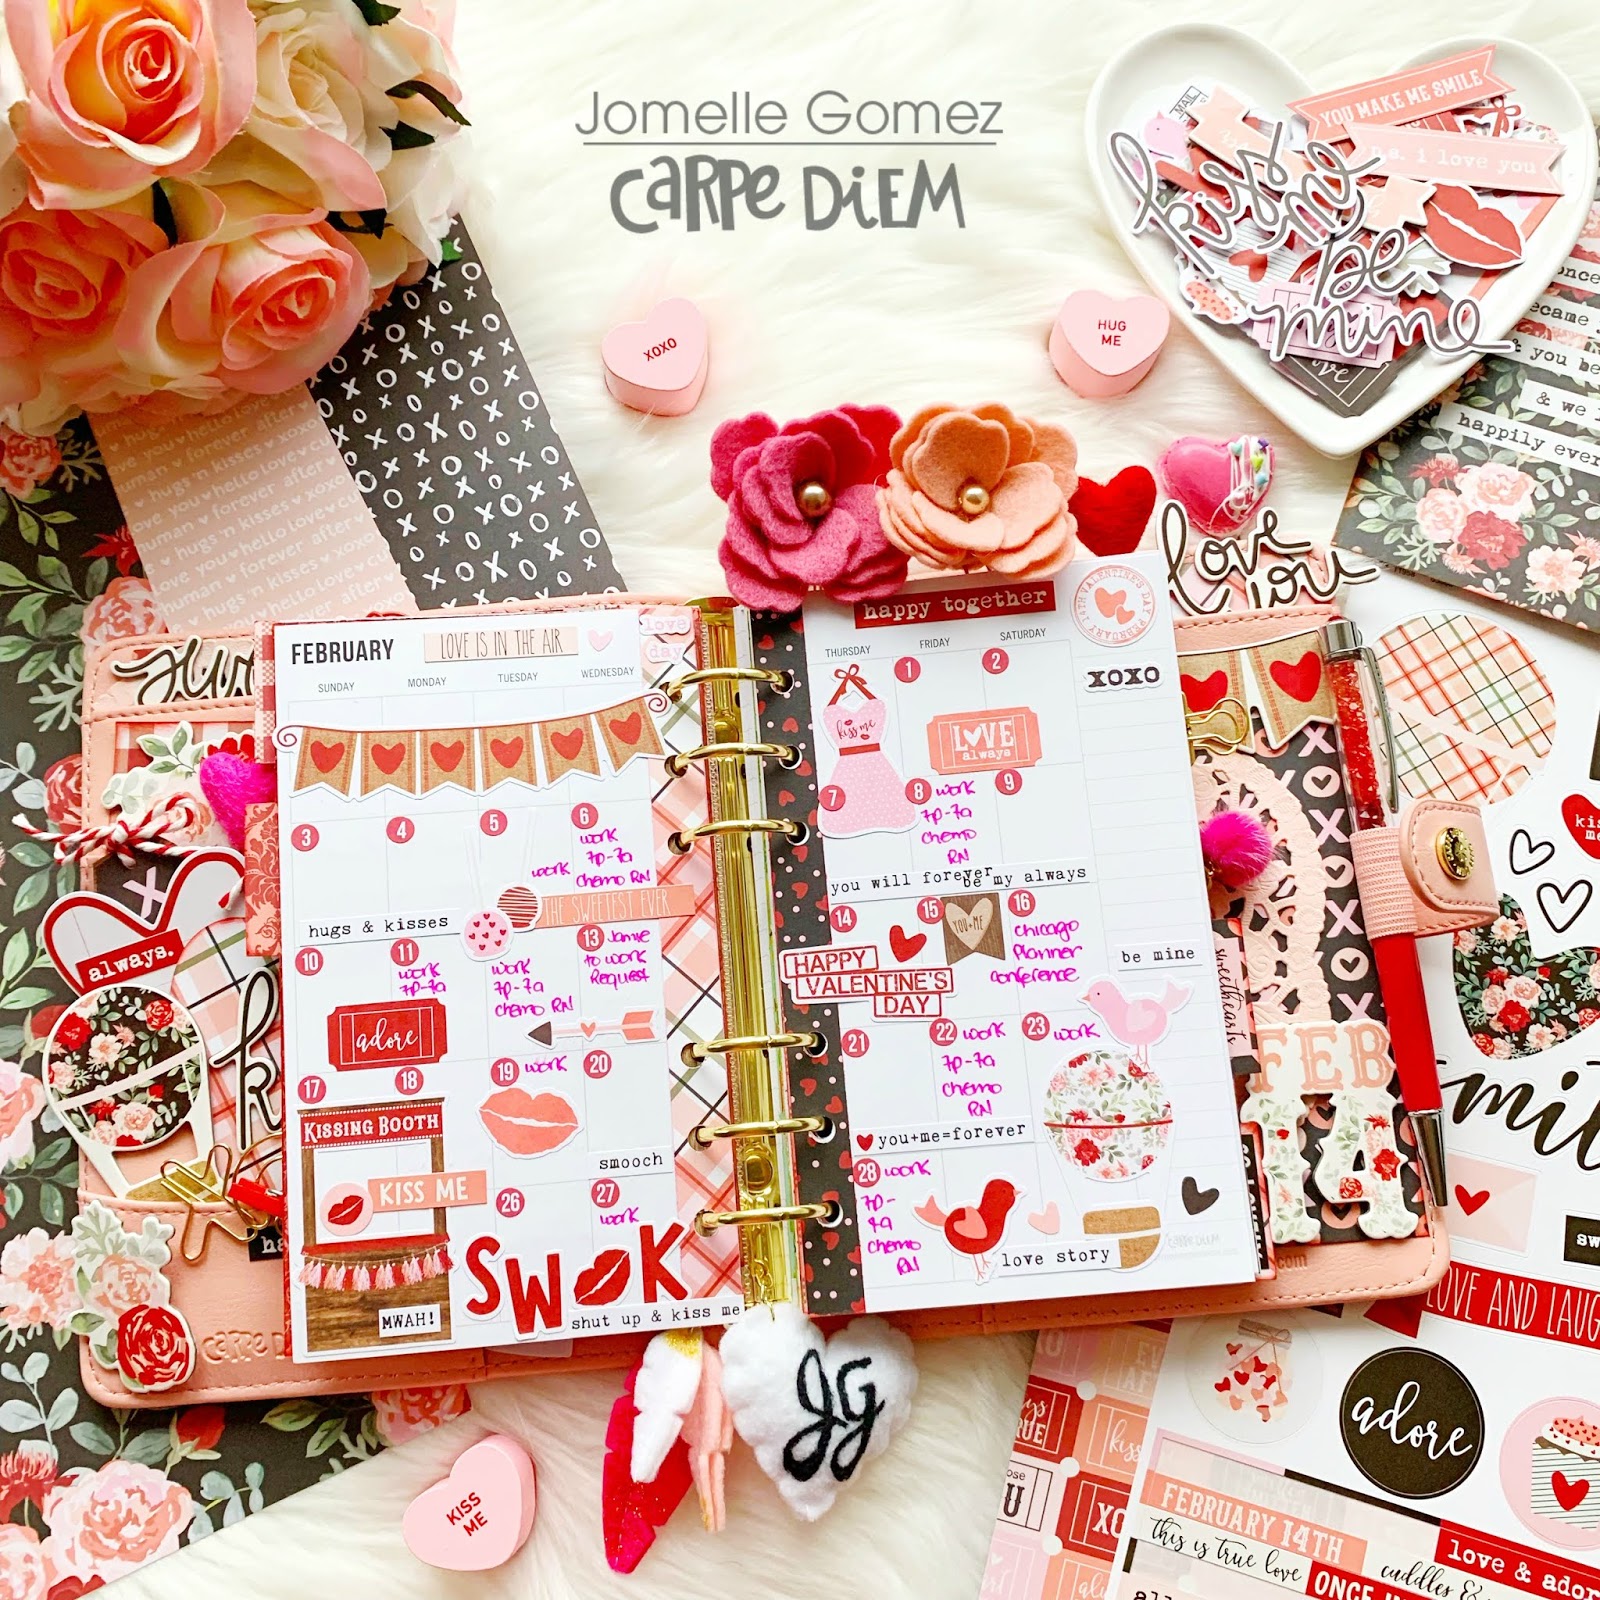
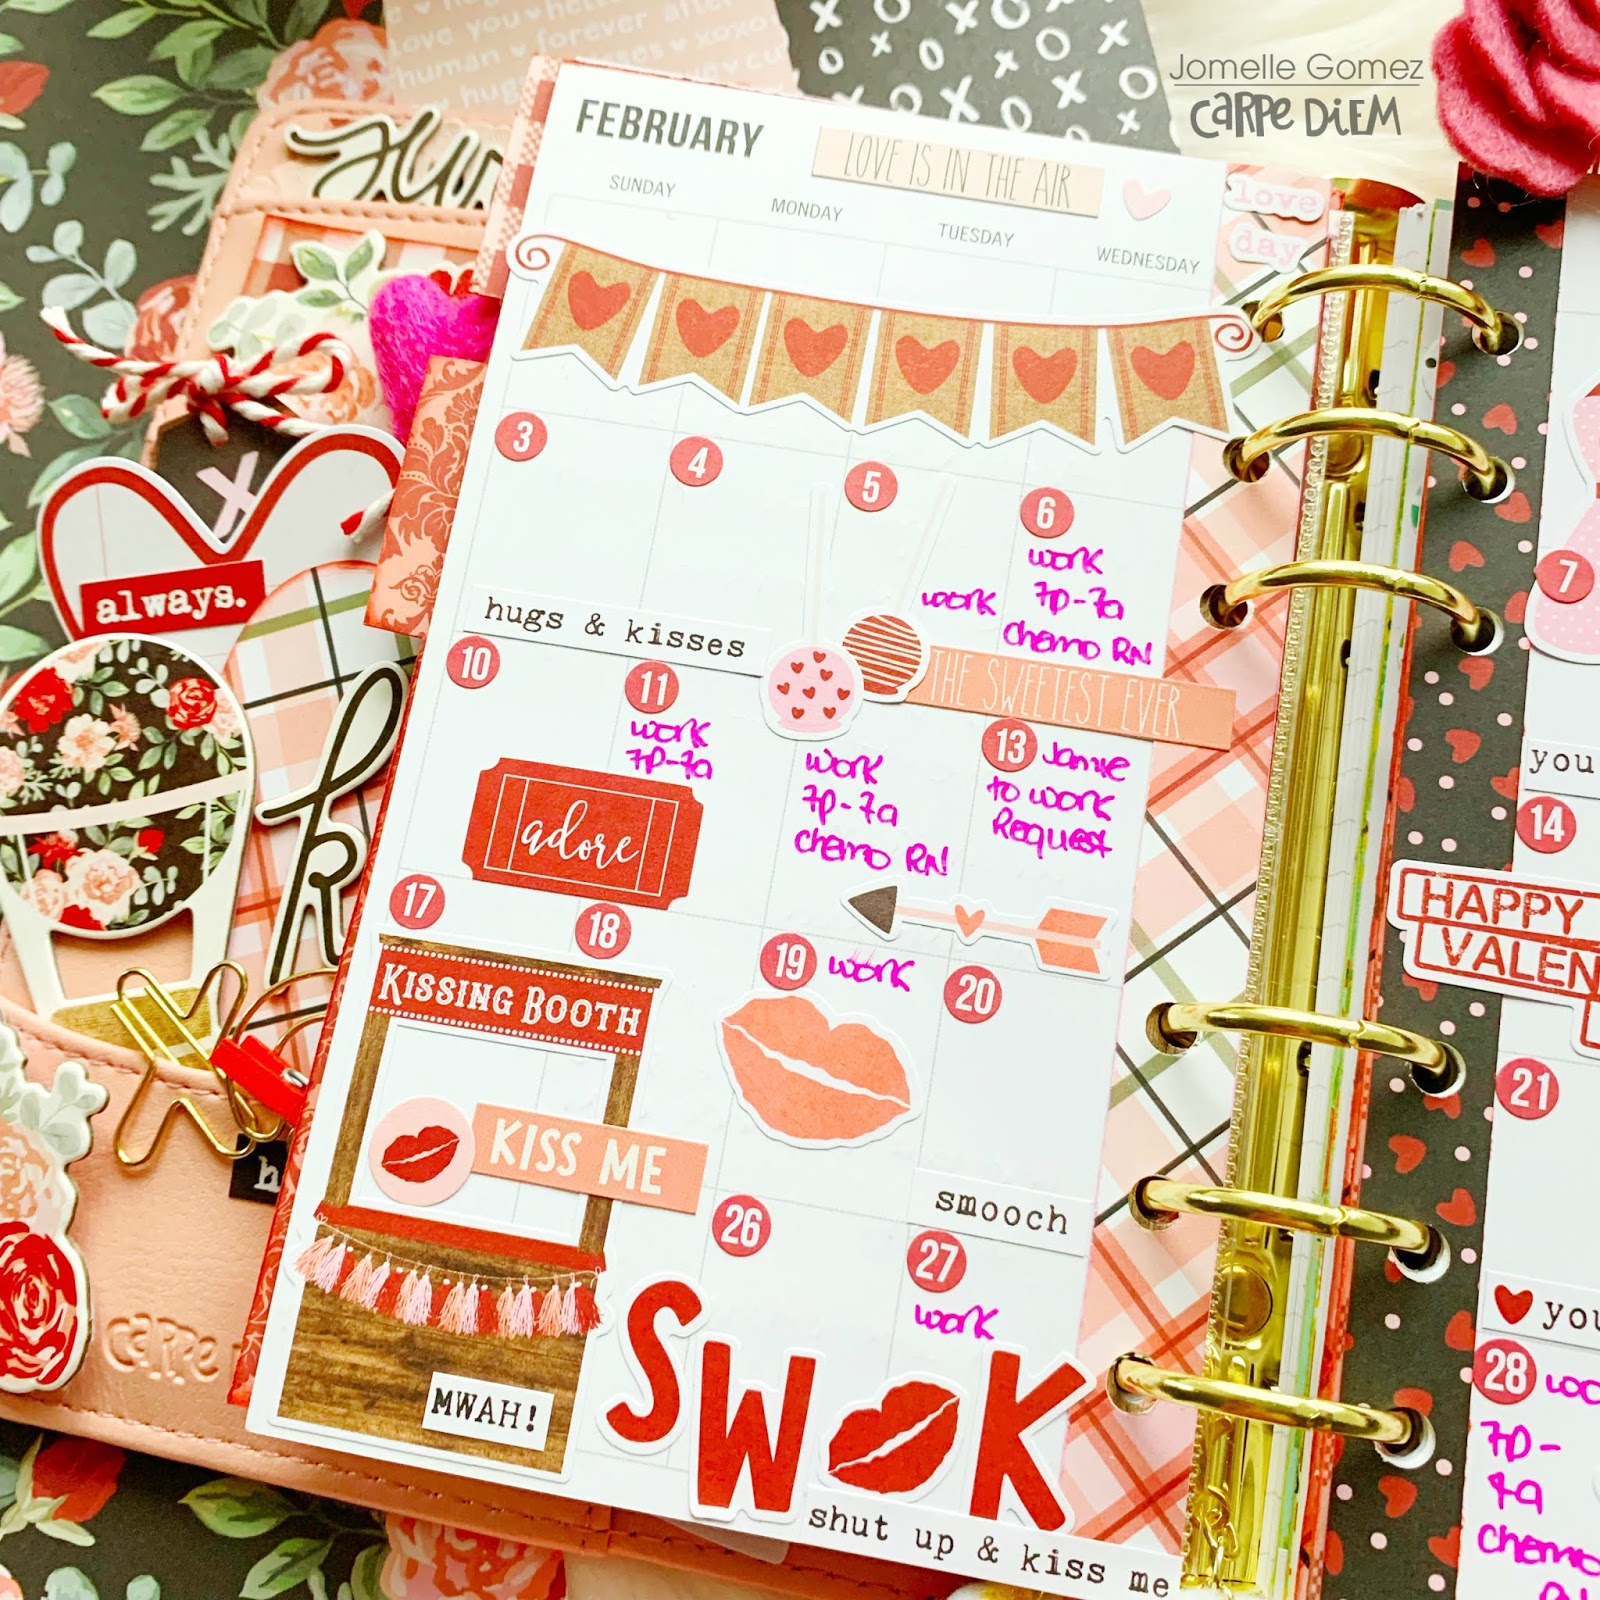
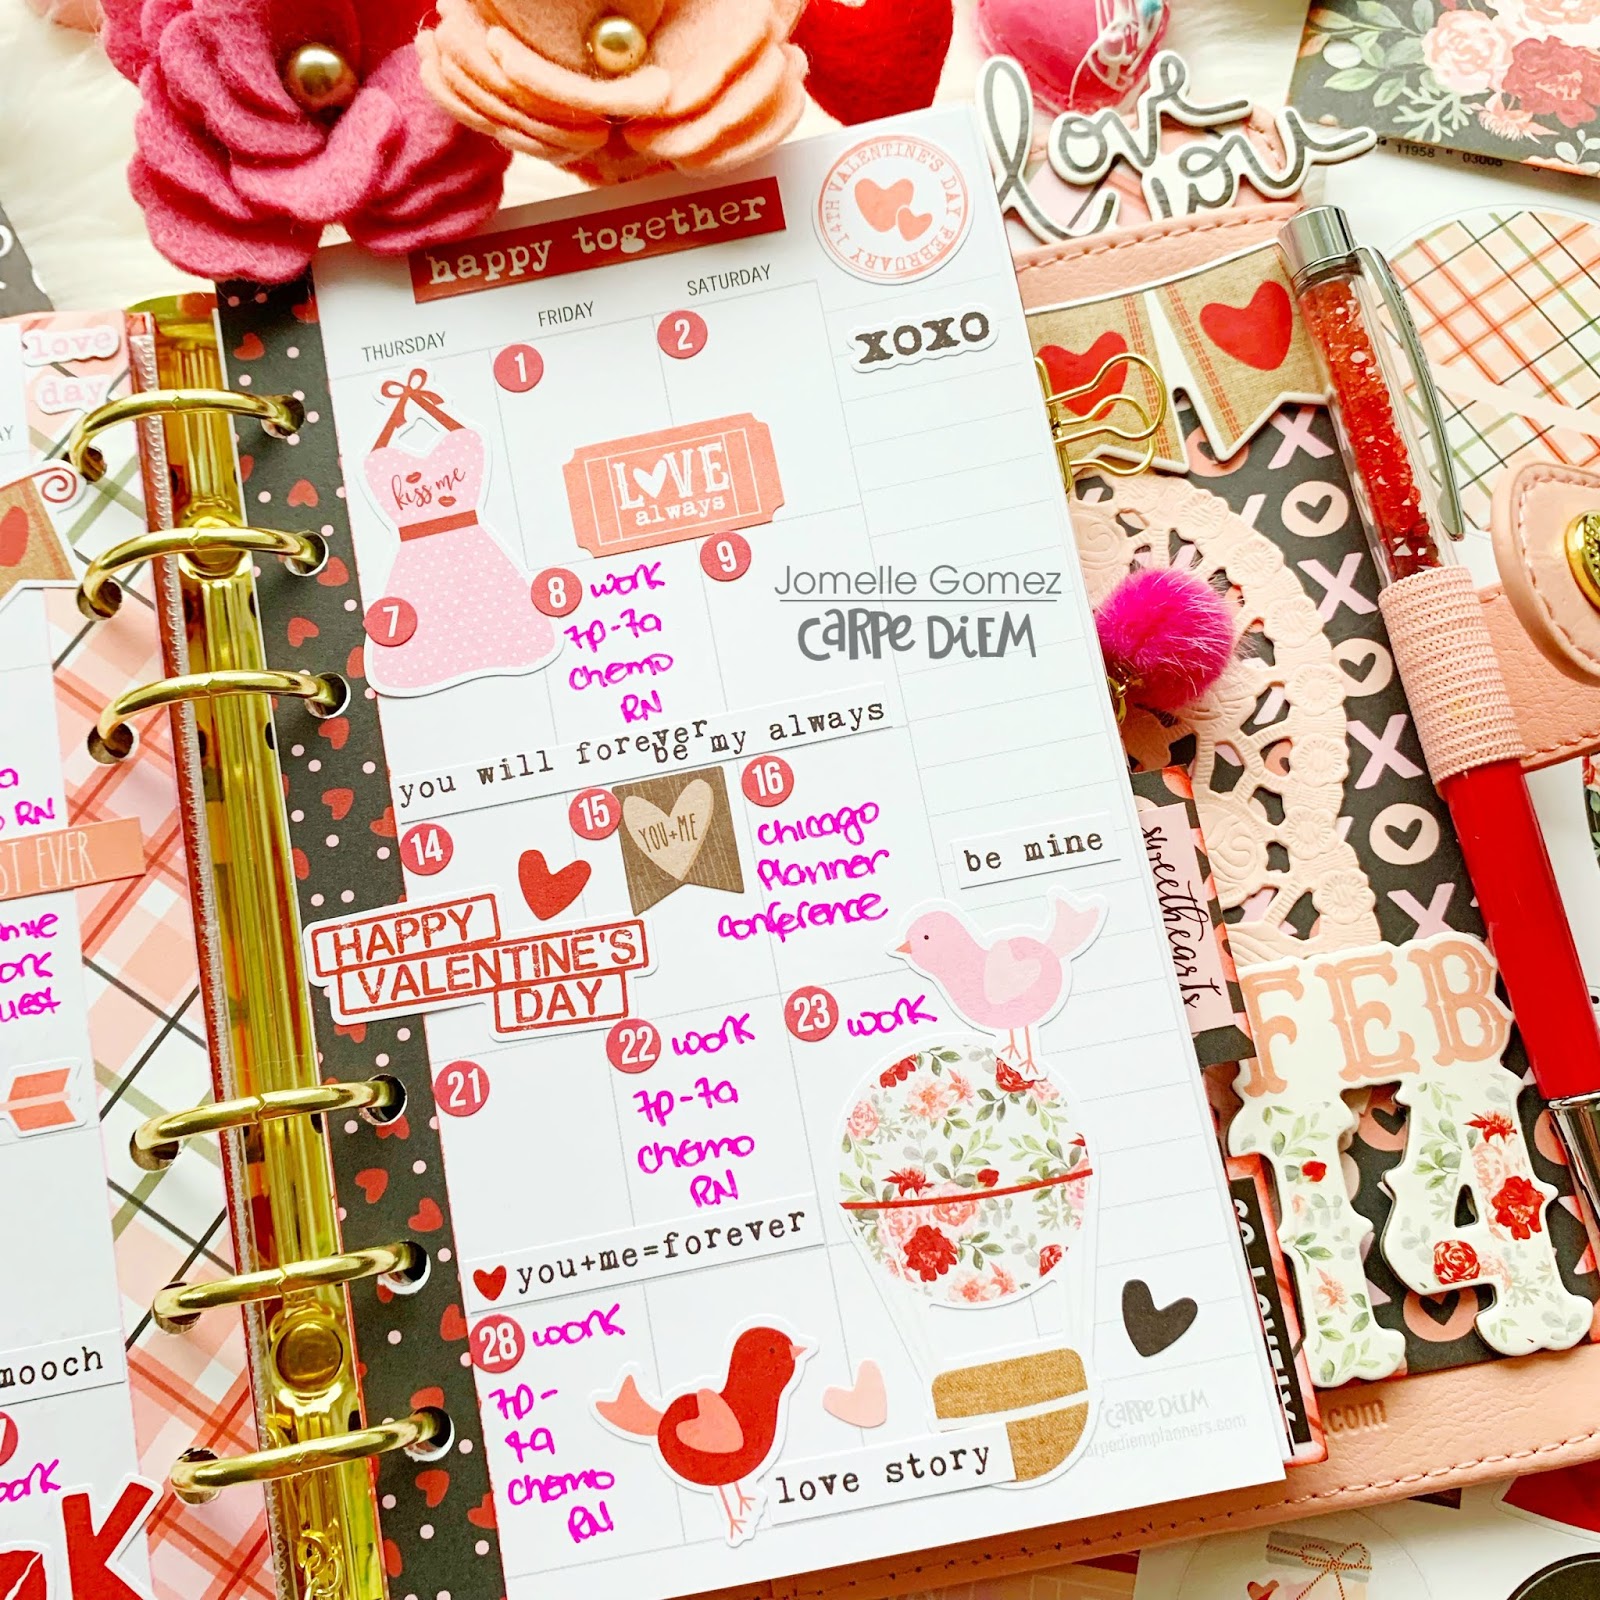
I've always love creative planning in my A5. Horizontal Weeks is perfect for my planning style. I have so much room for stickers and other decor. I used the number stickers for the dates. I love how the word "Travel" looks perfect to the right side of my planner.
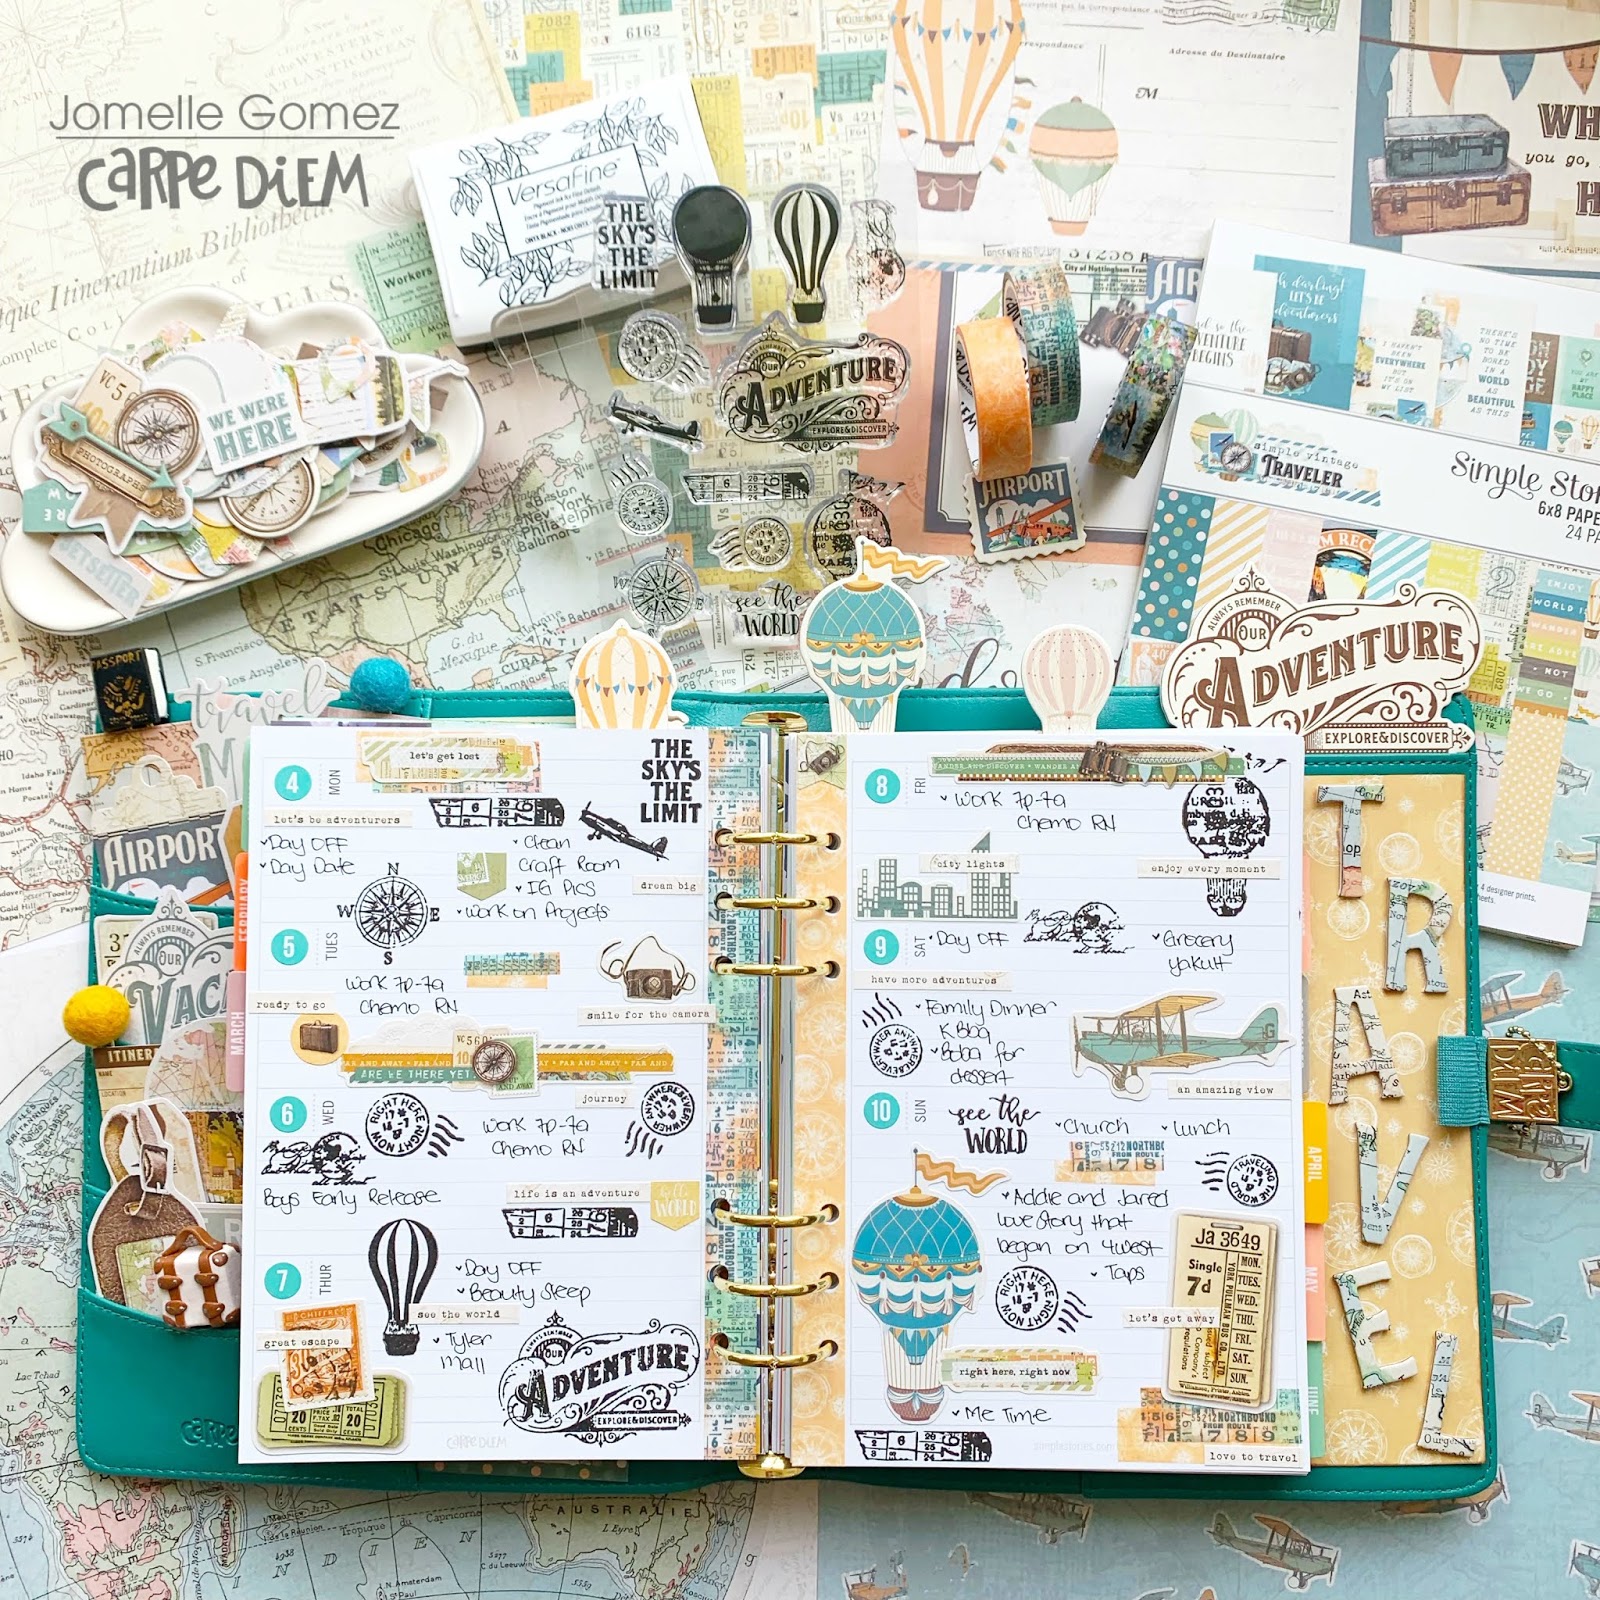
 I enjoyed using the "see the world"  stamps in my weekly layout. I've used black ink with the stamps which is super simple yet it adds flair and character. I'm not very fancy when it comes to stamping. Black ink is all I need. No coloring needed as I don't have patience and the time.

Thank you for stopping by and viewing my travel planner set up.
Where to next? Follow me on my Instagram to see where we're going next.

Supplies

Pages