Leah O’Neil's Blog Posts

Hello everyone! Welcome back to the Simple Stories blog. Leah here with you today to show you a new planning setup I’m trying out in my A5 Mint Blossom Carpe Diem planner. I’ve been playing around with different planner inserts lately, and am giving daily inserts a try this week. The beauty of the Carpe Diem planner inserts being undated is that you can switch up your inserts any time.

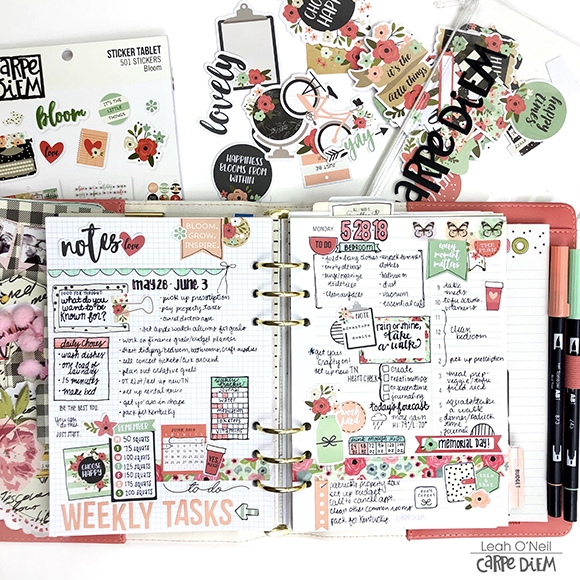
I love using daily inserts, but I still like being able to see a weekly view. I used the grid paper from the Basics Inserts pack and stuck one sheet in at the start of the week to write out my weekly tasks and goals. I love planning on grid paper because it's so easy to draw lines and shapes on a layout. The grid lines really help with spacing and writing neatly as well.
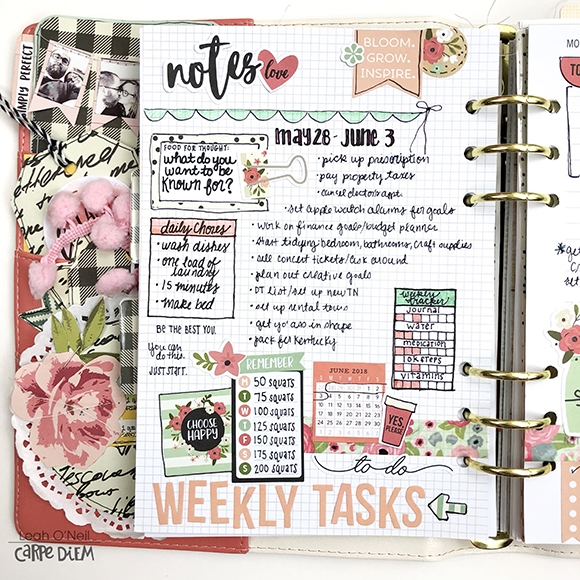
 I love how this little weekly habit tracker turned out. I wrote in reminders for daily habits I'm trying to improve upon. I will color in a square for each day of the week I remember to do these things.
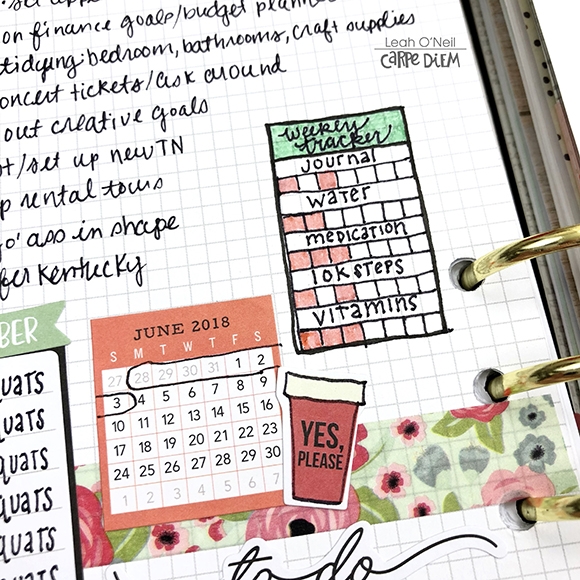
Several of the stickers from the Carpe Diem sticker tablets fit perfectly within the grid paper lines. Using stickers on this paper is a fun way to emphasize messages or reminders, or to separate your layout into sections.
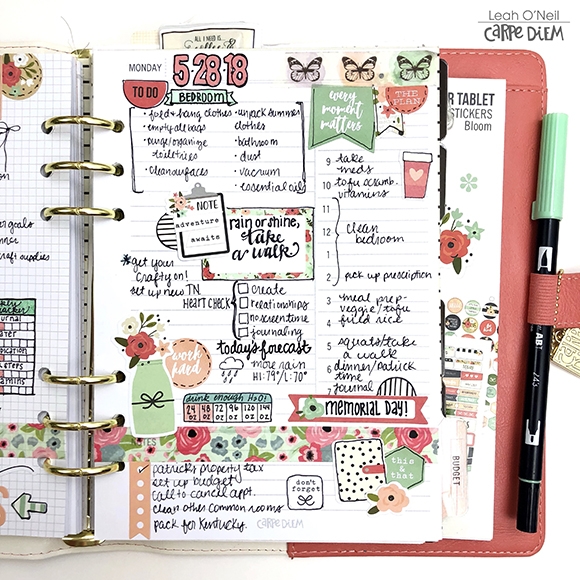
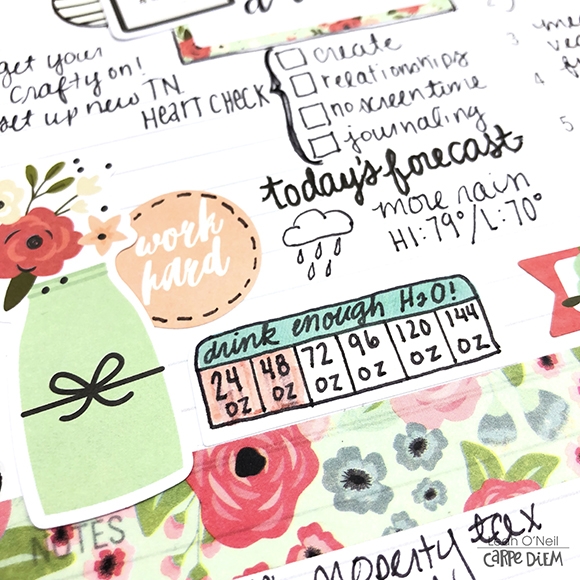
For the first daily page of my week, I used a few stickers from the Planner Basics sticker tablet, such as this tab sticker that works really well as a tracker. In this case, I drew lines to represent 24 oz. of water since that’s the size of the tumbler I carry around with me everywhere. These tab stickers would be so fun to draw or stamp shapes onto to make a variety of trackers. For example, you could draw little hearts or boxes to color in.
 I primarily used the Bloom sticker tablet to decorate both of these layouts. The Carpe Diem sticker tablets are loaded with SO many stickers. Carrying just one around with you gives you ample possibilities for decorating several layouts on-the-go. I cut the back cover of the Bloom tablet so that I could tuck it into the back pocket of my planner. I’m also carrying the Bloom Bits and Pieces pack in a Carpe Diem Plastic Storage Pouch. I love finding easy ways like this to carry supplies with me to use while I'm away from home.
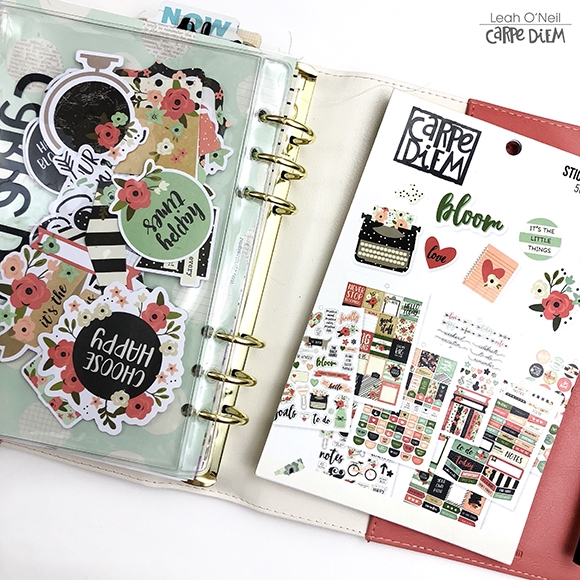
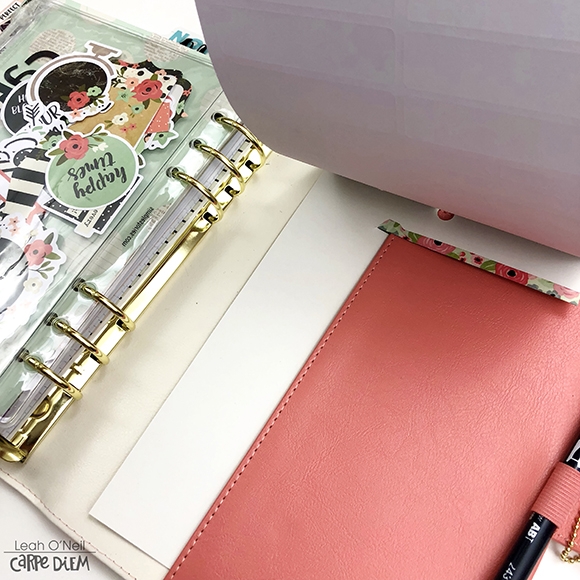
Simple Stories has been releasing more and more sticker tablets lately. There’s one to coordinate with nearly every collection, but there are also several basic sticker tablets that have come out recently. One of my favorites is the one full of nothing but number stickers to date your undated inserts. Do you have a favorite Carpe Diem sticker tablet right now? They are so versatile and give you so much value for your money.
Thank you all for sharing your time with me here on the blog today. Until next time friends, happy planning!

Supplies

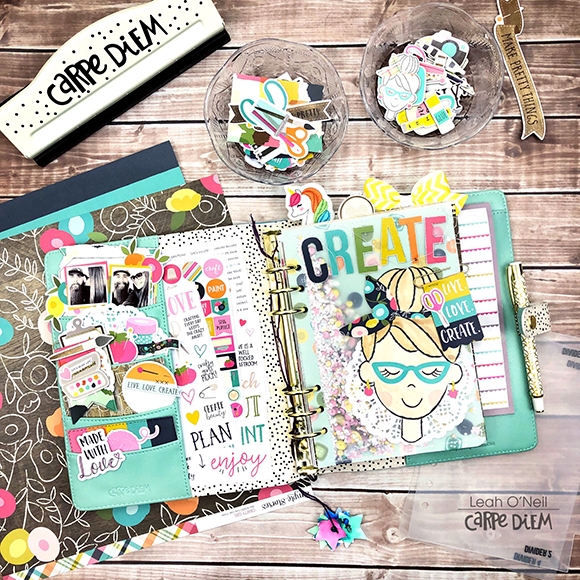
Hello creatives! Welcome back to the Simple Stories blog. Leah here with you today and I'm so excited to share a new project with you using the Crafty Girl collection. The second I saw this collection, I was instantly inspired to create pretty things. The artsy and crafty sentiments and bright colors truly speak to my creative heart. One of my big goals this year is to find more balance in my life that includes more time to feed and nurture my creativity. So I embraced the creativity this collection was inspiring in me, and channeled it into setting up my new A5 Color Wash planner.

The intention of this planner is to serve as a creative journal of sorts. I have a TN insert that I love to art journal in as well, but it is my hope that this planner will be a more casual project to help me work  towards my goal to do something creative every day. I don't have any set focus or theme in this journal, other than to just be creative. I may doodle, I may color, I may scrapbook, I might write...maybe I'll do something simple, like color swatching new markers or paints. Whatever it is on any given day, there will be no rules. I just want to spend a few minutes doing SOMETHING that stretches my creative muscles. The Crafty Girl collection was the perfect collection to set this planner up with because that's what it's all about – creating.

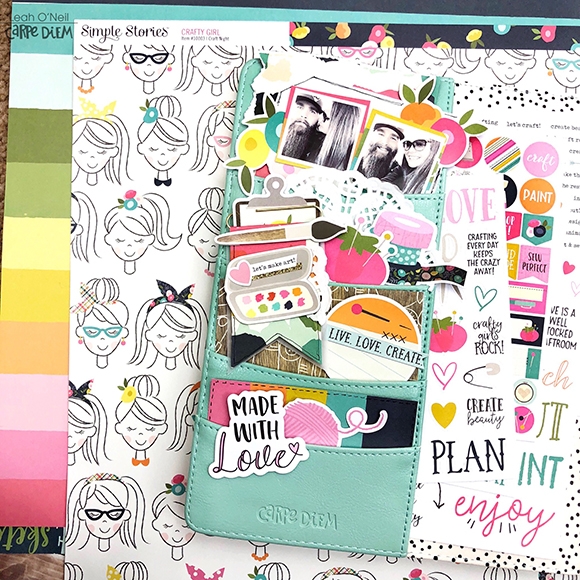
I decorated the pockets with several die cuts from the Crafty Girl Bits and Pieces pack. I also layered some paper scraps behind a couple of photos. If you have been following me for awhile, you may already know how much I love incorporating photos into my planner pockets. It makes them feel so much more special and personalized. My favorite element in this pocket setup is the paper clip I made by wrapping some paper around the edge of a gold paperclip so that it hangs like a little flag. I added a few of my favorite stickers to it to dress it up and love how it turned out!

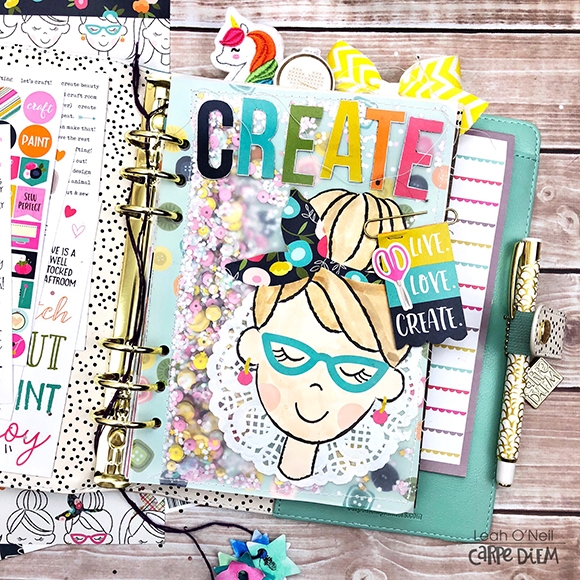
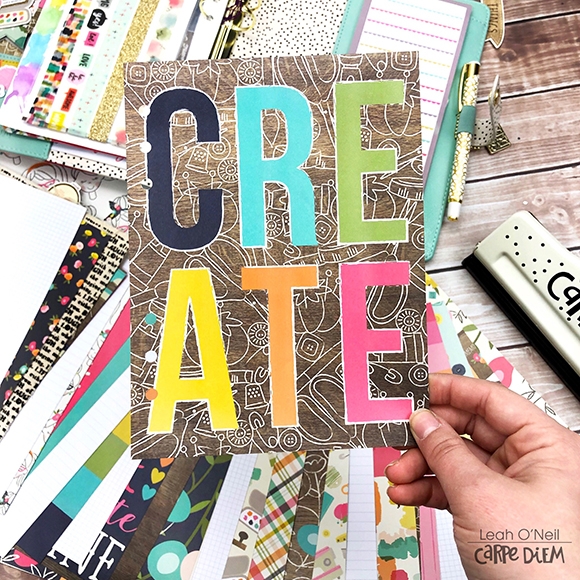
The dashboard of this planner was also super fun to make. I used the new A5 divider templates to cut down a 12x12 paper and a sheet of vellum down to the same size, and then sewed the vellum on top of the paper, sewing the sides and bottom edges but leaving the top open. I added a bunch of glitter and sequins into the pocket and then sewed the top closed to create a shaker dashboard. If you don't have a sewing machine, don't worry! I have made many, many shaker dashboards using thin double sided tape (my favorite is the super thin 0.125 Super Sticky Red Tape from American Crafts because you can't see it through vellum and it doesn't budge). To decorate the dashboard, I cut the cute girl out of a paper from the 6x8 paper pad. I added a little watercolor to her skin and hair to customize her. I also fussy cut out the letters to spell “create” from a card on the 4x4 Elements sheet.

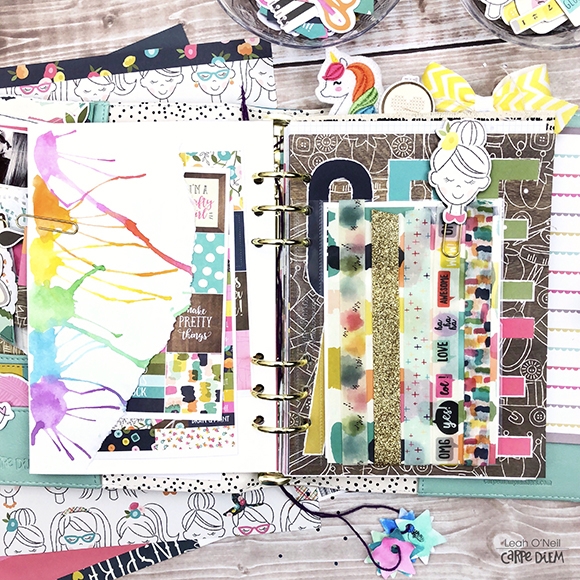
I used a 4x6 pocket insert to add a few strips of washi tape for creating on-the-go. I made the pocket on the left using white cardstock and it has a fun story to go along with it. While babysitting my 5-year-old niece, we had an arts and crafts night and had a blast with some straws, water and watercolor paint (got that idea from the lovely and talented Amy Tangerine). My niece also painted the stars that are hanging off the purple yarn on my planner rings here – an adorable planner accessory with an even more adorable memory.

To finish my creative journal setup and prep it for later crafty endeavors, I hole punched all the rest of the papers in the 6x8 paper pad to use as inserts. This was super quick and easy to do using the Six Ring A5 punch. Then, I mixed in papers from the A5 Basics Inserts pack. I am sure that I will mix these inserts around and alter them later, but pre-punching them into my planner gives me a template to start with each day, which helps me find a little inspiration on the days I may be feeling less creative.

I hope this planner is going to help me stick to my creative goals in 2018. Do you have creative goals for the year? I have learned that keeping your creativity and inspiration alive and thriving takes practice. It really is like exercising a muscle – the more you do it, the more you want to do it! How are you exercising those creative muscles? Comment below or over on my Instagram post – I'd love to hear from you!

Supplies

Hello creatives! Welcome back to the Simple Stories blog. Leah here to show you a peek into my traveler’s notebook. Right now, I have a pretty good planning system going that involves one A5 ring bound planner and one traveler’s notebook. I hope to share the details of that system later, once I work out a few details. My traveler’s notebook has several inserts, two of which I want to show you how I use today – one for making lists and the other for documenting memories. The other inserts in my TN are for brainstorming ideas and journaling.

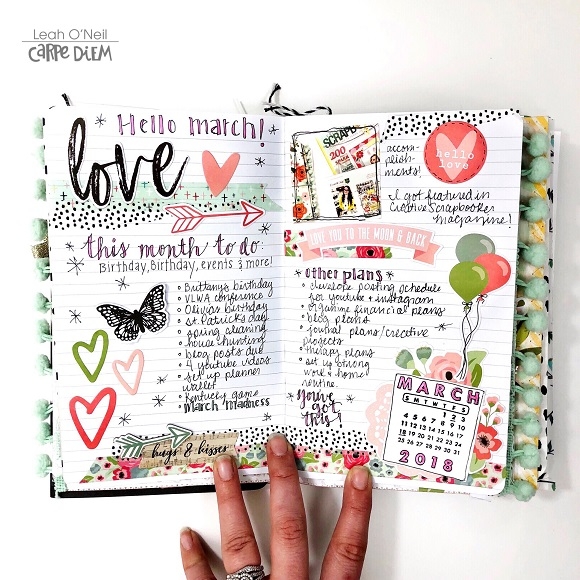
I use one insert in my traveler’s notebook for making lists - to do lists, to buy lists, to read lists, to watch lists, etc...any type of list. I sometimes like to decorate these list pages, just for fun. I am still using remnants left over from the Romance collection, which I used to decorate these pages.

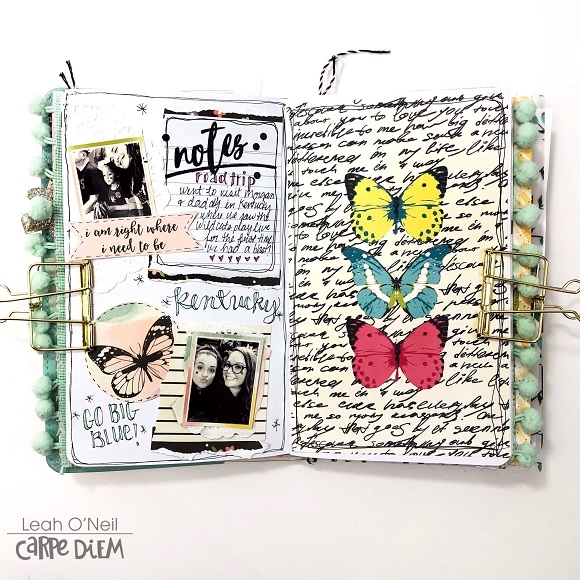
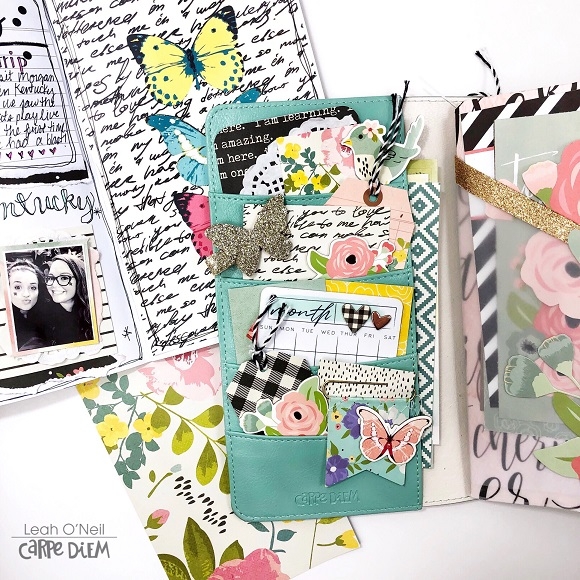
I’m using this insert for some random on-the-go memory keeping. Whenever I have random day-to-day memories I want to document, I put them in this TN insert. This layout was all about a fun road trip to Kentucky with my niece to visit my sister and dad to see our favorite basketball team play. We had a blast! I didn’t have a ton of photos to document from this short trip, but I still wanted to get these memories down on paper. I created this layout using a couple of pieces from the I AM collection on the left page, and this beautiful I AM free printable (available here) on the right side.

I mixed a few bits and pieces from the I AM collection and a couple of practical items like paper clips and sticky notes in the front pockets of my traveler’s notebook. I always have the goal of on-the-go planning and memory keeping in mind and this traveler’s notebook is serving that purpose very well.

Do you use more than one planner/notebook to plan? I always feel like I need at least two to serve my needs. I’m curious to hear more about your planning/memory keeping systems in the comments below or over on my instagram. Come say hello and check out some beautiful  planner inspiration on the Carpe Diem Planners Instagram while you’re at it. See you again soon!

Supplies

Pages