Odessa Reichel's Blog Posts

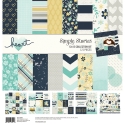
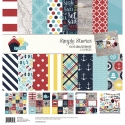
Hi! Odessa here with some SN@P! pages using the Heart collection. The colours and papers are so nice in this collection, I was so inspired!

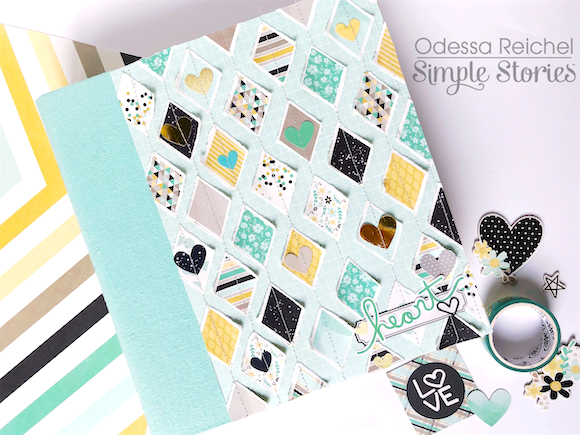
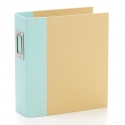
I used a Robin’s Egg SN@P! binder which went well with Heart. I was really inspired by all the diamonds so I covered the binder in them! I cut down a piece of cardstock to fit and then tore the diamond shapes by hand from the Missing You Cardstock and stuck them down to the cardstock. I added in a few hearts around the page to add some more dimension.

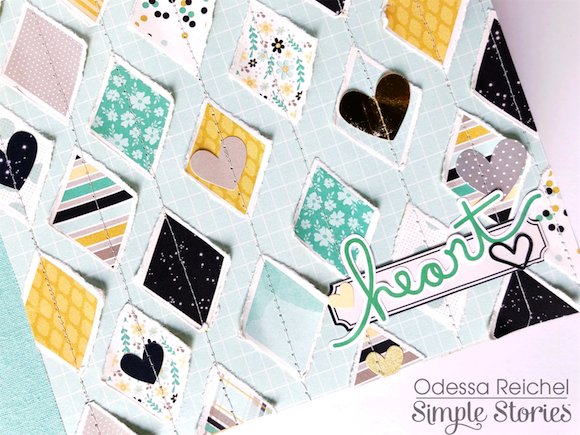
The diamonds really reminded me of quilts so I pulled out my sewing machine and stitched up the rows of diamonds before I attached the cover to my binder. I added some simple stickers in the corner and it was all done! I love the homey cozy quilt feel of this.

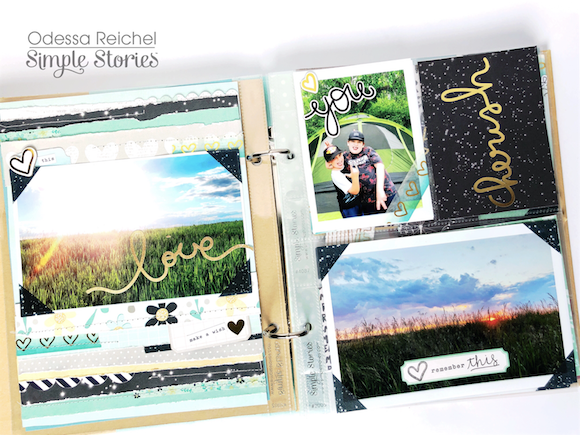
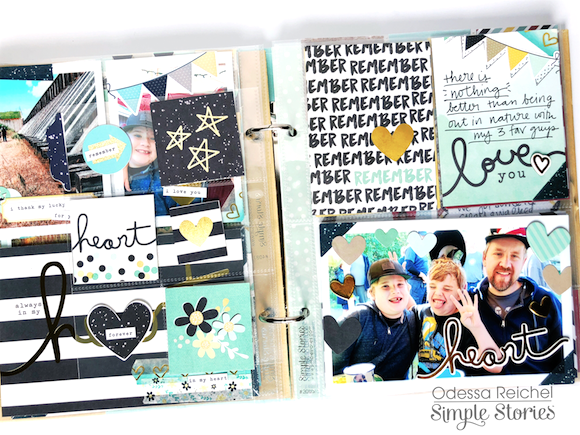
For my layouts I used some recent family photos from a few days away that were special to me. On the right I did a single page layout using one of my favourite phots and on the left a SN@P! page with some more photos, journal cards and stickers. I just adore the gold foil throughout Heart!

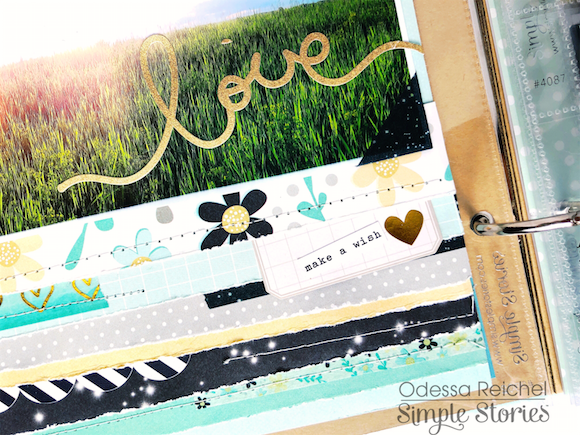
I decided to bring the torn and stitched paper feel from the cover to the inside so for my single page layout I tore strips from various Heart collection cardstock and layered them around my photo. I also added in some strips of washi here and there to add more dimensions before I stitched a few rows across the page. The Heart collection is full of great handwritten style word stickers so I added one to my photo.

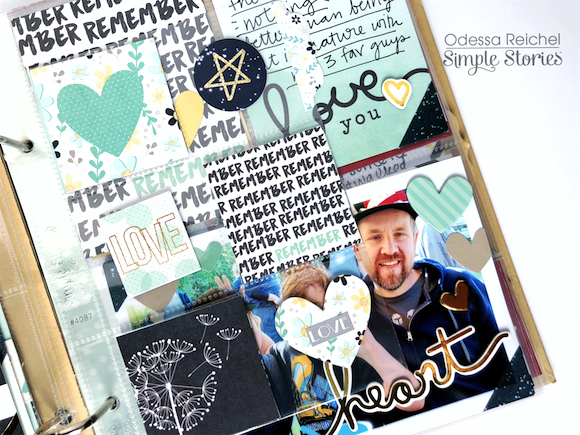
I had some more photos to get in my binder so I did a second page with Heart. This spread is full of things in pockets with a cute 4x6 vertical protector in the middle full of SN@P! cards, stickers and more. Throughout the layouts I folded washi over corners of photos to give it a vintage photo album feel.

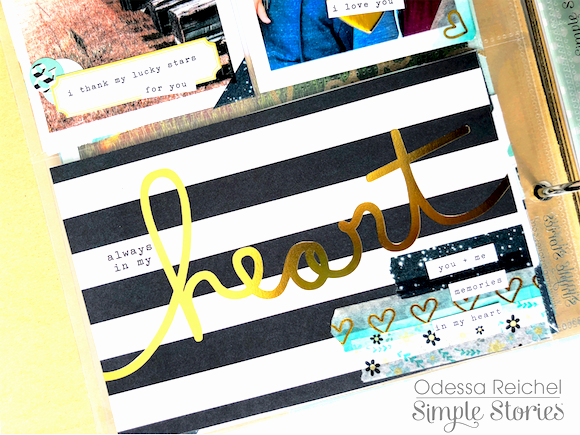
On this card I layered some of the gorgeous Heart washi tape to personalize the journal card a little more. Throughout my layout layering is a major theme! The colours and patterns lend themselves so well to oodles of layers and mixing and matching.

These vertical SN@P! protectors are one of my fav things. Sometimes I’ll fill them up with photos and sometimes I’ll fill them up with bits of ephemera and cardstock from the collection I am working with like I did with Heart here. It’s a great way to add dimension to a layout and sneak in some extra pieces that didn’t quite make it to my layout.

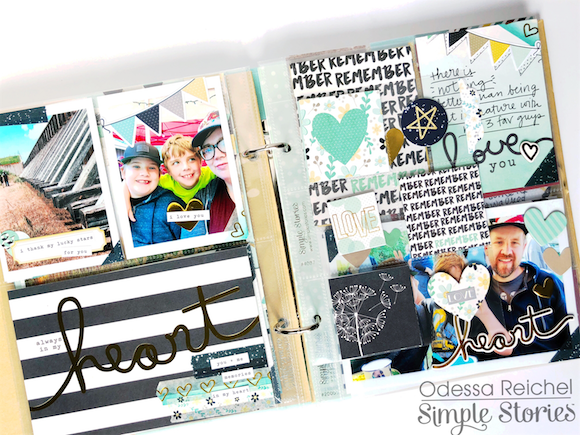
When you flip over the vertical protector my last page pops out. I added in some journalling, stamping, stickers and more to keep it all together. There were a lot of background people in my bottom photo so I used various hearts from the collection to create a boarder around my family and hide all that. I hope this peek into my pages has inspired you!

Supplies

Hi! Odessa here with some sunshine-y SN@P! pages made using the nautical Cruisin’ kit. When I first opened up Cruisin’ I was drawn to the rich blues, reds and yellows throughout the collection. I paired it with some fun photos and made a few pocket pages with it.

First up is my album cover. I used the new Robin’s Egg SN@P! binder which has a lovely blue spine that goes perfect with Cruisin’. I was torn between it and red but I wanted to keep the sea inspired colour theme going. I covered up the front of the binder with the Lost at Sea cardstock and embellished the corner with a simple cluster of Bits & Pieces, chipboard stickers and smaller stickers. I finished off the cover with a cute strip of washi where the binder spine and cardstock meet.

My first two page layout using Cruisin’ features a 6x8 layout on the left and some pockets full of fun on the right. You can really do anything in a 6x8 album, I love it!

I used some plain light coloured cardstock from the Simple Basics coordinating cardstock from the collection and layered different cardstock, stickers, chipboard and enamel dots around a watery photo. I had to include those cute nautical flags from the Cruisin’ chipboard. I used a scalloped boarder photo from the combo sticker sheet to give the page a nice edge that I echoed on the 4x6 photo on the other side of the layout.

I filled my pockets with a 4x6 photo and a couple of cut apart journaling cards from the Cruisin’ cardstock. I used oodles of phrase stickers from both the combo sticker and 4x6 sticker sheets and more enamel dots and chipboard to finish it off.

The next layout in my SN@P! album has a few more photos and cards. I just love the contrast between the peaceful blues and bright yellows in Cruisin’ so much!

The left side of this layout is more peaceful with some of my fav recent photos, a simple journal card and a few well placed embellishments. I had a square photo I wanted to use that I attached to a piece of the coordinating solid Simple Basics Cruisin’ cardstock and added some washi and chipboard accents.

The right side of this layout is packed with more fun and colour with lots of yellows. I filled up some 2x2 pockets with some of the journal cards cut from the 2x2 Elements cardstock and filled the larger pockets with a photo and some journalling. I added some more stickers, chipboard and bits and pieces to round it out and balance the peaceful feeling of the right side with a ton of fun.

I had a ton of fun using the Simple Stories Cruisin’ Collection with some fav watery photos and I hope I’ve inspired you.

Supplies

Hi! Today I’m here with a spread using the Dad Life Simple Set. I don’t tend to do a lot of a layouts about what a great dad my husband is specifically, but I think it shows across my albums and layouts. The Dad Life set was perfect for putting together a couple of pages that celebrate how awesome he is! With lots of bold oranges and neutrals it was the perfect choice to highlight some photos of him in his element, having fun camping with our boys. I used the Black Stripe Binder which goes really well with the collection!

I mostly used just the Simple Set in my pockets, the only thing I added were some Simple Stories letter stickers I had on hand in a well matched orange and black. I like how Dad Life uses those colours heavily without looking like a halloween party. The playful plaids and stars are so fun. I picked out a couple of great photos: one of my husband and youngest son, one of my husband in his fav camping place, keeping the campfire going and one of his sweet coffee set up which went perfectly with the Dad’s Rocket Fuel card form the 3x4 and 4x6 Elements Cardstock. I love the plaid Papa Bear too, when they were younger I referred to the boys as the bears so it’s pretty perfect. I embellished with a combination of the sticker sheet as well as cutting up some of the cardstock in the collection. These Simple Sets are so great for working on a specific theme because everything works together so well.

This photo was one of my favs from my whole batch of way too many from our camping photos so I knew I had to feature it. I cut down a piece of the cardstock to 4x6 to fit in the pocket and got to work. It’s a mini layout within a layout. I added a very thin mat to the photo with the black and white dot cardstock and then added an asymmetric plaid cardstock with a wide, hand torn edge on the right side to add some depth. I then added some of the great hearts and phrases from the sticker sheet and some letter stickers to finish it off. I felt like the orange or black letter stickers would get lost on their own, so I stuck down the black ones first and then layered the orange ones on top offsetting them for some dimension.

The Papa Bear is just so cute I had to get it in my pockets! I embellished the adorable plaid bear with some star stickers and a couple more stars cut out from the star patterned cardstock paper from Dad Life. The sticker sheet had a fun square sticker with a Papa Bear hat which I fussy cut to give the bear a bit of attitude.

If you’re looking to celebrate a dad in your life, the Dad Life Simple Set is fun and ready to go with everything you need to fill your pockets with a dad-centric layout.

Supplies

Pages