Hi everyone! Odessa here. Toady I am sharing some SN@P! pages I made using one of the new Flipbooks and the Simple Vintage Great Escape Collection. I love camping. Planning where we’re going to pitch our tent throughout the summer is one of my favourite things to do in the spring. We have so many beautiful places within a few hours of us and I like to check out as many as I can. Where we live it’s a lot of forest-y campgrounds so Great Escape is perfect to go with all my camping trips!
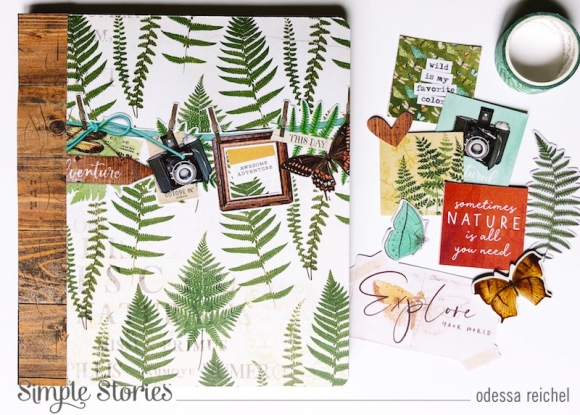
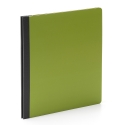
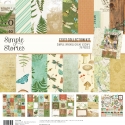
The new Flipbooks are such a great way to make mini albums that don’t take up too much space on my shelves and work great with the SN@P! cards and embellishments I use in my albums. I used the Simple Vintage Great Escape Wild & Free cardstock to make a cover for the Green Flipbook I chose to match the collection. I was going for kind of a field notes kind of feel with the cover and added a strip of the Time for Adventure cardstock down the edge to mimic a notebook.
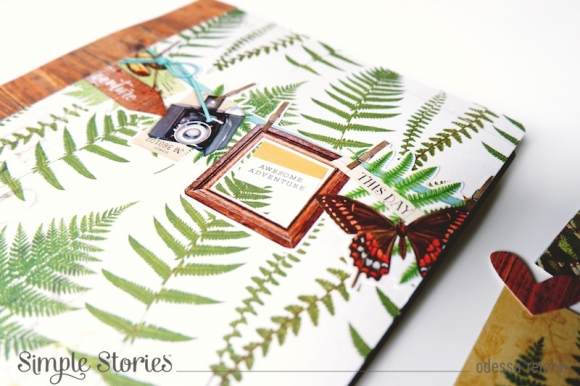
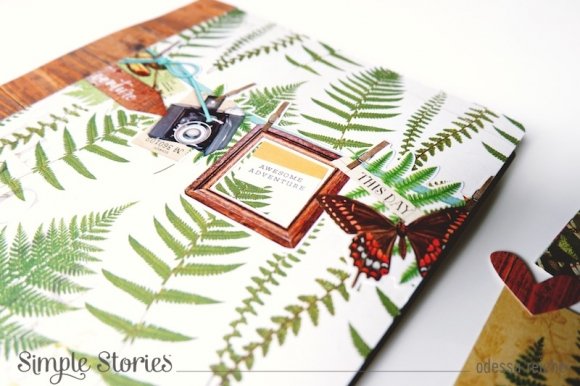
To embellish the cover I used one of the Simple Vintage Great Escape Banner Stickers across the front. These stickers are packed with imagery so I kept it simple and used one of the paint chips from the Combo Sticker sheet to fill in the empty frame.
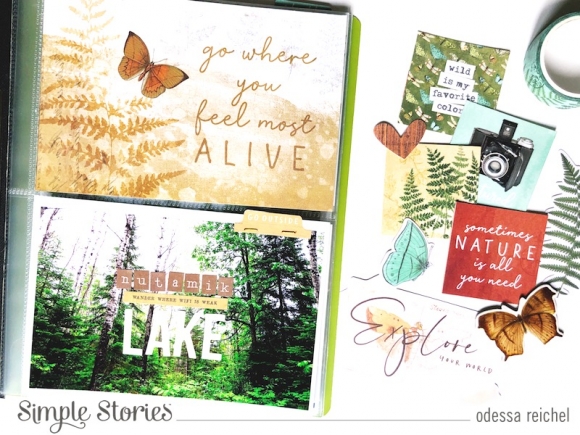
On the first page I have a 4x6 Journal card from the 4x6 Elements card stock with a big tree filled photo underneath it. I love all the woodsy colours of Great Escape!
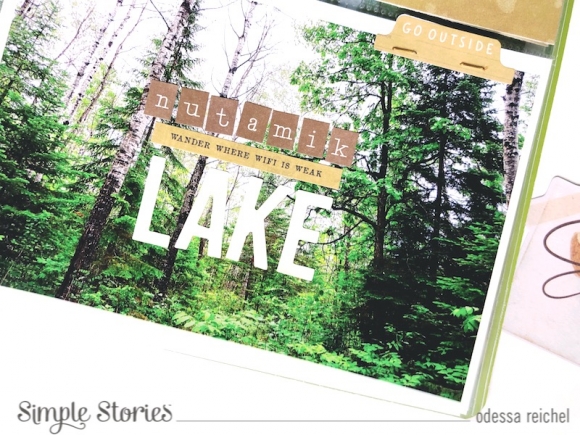
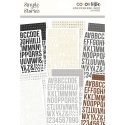
I used a phrase sticker and a tab from the Simple Vintage Great Escape 4x6 sticker book to embellish my photo and added in a title using the Basics Alpha Sticker Book. There’s a great range of sizes in some basic colours that make making this title easy.
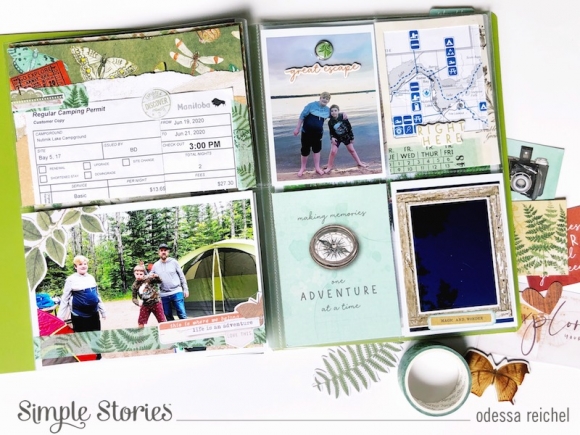
I love incorporating maps and things like that in my albums, especially from camping trips. I pulled out a map and camping permit to use on this page along with some photos. I used a mix of Washi, Bits & Pieces, stickers, chipboard and brads from Great Escape all over this page. I layered a few different cardstock papers under the camping permit to make it go with the vintage-y look. On the right side I used frames to highlight things. On the night sky photo I used one of the frames from the Combo Sticker sheet. So easy!
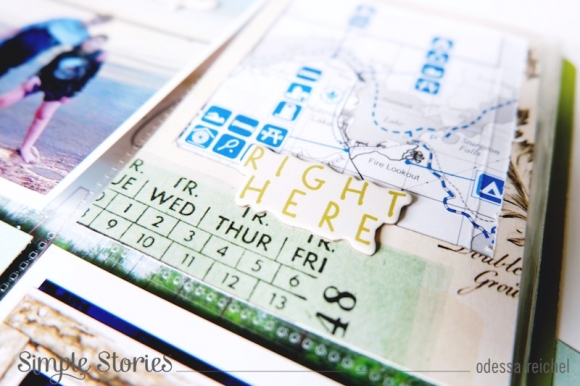
One thing I’ve been doing a lot lately is adding instant photo style frames to photos in my layouts. I used the Loose Yourself cardstock to cut a 3x4 frame for the campground map to make it blend in with the page better and added a sweet script chipboard sticker along the bottom. It really helped make the map work with the rest of the layout.
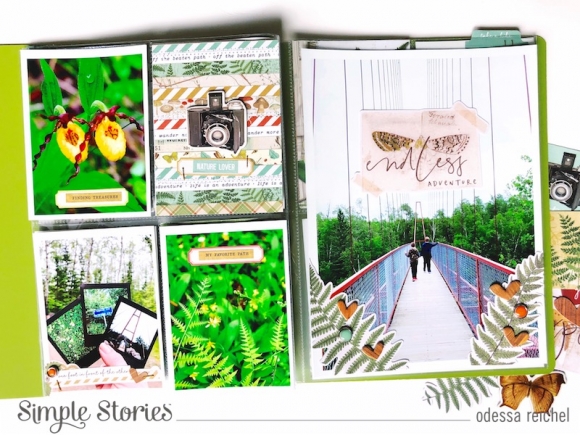
Another reason Simple Vintage Great Escape was so perfect is that I’ve become obsessed with documenting and identifying flowers and plants lately. I used some labels and phrase stickers from the Great Escape 4x6 Sticker book to label my photos in a vintage-y sort of style. I finished it off with a cute 3x4 Journal Card with a chipboard vintage camera stuck on top. It goes great with my plant pics!
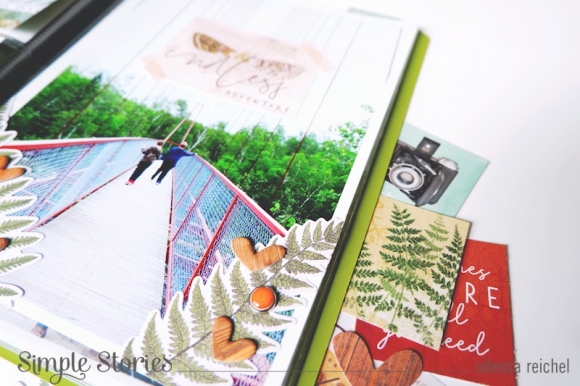
Big photos make me so happy! I printed this 6x8 of my boys and kept the embellishing simple with some Bits & Pieces for a title and the ferns and the chipboard hearts and brads along the ferns for a nice border. So simple and sweet.
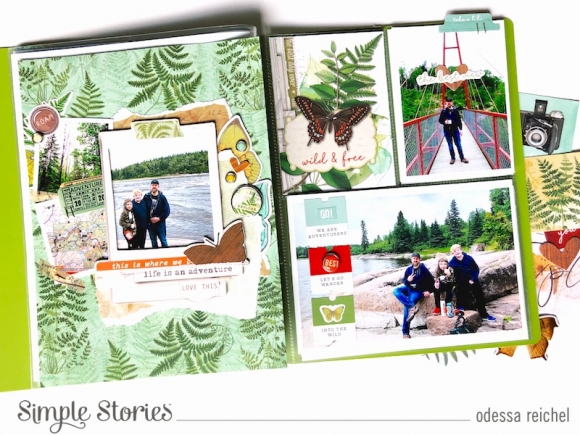
The last page has a nice trio of photos of my fav guys. I used one of my favourite Simple Vintage Collection things on the 4x6 photo - those little paint chips with colour matched embellishments on top. I think I’ve done that with every collection that’s had them.
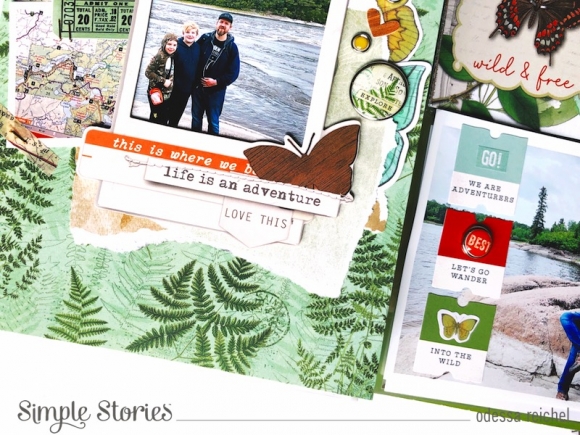
I did another 6x8 layout here, but with a smaller picture. I started by picking out a cardstock background, the hues in Born to Roam are so delicate yet wild. Then I used one of the easy to use Simple Vintage Great Escape Layered Frames over my photo. These frames are an instant way to embellish a photo. I could have stopped there, but I added in some torn paper layers, a couple of small photos and lots of brads and stickers and Bits & Pieces for even more layers!
I hope you enjoyed this look at my SN@P! Flipbook! They are already on their way to becoming a memory keeping staple for me.

