Odessa Reichel's Blog Posts

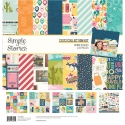
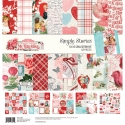
Hi! Odessa here with some travel SN@P! pages made with one of the newest Simple Stories collections, Going Places. It’s really cold and wintery where I am still so it’s really nice to spend some time with photos and scrapbook supplies that make me think of warmer days. Travel documenting might just be my favourite kind so I always get so excited at new travel themed collections from Simple Stories.

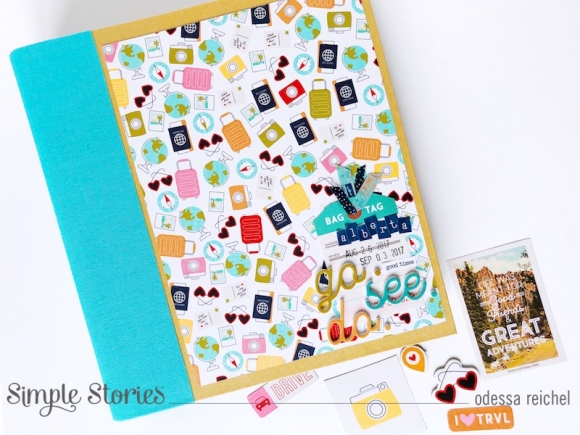
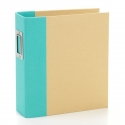
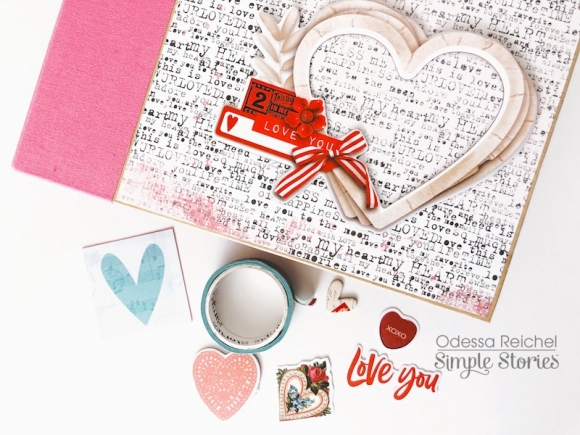
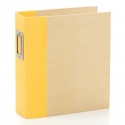
I used a Teal SN@P! Binder because the teal goes so well with Going Places. I did some simple embellishing to the chipboard cover with one of the papers from the 6x8 Paper Pad, it fits so nicely. I added a tag from the Journal Bits & Pieces and layered on some cute stickers and the new foam stickers. Cute and simple!

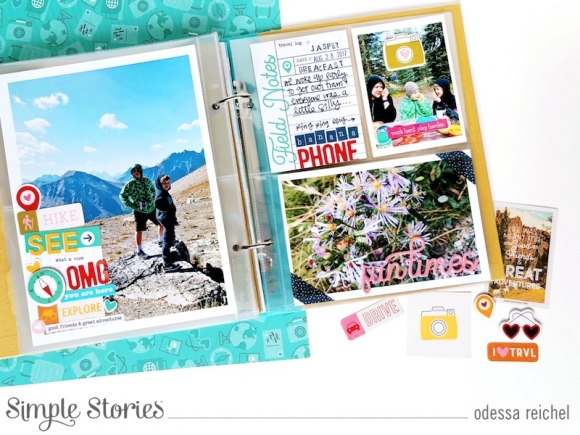
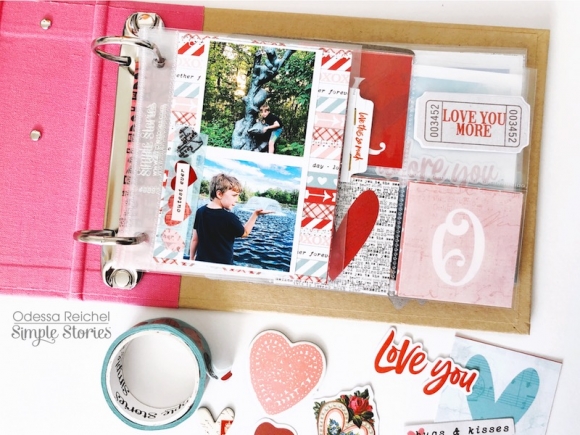
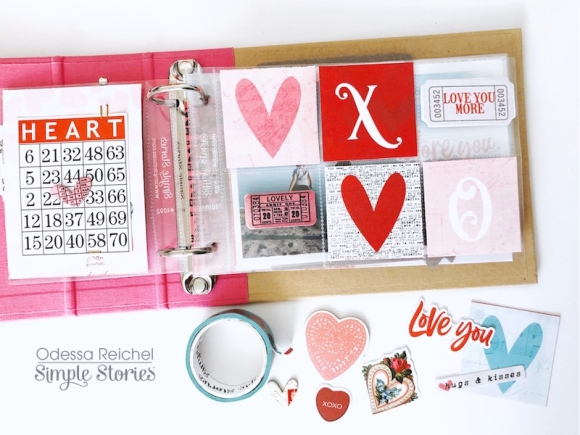
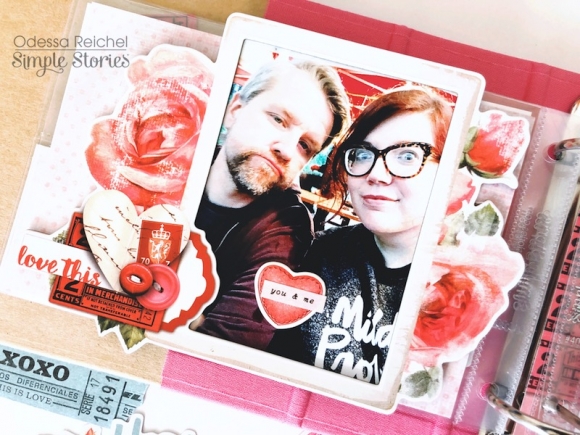
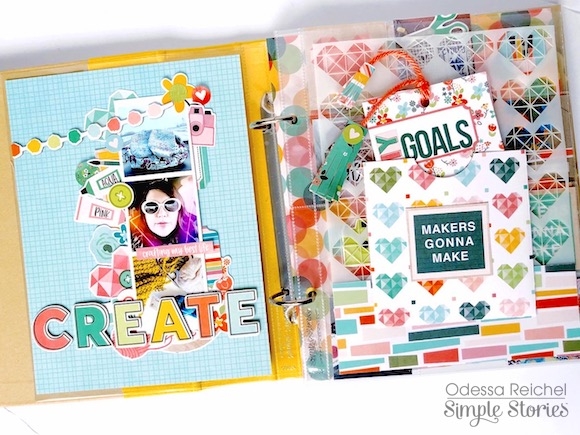
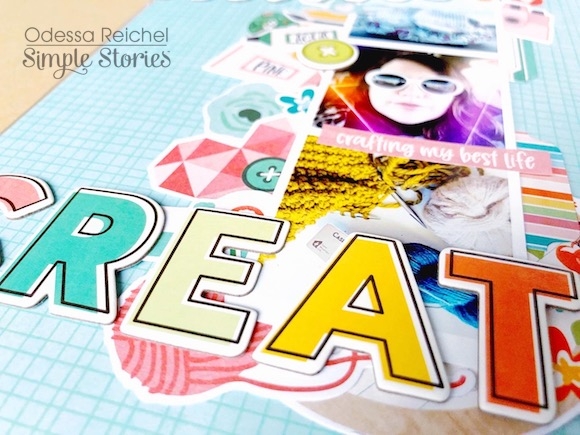
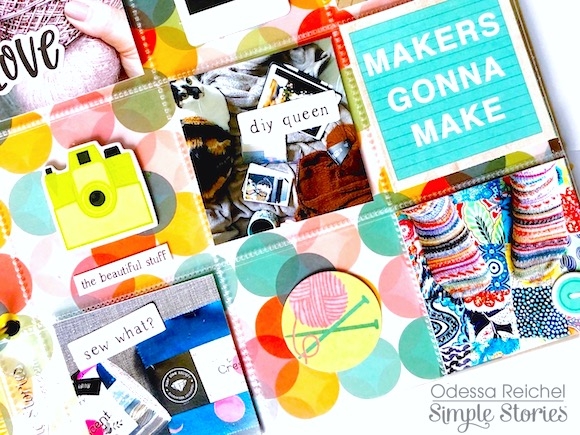
I love bright colourful collections like Going Places! Here I had a full sized 6x8 photo and some smaller photos next to it. On the smaller photos I used a mix of the alpha stickers from the 4x6 Sticker Book. A good colour coordinated alpha sticker is a great thing to have and this book has two! I embellished my photos with another foam sticker, some washi disguised as photo corners and a cute camera chipboard sticker amount other things. There are so many great journalling cards in Going Places which is just what I needed to tell a silly story on this page.

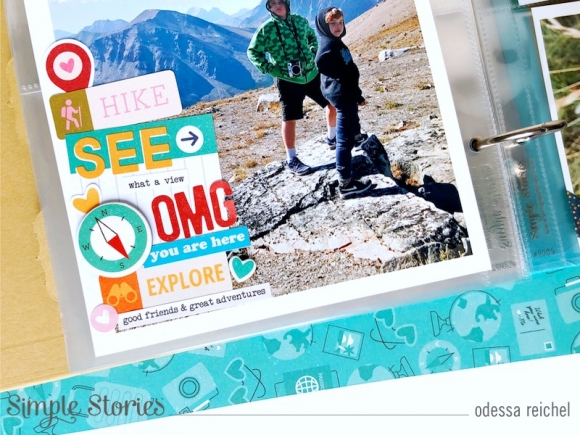
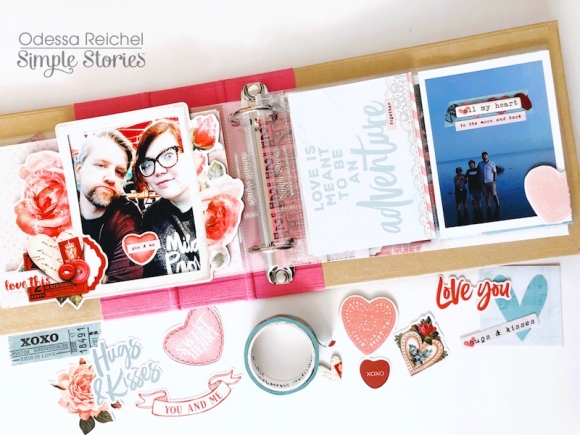
Embellishment clusters always! In the corner of the large 6x8 photo of my boys I clustered together Bits & Pieces, stickers, chipboard stickers and more to tell the story using only embellishments. I love the pops of teal, yellow and red in there.

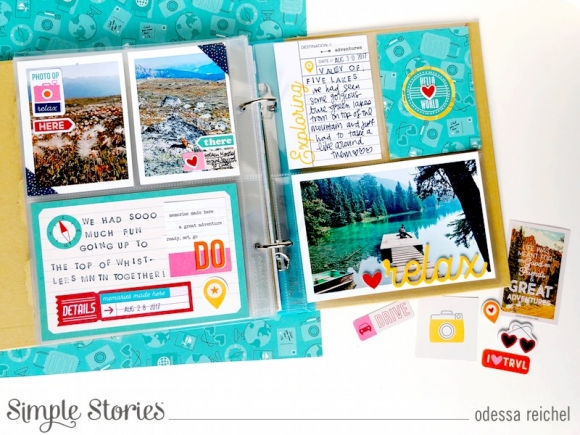
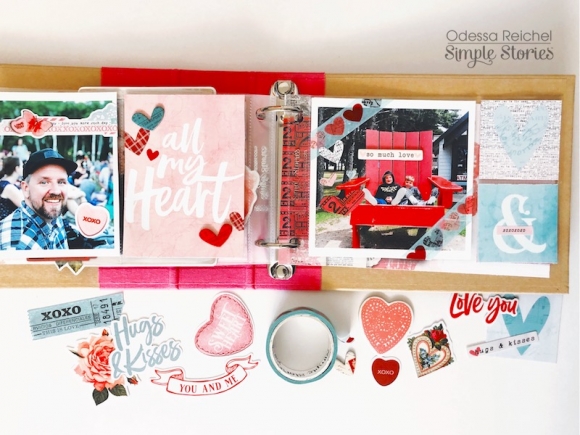
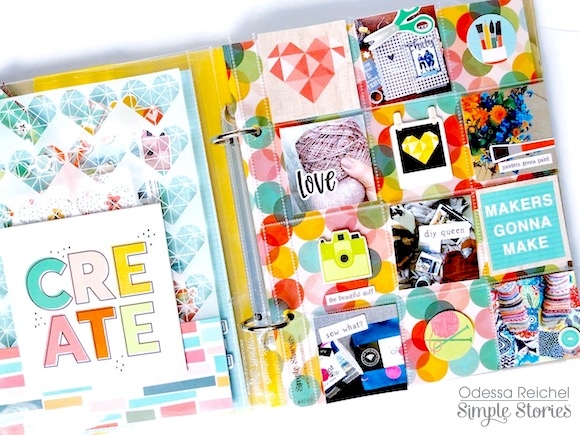
On these pages I used a lot of the teal, yellow and red elements found throughout Going Places because after working on the other page I was really into them. I used a 4x6 journal card with some Bits & Pieces along the edge to segment it. I added in phrase stickers to support my journalling. Above that I used some Here and There Bits & Pieces to support some nature photos  I wanted to include, they tied the photos into the rest of my pages well.

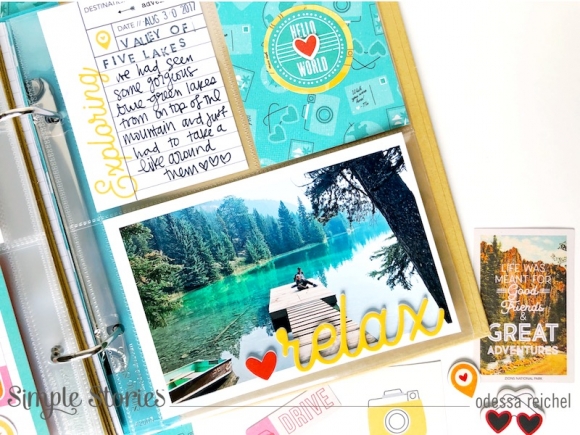
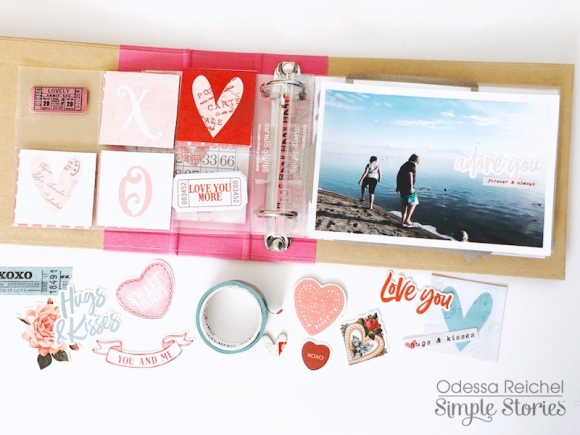
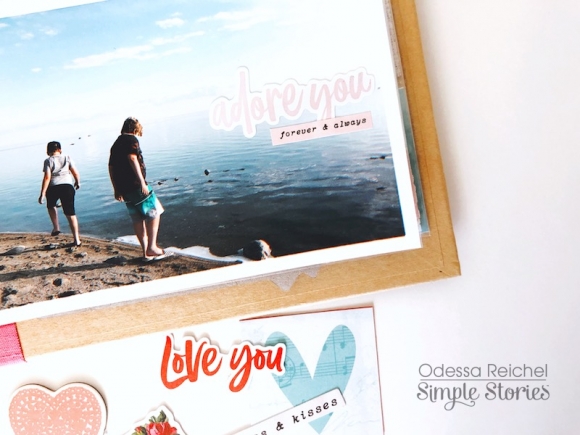
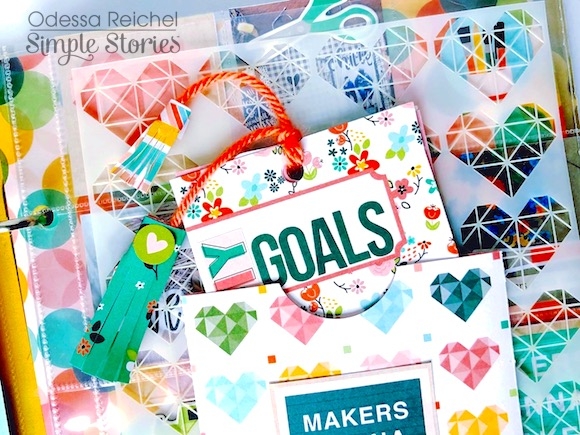
With this beautiful green-blue lake I went heavy on the teal and yellow to accent it. I added a yellow foam sticker along the bottom with a red foam heart to give the page a title. Foam stickers can go a long way when you have a photo you don’t want to embellish too much but tie into the rest of the page. Above it is a journal card with yellow elements along with my favourite pocket. Throughout Going Places there’s a pattern with passports and sunglasses and cameras and all things travel and I just love it! I cut down the cardstock to 3x4 and then added some embellishments on top. Simple but so fun!

I hope you enjoyed this look into my album and are inspired to try out Going Places with some travel pics of your own!

Supplies

Hi! Odessa here with a cute SN@P! 4x6 album using My Valentine. Valentine’s themed collections are one of my favourite themes to work with because hearts and pink and things like that are stuff I use every day. I used a 4x6 SN@P! binder to make a mini album about my fav people, my family.

For my cover I used the newsprint-y side of the Be Mine cardstock with one of the My Valentine Layered Frames on top. Simple yet so sweet.

I used one of the single 3x4 page protectors and added a photo strip with simple embellishments. The Mini Sticker tablet has some great tab stickers that were perfect to add along the edge.

On the backside I adhered the fun bingo card from the Bits & Pieces and added a heart sticker in the middle. Next to that I used one of the protectors full of 2x2 pockets which I filled with cards cut from the 2x2 elements and some ticket embellishments from the stickers and Bits & Pieces

The other side of the 2x2 pockets are similar to the side before for a fun decorative page. I used a 4x6 photo of my boys that I just love with some simple phrase stickers from the Combo Sticker sheet and the Mini Sticker tablet to embellish.

I just love all the pink in My Valentine! The pink phrase stickers in the Mini Sticker Tablet might be my favourite thing in the whole collection.

On the other side I cut down one of the coordinating Simple Basics cardstock sheets in Blush Dots and slid it in the 4x6 pocket. On top of the protector I attached one of the My Valentine Layered frames with a photo of my husband and I. Next to that is another cherished photo with some washi layered under phrase stickers and a cute chipboard heart in the corner. I used one of the 3x4 elements in the other pocket.

The Layered Frames are so fun to play with. While they seem like they’d be best for big single page layouts I also really like to use them on top of page protectors to add some dimensional embellishment without any fuss! 

Finally I finished it off with a few more loved photos and great embellishments from My Valentine. Lots of chipboard hearts, the super fun heart washi, phrase stickers and one of the border stickers from the Mini Sticker Tablet on a photo. The best part of using Valentine’s themed collections like My Valentine is that when in doubt you can always add more hearts!

Supplies

I like to set some crafty goals for myself at the beginning of the year and the Hey Crafty Girl collection was perfect for visualizing those goals! With bright cheerful colours and lots of different crafts represented it was so easy to start putting these pages together.

I used a SN@P! binder with a yellow spine and covered it with the Crafty & Happy cardstock. Love those stripes! I used the scallop border sticker from the Combo Sticker sheet along the edge to smooth out the transition between cardstock and album spine. To make it a little more fun I cut out a larger camera from one of the 4x4 elements and added a chipboard word sticker.

Inside the album the first thing is a full page 6x8 layout and an interactive page. I liked the idea of making my list a little more interactive with a tab booklet.

For my full page layout I printed out a photo strip with two current crafty projects and me! I picked some cardstock for the background (DIY Queen), loosely adhered my photo and started building around it! I added SN@P! elements, Bits & Pieces, stickers from the Mini Sticker Tablet and Combo Sticker Sheet and chipboard stickers. I like to start by finding my favourite bits and positioning them around my photo and then work on filling in the spaces until I’m happy. I added the CRAFTY chipboard stickers at the bottom and the chipboard pom pom garland on top to finish it up.

I had too much fun working on the page with my tag booklet. To start, I made a 4x4 pocket on top of a 6x8 page protector out of the Made With Love cardstock. I had planned to do some stencilling to go inside the page protector, but when the Hey Crafty Girl stencil was under my page protector I liked the way it looked so much I just added a 2 inch paper strip to the bottom so it would fill the whole pocket. I love how it adds more layers and you can see the page underneath peek out. Inside my little pocket is the tag booklet - I used a few different 3x4 elements and some actual tags from the Hey Crafty Girl Bits & Pieces and punched a hole in the top. I used some yarn to hold it together and made some cardstock tassels to go on the end. I just cut strips of cardstock and added fringe along the bottom and rolled them up around the ends of the yarn. So easy with a high fun factor. Little elements like that really encourage touching and actual interaction with layouts - I just love that!

Inside my tag booklet I used the big number stickers from the Hey Crafty Girl Mini Sticker Tablet to number off my goals. I also added in a tag made from the Simple Basics paper that coordinates with the colours of this collection and added lots of embellishments to make it fun,

Since the backside of the pocket I made was visible through the stencil, I used one of the 4x4 elements to cover it up. I left the rest of that page plain because I wanted the layers going on to shine! On the other side I used one of the SN@P! pages with all the 2x2 pockets to bring together some visuals for my crafty goals. I combined 2x2 photos with 2x2 elements and some embellishments. I put the Happy Place cardstock underneath to play with the negative space around the embellishments.

Working with Hey Crafty Girl was great way to make my craft goals visible! Now I can look back and add to it as I craft my way through 2020.

Supplies

Pages