Odessa Reichel's Blog Posts

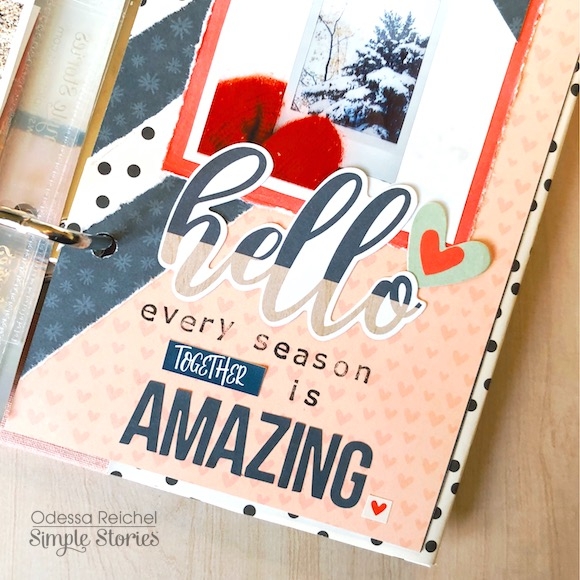
Hi, Odessa here with a couple of fun SN@P! layouts using Simple Stories Holly Jolly. It’s such a great Christmas collection - it’s pretty, full of bold colours and icons and just a little bit sassy. I’ve been using it a ton while catching up on my December 2018 album. Today Im going to share a couple pages.

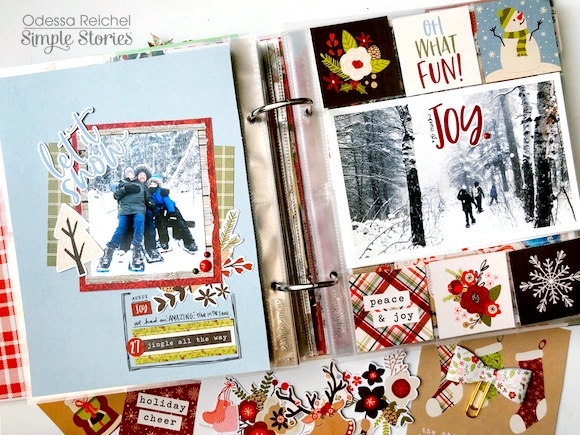
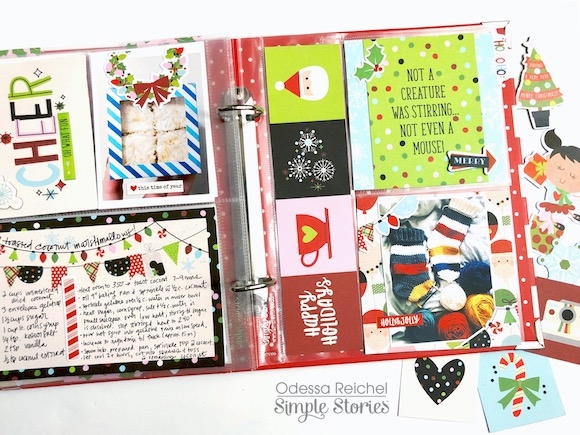
Here I did a full page layout next to a page with some cute 2x2 square pockets. I had too many great pictures from when we went winter camping and here I am highlighting a few favourites. The Simple Basics coordinating plain and subtly patterned paper made a great background for my 6x8 layout and the colours all go so great together.

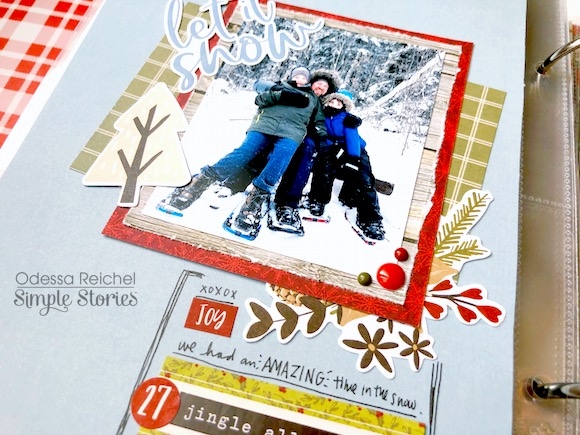
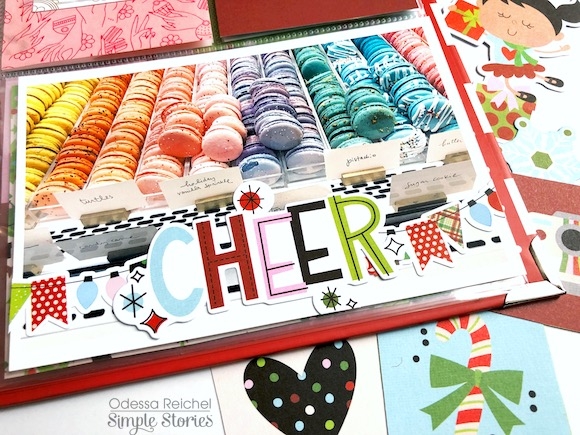
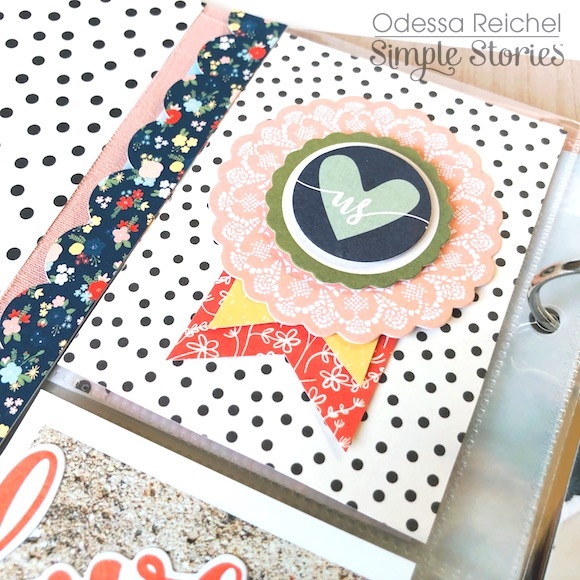
I love clusters and layers and a full page layout is the best way to play around with them because there is so much space! I layered various torn cardstock from Holly Jolly under my photo and went from there I picked out a sticker from the Combo Sticker sheet as my title and worked around the photo layering Bits & Pieces, stickers of all kinds and those perfectlyy coordinated enamel dots. I sandwiched a floral Bits & Pieces die cut between some of the cardstock layers to create some balance with the title in the opposite corner.

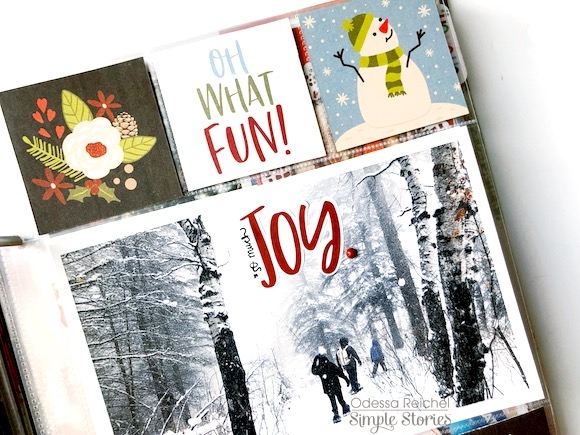
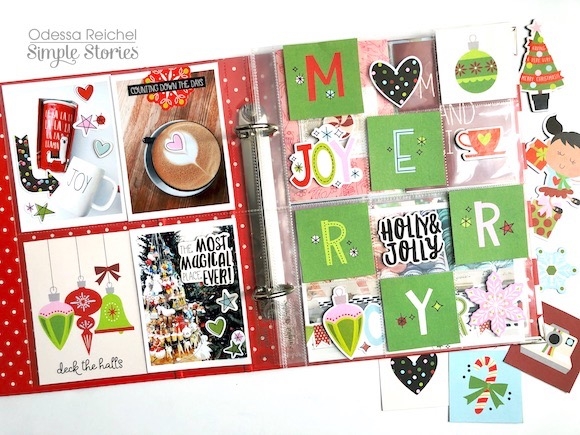
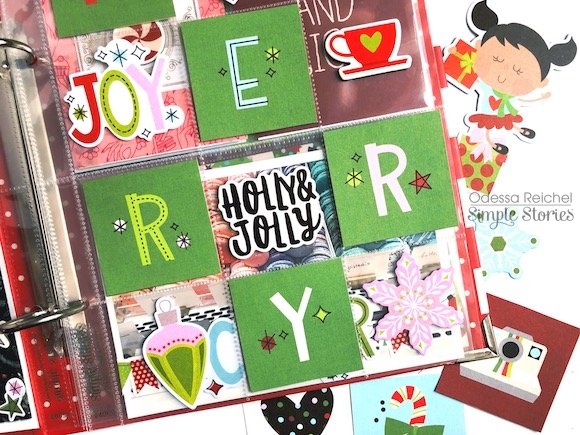
I filled up the 2x2 pockets on the opposite pages with some of the SN@P! cards and cut outs from the 2x2 Elements cardstock. I kept embellishing on the photo simple with a sticker and enamel dot.

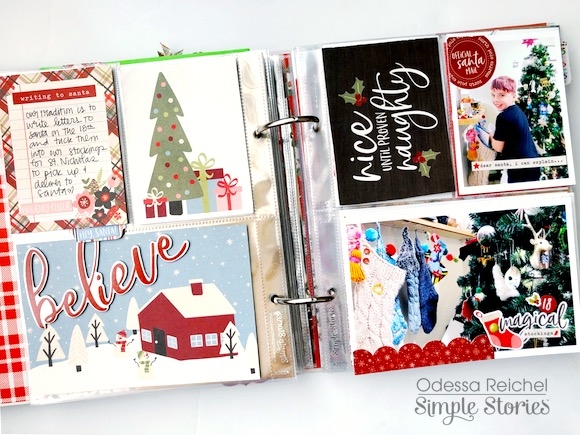
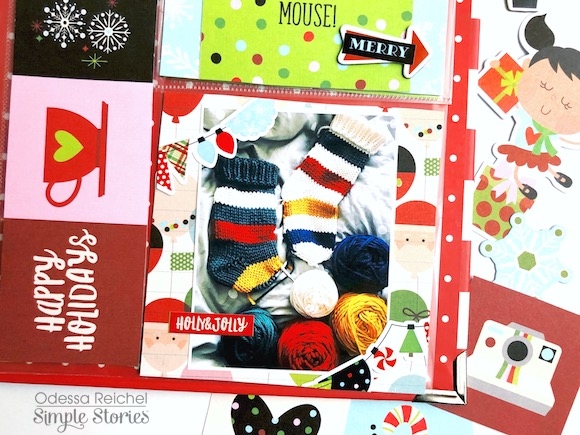
This SN@P! spread is about one of my fav family traditions, putting up our stockings and putting letters to Santa in them. I used a lot of reds around the page and love how they pop!

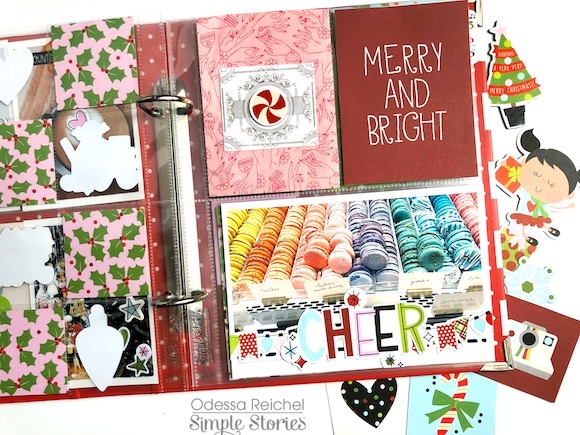
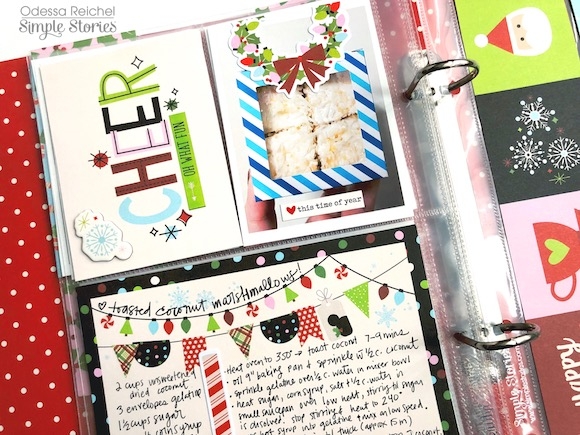
The corner of this 4x6 photo was totally in need of a little cluster of fun. I mostly used the Holly Jolly Mini Sticker Tablet because the smaller size of the stickers work great in a small area. I added an enamel dot and a border sticker from the Combo Sticker sheet to finish it off.

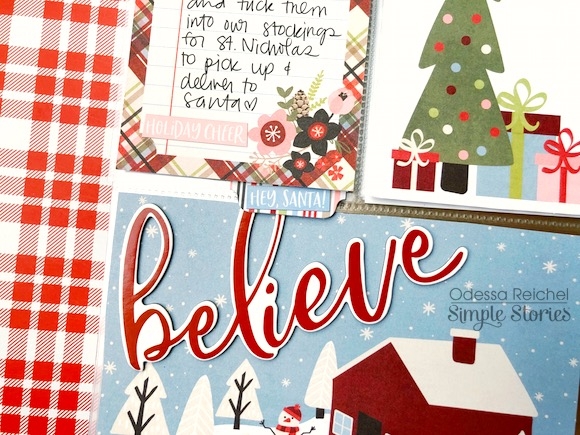
I added the “believe” chipboard sticker here and it looks so great on this cut out from the 4x6 Elements cardstock. I did some journalling on a SN@P! card and stuck it in a photo flip with a tab from the Combo Sticker sheet. I love using those tabs on a Photo Flip to play up the interactivity.

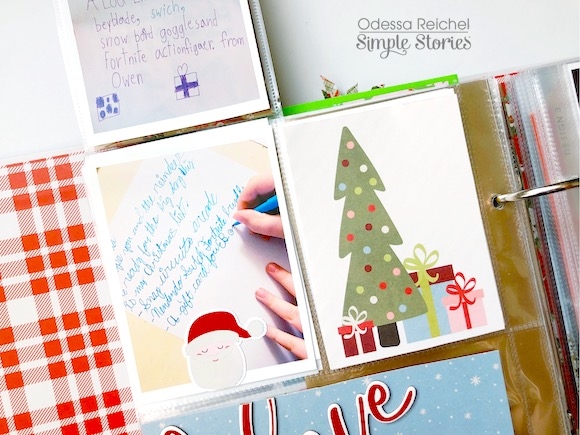
When the Photo Flip is opened up, my kid’s Christmas lists are revealed! I like to get those in my album every year to capture what’s hot, their handwriting and what they are in to. Using a Photo Flip was a great way to get them into this page without having to add a separate page for them.

I hope you enjoyed and are inspired by this look into my December Album! Christmas scrapbooking is probably my favourite kind of scrapbooking. It’s my second year using just Simple Stories collections to put together my album and I really appreciate the range in the wintery and holiday collections so there is one for any mood of layout.

Supplies

Hi! Odessa here with some more Christmassy SN@P! inspiration. I used the oh so cute Say Cheese Christmas collection to work on a couple of pages in my December album. The colours are so much fun and it’s all so playful!

I really liked the 2x2 cards that spelled out Merry on the 2x2 Elements page so I made a fun page focused on them with some cute Say Cheese Christmas Bits and Pieces and Chipboard stickers in the additional pockets. On the other side I combined some fun pics (new Christmas mugs!!) with some of the whimsical elements from the collection.

The pinks and greens together in Say Cheese Christmas are so good. I like putting die cuts in the 2x2 pockets to add some layers by letting what’s underneath peek through.

Under all those 2x2 squares is a bright photo of macarons and some general holiday ephemera. Say Cheese Christmas is perfect for fun and magical holiday stories.

On the bottom of my colourful photo I used the festive banner sticker from the Combo Sticker sheet with a big word from the Bits & Pieces pack. It’s perfect!

On this page I have a recipe on one side and just some more holiday fun on the other. The left side of the page is more subtle in colour while the right side pops!

I used one of the 4x6 Elements cards to add in a recipe which has been so important to me in this album. Baking is such a big part of Christmas for us that there are pages dedicated to recipes we made so we can look back on them. This big journal card was the perfect size. The other embellishments and cards on the page are similar colours and designs to keep it harmonious.

On the other side I went bold and bright. This particular page protector has a long 2x8 pocket along the side and 2 4x4 pockets. I cut a strip of squares to fill the 2x8 pocket - it fits and looks great! Next to it is a 3x4 photo on top of a cut down 4x4 piece of cardstock with those festively fun banner stickers to anchor the corners.

I thought the combination of the 3x4 Element that said “Not a creature was stirring, not even a mouse” contrasted with a photo of my cat in front of the tree would be really fun so I used the Photo Flips. I used a tab sticker so it’s a bit more obvious to flip it open with the photo of my cat adhered to the same cardstock as used in the photo on the bottom. I added some stickers like that little Santa hat on top of her head to be a little more playful. The Hello Santa 4x4 card really finishes it off.

Supplies

Hi, Odessa here with a fun project I love been working on with the So Happy Together collection from Simple Stories! Full of gorgeous patterns, fabulous colours and all kinds of icons and phrases and more perfect for all kinds of everyday family stories.

I’ve been into mini albums a bit lately and wanted to try something new. The Blush SN@P! Binder goes so well with the colours in the collection that it was an easy choice. Because the binder has a chipboard cover it was really easy to turn into a 3x8 binder! I just measured (twice of course) and cut it down. So easy! I then covered the chipboard with the dot pattern from the Happy Heart cardstock. I love how it looks. There are so many good patterned cardstock sheets in So Happy Together it was hard to choose which one to cover my binder in!

Once it was covered I added some of the chipboard stickers from the 6x12 Chipboard sheet to embellish it. 

On the inside I had fun playing with different kinds of pages and layers. Here I have a full sized photo and one of the Vertical Page Protectors with spots for 3x3 photos. I cut a 3x3 square from the 2x2 Elements Cardstock to make a card to fill the pocket. I added some cute hearts to finish it up. I love a collection with lots of hearts! Finally I used the tab stickers from the Combo Sticker sheet. I like to use those on smaller layers.

I kept it simple on my full photo with some phrase stickers to add some words to my layout while keeping it neat. And a nice chipboard heart that matches the cardstock I used to cover the album.

Here is the other side of the vertical page protector and one of the larger page protectors I cut down. It normally has 2- 4x6 pockets but I cut it in half and used the scallop border from the Combo Sticker sheet to close it up. I love the added layer that edge adds! 

For this 3x3 pocket I layered torn strips of the coordinating Simple Basics cardstock to create a rainbow of the main colours in the collection and used one of the Bits & Pieces with a camera on it in the middle. 

My final layout has more of those gorgeous dots. I can’t get enough of them! I cut down and hole punched a page from the 6x8 Pad for a more traditional layout.

I tore some cardstock strips to put on top of my background. I love a good torn edge! I used some Bits & Pieces and various stickers from the So Happy Together collection to add some journaling.

The doily shape in the Bits & Pieces is so cute, I had to use it! Using other die cuts and cardstock from the collection I turned it into a cute ribbon! I had so much fun documenting some family memories with the gorgeous colours and style of So Happy Together.

Supplies

Pages