October 2014 Blog Posts

Hello!  Shellye along with a "Thankful" Mini Album/ Journal using the beautiful "Sweater Weather" Collection and a pumpkin shaped die.  My inspiration for this type of album/journal derives from the "thankful" posts that I've witnessed on Facebook!

After die-cutting the cover pages from heavy chipboard, I dressed them in patterned paper and then distressed around the edges with a walnut ink pad.   

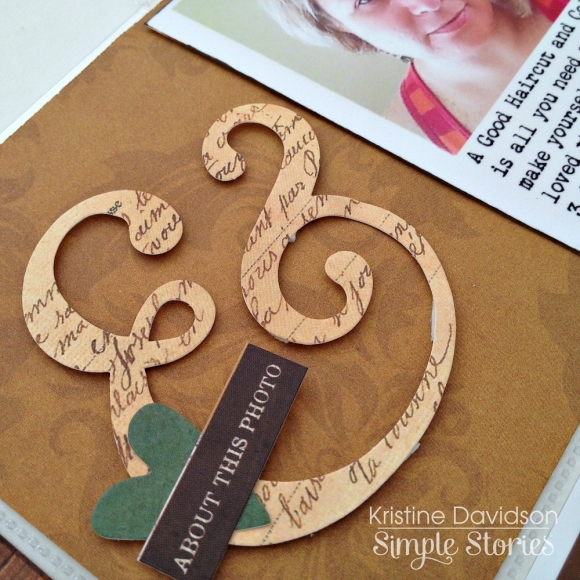
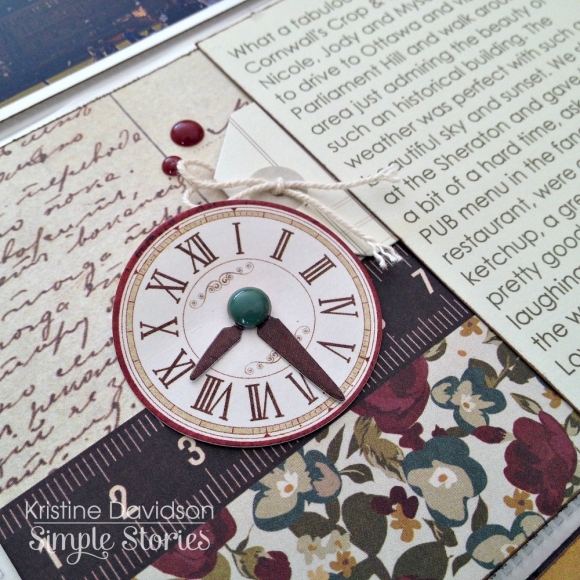
I matted the journal card and added some machine stitching for an extra-homespun feel.  Before attaching to the front of the album, I added the cute brad banner embellishment.  

The inside of the album can be made up of patterned papers cut to size, journal cards, pockets, etc.  

The pockets and tags were constructed from the Kraft A2 Card Bases & Envelopes.  The envelopes were trimmed down to a height of 3.75", leaving the width as is.  The cards were cut in half along the crease and then to a width of 5.25".  I also added punched tabs to the top of each tag.  

I used a ruler and fine tip black pen to add lines to the backs of the envelopes...great spot for extra journaling!  

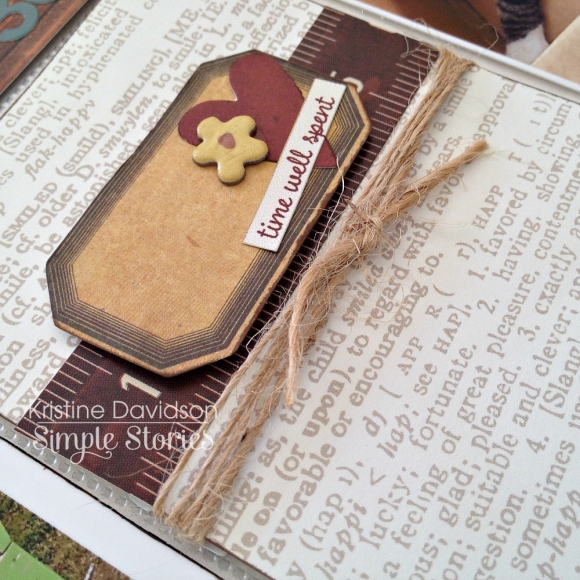
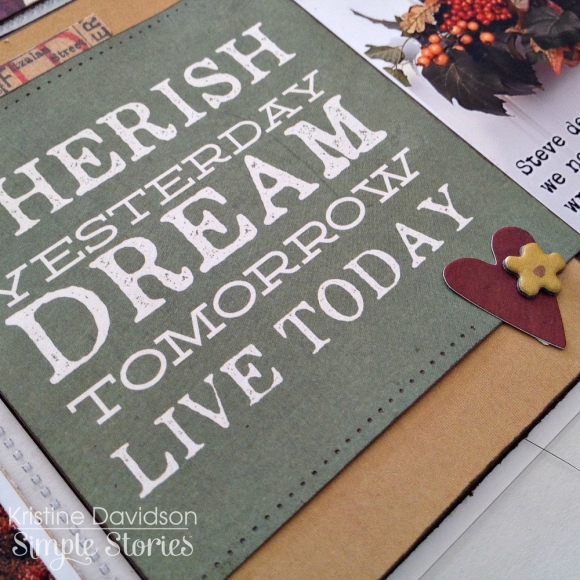
 You may chose not to add bulky embellishments to the journal cards if you're planning on adding photos to that area.  On the pocket page fronts, I only embellished the top or bottom corner so that there is plenty of room for small pictures.  


When planning the page's embellishments, keep in mind how the opposite page will lay against it.  A bulky embellishment placed against a page with a bow may cause damage to the more delicate piece.


Get input from family members and let them each have a tag to write what they are thankful for or their favorite Fall memory!  

 Keep it simple by allowing the beautiful artwork of Simple Stories do the work!  

Add even more pages if you plan on keeping a "12 Days of Thanks" or a "November Gratitude Journal"...you may even wish to adapt this idea to a SN@P! Binder...what fun!

Thanks for joining me today at Simple Stories!

Supplies

Hello there! Donna here today, and I have a few simple fall cards to share with you. This is my absolute favorite time of year, but it is the busiest too! With all the extra activities going on, I tend not to scrapbook much during this season. So this year I wanted to keep the creative fires burning by making a few cards. The first two feature Simple Stories’ Halloween collection, Frankie and Friends.

Isn’t that little witch cute!? The die-cuts, brads, and chipboard stickers are all so adorable, as are all the papers. The witch featured on this card can be found on the stickers that are part of the collection. They are a combination of letters and shapes on a single 12x12 sheet and include a lot of great options for layouts, Life Documented pages, and cards.

Frankie is pretty cute too:

The speech bubble that I used as the greeting was cut from the Happy Haunting paper. This collection features so many great patterns and colors and I had a lot of fun creating with all the different elements!

Truth is I love all of the fall collections released by Simple Stories. Sweater Weather is the obvious one, but Legacy has a very fall-friendly palette too. The next two cards feature papers from the Legacy 6x6 pad and the Simple Basics Kit.

I used my Silhouette Cameo to cut out the tree above. It is part of the collection of shapes from Simple Stories and can be found through the Silhouette Design Store, here.

In the spirit of keeping things simple, the next card uses a very similar design but I made a few small changes and came up with this:

The pop of blue in Legacy offsets the yellows, browns, and reds of that collection so beautifully. And as always, all of the collections coordinate well with one another. The sentiments on both of these cards actually come from the Sweater Weather Bits & Pieces.

Thanks for stopping by, and happy fall to all of you!

Supplies

Hi everyone. Heather here with you today.  I know it isn't even Halloween yet but who can resist this gorgeous Cozy Christmas collection? I just had to dig in...

Y'all know I like mixing my patterns up so when I saw this snowflake file while perusing through the online store, I just knew I had to supersize it as use it as a focal point for my photo.

How to:

  • Cut a large snowflake approximately 10" in diameter.  
  • Adhere coordinating pattern paper behind the cuts.
  • Adhere to the background paper, so that it hangs off the edge and covers 7 - 8" of the paper.
  • Fussy cut a flower from the Happy Holidays paper and adhere to the center of the snowflake. Add a small die cut and brad in the center.
  • Add your photo with frames in the bottom right of the snowflake.
  • Punch the right side of the background paper with a scalloped edge. 
  • Add ornaments, sentiments and other embellishments, flush against the scalloped edge
  • Stitch a coordinating paper behind the scalloped edge so that you stitch over the sentiments.
  • Add additional embellishments to your liking.

Supplies

Hello Friends! 

It's Kristine Davidson with you today and I am here to share a Life Documented spread featuring Legacy!  

When you first look at the Legacy Collection you might see papers that are great for those antique photos or black and white. I can prove to you that it's not only for those antique photos but for any day to day photos as well. Mixing older looking papers and new pictures isn't as hard or awkward as it might seem!

As you can see I added lots of  color and modern photos with the "antique" looking papers and I personally think it goes quite well together.

Here are a few close up photos of the Left Side of my Life Documented page.

The Right side of my spread includes a black and white photo and the others all have colors.

So keep that in mind when shopping for products. Just because it looks antique doesn't mean it has to be!

Here are a few close up photos of the Right Side of my Life Documented page.

I hope you enjoyed my Life Documented post today and I hope you enjoy creating with your Simple Stories Legacy Collection!

Hi, Angella with you today creating with the new DIY Christmas advent countdown, perfect for a gift or something fun for home décor.

I love the fresh crispness of the range and how versatile the range is for all types of holiday season.

Here in Aussie land we have a such a hot summer Christmas, while other parts of the world are covered in glorious snow!

So I began with a white chipboard triangle for the tree, mounted onto a straw threaded through a cotton spool for the base.

I attached two DIY clothespins so I can change my day countdown, using the DIY Christmas Advent Bits & Pieces for my countdown numbers.

I have to make special mention!  I am so in love with the Clear photo stickers, they are a must to have this christmas!

Thanks for joining me, have a great day!

Hi everyone! Nancy here with a couple of Simple Stories projects that I’ve been working on. With Halloween season in full gear, I was looking forward to creating with the whimsical Frankie and Friends collection. The first icon that caught my eye was the green jar of googly eyes and that piece was the jumpstart for this layout design:

I lined up all of the text, photo, and chipboard on the right side of the page to create a clean, linear design.

The border of half circles mimics the eyeball jar and repeats that shape.

A few splatters of mist, a few swishes of watercolor paint and some real googly eyes add special little details that keep this page from being anything but flat!

I also used the new Say Cheese SN@P! Set to create this quick and simple layout.

Here I centered all of the elements (just about) and framed the most important part – the photos!

The page title is sewn down the center to add texture and ‘underline’ the word Magic.

Some splatters of mist and layers of die cut add a pop of color and texture to the top of the page. Lining up photos and centering all of the embellishments is a quick and easy way to create a bold page!

Supplies

Hi!  Nichol here with a layout and card featuring the Sweater Weather collection (with a little Legacy thrown in since it matches in color so well). 

First up I created a layout featuring some old photos of my two oldest kids when they were small and sweet! I wanted to scrapbook these less than perfect photos because of the emotion and memories they evoked. To make the photos shine, I die cut one of the 12x12 Sweater Weather patterned papers using a design from the Silhouette Online Store. I sized the circles to fit across a 12x12 page. I die cut the "inside" pieces of the circles from Sweather Weather and Legacy 6x6 patterned paper.

To make the title really "pop" I combined plenty of chipboard stickers from the Sweater Weather Chipboard Stickers. Grouping the images together makes the maximum impact (plus aren't these little critters the cutest!).

Any of the circles I didn't fill with patterned paper, I filled with sweet photos. Then I added Sweater Weather Cardstock Stickers, DIY Burlap Stickers, Sweather Weather Enamel Dots and sequins to round out the design. 

I loved those little Sweater Weather critters so much that I grabbed the cardstock versions and put together a quick card. 

I embossed a cardstock background for subtle texture and die cut a filmstrip frame, then popped these cute critters inside the openings. I love creating cards like these with stamped and colored critter images however they can be time consuming. These sweet critters took no time and made this card come together in a matter of minutes! Love.

Want to see how I put both of these fall-themed projects together? Check out the video below:

Supplies

Hi Simple Stories fans, Rebecca here! I've always liked Halloween, but once I had little kids who loved to dress up, I started to really enjoy it! A few years ago, the whole family started dressing up and that made it even more fun. I thought it would be great to have a mini album and add our Halloween photos in each year.

I think I've mentioned before that I am not much of a mini album master? And then Simple Stories SN@P! entered my life and now I am a mini album fiend! So of course I turned to a black faux-leather SN@P! album and Simple Stories Frankie and Friends Collection to document our Halloween's past.

 The album came with several different varieties of page protectors like this full 6x8 pocket that holds the title page.

 After the introduction on the left, I started with last year's photos. Since the album is a two-ring binder I can just open and add new pages here each year!

I love chopping a 4x6 photo in half to fill two side by side 3x4 pockets like I did on the bottom left. On the right, the 12x12 Collection kit includes a sheet of 3x4 journaling cards for telling each year's story.

 I was sure to date each journaling card so I could remember what year the following photos were from.

 The Frankie and Friends collection also includes a sheet of paper with cards that cut down into the 2x2 square size.

The nice thing about all the cards and papers is they are double sided so when the backs show they are equally as cute!

It is so fun to flip through the pages and watch as time reverses and the kids get smaller lol!

For each year I included one open journaling card to jot down a few memories.

I even printed some 4x4 photos for the right side here. I cut a long strip of lined paper to journal on and decided to mix my handwriting in here since typing one or two words on every line sounded too tedious!

The Frankie and Friends collection kit also includes a sheet with 4x4 cards which I included here.

And last but not least- my oldest's first Halloween.

And all this was done in one weekend! Eight years worth of Halloween all documented and plenty more room to add future Halloweens!

Supplies

Pages