December 2018 Blog Posts

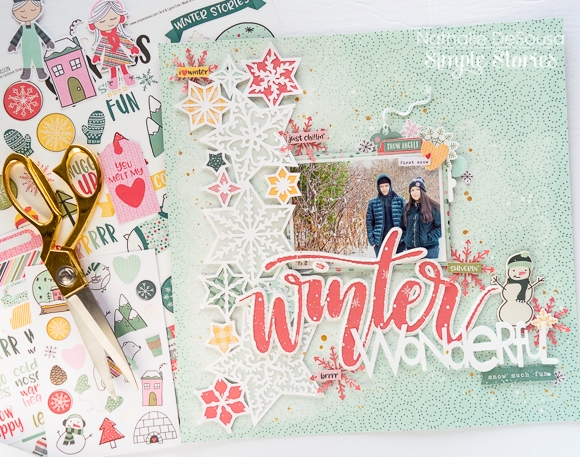
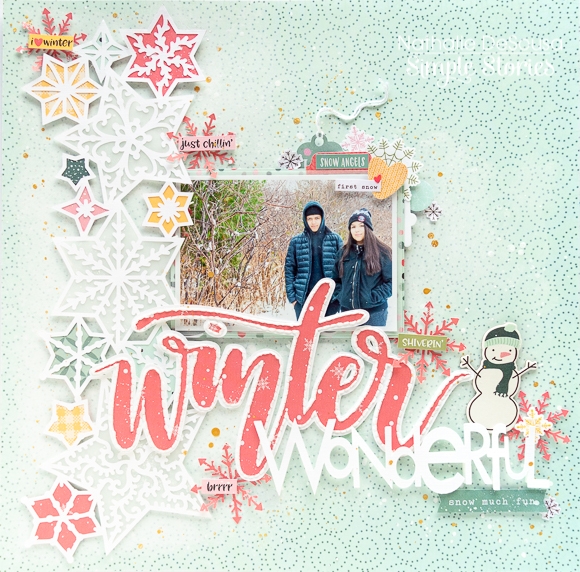
Hi there!  Nathalie with you today with a new project that celebrates all the fun, cold and so very wonderful memories that Winter brings with it.   The new Simple Stories Freezin' Season  with its vibrant colors and cute designs is just perfect to document all those winter memories in a fun and colorful page.

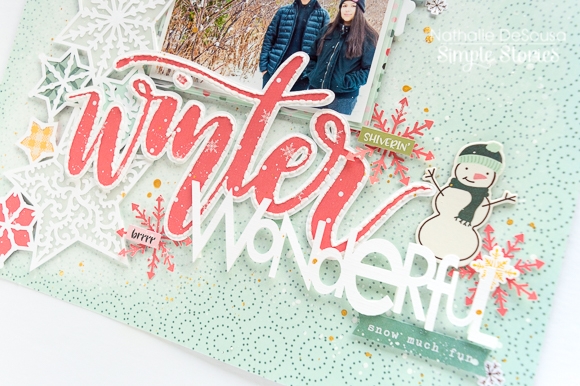
To create this page all about this year's first snow fall in Toronto, I pulled a few cut files from the Silhouette store and Just Nick Studio. My idea was to bring snowflakes and a large title to tell the story of the day


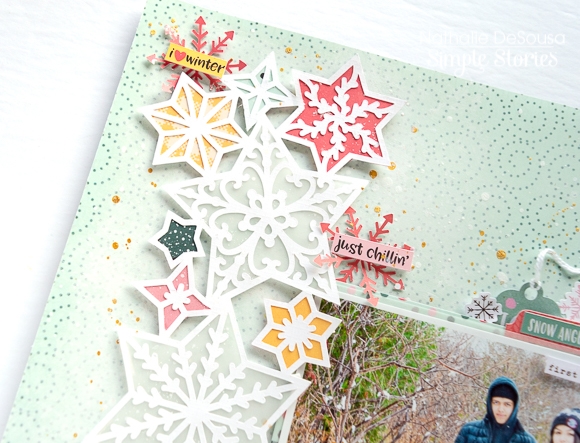
I chose to cut the stars from white cardstock and back them with papers from the Freezin' Season collection.  I also decided to hand stitched the title -cut from the Frosty Friends paper- to a white cardstock offset, so that it would stand out on the page.

Before starting to handstitch the title, i added a bit of white acrylic paint to the Snuggle up paper so that it would white/lighten a bit of the background, and let it dry while i completed the title work.

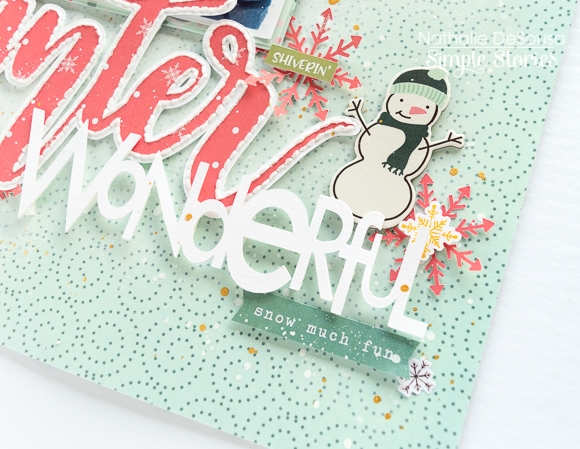
Once it all ready, I used some foam adhesive to adhere everything to the background.  Then it was all about embellishing!  First i added a few stickers at the bottom corner of the title, and then added a few snowflakes also cut  from the Frosty Friends paper.

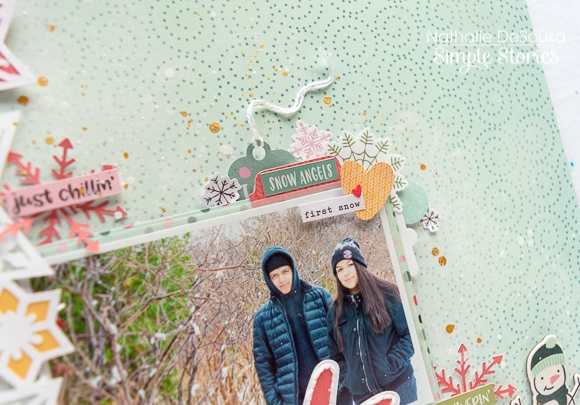
SInce the picture is nestle between the title and star, i just added a cluster made up of stickers and die cuts to the top right corner of the picture.  I will be adding the lines of journal to the bottom of the layout in a later date.

I really hope this inspires you to pick the new Simple Stories Freezin' Season collection, it is colorful and so versatile, too.  I cannot wait to see all your projects created with it.

Have a Blessed Christmas and a Happy New Year!

Supplies

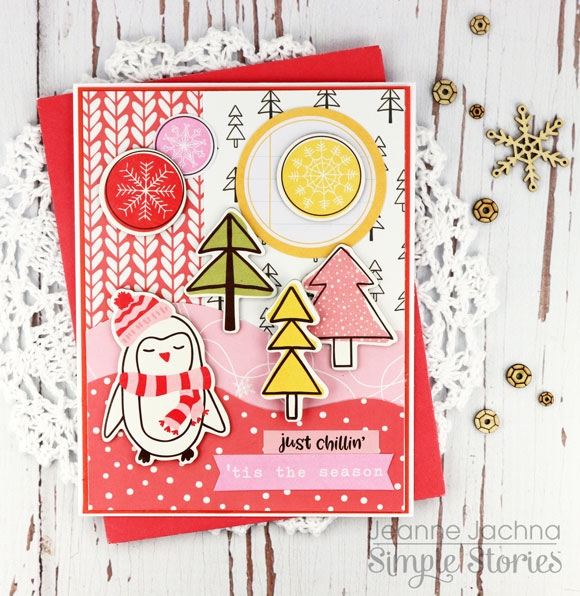
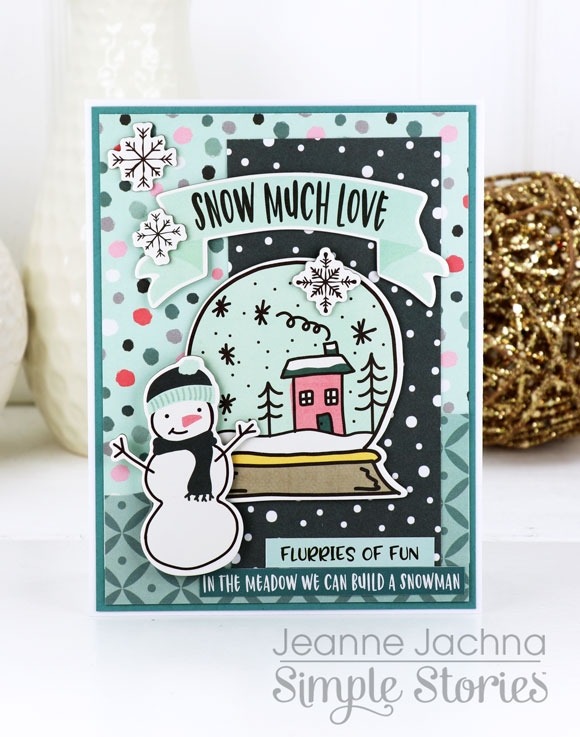
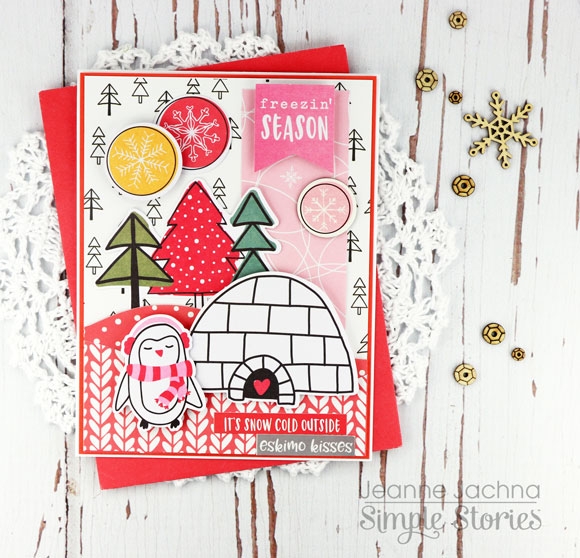
Jeanne here today!  I’m so excited to share projects made with the Simple Stories Freezin’ Season collection!   The weather outside might be frightful, but inside crafting is totally delightful!

The Collection has everything you need to make, make, make! The papers are pretty pink and coral, teal and navy with pops of yellow and green. It's absolutely wonderful!

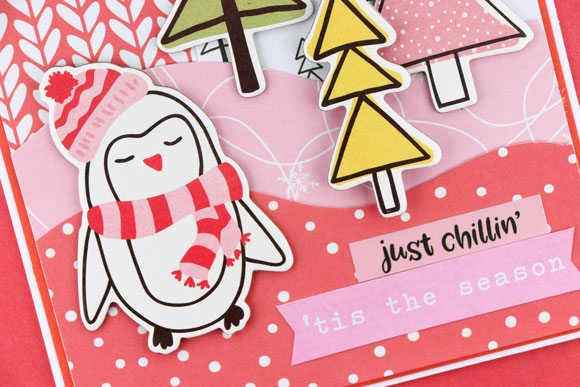
The Chipboard Stickers, and printed die cut Bits and Pieces are easy to work with.  Because they’re already cut out all you need to do is arrange them.  I spread them out all over my work surface and position them on clear sheets of plastic the same size as my card base.  It’s easy to pick up the arranged sheets and lay them over different patterns of paper to help me choose which one I like best.

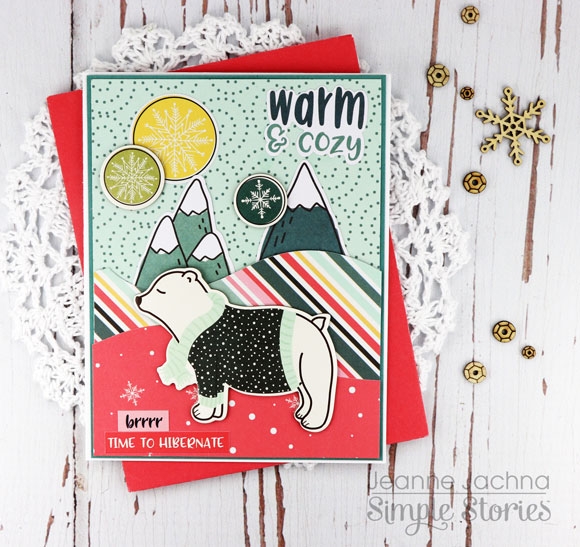
You’ll love the snow theme and different elements that make creating a scene easy.  To make hills and snowy drifts I cut waves with scissors.  Mixing light and dark pattern papers for backgrounds adds depth and dimension.

I tucked the Bits and Pieces pine trees and mountains behind the drifts, and used the circle snowflakes as a sun in the scenes.

There’s so much to love with the Simple Stories Freezin’ Season Collection! The cuteness will make you smile and fill your hearth with warmth.

Supplies

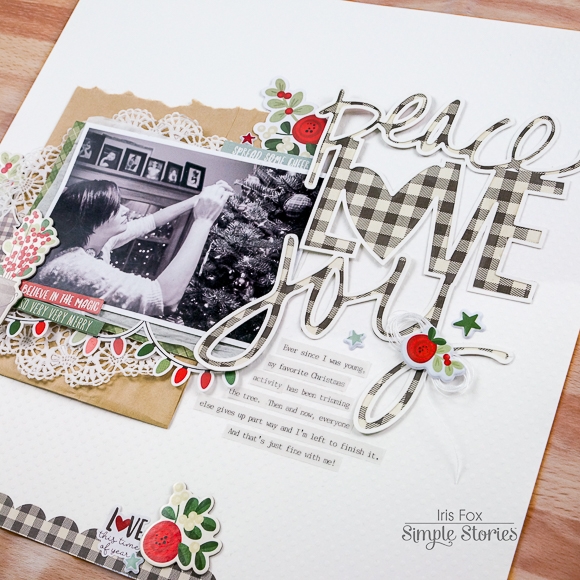
Hello! Iris here sharing another layout I made using the wonderful Merry & Bright collection. This time I was going for a clean, modern look, on-trend with the farmhouse style. 

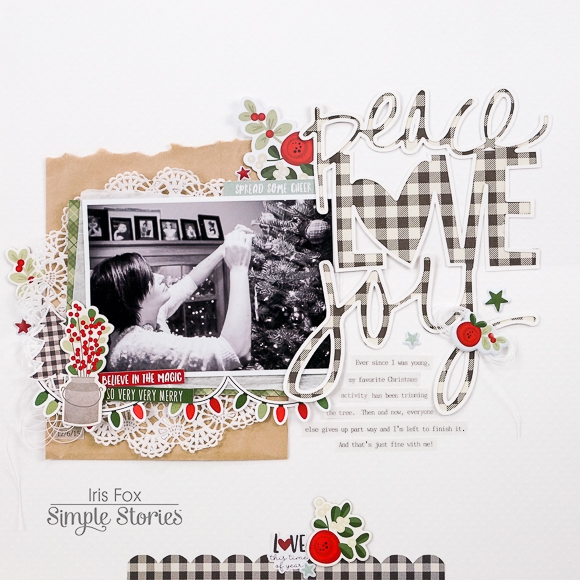
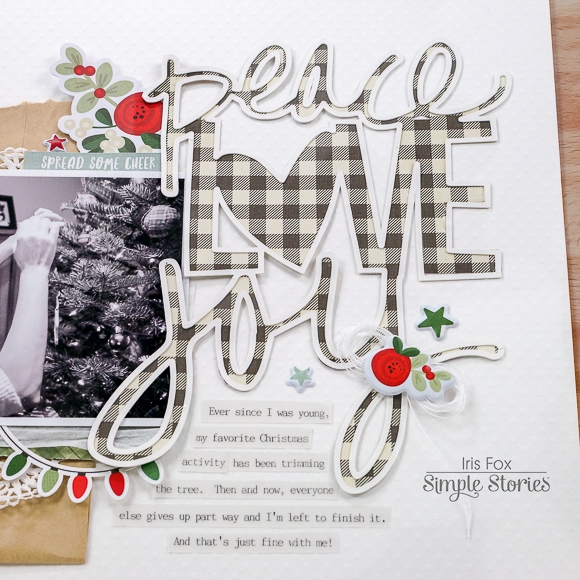
To do that, I started off with a white cardstock background. This one is a Swiss Dot texture from Bazzill.  (You can get this on Amazon or at Joann's) Then I downloaded three separate Simple Stories word cut files from the Silhouette Store.  (Peace: Design ID 67976; Love: Design ID 80540; Joy: Design ID 67980) I welded them together to make my title.  I have been obsessed with buffalo plaid and it’s all over the place in Christmas decore, so I first cut my title from the B-side of the 4x4 Elements paper.  Then I used the offset function in the Silhouette software to create an outline that I cut out of plain white cardstock and I adhered it on top of the buffalo plaid words.  

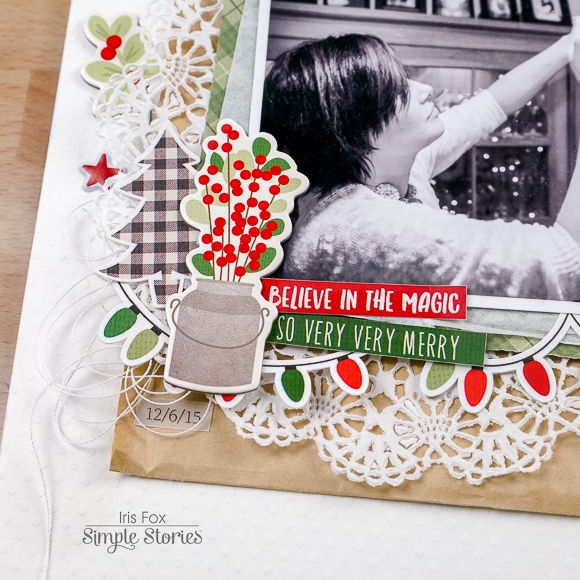
I printed my photo as a 3.5”x5” in black and white because it was dark and reddish-brown toned.  The black and white elevates it, and lets you focus more on the subject than all the color.  Behind the photo, I layered a tiny bit of tissue paper, a sliver of the green plaid paper from the 6x8 paper pad peeking out on two sides, a doily, and a brown paper bag with a torn top edge.  Then I added a cluster of stickers, chipboard, and puffy stickers at the bottom left corner.  I concentrated on icons that felt like the farmhouse style -  the tree which echoes the plaid from the right, the galvanized vase of foliage, a couple word stickers (love the mix of fonts), a puffy star, and the banner of lights to go with the lights you see in the photo.  For interest, I tucked some thread under the layers.

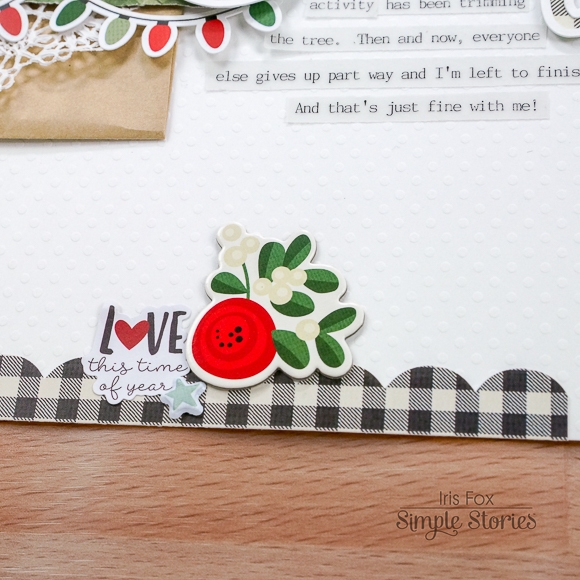
Having the buffalo plaid in two spots, I completed a visual triangle by adding the last bit of the scalloped border sticker from the Combo Sticker sheet.  I could use that on every layout and be happy! I’ve never been one for poinsettias, so I was thrilled to see this collection also has a lovely red flower that looks more like a peony, and I used that motif throughout my design. Another word sticker and puffy star complete a cluster at the bottom.  And the “love” in that sticker repeats the “love” of the title, which ties things in even further.

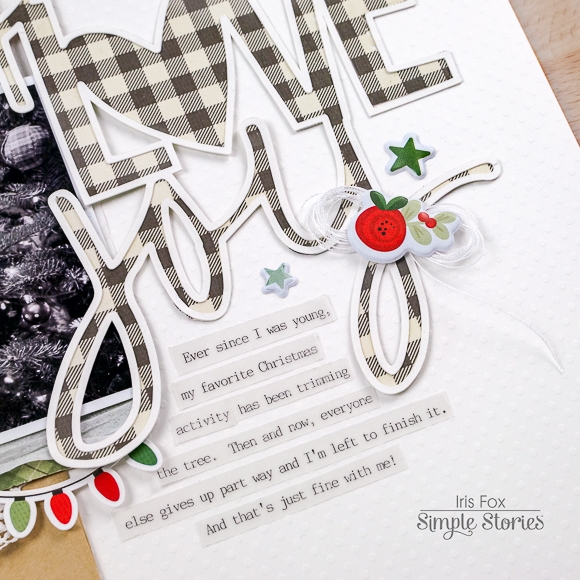
The large cut title is a prominent focal point, so I kept things simple around it by adding just another flower, word sticker, puffy star cluster at the top where it intersects the photo, and another flower on the last letter.  The flower sits atop a loop of thread.  This decorates the area where the journaling is nestled in, and is complimented with a couple more puffy stars. I turned to one of my favorite journaling looks - typed on vellum - to keep this page looking clean, light, and airy.

I welcome you to check out my Youtube channel for the process video, which includes the steps I did to make the cut file title.  There is a wonderful selection of words in the Simple Stories designs at the Silhouette Store that you can play with to match and compliment all the SS collections!

I can’t get enough of the Merry & Bright collection.  You can make a layout with a classic feel, or one that looks completely fresh and modern.  It’s such a versatile collection that will help you scrap tons of Christmas holiday memories!

Supplies

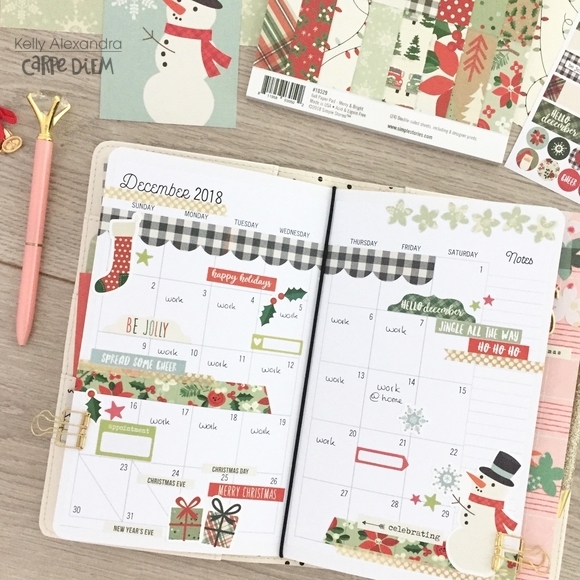
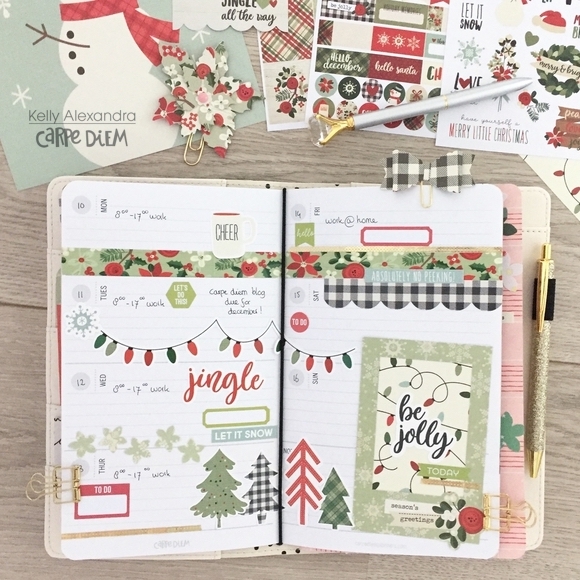
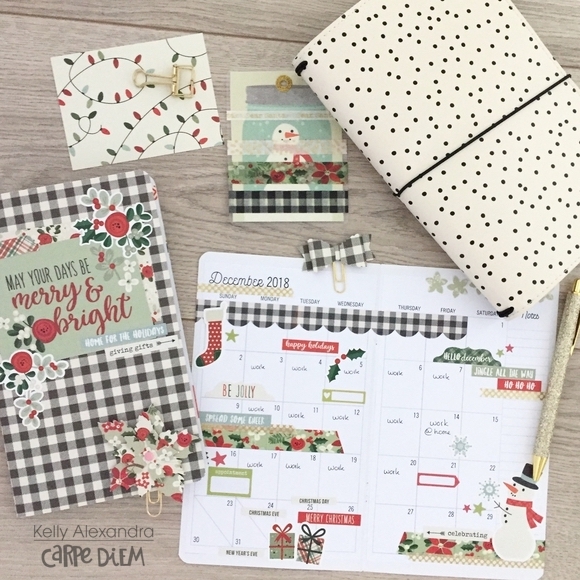
Hi everyone, it is Kelly here and today I will show you how I have setup my December traveler’s notebook (TN). I used the Carpe Diem Cream Dot TN and the Merry & Bright collection by Simple Stories.

For my monthly spread I printed the monthly December overview from the December free printables at the Simple Stories website. I printed the two monthly pages on plain printer paper, cut them to size and glued them on blank note pages. I decorated the spread with washitape and lots of stickers from the Merry & Bright collection.

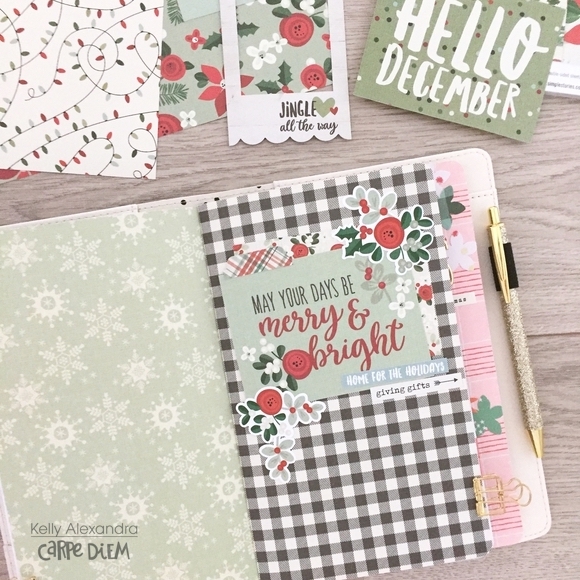
From the backsides of the 4x4 Elements paper and 4x6 Horizontal Elements paper I made TN covers for my monthly insert and weekly insert pages. I decorated the second cover with a 3x4 card and floral and word strip stickers from the combo sticker page.

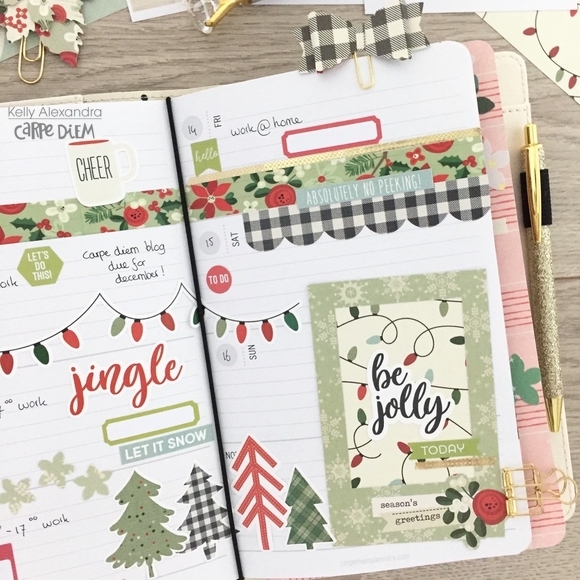
I used a few pages from the weekly TN inserts and decorated the weekly spread in the Christmas theme. I used decorative stickers and pieces from the Merry & Bright collection and some red and green functional stickers from the Basics sticker tablet.

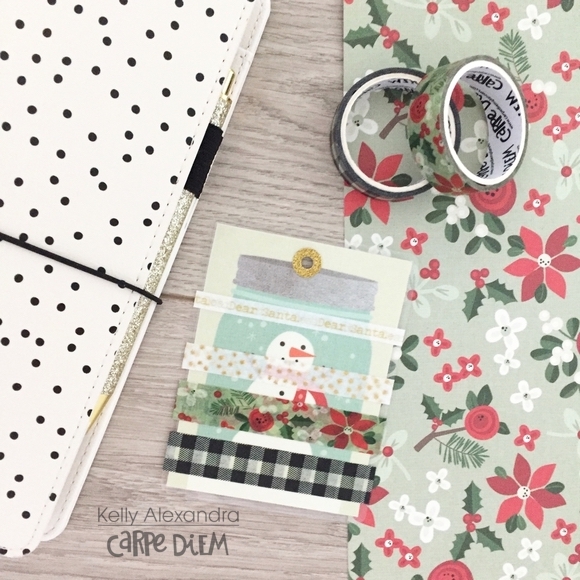
I also laminated a little 3x4 card and made a little Christmas washicard. I wrapped some of my favorite Christmas washitapes around it.

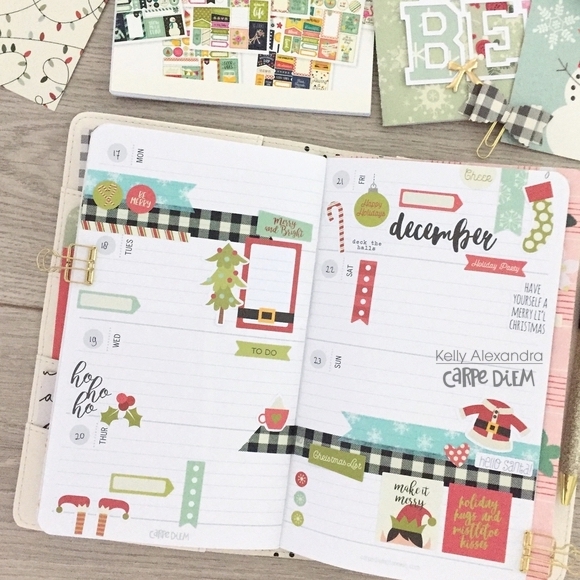
For the second weekly spread I used stickers from the December page from the Seasonal sticker tablet. These stickers match the free December printables!

I hope you enjoyed reading this blog! Check out my instagram for more inspiration Have a nice day!

Supplies

HI! Odessa here with some very Merry & Bright pages! It feels like everyone is working on all things December and it’s so much fun. I just finished up my album from last December and I can’t believe how easy it was. I had about 18 pages left to do, sat down to do a couple and ended up finishing the whole album. It was so easy with Merry & Bright. Working with one collection makes it really easy to put together pages that work. Everything goes together! Merry & Bright is the perfect balance of a traditional Christmas look with a touch of fun that was just perfect for me.

This is one of the first spreads in my album. I just loved the print from the Merry & Bright 6x8 paper pad on the left so much that I left it plain in a page protector. It’s pretty great. On the other side is a page protector with some 4x4 and 2x2 pockets which I got busy filling up. My current pocket page obsession is photo flips and this page did not escape without one! I added a 4x4 photo flip to add some journalling under my photo. I filled up the 2x2 pockets with SN@P! cards and cute embellishments from the collection

I added the cute scalloped border sticker from the Merry & Bright combo sticker page and a tab on the edge of the flip, I really like how it turned out. It makes it a little more obvious and a lot more fun to flip.

Under the photo flip is some journalling in one of the frames from the Merry & Bright tags and frames pack along with all the cute embellishments. I just love those puffy sticker stars!

Here’s another layout I put together with Merry & Bright. I used a combination of SN@P! cards, stickers of all types and bits and pieces to embellish my pages.

The big Merry & Bright numbers might just be my favourite thing from the collection. They’re the perfect size to slide into a 3x4 pocket or add to a bigger pocket or page. Here I embellished a journal card with a big number, a phrase sticker that suited the layout and another cute puffy star.

Sometimes I have pictures that I really like but don’t tell much of a story, like this succulent one. This page goes with another page about a day at a greenhouse and I really liked the colours in it so I had to add it in. By adding a focal chipboard sticker and a word phrase it acts like filler journal card in my album and makes for a nice pocket. I’ve been loving seeing what everyone has been crafting with Merry & Bright! I hope you enjoyed this peek in my album.

Supplies

Hello, my name is Cara and I’m a December Daily drop out.

I’ve tried, I really have. I have a few albums where I’ve documented my December, but mostly, my albums sit half finished. I’ve tried to finish them in January and that did work… a bit. For two years now, I just haven’t been able to finish. 
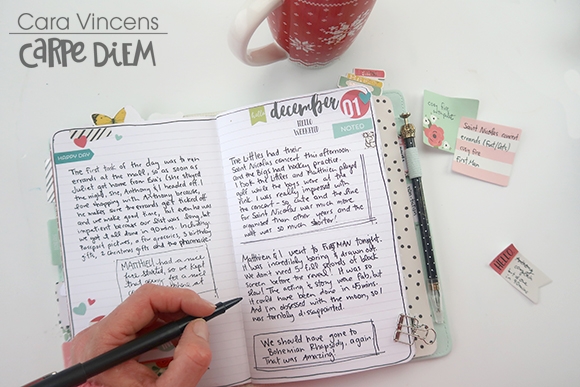
I want to do it! I LOVE the look of a pretty December album, but most importantly, I want to have all those wonderful December memories documented. There are so many wonderful things going on in this fabulous time of the year and it all seems to rush by in a split second, so documenting it has helped me not only savour it more in the moment, but also to relive it again as I document it and then again whenever I look back at the album. 

However, it’s  A LOT OF WORK. Because there is a lot that goes on in December, it leaves little time for playing with stickers. In a perfect world I’d have prepared all the pages in November, but November is almost as jam packed with activities. That… and I’m a procrastinator ;)
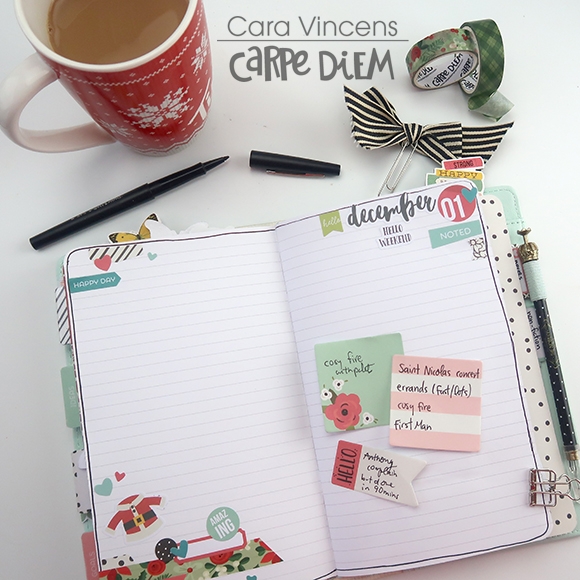
So, the best alternative that I’ve found for me this year is to simplify, and here is what I’ve come up with. I’ve added an extra insert to my Dream TN (check out my last post HERE to find out more about that TN and the other inserts). This new insert is basically a fancy journal that magically takes away my December-Daily-dropout guilt and also takes away the pressure to make it perfect. Also without having to remember to take photos, editing, printing and sticking everyday, the process is quicker and so much less daunting. I can always use the photos I do take… or not. I love that there is no pressure or obligation.

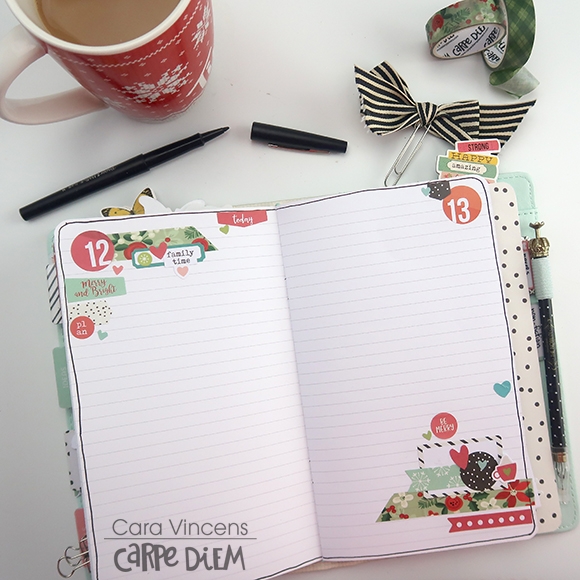
Don’t think that it’s too late to start! There are still more than 10 days before Christmas, that’s a lot of memories you could record. So let’s get to it! I'll use the same simple design for each of the 25 days. Some pages have 2 days in the 2 page spread. I know we will have more going on some days, so I left the 2 pages of the spread for that one day. Regardless, the design is similar. Use a design that suits you and feels easy for you.

I started with the big round numbers from the Numbers Sticker Tablet, then I added a strip or two of Christmas washi, either a die cut (from the free printables, I’ll talk about those in a sec!) or a large sticker from the Seasons Sticker Tablet. Then, I layered smaller stickers from all the Sticker Tablets. I also added a cluster either next to the number sticker or in another corner or both! This design is quick for me to make, looks adorable and still leaves lots of room for writing, it’s simple and perfect for me this year!
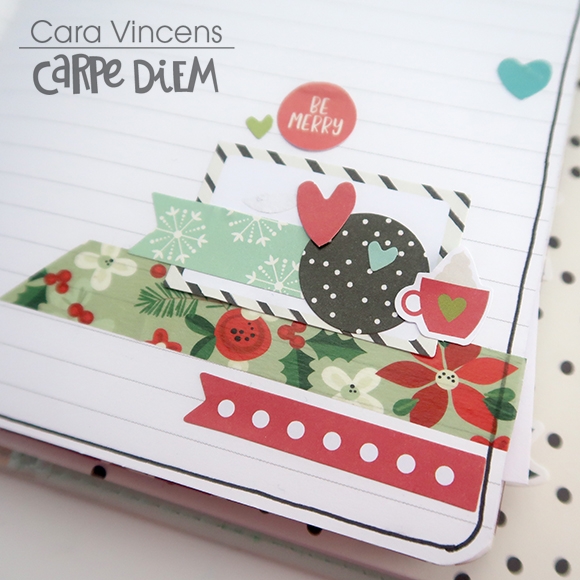
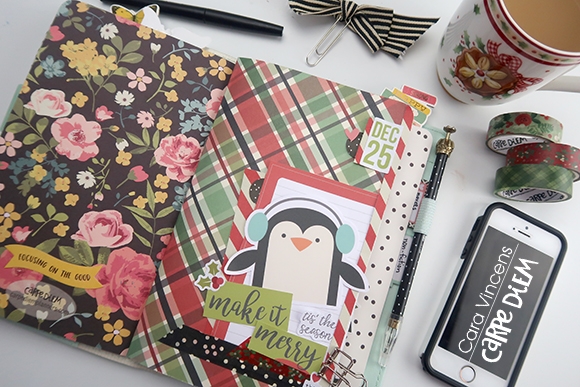
I decorated the cover with patterned papers from Simple Stories along with some of the free printables…
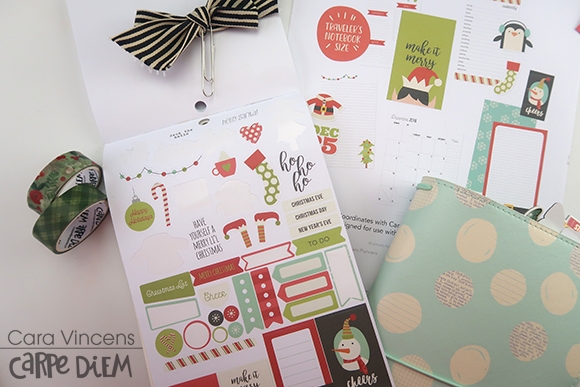
Let’s just take a second here to talk about how stinkin’ awesome these printables are! Every month there is a set of cute printables that match that month’s page in the Seasons sticker tablet, you have A5, personal and TN options, plus you can resize before printing to fit your needs. Did I mention they are super cute, and FREE?! Amazing, right? There is also a bonus set this month for Christmas, You can find both of those sets HERE!
Ok, let’s get back to that cover! Washi and stickers from the tablets give the cover a finished, polished look.
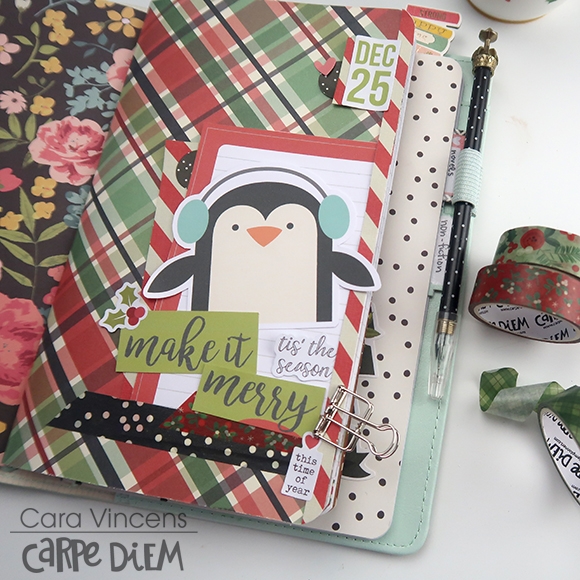
I used some of the full page printables to fill some of the leftover pages. Simple and quick and that’s just what I’m looking for, creating this TN.
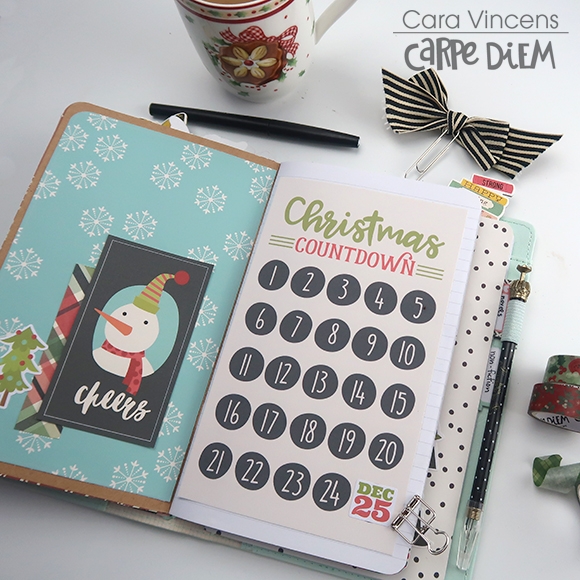
My printer messed up (or I set it wrong, more likely) and I had two that were printed on opposite sides of the same page, but one was upside down, so I used some washi to attach it to the top so that it could flip up, making it right side up!
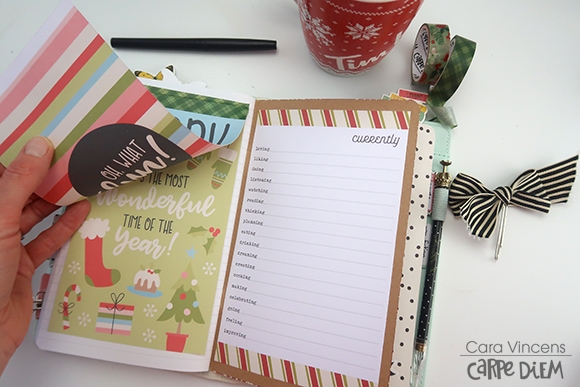
If things get busy, and, come on it’s December, so being busy is pretty much a given! I’ll take notes either on my phone or on a sitcky note until I get a chance to write it in. And these ones from the Bloom collection are sooo pretty and they actually stick! Don’t you hate it when you’ve bought pretty stickies only to have them fall out of your planner and get lost? Not with these Carpe Diem sticky notes! 
I’m going to be doing a live flip through of my December journal today at 10am EST, so whether you are a December Daily dropout or not, join me at the link here: Cara's YouTube Channel - The replay will be at that same link. Happy planning and happy holidays!
Supplies

Hello Friends!
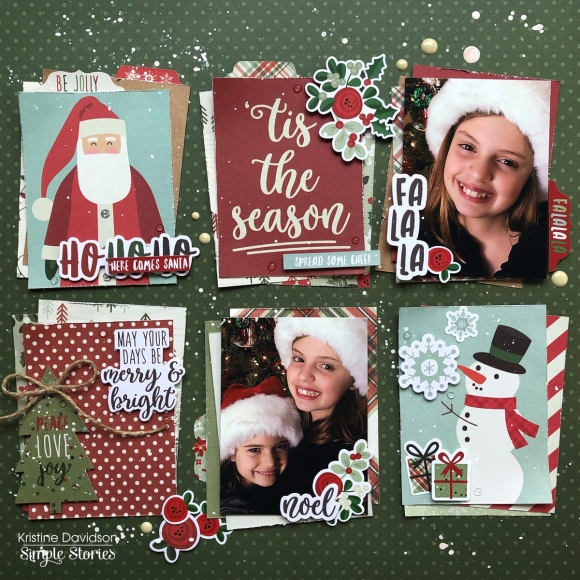
It's Kristine here today to share a layout! Are you in a festive mood yet?! Well I haven't started decorating but when I created this layout it certainly got me inspired. I used the Merry & Bright Collection and mostly used the 3x4" cards and the 6"x8" paper pad. 

I have always loved a grid layout. It's easy and great to use with those 3x4 element cards.  This collection is filled with beautiful festive images including Santa, snowmen, poinsettias, and so much more. I used 2 photos measuring 3x4" of my nieces. This picture was taken a few years ago. I think it's time for another photo shoot if they would just cooperate... Teenagers!

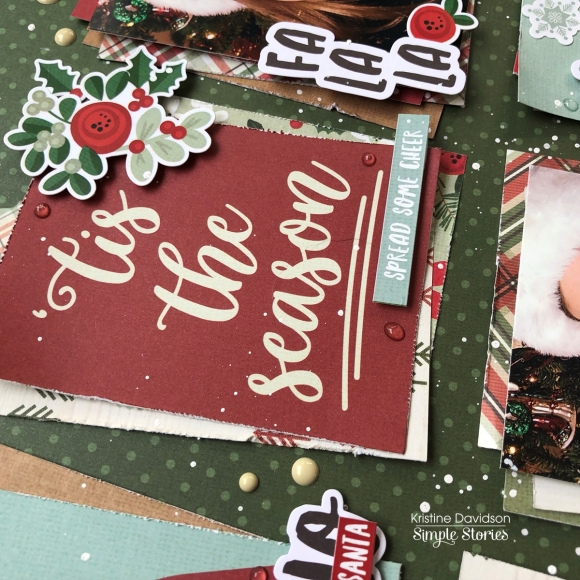
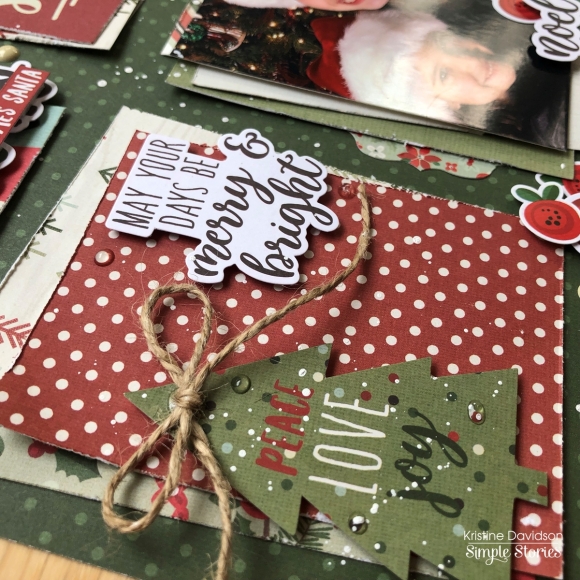
I layered pieces of 3x4 papers and some are overlapping at an angle and others are just there for layers. I really like how so many patterns of paper can all work together to create a layout. 

If you have any element cards laying around why not try this format? It's great for multi photo layouts, even double pages. Try it with this beautiful Christmas Collection. You'll enjoy it .. I'm sure!

Happy Holidays to you and your family !

Supplies

Hello Simple Stories friends!

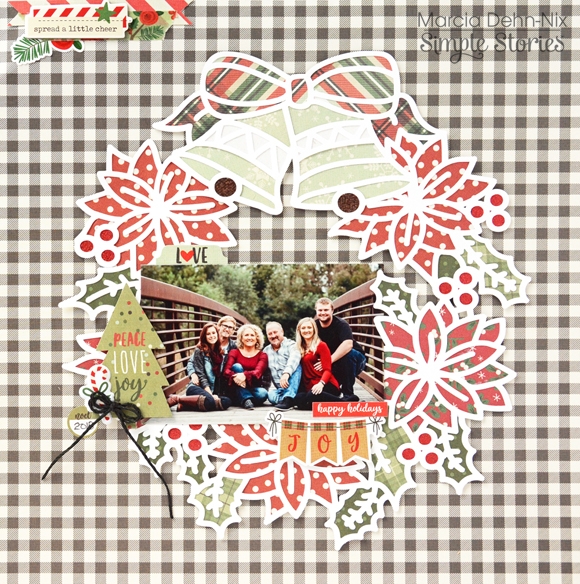
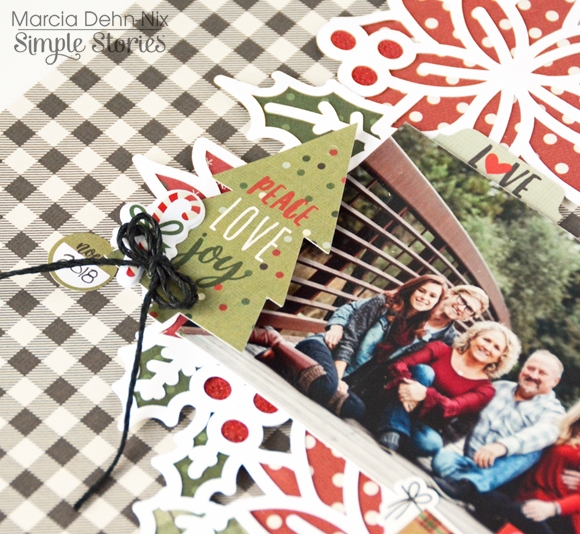
Marcia here today with a festive Christmas layout I created with the Simple Stories Merry & Bright Christmas collection. Does your family do a photo shoot for your annual Christmas card? I don't know about you, but I love receiving photo Christmas cards! I like to see how much kids have grown and seeing how other family members have changed. I scrapped my sister-in-law's family for todays layout. I love how her Christmas card photo turned out! I am still hoping to get some family photos done myself, but with adult kids that work odd hours, it might not happen until Christmas! Anyway, every year for Christmas my Mother-in-law asks for the same thing ... a scrapbook album full of family photos. This layout is going into my Mother-in-law's album. The Merry & Bright collection is perfect for documenting all of those holiday family photos!

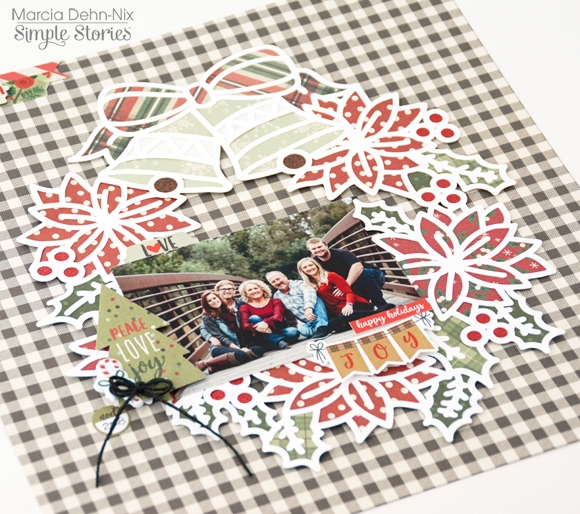
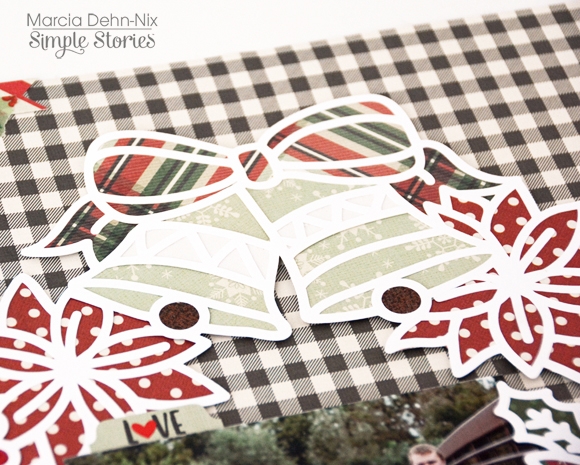
Is there anyone besides me crushing on all these plaid papers? That black and white buffalo plaid is the perfect background for this poinsettia wreath cut file by Paige Taylor Evans. The wreath frames my family photo nicely.


The cut file was backed with various pattern papers from the Merry & Bright collection. I love how the reds and greens in the pattern papers coordinated so well with the colors in my photo. There was also a soft blue that worked well for the bells and an awesome plaid pattern paper that I used for the bow.

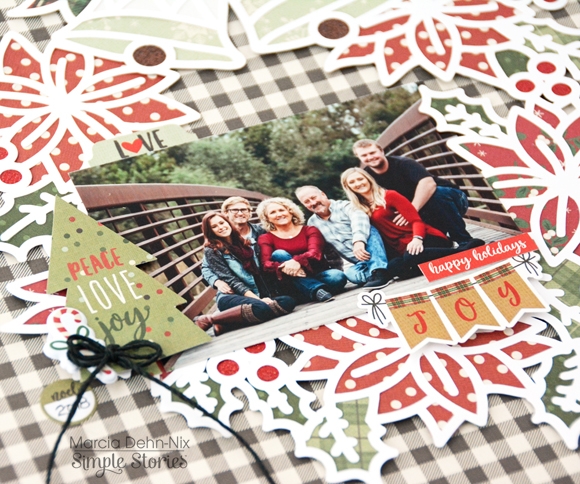
With such an ornate cut file, I kept my other embellishments to a minimum. I just wanted to add a few things around my photo like this fabulous JOY banner and the Peace Love Joy tree from the Tags and Frames pack. That cute candy cane is one of the puffy stickers ... and don't forget to add a date so you'll remember years from now what year that was. The 4x6 sticker packs have the perfect round stickers to do just that.


I wish you the happiest of Holidays.Thanks so much for stopping by today! Have an awesome week.

Supplies

Pages