Dorymar Perez's Blog Posts

Hi friends, it’s Dorymar and today I will share with you the cutest Christmas Sn@p Album with the Holly Jolly Collection. The collection has very bright colors, but I felt in love with the blush pink touch. 

I selected the Red Stripe 6x8 Designer Binder because I think it matches perfectly with the collection. To create the cover, I selected various patterned papers from the 6x8 paper pad. I love layers!

To create the central focus, I fussy cut the cute Santa from the 4x4 journaling card and closer him I adhered with dimensional tape the 3x4 journaling card with the Christmas sentiment.  For the finishing touches I adhered a few die cuts cluster to the Santa, some enamel dots, ribbon, twine and glitter to the flowers and Santa’s clothes.

As this binder didn’t have dividers, I decided to create some with the Simple Basic Paper Kit. I also incorporated several Photo Booklets to have more space in my album, you know it is Christmas time and we take infinite photos.  In the layout on the right you can see that I made an open up flap and to decorate it I used a combination between stickers and die cuts. On this page you can put about 5 pictures and has space for your journaling.

I also created pages of different sizes, here you can see two of the pages that can be opened and houses a lot of space for photos.

The Christmas elements that I’ve used for this are beautiful.

In the layout on the right you can see how beautiful pink looks among the Christmas colors. In this page I created my own borders with a few die cuts and the lovely Santa sticker.

To decorate the outside of the photo booklets, I selected three different color papers from the Basic Kit and recreate a typical scene that I see during the Christmas season: snow, dry trees, snowman and beautiful houses with snow in their roof. To add a little texture, I created the snow with the crystal drops by Nuvo, they look fantastic!

I loved the 2x2 elements that this collection brings, they all have beautiful graphics and feelings, perfect for the occasion. In the spread on the left I selected some of my favorites, which describe only the theme of the project and has a space for two 3x3 pictures. Those spread are my favorites.

You all know I love pockets! For this big pocked I created two beautiful inserts that simulate gifts. And they also have room for more photo and journaling!!!

Here you can see the gifts, one is 4”x4” and the other is 3.5”x6”, both have photo cards in the inside. For the top I used the beautiful bow clips from the collection. They help to take out the photo cards.  I loved the result when I saw them, they are so funny!

I Hope this inspired you to create more beautiful projects to celebrate the Holidays with your loved ones!

Happy crafting!

Supplies

Hello everyone!  Dorymar here today sharing a beautiful Christmas Snap Album with the vintage and majestic Country Christmas Collection.  When I saw this collection, I fell in love instantly with the vintage look, the colors, elements, and designs. Christmas just around the corner and this project is a unique way to document your holiday season. 

This Collection includes a beautiful Sn@p binder in combination with the collection, where if you wish you can add some element, or you can also leave it as it comes because it’s spectacular! But in my case, I always love to decorate my cover and to create it I use a few elements from all the beautiful embellishments that the collection includes.

The cover design includes a big Christmas wreath, to personalize it I added a Giant “Believe” word from the sticker sheet and closer her I added the big poinsettia flower and bingo card from the sticker sheet too.  To give a cute texture I added 2 mini pinecones and twine.  I think looks AMAZING!

The Country Christmas Sn@p Binder comes with some great ready to go dividers which includes beautiful designs in combination with the collection papers.   I didn't have to work hard to personalize my dividers, I just added some elements and they were ready. For these pages I only had to add some chipboards, die cuts and stickers and the pages were ready.

I used the Joyous Noel 12x12 paper to create these two beautiful layouts. The big vintage Santa, it’s Amazing, I love it so much!  To decorate the pages I used stickers, bits and pieces and chipboard from the Country Christmas collection to embellish the layout by creating little clusters next to the photo mat. 

It fascinates me to add tags in my albums and in this case I used a fantastic pocket page that includes the album to incorporate my tags.  To create them I cut two pieces from the “Glad Tidings” 12x12 page measuring 3.5” x 7”.  On the next page I used several papers from the collection to create pockets and tags. I loved the 4x4 card with the "peace and love" sentiment.  Then I add ribbons to give a cute look.

The collection has many deer, I wanted to match the collection with my tags and for this use a digital file to cut the deer horns. I think this gave a unique touch to these tags. They look very cute!

The album also includes beautiful little dividers that are super cute, you just must give it your personal touch. To decorate mine I used ribbons, buttons and elements included in the collection to make them look more beautiful than they are.

To decorate the back side of the album dividers I used papers and cards from the collection to create flaps, then decorated it adding stickers and one of the beautiful borders that includes the Border Sticker sheet.  These pages house space for many photos.

I love how my Snap turned out.  So, I’m ready to document my Christmas memories. I hope you check the entire Country Christmas Collection because it’s one of the most beautiful collections for upcoming Christmas season. 

Happy Scrapping!

Supplies

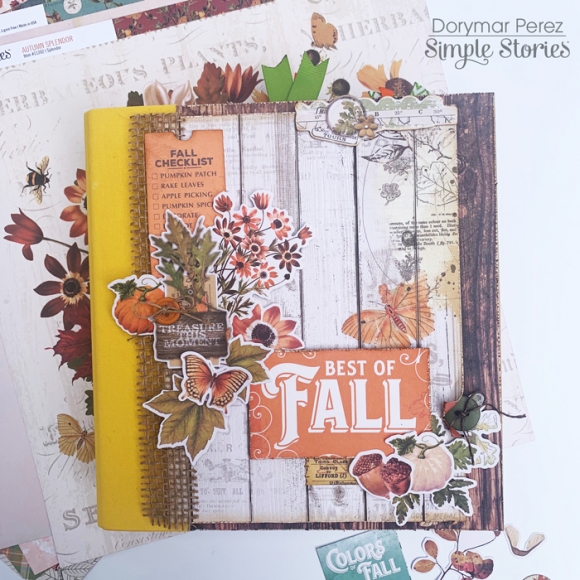
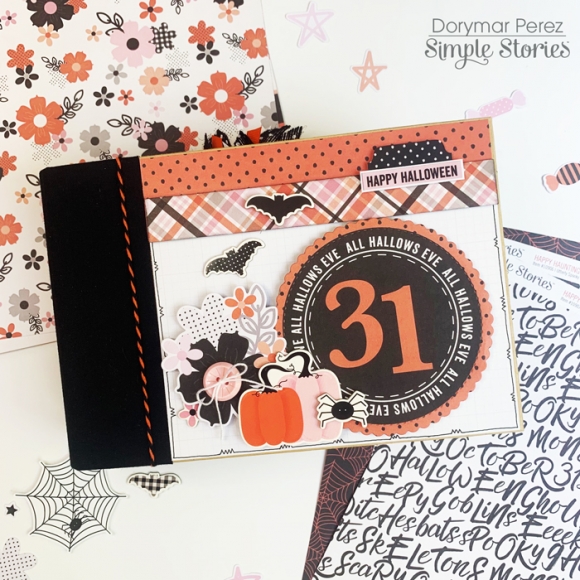
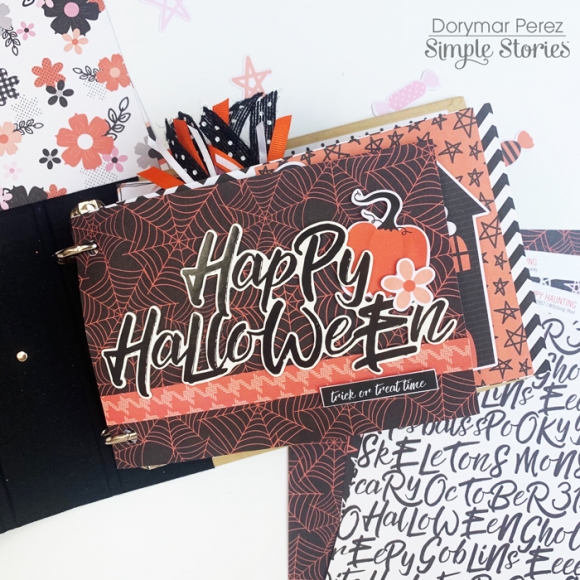
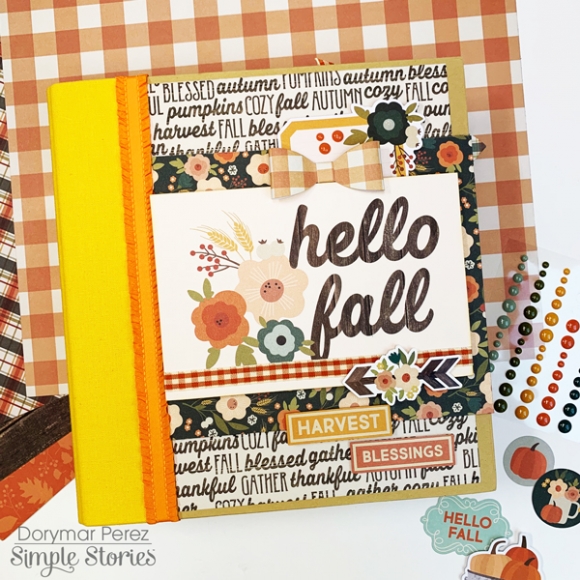
Hello friends, Dorymar here! I’m so happy to share a fabulous SN@P Album I designed with the Fall Farmhouse Collection. This collection is gorgeous! When I think of a Snap Album, I think of some wonderful dividers, full of details and elements that make my photos look great. That's what I am sharing with you today on this blog! Check it out!

All the elements are so beautiful that they are very easy to place, they look fantastic! I really enjoy customizing the pages of the snap, I love to find in my albums pages of different sizes, adding pockets, create flaps, etc. On this page I used two of the snap pages to create a giant pocket.

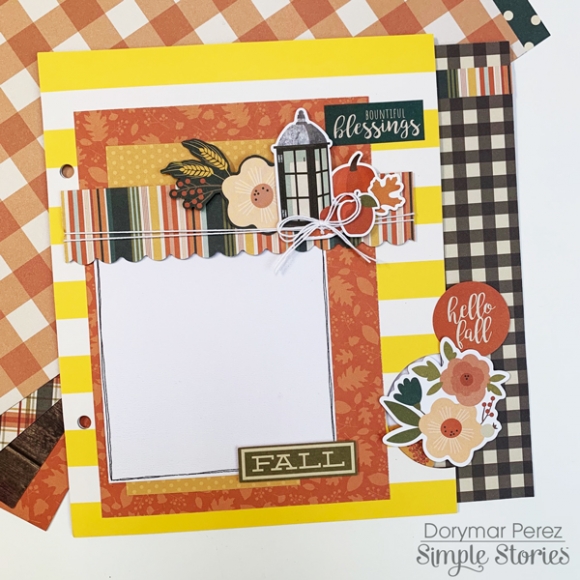
With a 1.5 "circle cutter I cut a half circle at the bottom edge of the page.  I used one of the flower die cuts from the Bits and Pieces to incorporate the insert with the main page.  As an insert of the pocket I used one of the pages of the 6x8 paper pad and decorated it with some elements of the collection.

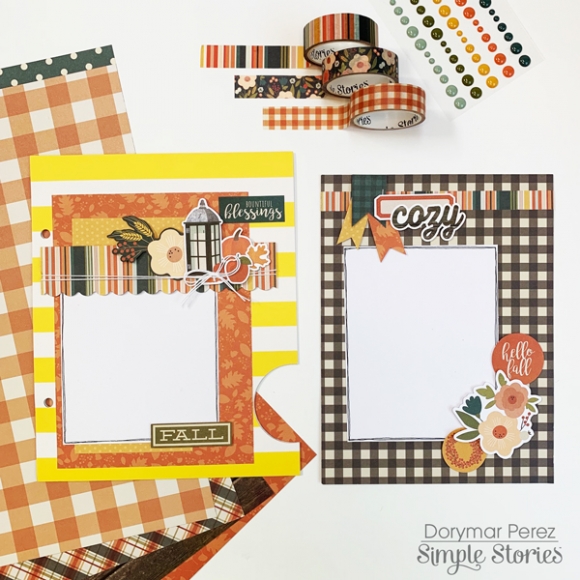
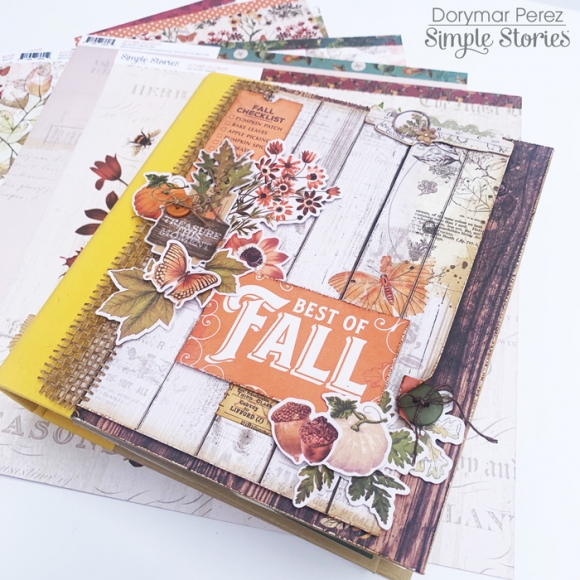
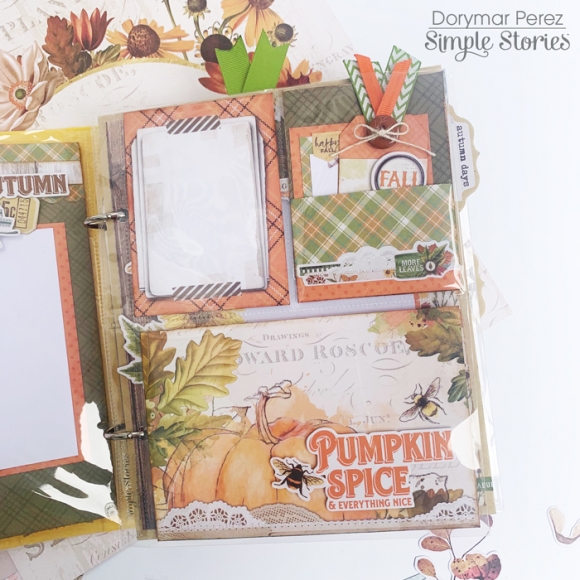
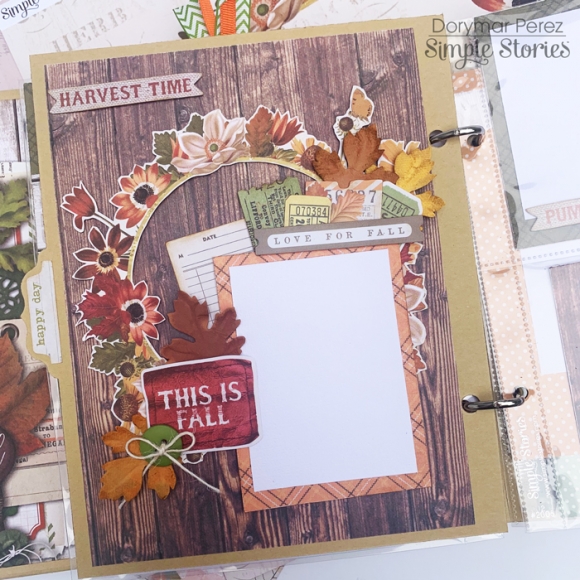
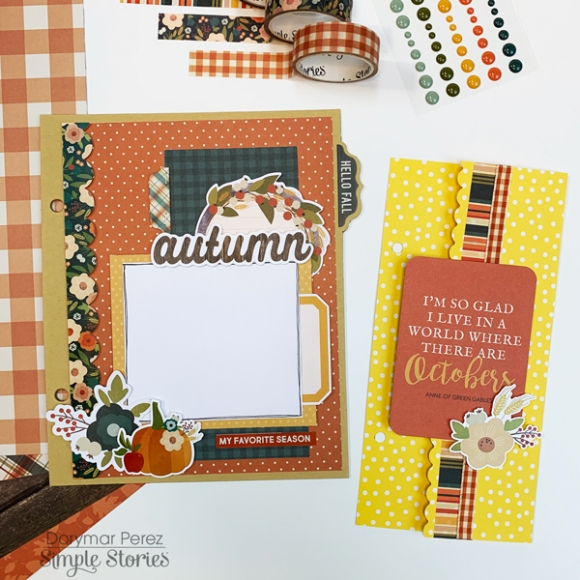
One of the main colors in the autumn season is yellow, so I selected the 6x8 Yellow Sn@p Binder. Their pages match perfectly with this collection. In this photo you can see how I reduced one of the pages that includes the album to 4.5” x 8”. To decorate it I fussy cut from one of the 4x6 journaling cards the beautiful chevy and placed it on the bottom edge of the photo mat. Then I fussy cut the beautiful paid banner form another 4x6 journaling cards.

The washi tapes of this collection are spectacular and I need to incorporate them in my album! I used them on several pages and cards of my album, but on this pages in particular, you can see how I used them as borders on this pages. They look fantastic!

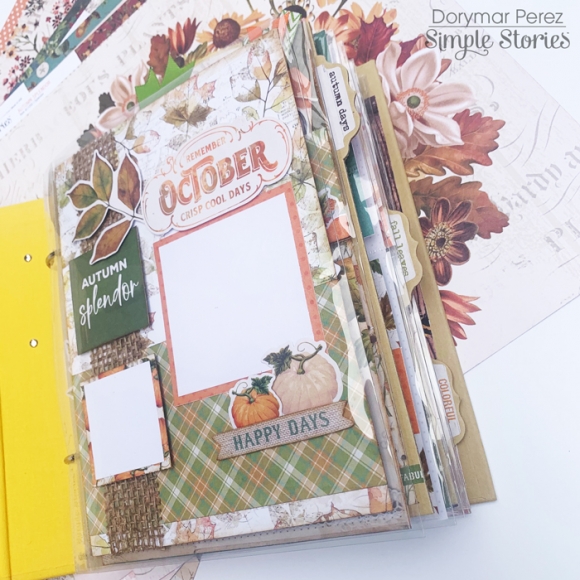
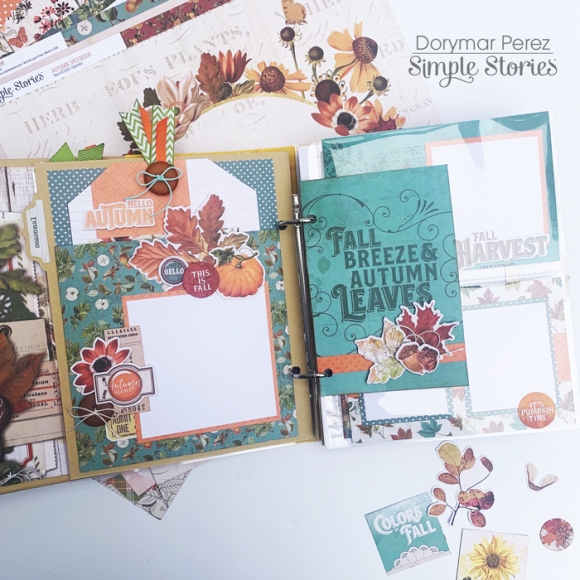
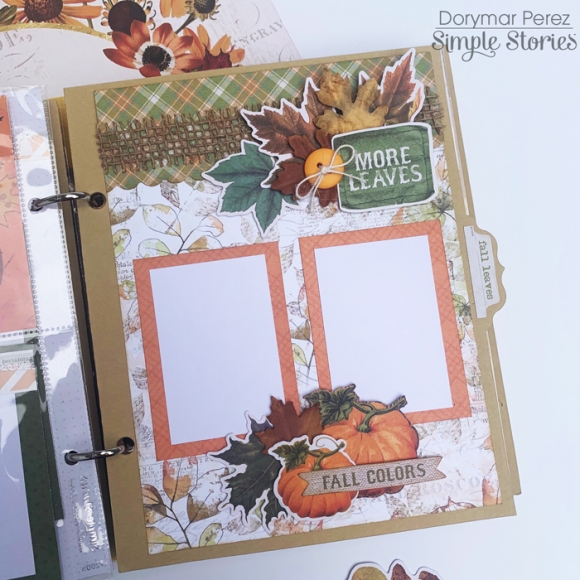
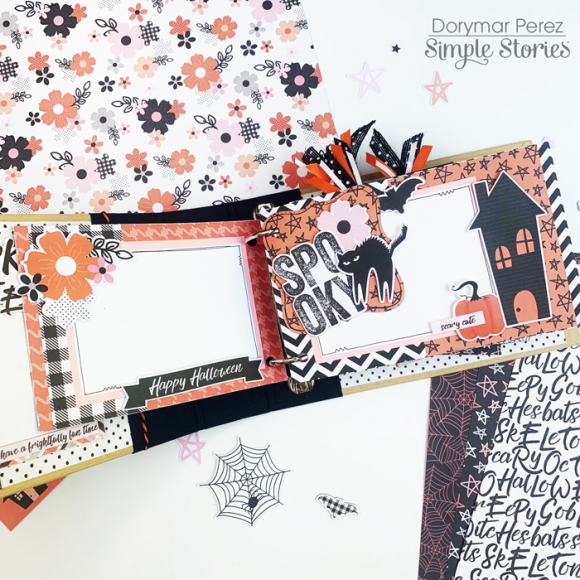
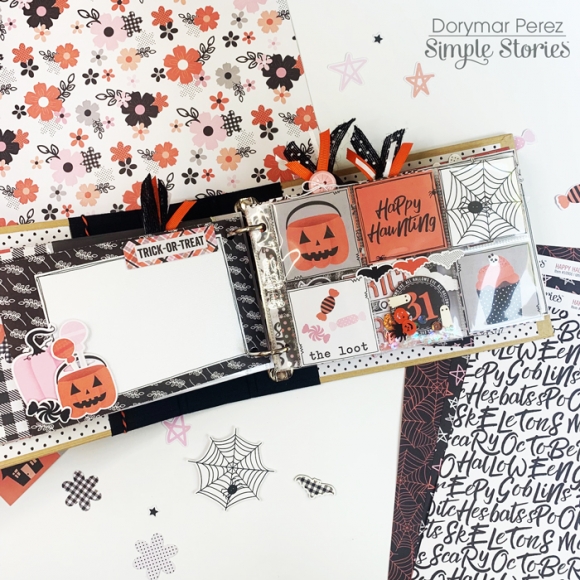
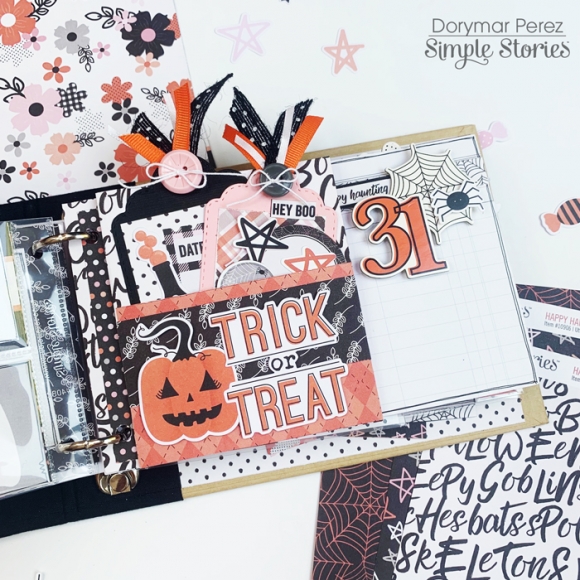
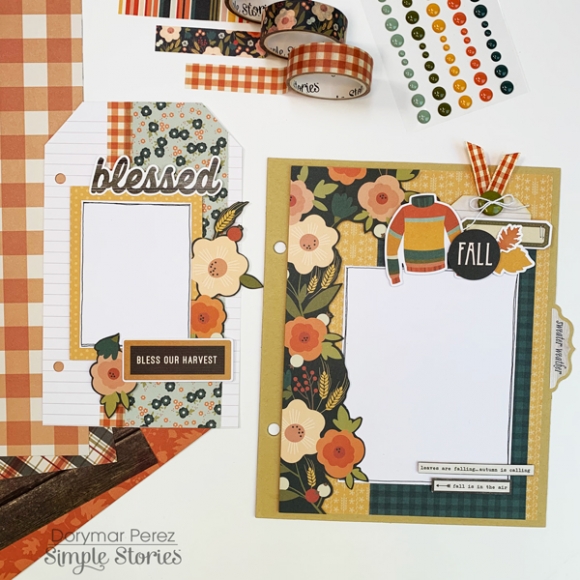
Pockets and Tags can’t be missing in my projects, I really enjoy decorating using the beautiful die cuts, stickers and sentiments included in the collection. I reduced the page of the Sn@p to 6.5" and created a pocket on top of the page, then I added some tags that I made with the paper o the collection. On the next page I created a flap that opens up. I’m adding some elements on this pages that look so beautiful.  On both pages you have a lot of space to play with your photos and your journaling.

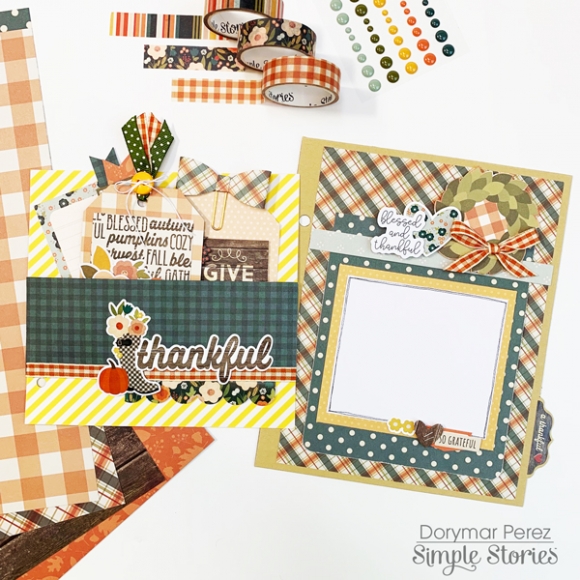
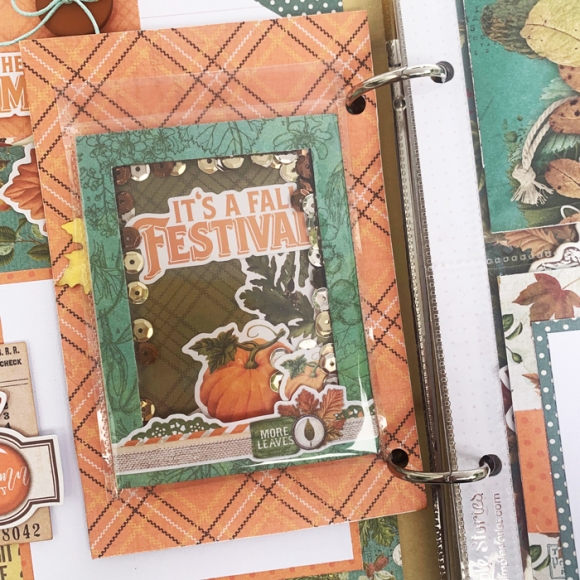
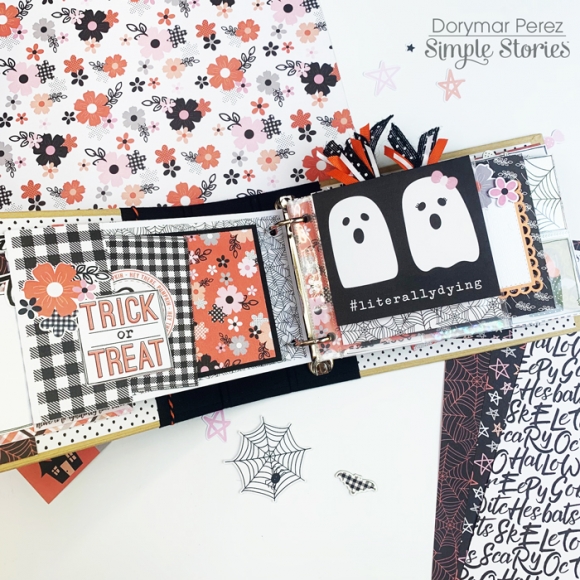
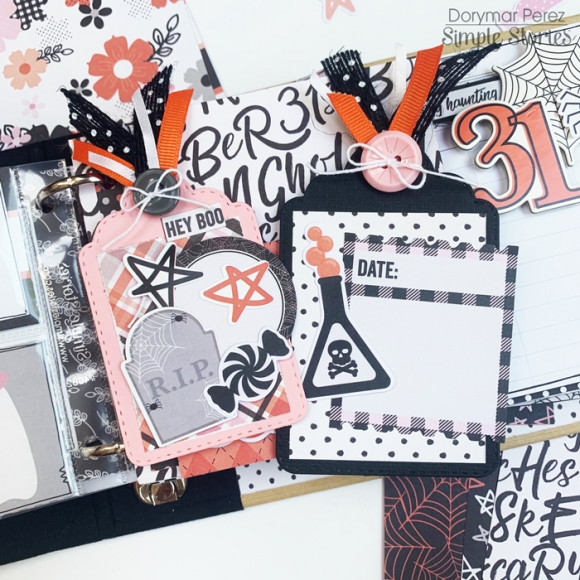
Here you can see in detail the tags and how the elements of the collection match perfectly with each other, so you can make your project so beautiful. I used as an insert in this pocket a 3x4 card to add the journaling and to create the tags I cut from the Peach/Dots paper a piece of 3”x4.5” and ,  from the 6x8 peach paid paper I cut another piece of the same size. Then I decorate the tags with stickers and die cuts.  They look great!

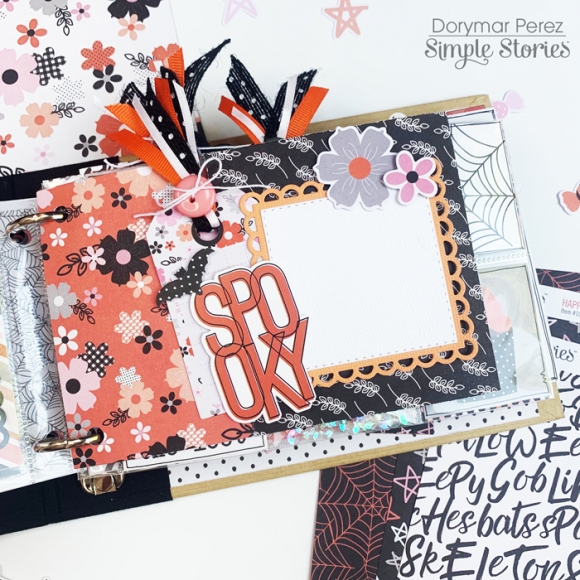
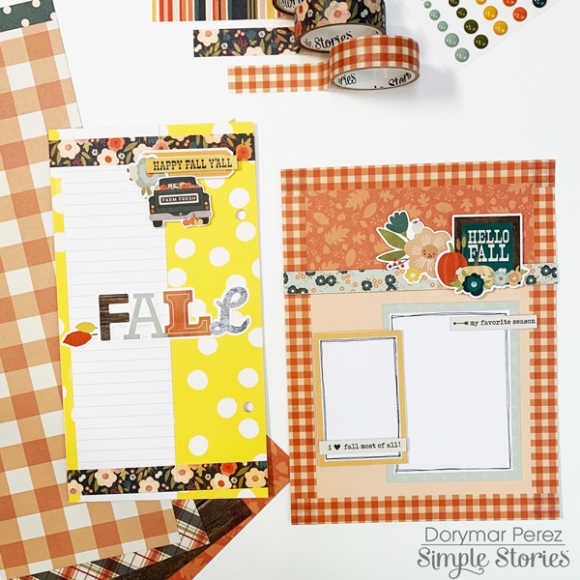
The collection includes many beautiful sentiments and phrases. In this picture you can see some of them. To create de yellow divider, I folded the Sn@p page at 4” then I used a scallop border punch to create a beautiful ending. On top of the page I used washi tape an added with foam tape the beautiful 3x4 card with the lovely sentiment. For a finishing touch I added a flower from the sticker sheet.

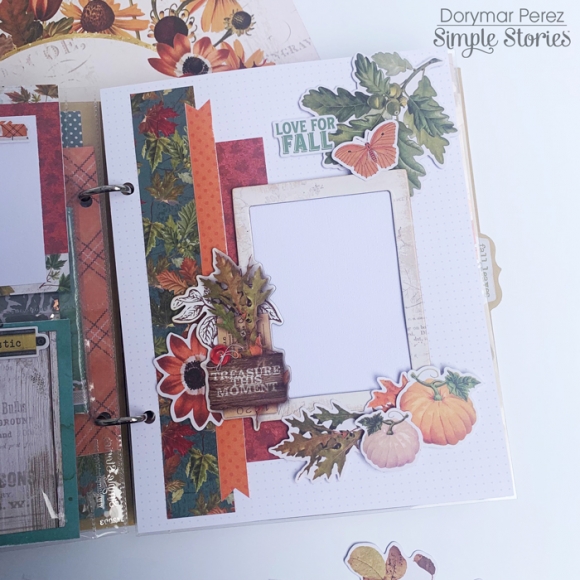
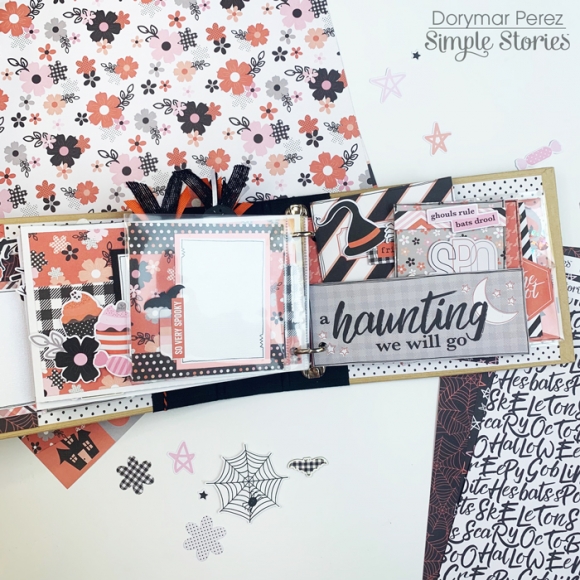
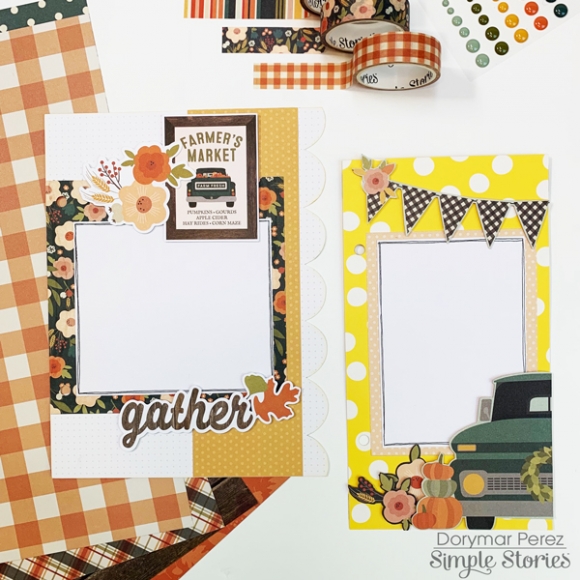
I love mixing and matching the prints and adding layers of my layouts. This collection is too easy to match. In this page I used two beautiful papers from the 6x8 paper pad.  To add layers, I fussy cut the beautiful flower border from one of the papers and gave a little dimension with foam tape. To give the finishing touches to the page I created a fun collage closer to the photo mat using some die cuts and stickers from the collection.

I hope you enjoyed the project and I also hope it inspired you to use this A.M.A.Z.I.N.G. collection! Hope that you have lots of fun!

Happy Scrapping!

Supplies

Pages