February 2017 Blog Posts

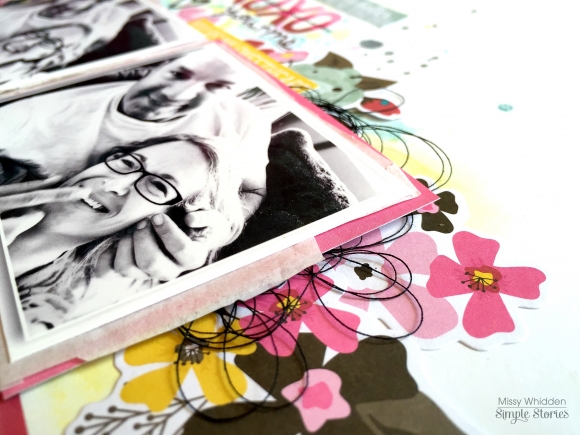
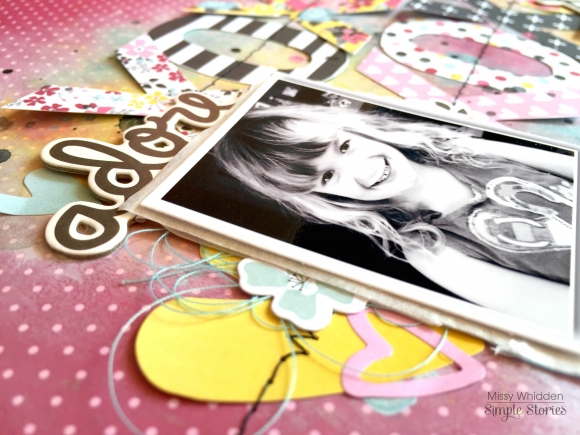
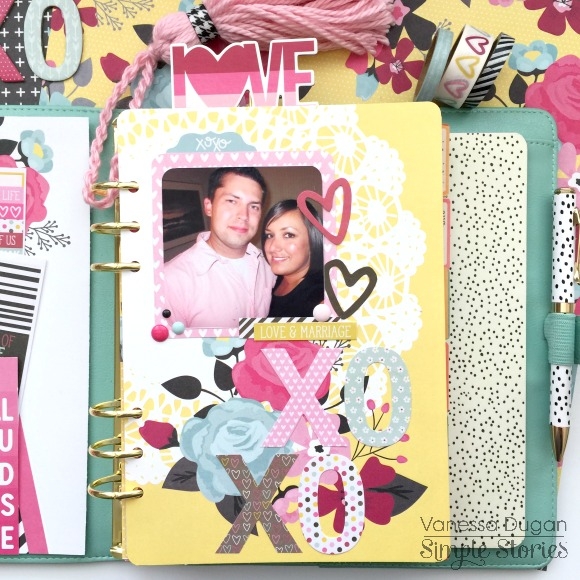
Hey there, friends! I am so excited to share my two newest layouts here today featuring the beautiful Love & Adore collection! I think this is my favorite collection this year. I think the colors are amazing, and every patterned paper just jumped out at me. I love creating layouts about love, so this was an easy task. For my first page, I scrapped these two goofy photos of me and my husband just lounging around on the couch. We act silly 90% of the time, so these pictures show our true selves. I went with this beautiful Head Over Heels paper as my background. I love the diagonal design, the pops of black and those gorgeous flowers. It just makes it so simple to add your photos on a titled angle. I went with it and embellished around the photos.
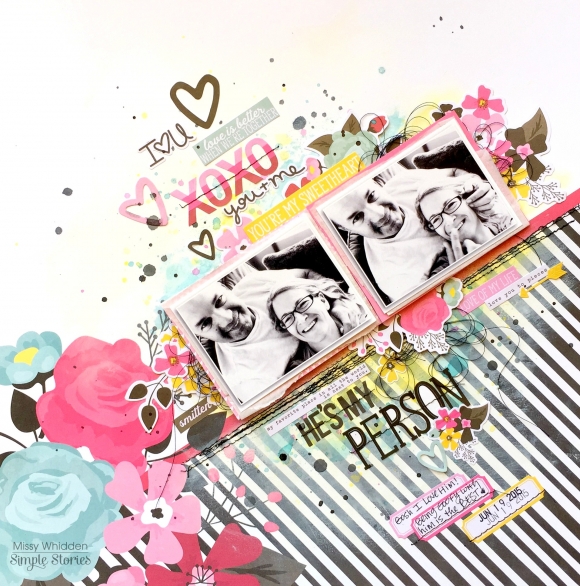
I layered a few of the 6x6 Paper Pad papers behind my photos along with some tissue paper and adhesive foam. I cut the largest floral die cut from the Bits & Pieces and added half of it below the photos along with some tangled thread. I combined some of the 4x6 Stickers with the alphas from the Combo Cardstock Stickers to create my title. I added in a few flowers and heart stickers and created a small floral cluster below the title.
Above the photos, I created sort of a vertical cluster using stickers and heart die cuts. I wanted all the fun colors represented, so I pulled elements that made everything colorful. I love the XOXO sticker the most! I machine stitched through it for added detail and texture. Here you can see the background pretty well. I smudged some white gesso on the background and then used some Shimmerz, Heidi Swapp Color Shine and a gelato to create a splotchy watercolor and splatter look.

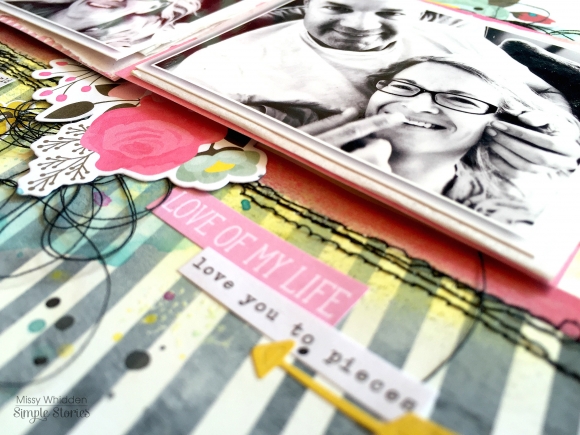
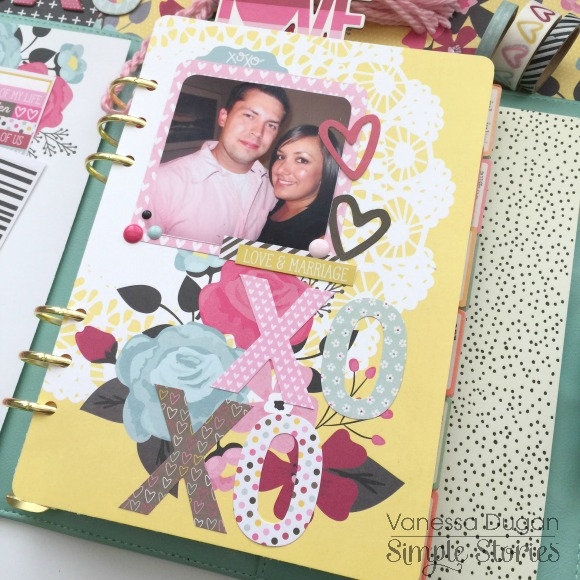
Here you can see the dimension from the photos and all the stitching I did under them. I love the 4x6 Stickers in the Simple Stories collections. They can be used in so many ways, and they add the perfect little sentiments. I always love the words and phrases, and they’re excellent for adding pops of color.
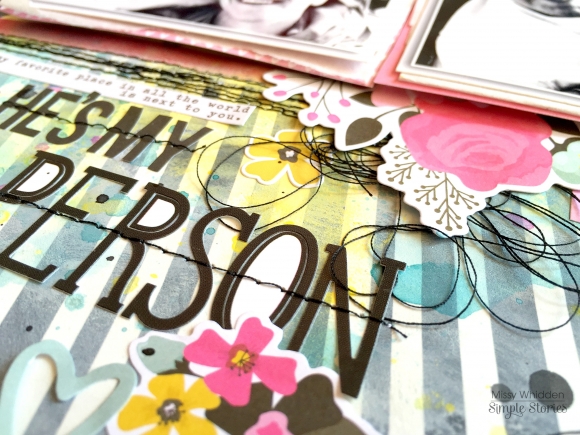
Here’s the top right of the layout. I added in tangled black thread and also more floral stickers and die cuts. I really love how striking the black looks in this line, especially up against the pretty blues, pinks and yellows.
__________________________________
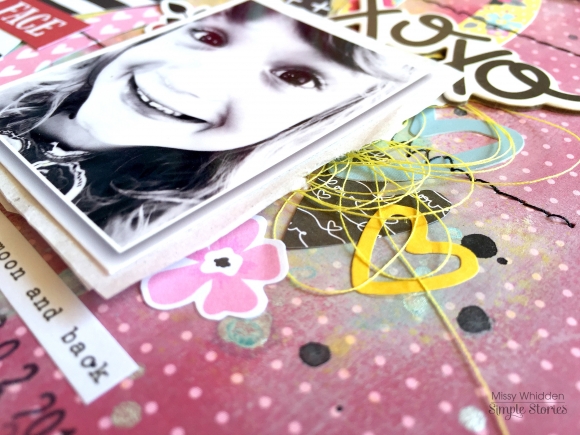
For my second layout, I knew I had to fussy cut out several of the XOXOs from the Sealed With a Kiss patterned paper. I seriously love the colors and patterns in them…especially the yellow floral and all the black and white. I took some time and cut out all the XOXOs and decided to arrange them on the beautiful Crazy For You paper. That deep reddish-pink color is so pretty, and it makes all those other colors pop. I smudged a lot of white gesso down first using my fingers. This allows me to really blend it in so the edges are hazy and faded looking instead of like brush strokes. I used some spray inks and watercolors to create an artsy-type background. I wanted it to be subtle yet visible behind all the XOXOs. Once I had them arranged into rows, I placed my three photos down. My youngest daughter is known for making silly yet adorable faces all the time. I must have hundreds of photos like this, and they all make me smile.
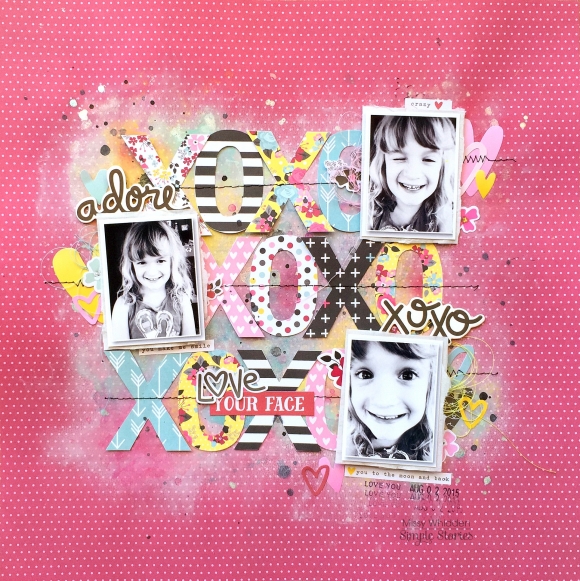
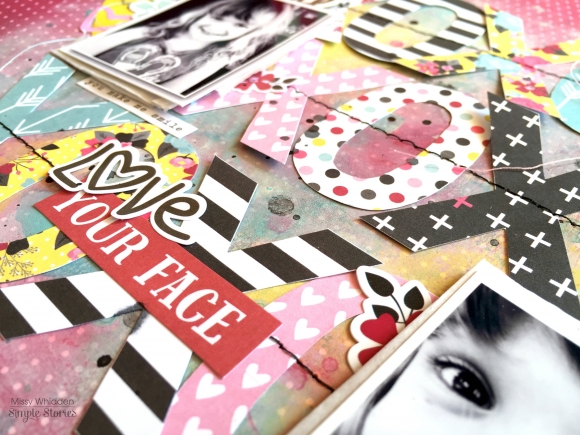
The papers and XOXOs really did all the work on this page. All I did was dress up the background paper and provide some interest for the letters to be placed on top of it. I did machine stitch through each row, which I think really sets it off. I decided to name this page “Love Your Face” after seeing this phrase on one of the Bits & Pieces die cuts. It’s perfect for these photos! I combined the die cut with a 4x6 Sticker. I also layered a few small floral die cuts & stickers around the photos.
I didn’t do a lot of embellishing around the photos. I wanted them to stand out and not feel drowned in embellishments, so I used a few flowers, tangled thread and hearts around them. I think the black and white photos really stand out, and they look great without making things too busy.
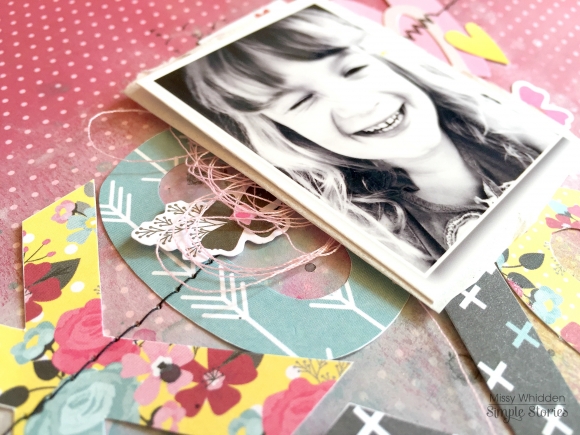
Here’s another example of just keeping the embellishing to a minimum. Just a few die cuts, a sticker and tangled thread. Sometimes we feel like we just have to use tons of embellishments when we really don’t. Sometimes the photos speak for themselves and you might not even need a bunch of things surrounding it.
I used one of the Chipboard pieces here. The dimension is great, and it pops off the page. I love how the gesso looks so faded and ghost-like. It softens up the background without taking away from it, I think.
I hope these layouts give you some inspiration or ideas to try with the Love & Adore collection. It’s really gorgeous, and I want to just keep on creating with it right now! Thanks so much for stopping by!

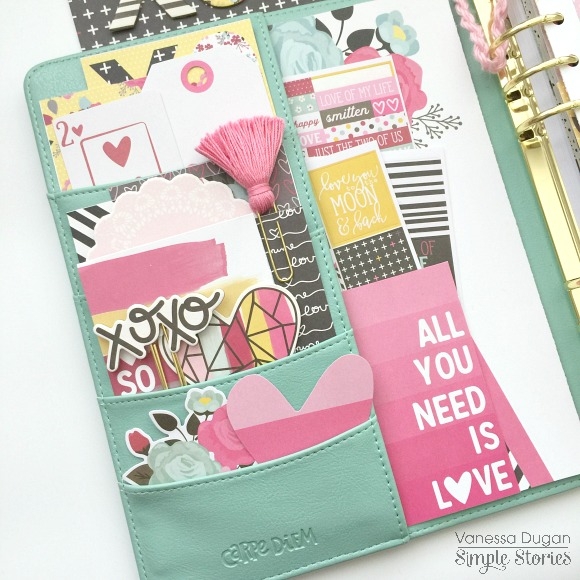
Hey planner girls! It’s Meka with you on the blog today. I just got my hands on the new Clover green A5 Carpe Diem planner and goodies from the beautiful Faith collection. I’m excited to share with you how I set up my Faith planner.
The collection includes the stickers, Sn@p! Pack journaling cards, Bits and Pieces, and decorative clips we’ve come to love, plus some new products we haven’t seen.

This release has added a variety of Planner Decals. I chose the “start each day with a grateful heart” decal. The instructions on the package made adhering it to the front of my planner a breeze. I accentuated the quote with a lighthearted sheep sticker from the Clear Stickers pack.

I added a few more clear stickers to the bottom front pocket, and stuffed the pockets with Bits and Pieces die cuts, journaling cards, and a few other embellishments. I’ll add to this “Inspired” journaling card as time goes on.


The Faith collection has a fabulous A5 planner Insert Set! It makes it super easy to set up a faith planner. The tabs come blank, but there are pre-printed sticker labels included.

I used the Faith floral bookmark tablet to brainstorm some section ideas. Since only some of my ultimate section names were among the pre-printed stickers, for consistency I handwrote all of mine on the reinforced tabs with a Sharpie.

I then decorated the first divider page as my dashboard. I trimmed this “Be Still” sheet from the new coordinating 6x8 paper pad, and layered it on top of another to stand out a bit from the background. A few ribbon embellishments softened up the design a bit more.

Next I divided the included inserts amongst the sections that worked for me. These “Inspired” inserts from the kit were perfect for my “Inspiration” tab.

An Inserts planner section is a must for organizing extra blank pages, journaling cards, and stickers. Speaking of stickers— YES PLEASE! to these pre-punched A5 sticker sheets that are included in the Faith insert set! I added a length of the collection washi tape along the margin of all three sticker inserts.

There’s also a pocket insert page that will house items I’ll need while using my planner.

That didn’t stop me from playing with one more sheet from the 6x8 paper pad! They make easy-peasy mini folders! I folded the 6x8 sheet in half, trimmed a few millimeters off the edge, cut off a corner from the top half of the fold, punched holes, and added simple adornment to the front.

My last bit of décor for now is this clear “believe” sticker that I added to the inside of my Clover Carpe Diem strap. This will give me a sweet reminder every time I open my Faith planner.

All of these supplies will be available from Simple Stories retailers next month! I hope my Faith planner setup inspires you to get started with yours! Now that I’m all set up, I’m eager to get started along this new journey of documenting my faith. Come visit me anytime at https://www.instagram.com/yespleaseplanning.

Hello friends, It's Laura here with you today sharing two layouts using the oh so fun #Whatever Simple Set! If you haven't had the opportunity to check out this collection yet, you really should! The colours are so pretty and the fun text on the various elements of this collection speak so well to all of those funny photos we take!
Both of my pages are about silly moments, like this first one that documents a terrible yet hysterical photo of myself on a day I pulled my sunglasses out of my purse and one lens was missing! I don't like having my photo taken but couldn't resist snapping this pic.

I am currently enjoying designing layouts with larger titles that are a feature in their own right on my pages, and this layout has just such a title! As I mentioned earlier, there are fabulous colours and terrific phrases in this mini collection, too!
I also drew some leftover goodies from my stash of the Life in Color collection to help embellish my page, the colours coordinate so nicely.

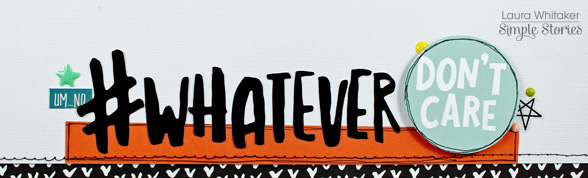
Of course, this sticker word had to make it onto one of my pages and it is perfect as a title and feature resting upon a pretty strip of paper! The circle element was punched out of another cut apart card.

I cut this floral sticker in two so that it could have twice the impact on my page, nestled in amongst other stickers, chipboard frames and enamel dots.
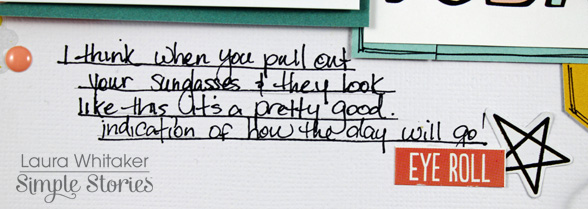
I think journalling deserves a bit or prettiness too, and being able to embellish it motivates me to write it! ha!
My second layout features a funny photo of our son and puppy, she loves him so much and cannot snuggle close enough!
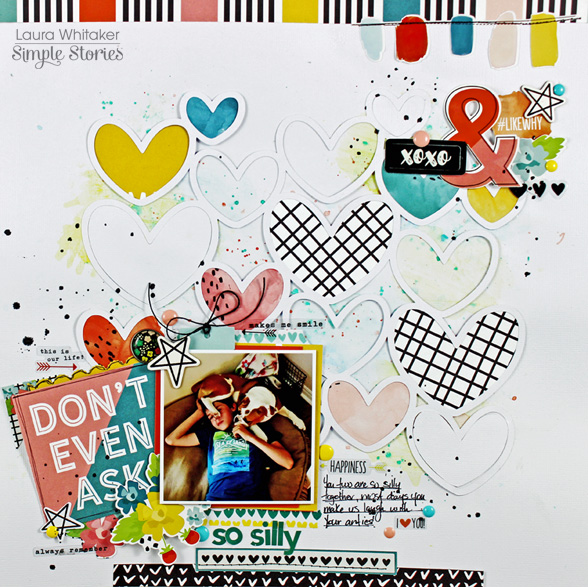
For this page, I began with a die cut of multiple heart outlines, thinking it would look great with water colour looking splotches of the #nailedit patterned paper backing them. I also added a little bit of mixed media to my background.
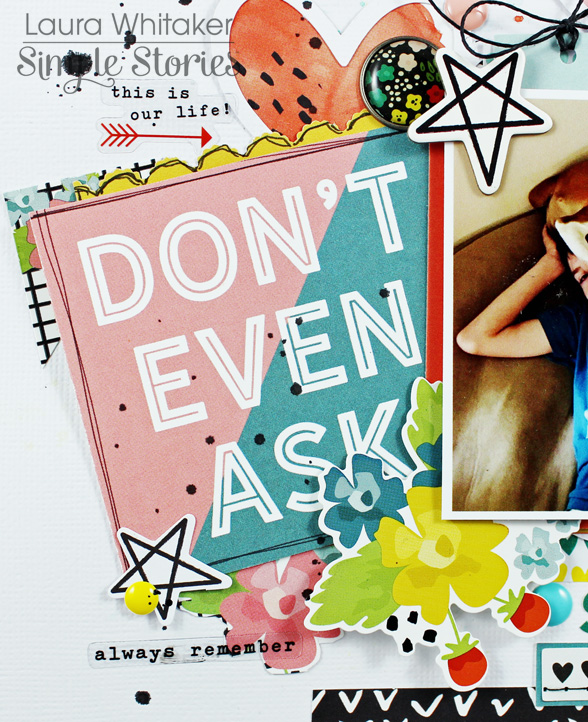
I trimmed down this cut apart card and used it as an anchor for my photo, and then embellished around both of these pieces with some stickers, chipboard and enamel dots.

I added a fairly large embellishment cluster including this fun paint swatch banner to the upper right side of my layout to give it enough visual wight to balance my photo area. I love the way it turned out!

And as a last step, I added my journalling and a bit of embellishing!

Supplies
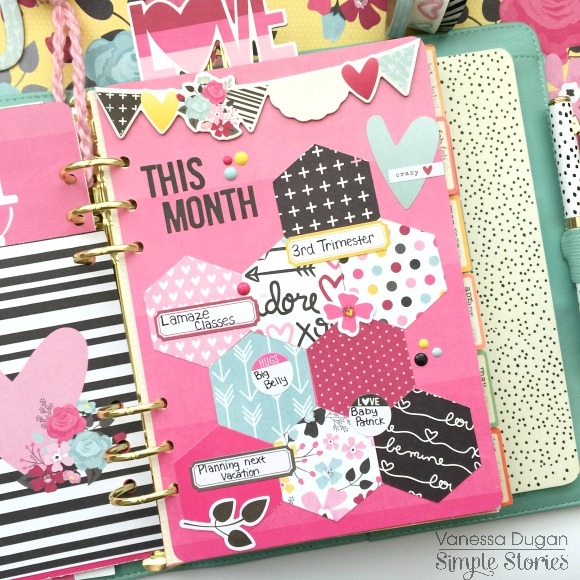
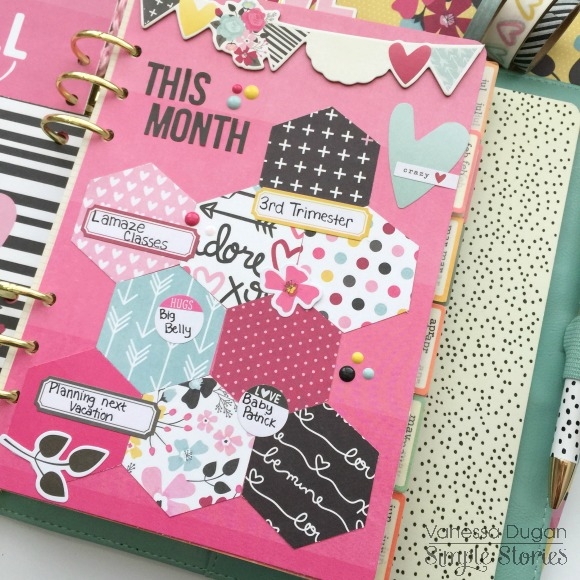
Since this particular cardstock is so colorful, I only added a few of the enamel dots and the ephemera pieces from the Love & Adore collection.
I also made myself a second dashboard using hexagon shapes that I punched out to use as a highlight of things that are happening for me this month. Some of them so far are milestones for my pregnancy and some classes that I look forward to attending.
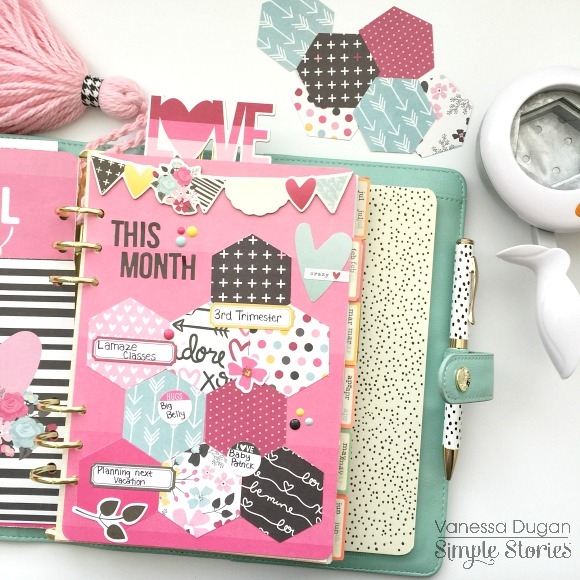
For my monthly calendar, I did my usual cardstock trim along the top with the Melt My Heart cardstock paper. I also attached a few of the chipboard stickers to paperclips along the top of the pages.
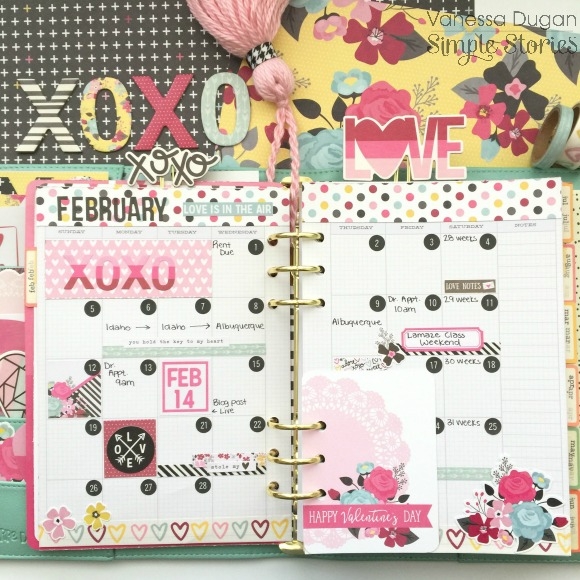
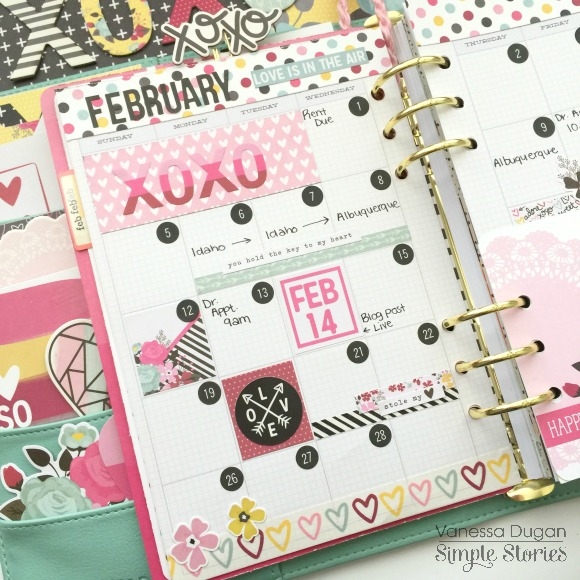
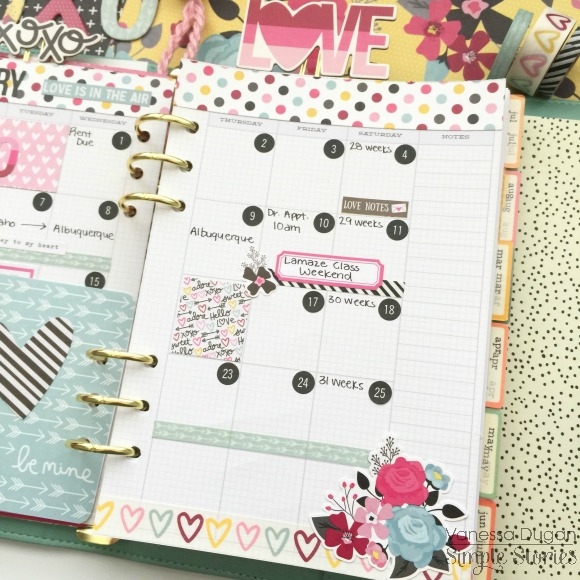
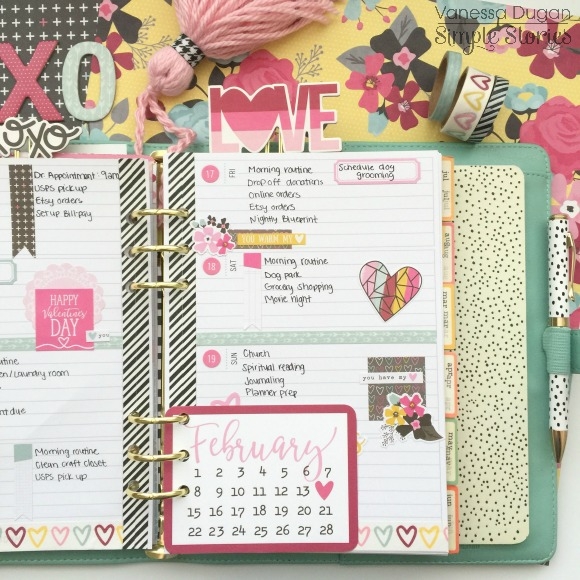
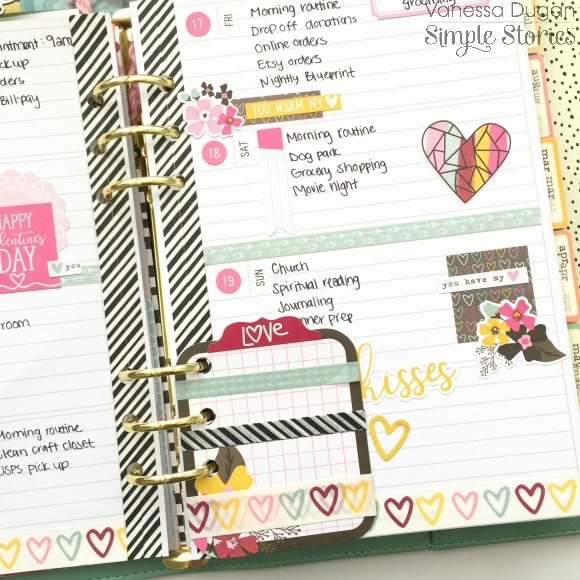
I kept the weekly pages pretty simple at the start of the week and used some of 4x6 stickers from the Love & Adore collection. The February calendar journaling card from the 3x4 journaling elements was the perfect size to punch into my planner and refer back to it during the week.

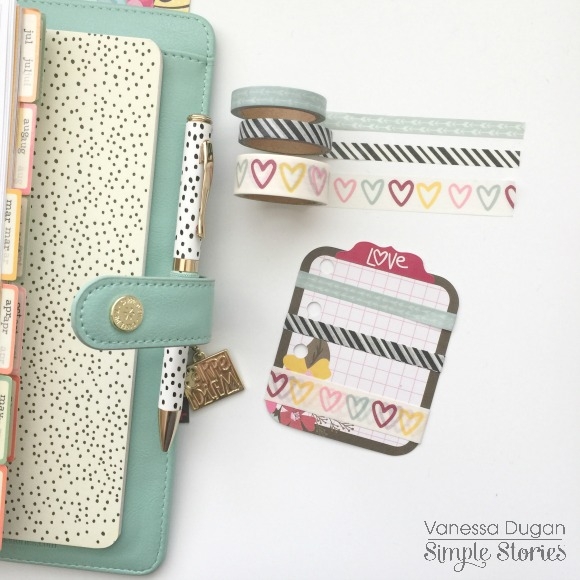
I also made myself a little washi tape card by using one of the larger ephemera pieces from the Love & Adore collection and wrapped each tape a few times. This way I always have some washi to use without carrying the full rolls with me!
I hope you enjoyed the little tour of my February set up and I hope you all have a wonderful Valentine’s Day!
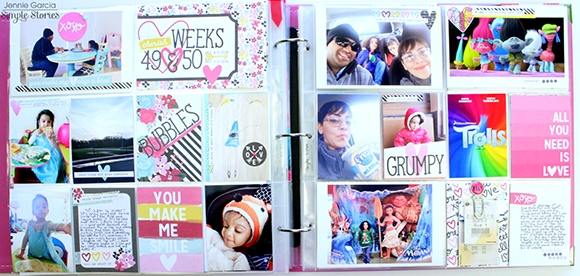
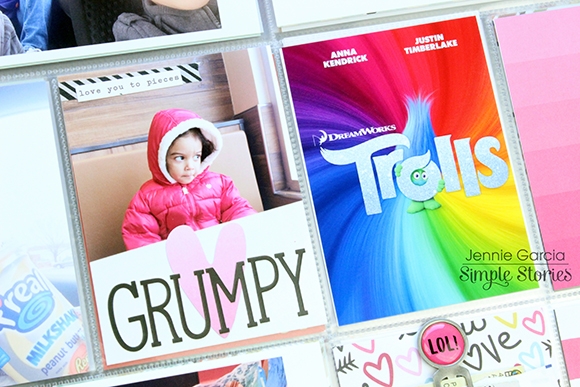
Hey Everyone! This is Jennie! The Love & Adore Collection is perfect for documenting Valentine’s Day but if you have someone to love you 8 days a week is perfect for any week! I used it to document two weeks of winter. My daughter’s winter coat is a perfect match to the pink in this collection.
This collection has 3 gorgeous washi tapes that are perfect for adding little accents for pocket pages, planners or cards.
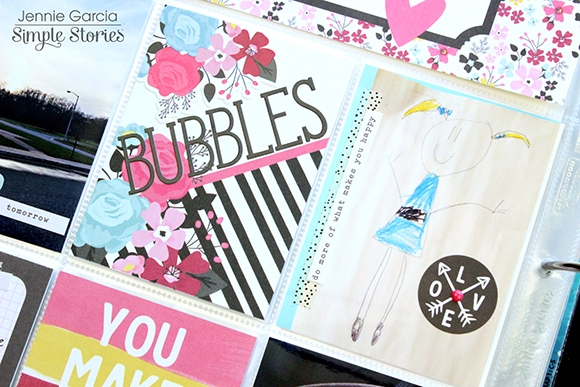
Flowers and hearts are patterns that I use very often. I have 2 girls and they wear a lot of pink so this is a collection that I can use anytime. This week we also went to the movies so I borrowed some photos of the movie from Google.

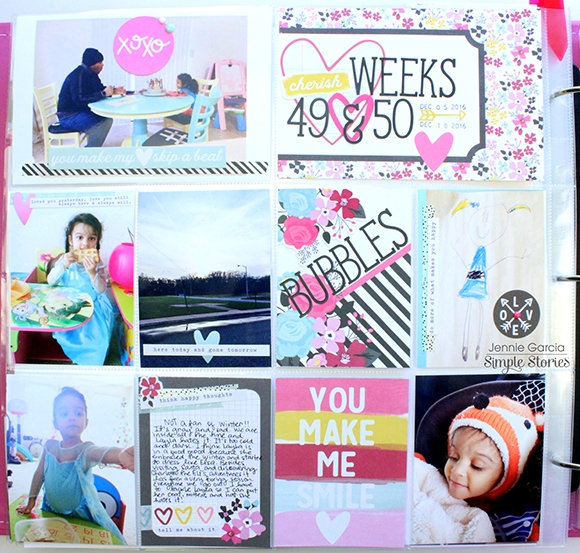
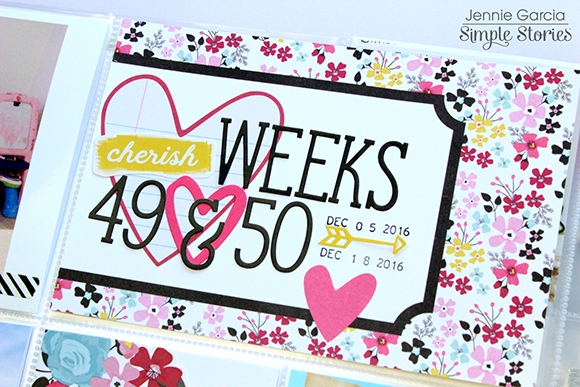
This font is one of my all time favorites from Simple Stories! Since I documented my December on my December Daily, these weeks on the album were a little slow so I combined 2 weeks in a full spread. I do this whenever my weeks are slow. I try to keep my rules loose so I won’t worry too much or make my hobby a burden.
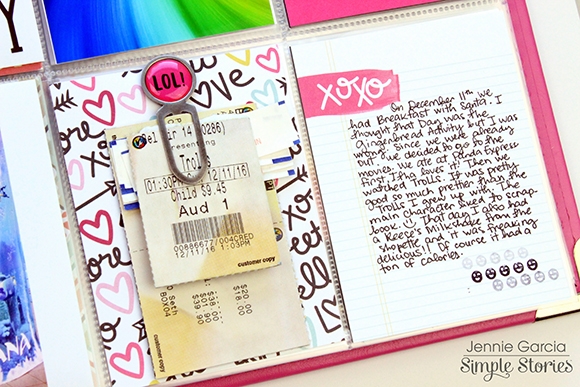
I kept our movie tickets and our cookie fortunes but instead of gluing them down I used a paper clip to hold them. I used a Tombow Adhesive Dot on the back of the paper clip to keep it in place. I love these journaling cards with lines because I feel more comfortable using my handwriting. I’m terrible at writing straight so whenever I use a journaling card without lines I use my typewriter.
Tiny Words are my favorite thing about the 4x6 Stickers! I use them in everything I make! I always use the washi tape and tiny word combo. I normally use the Sn@p Letter Stickers to write on photos but since this font is skinny it fits perfectly on the photo.
I like to add 3x4 photos of my daughter’s drawings to my album so I don’t have to keep all of their drawings. They like to draw a lot and they add up fast. If I keep every single one I would be up to my nose in scribbles.
I hope you were able to pick a few tips from this post! Have a lovely day!
Supplies
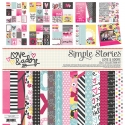
Since February is filled with all things love, we thought it would be fun to share an up close look at some of the products from our Love & Adore collection & inspiring projects from our creative team that make our hearts skip a beat. Keep in mind, the Love & Adore collection can be used year-round to document the memories with the ones you love!
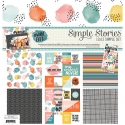
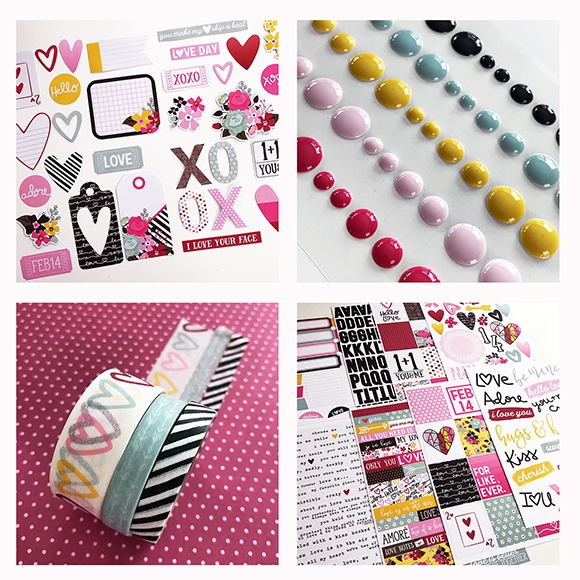
When it comes to paper crafting, it’s all about the paper, right?! Regardless of what crafty project you’re working on, paper is the perfect starting point. These are some of the Love & Adore favorites we’re crushing on, and judging by our diminishing inventory, they’re some of YOUR favorites too!

Washi tape, stickers, die cuts and enamel dots – OH MY! With Love & Adore, you’re sure to find just the right embellishments to create a match made in heaven for your ‘lovely’ projects!
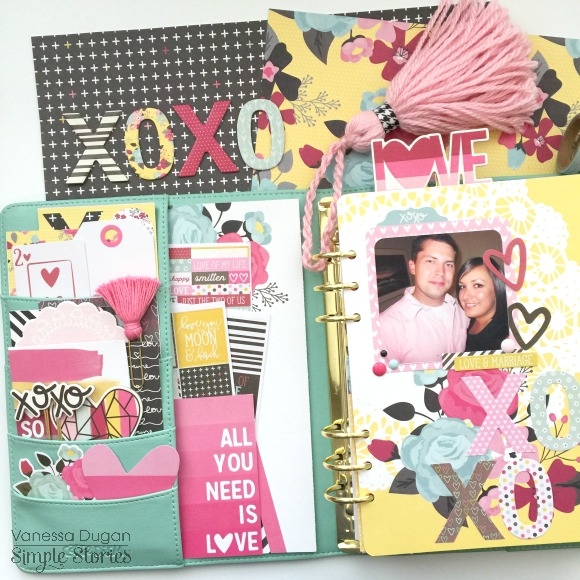
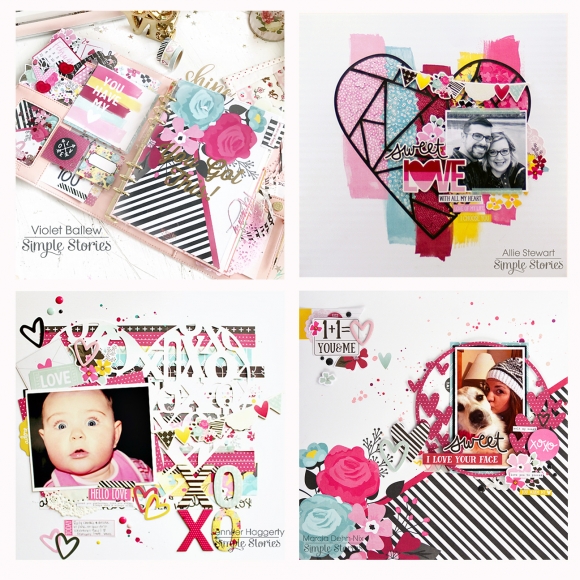
From layouts, to mini books to planners, Love & Adore is just that spark you need for your paper crafting & planning projects. Speaking of paper crafting & planning, here are a few projects to get you inspired to document your plans and memories with the ones you love.
Be sure to check out & follow our Love & Adore Pinterest board for more Love & Adore inspiration!
I have been really excited to share my CHA creations with you. If you were lucky, and were able to attend CHA, you have seen these two new collections that I have played with for today's post. If not, they are so much fun and you really need to check them out. I adore the new Emoji Love collection. It can be used so very many ways. I have a young boy who recently started texting and I captured one of our recent texts. He is still alive, so don't worry!

There was a texting block as part of the paper that I used right along side of my real photo of texting. I added the crown to the top of the face emoji!!
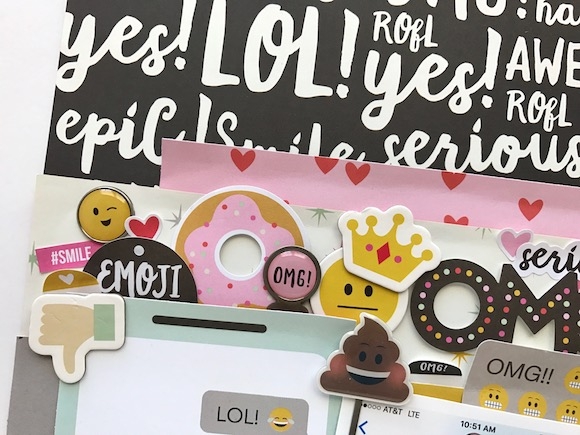
Look how cute these Emoji pieces are. I clumped them together to make a border across the top of my photo.
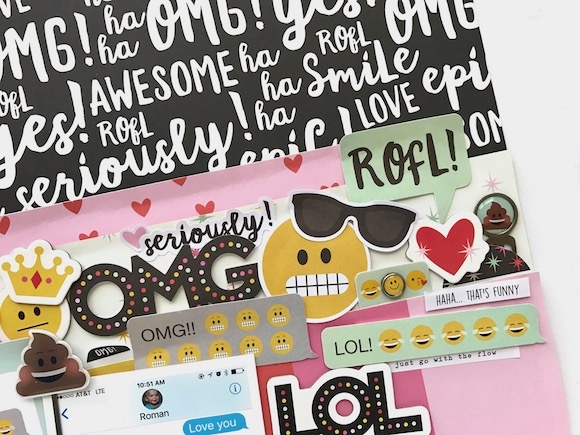
Seriously, I could have used ALL of it for this layout. I am excited to do another. This is called, documenting the REAL life!!!
________________________
As soon as I saw the Domestic Bliss collection, I new I had the perfect photo. I had been saving this photo for quite some time. Never found the perfect collection. When my boy was really young, he drew his dad a picture for Father's Day. What is missing? ME!!
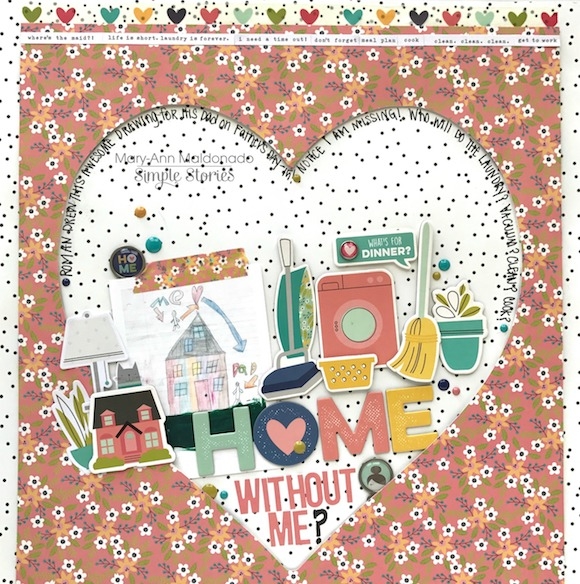
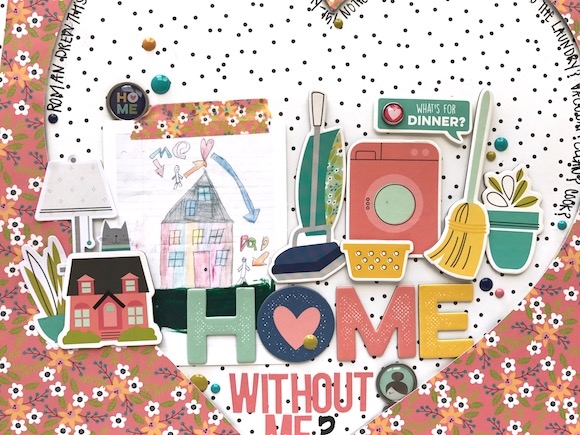
After cutting my heart and covering the entire piece with foam, I added it to the white polka dot paper. I added the clumping along the bottom with every piece of household equipment I could find. My journaling around the top is pretty sarcastic. Asking them, who will clean, do laundry, cook? They would need to hire a maid to do everything that I do!!!
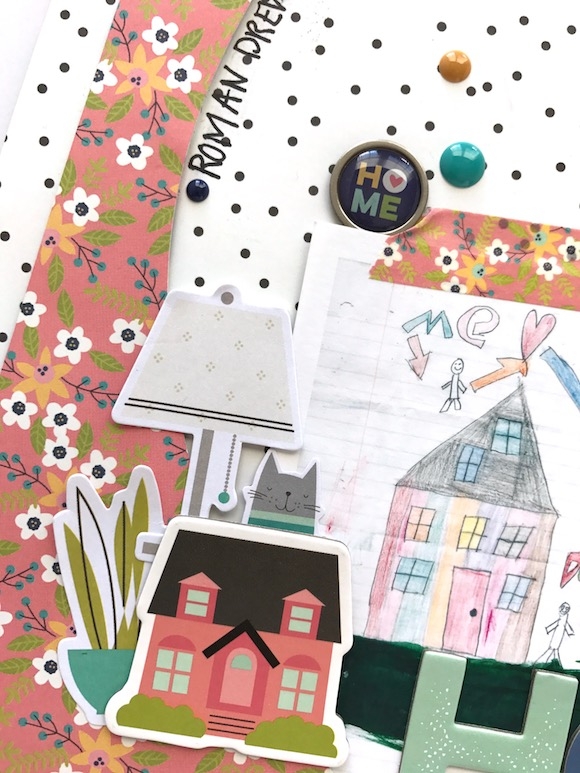
Here you can see the drawing a bit closer. I am still missing!
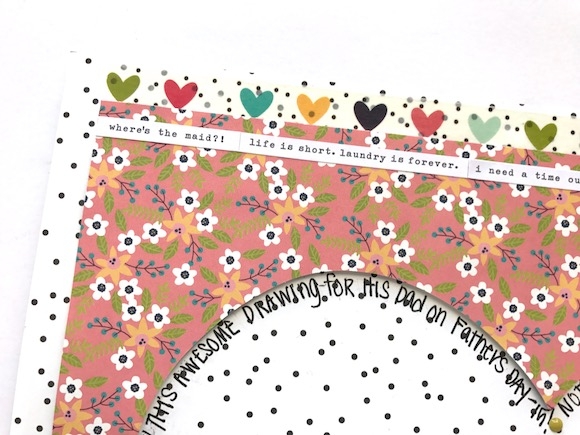
I used the strips phrases across the tip to create a border and used the heart washi. Journaling came after the entire layout was complete. I wanted everyone to know the story! ha.