Jana Eubank's Blog Posts

Hello, Simple Stories fans! Jana Eubank here with a fun summer project to create with your kids. Today I am sharing a Summer Treasure Box created with the Sunshine and Blue Skies collection. I adore the vibe of this collection! Not only is it perfect for creating seasonal summer projects, but with the palm trees and hibiscus flowers, it would be perfect for documenting your tropical vacation memories, too!

Every year my three daughters each create a treasure box to keep their summer and vacation mementos in. As we go on our family vacation, road trips, and other summer outings my girls place trinkets they have collected along the way inside.

Some of the things they have added to their boxes have been smooth rocks and seashells from a beach trip, amusement park and movie tickets, and even business cards from restaurants and stores that they want to remember. They love going through their boxes later and reminiscing about all of the places we have been. It's almost like their own little 3d scrapbook! 

The Sunshine and Blue Skies papers were so cute for this box! I love the popsicle pattern of the 2x2 Elements paper on the lid and the Pool Party patterned paper on the inside. I feel like those happy swimmers are beckoning me to come join them in the pool every time I open it up. Awwww, summer!  

I decorated the front of the box with the super-cute chipboard Ice Cream Truck, palm tree, and sun. I'm craving a frosty treat right now just looking at it!

If you're looking for a craft idea to do with the kids this summer, try making a Summer Treasure Box! Your children or grandchildren will love having a special place to store their mementos!

Supplies

Hello, Simple Stories Fans! Have you checked out the latest Simple Sets? With six papers (2 each of 3 designs) and a coordinating 6x12 Sticker Sheet, they are the perfect solution for a quick project or two!

Today I am working with the Springtime Simple Set. Butterflies and flowers are not only perfect for Spring, but work great for everyday memories, as well. This page is about my daughter achieving recognition in her writing class at college. Definitely, a "bloom where you're planted" moment for her!

Butterflies are a perfect symbol for growth and transformation, as well as following your own path. I fussy-cut the butterflies from the 3x4 & 4x6 Elements Paper and then adhered themto the page with foam squares as embellishments.

I layered several of the stickers together in this embellishment cluster, anchoring them with strips of patterned paper across the bottom and a scribble-style circle that I die cut using my electronic die cutting machine.

On the opposite side of the photos I used several patterned papers from my scrap bin and some metal dies from my stash to create a pair of dimensional flowers.

I hope this page will help my daughter remember to always celebrate her accomplishments! There is so much in our lives to be grateful for!

Thanks for stopping by!

Supplies

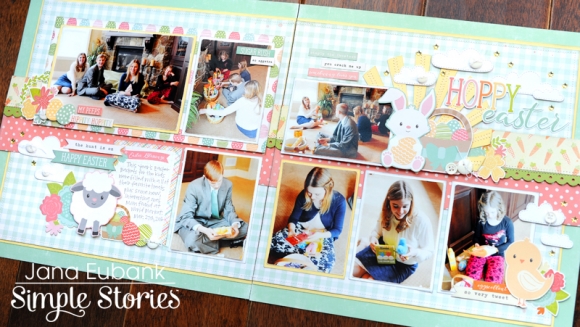
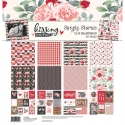
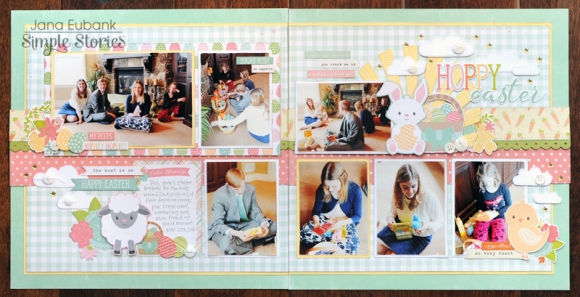
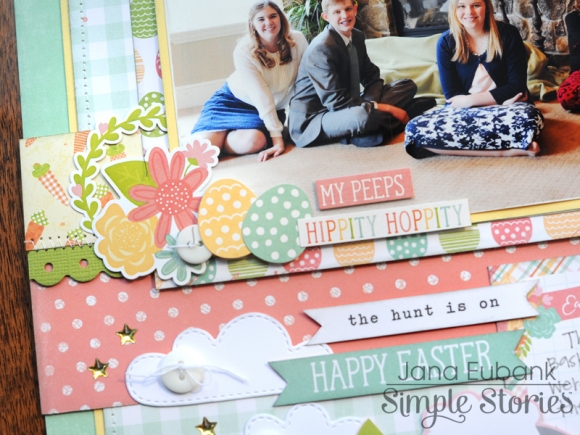
I tend to get snap-happy with my camera on holidays and always have many photos I love and want to include in our scrapbooks. Two-page layouts to the rescue! Hi, everyone! Jana Eubank here! Today I have a double page Easter layout to share with you using the Bunnies & Baskets Simple Set.

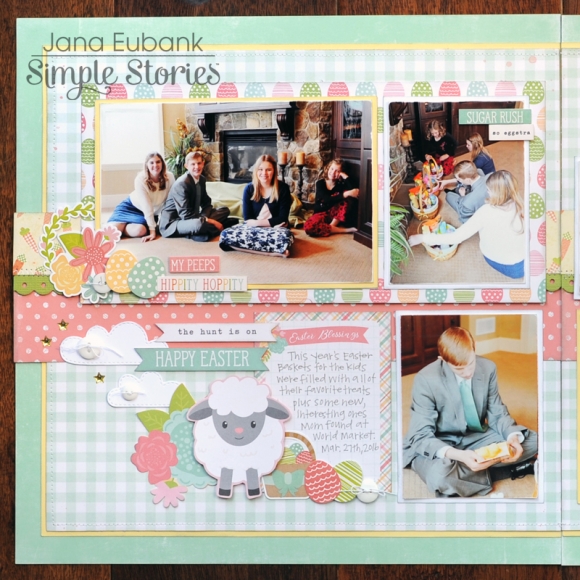
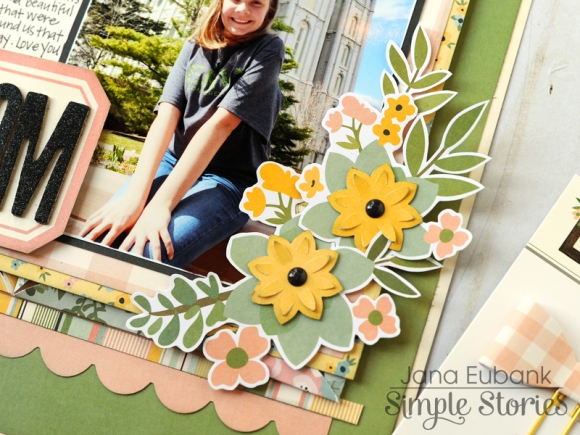
I placed my photos in two rows, but wanted to call more attention to the group shot of my kids. I matted this photo with yellow cardstock, and then placed it on a block of The Hunt Is On paper, with it's cute Easter egg pattern. In the corner I added a cluster of stickers accented with a button.

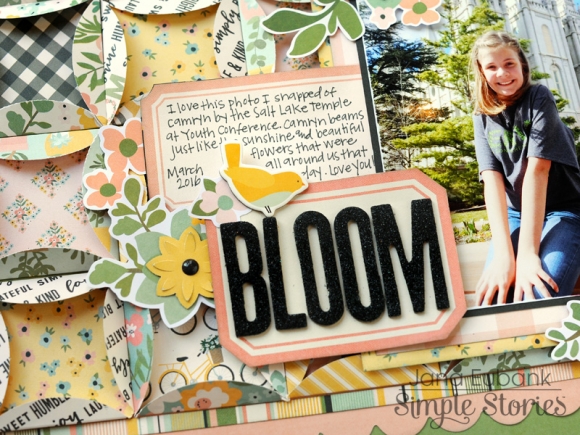
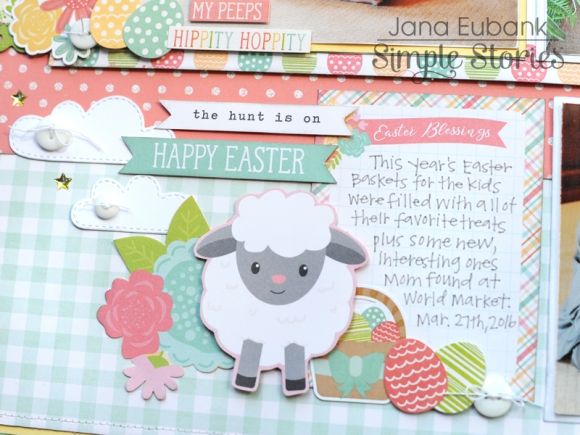
I fussy-cut the large characters and icons from the 3x4 & 4x6 Elements Paper to use for my layout. They are the perfect scale for a double-page spread! I also used the journal card to house my journaling on the left page.

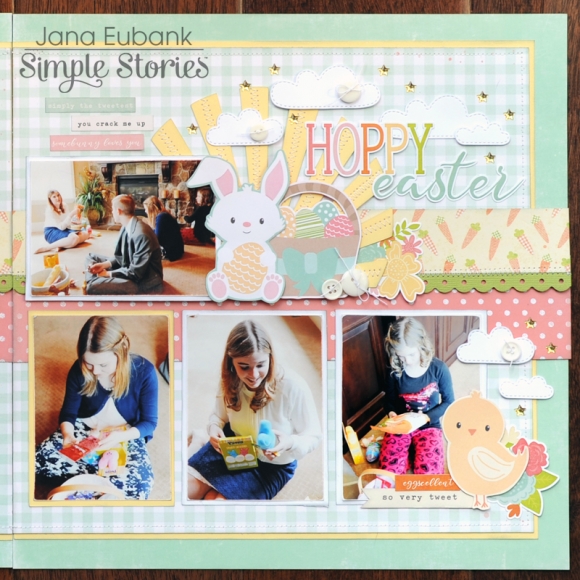
I wanted my title to really stand out and decided to create a little scene with the bunny and basket next to the "Hoppy Easter" sticker. I die cut a sunburst on my electronic die cutting machine to place behind the bunny, anchoring all of the elements together in one cluster.

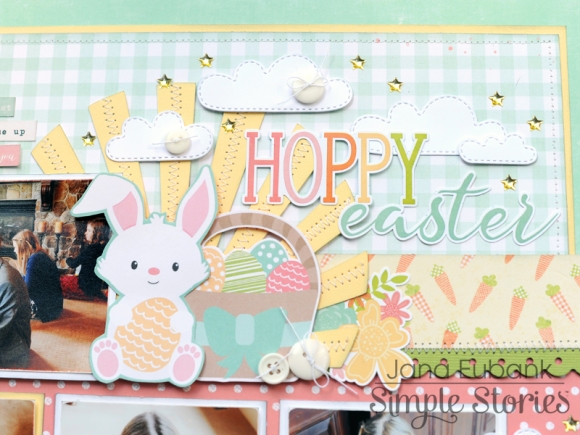
Before adding the sunburst to the page, I used my sewing machine to zig-zag stitch along each ray, creating lots of texture! Manually die cut clouds and enamel star stickers from my stash round everything out.  

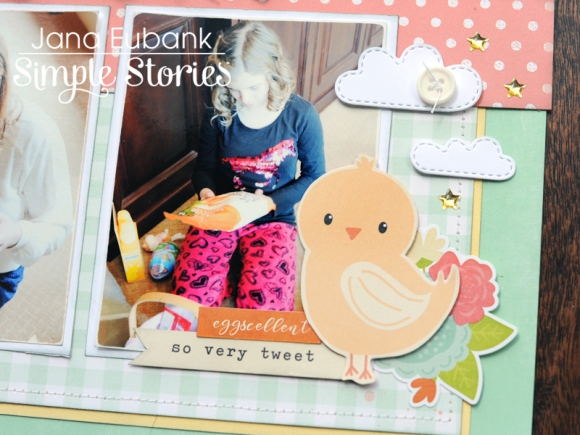
Finally, I added this cute chick in the bottom right corner of the layout with more die cut clouds and a phrase stickers from the 6x12 Sticker Sheet. 


Supplies

Pages