Kristine Davidson's Blog Posts

Hello Friends!

It’s Kristine Davidson here today to share a layout with you. I was fortune to be able to create using the newly released Holiday collection called “Country Christmas”. I know it’s September but it is time to start thinking about those Holiday photos and December Albums. This collection is filled with so many gorgeous Bits & Pieces and I used a few to create clusters on my layout. Let’s take a look !
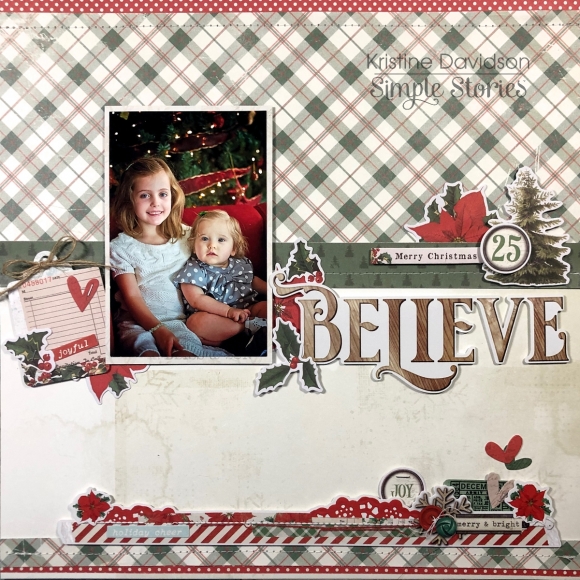
To start my layout I used a piece of paper from the Basics Kit that matches this collection. It is perfect for background papers and allows me to add so many other pattern papers to my page and not have a standard white piece of cardstock.
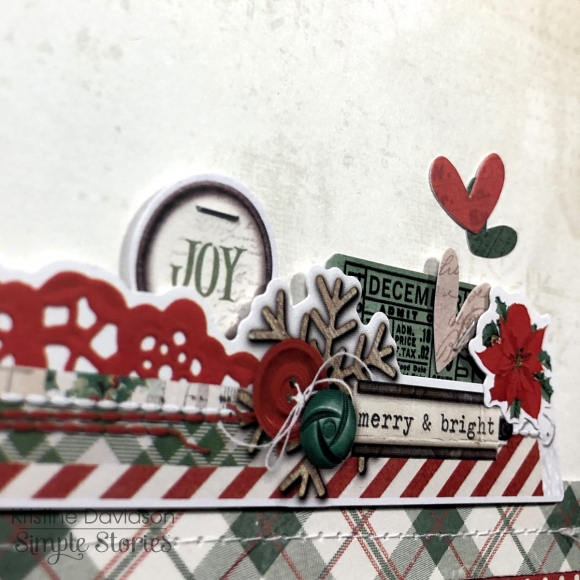
I added a 1”x12” piece of red & white polka dotted paper to the top and bottom of my page to give some highlights to my layout. I added a larger piece of plaid paper 5x12  to the top and a 1/2” x 12” strip to the bottom.
The green paper was placed at the bottom of the plaid paper to tie up the layout. I added sewing for texture to the paper strips.
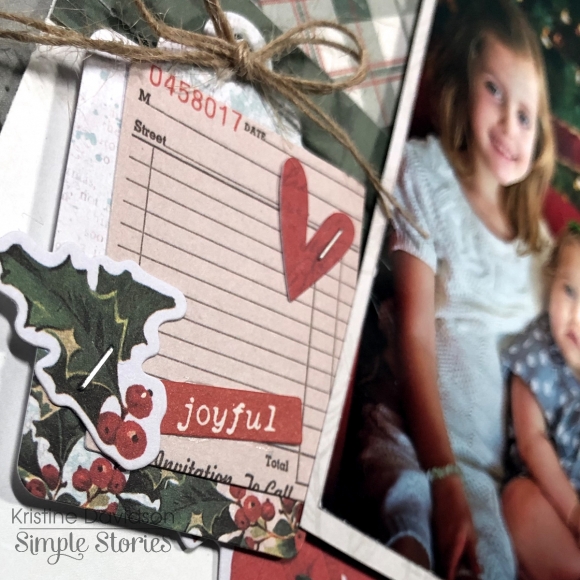
The Bits  & Pieces for this collection are plenty. I created a cluster of stickers and diecuts on the left of my photo, added another cluster to the bottom of the layout using a border from the Combo Sticker sheet. So many options with these diecuts, it’s unlimited what you can create with them.
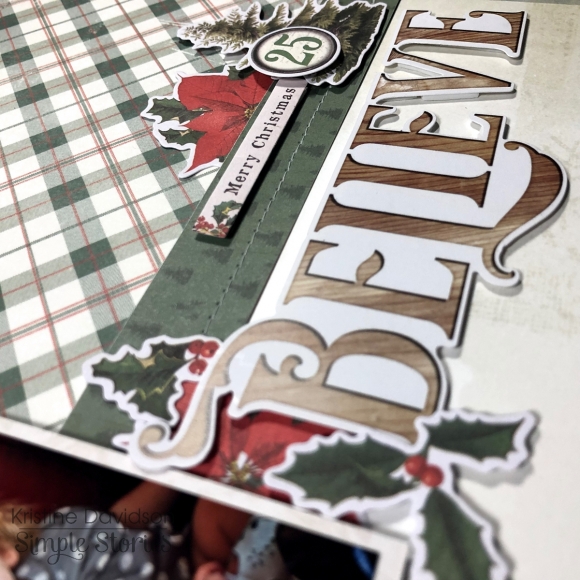
I added a title for may layout which is a sticker with the word BELIEVE. I added some dimensional adhesive to the back of the sticker to give it some height on the page.

I hope you enjoyed my layout and could find some inspiration in creating your own layout using the Country Christmas collection.

Come visit us on instagram! Simple Stories or Kristine Davidson
 

Supplies

Hello Friends!

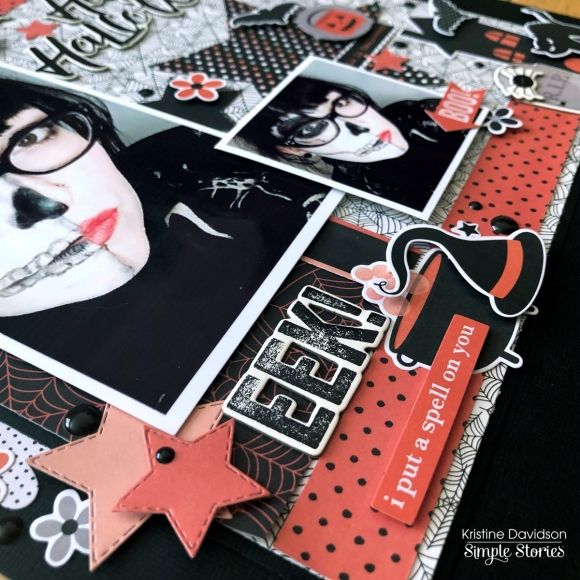
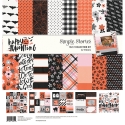
It's Kristine here today and I'm sharing a Halloween Layout I created using the Happy Haunting Collection. This collection contains some great Halloween colors such as black and orange but throw in a little pink and you have a collection that can be used for summer, fall or Halloween layouts. I chose to create a Halloween page. I used a photo of my cousin's painted face for her last Halloween party. 

I wanted to add some color on this page and kept it to the orange, black and white colors. I tried not to add pink because I'll keep those elements for another page. 

 I started created my layout using a piece of black cardstock. White was also a good option but I wanted more black on my page. I cut a piece of paper 10x10" to fit and then added some orange for color on the top and bottom.  I created some star shapes and added those on my layout using a multitude of colored papers. 

I wanted to used multi photos on this page but I only had 1 picture to work with. I printed a 4x6 and then decided why not use the same picture but smaller. I added some dimensional adhesive on the back to add dimension to those photos. 

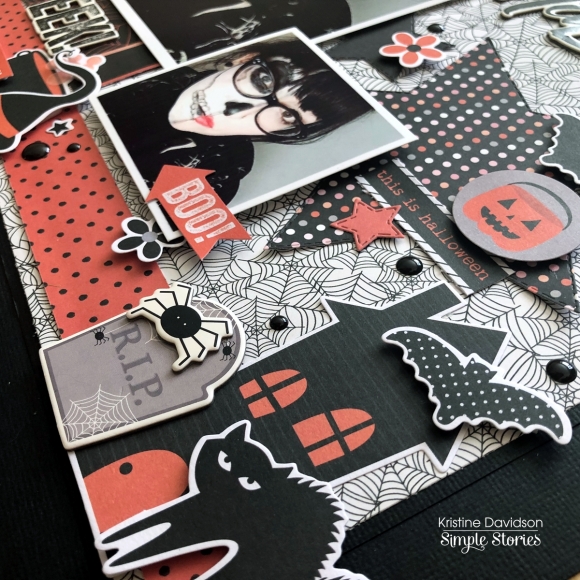
Adding lots of chipboard pieces as well as Bits & Pieces just completes my page. I really can't go without decorating or adding clusters to my page. The little scary cat, the RIP tombstone and some bats in the mix just add lots of texture and dimension as well to my page.

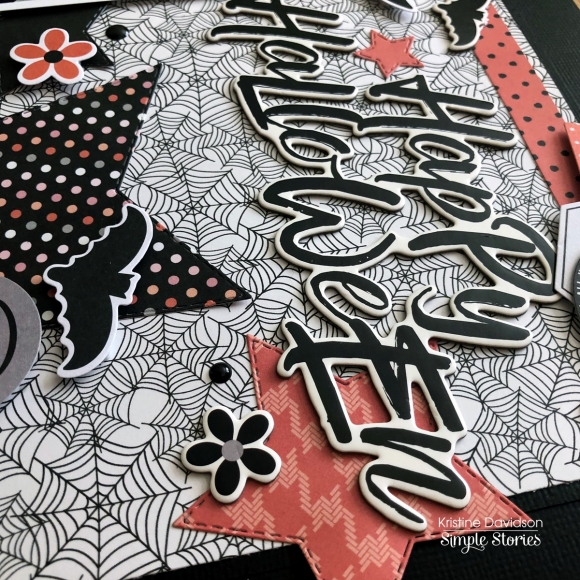
I finished off my page by adding Happy Halloween with the chipboard pieces from this collection. It fits perfectly on the top right of my layout. 

To add more details I added some enamel dots and voila! EEK!! Grab this Spooky collection from your local scrapbook store and enjoy! Visit us on Social Media @SimpleStories_ and @KristineDavidson

Supplies

Hello Friends!

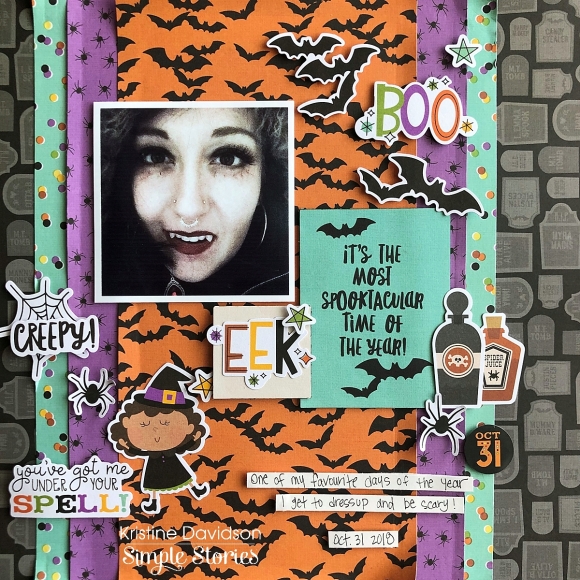
It's Kristine Davidson here to share a layout with you! I created this "Creepy" Layout using the Say Cheese Halloween Collection. The colors and pattern designs in this collection are so perfect for those spooky pictures!

I used the Spooktacular paper for the base of my layout. I could have used a black piece of cardstock but I find that using a piece of paper makes a cohesive page with the other patterns. I then layered some different pieces on both sides of the 6x12" (Orange with Bats) Frankly Frightful paper. You can add a variety of colors on your layout using this collection. This combination was my favorite.

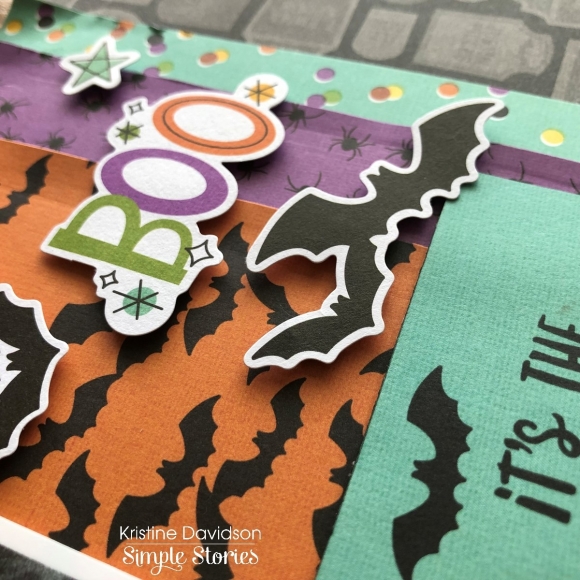
Once my base of papers is adhered to my page I start decorating with some Bits & Pieces. I used bats, stars, bottles, and a few more extras to make this picture stand out.

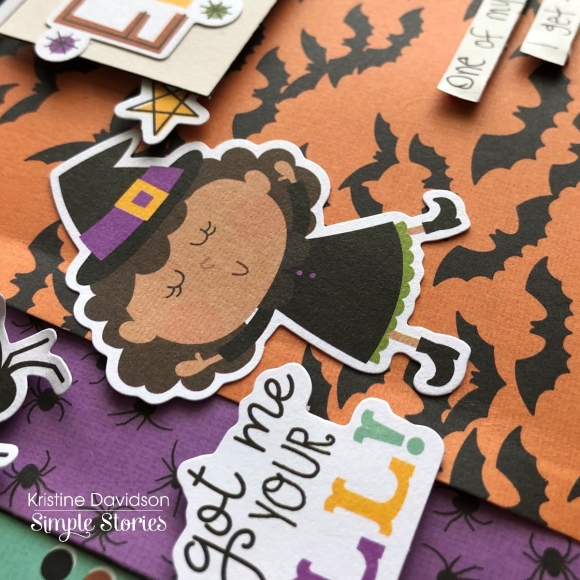
I really couldn't help myself and add a little witch to my layout. I find these to be soooo cute. She was perfect for that space ;)

I added a 3x4 element card to my page. This can be any of the great selection from the Element papers. I used this one because it really went well with my journaling and the photo. I did trace the edges with a black marker to have it blend better with my black details.

I hope you like my page and anxious to create your own Halloween Page! Come visit us on Social Media because we love sharing more Simple Stories pages with you.

Supplies

Pages